

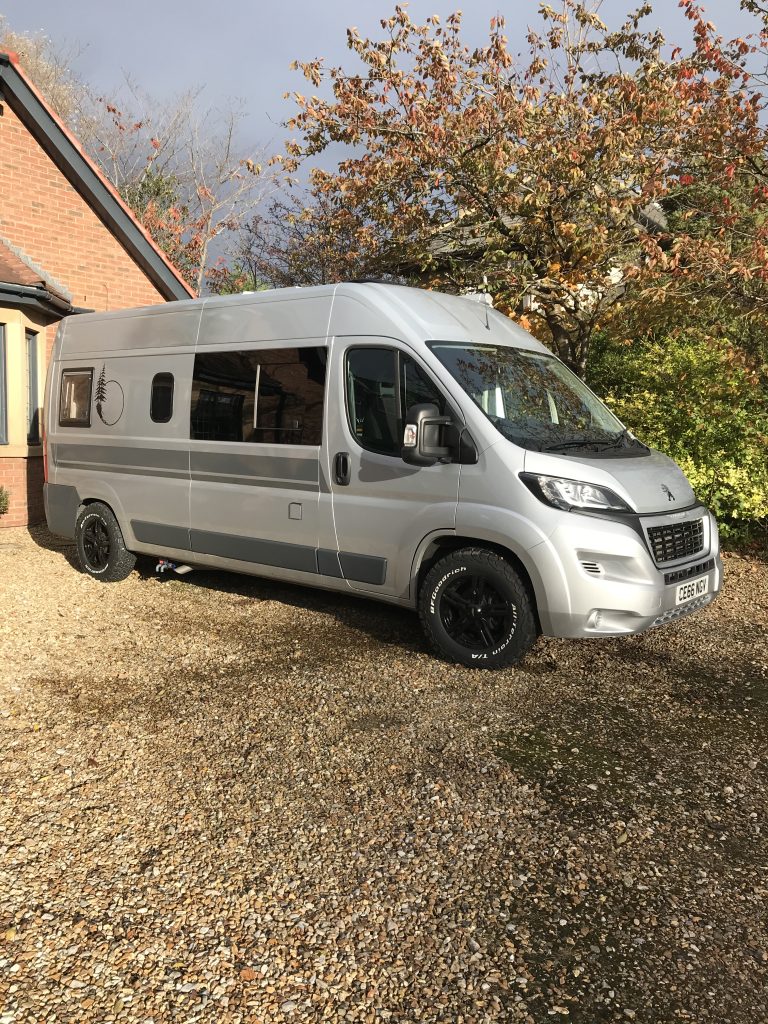
Peugeot Boxer DIY Camper Van Conversion


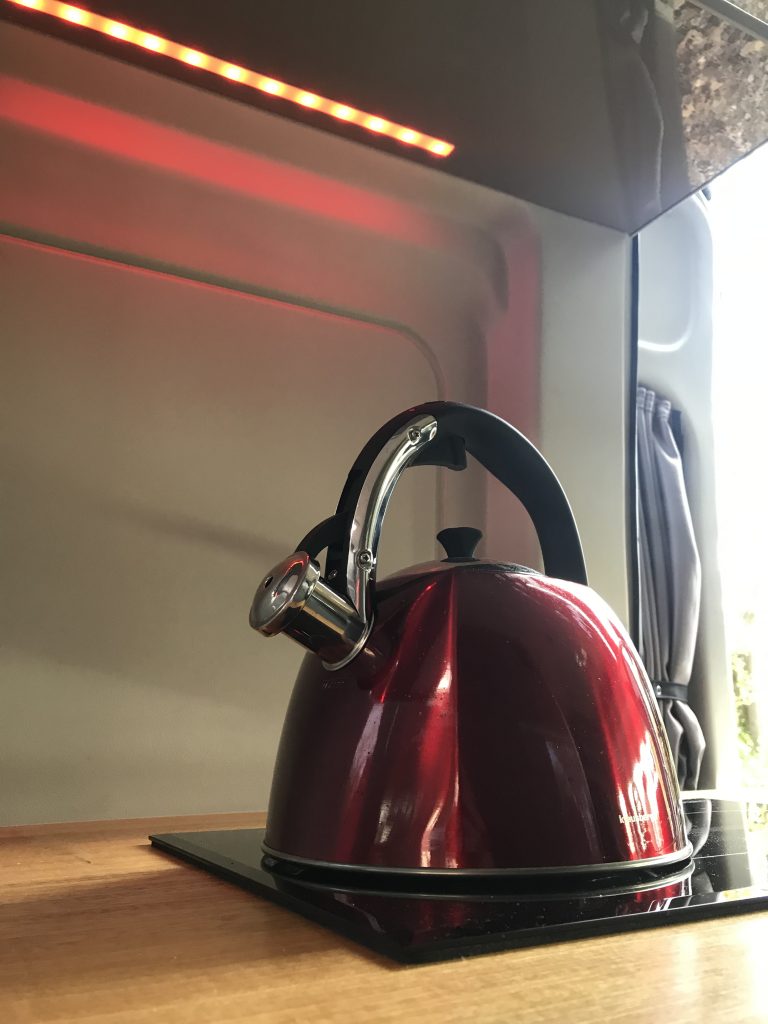
Time for a pot of tea: Total build time was one year (almost exactly). Started October 2019 and completed October 2020 almost within a week of the start date.
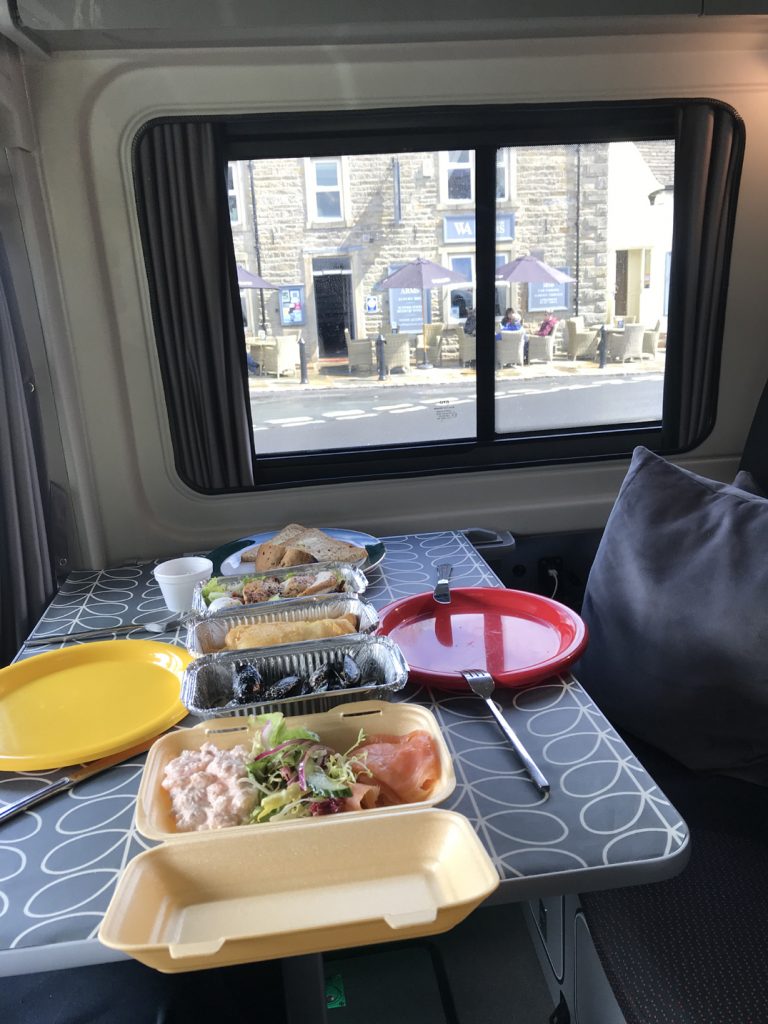
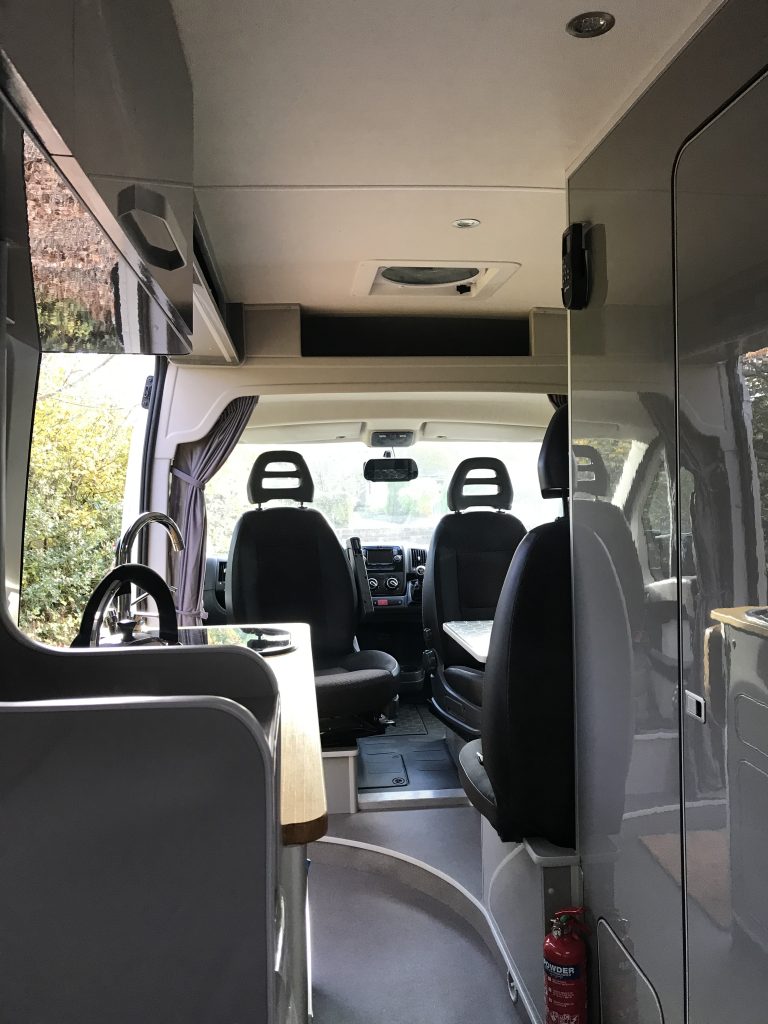
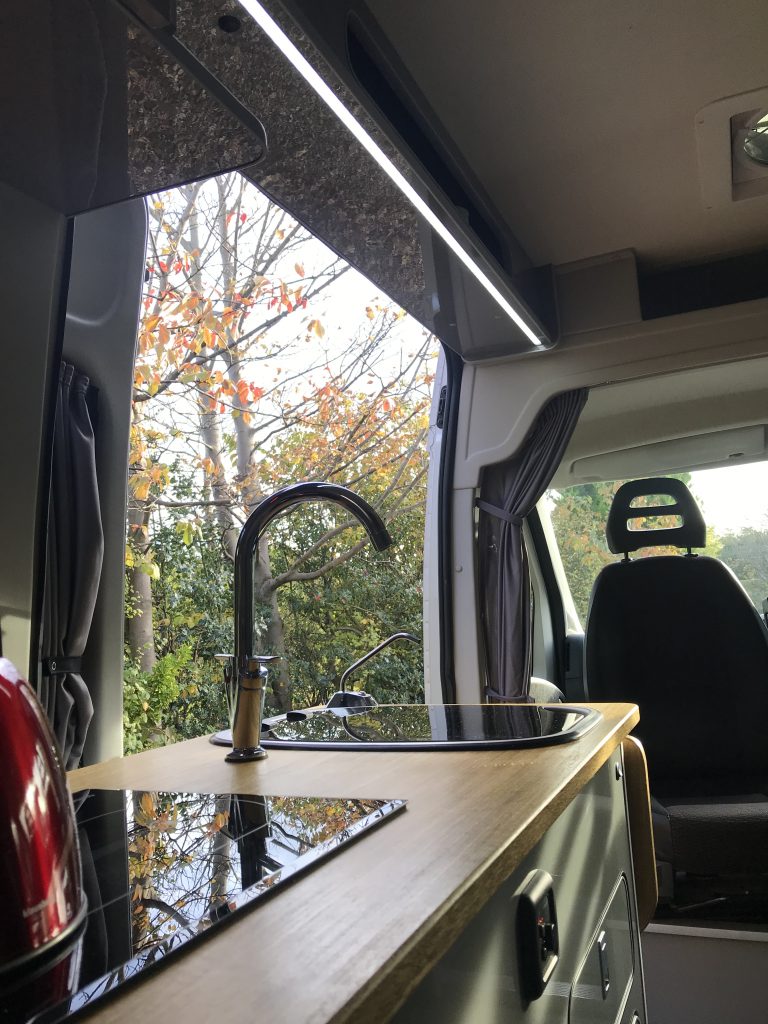
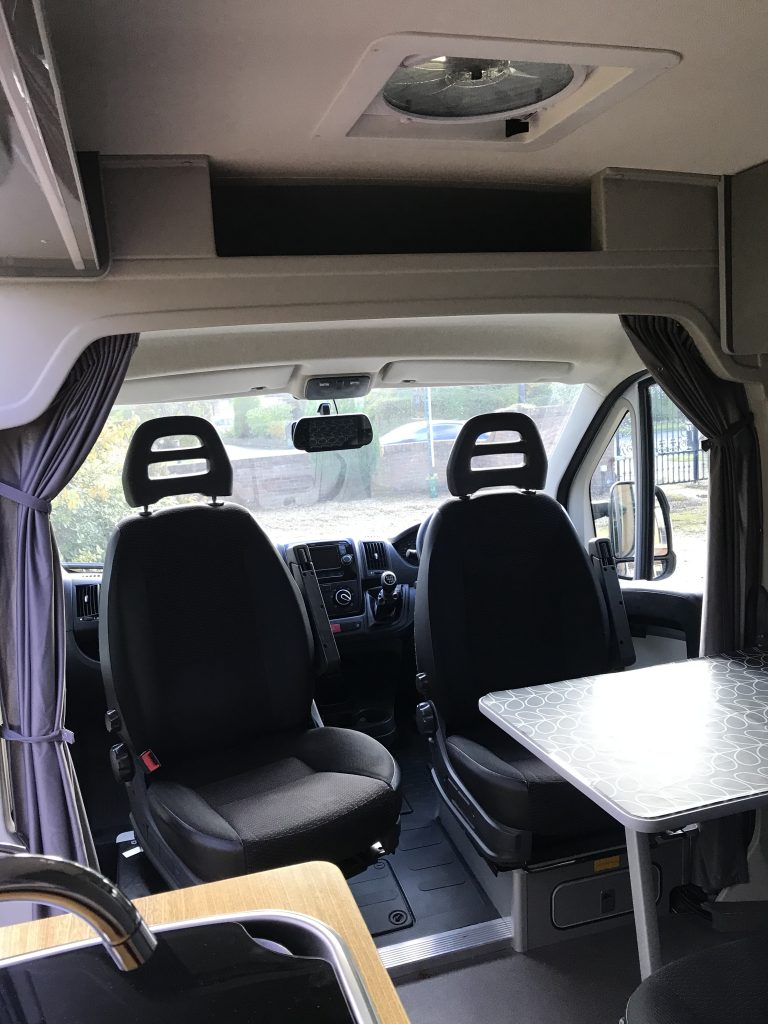
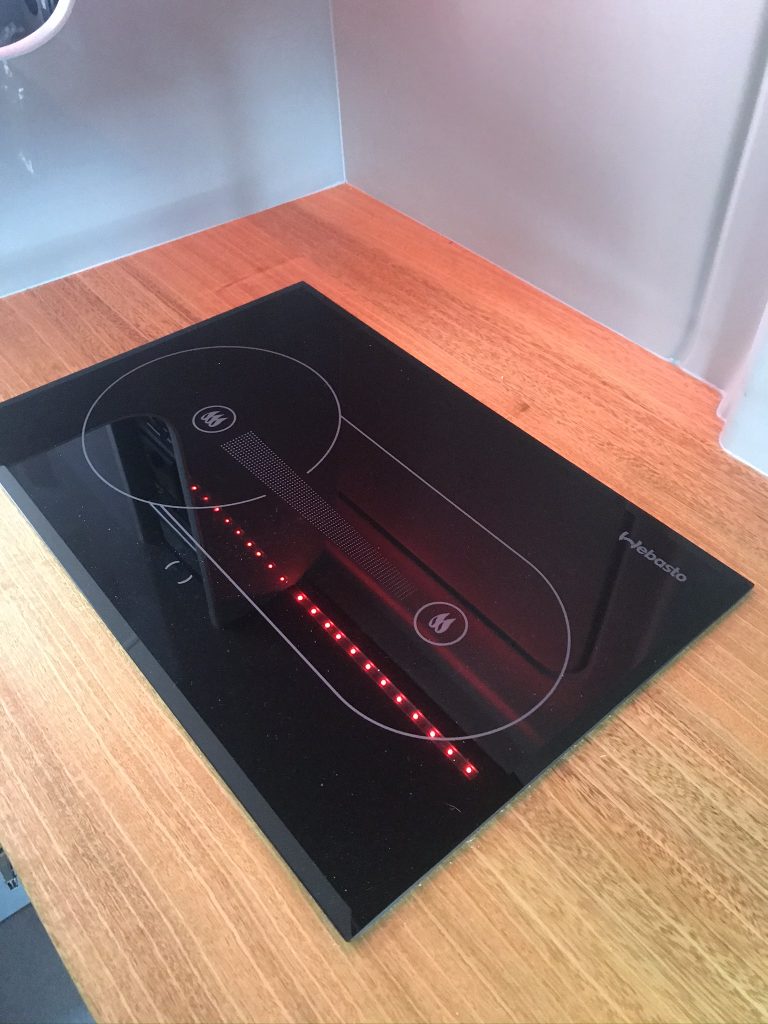
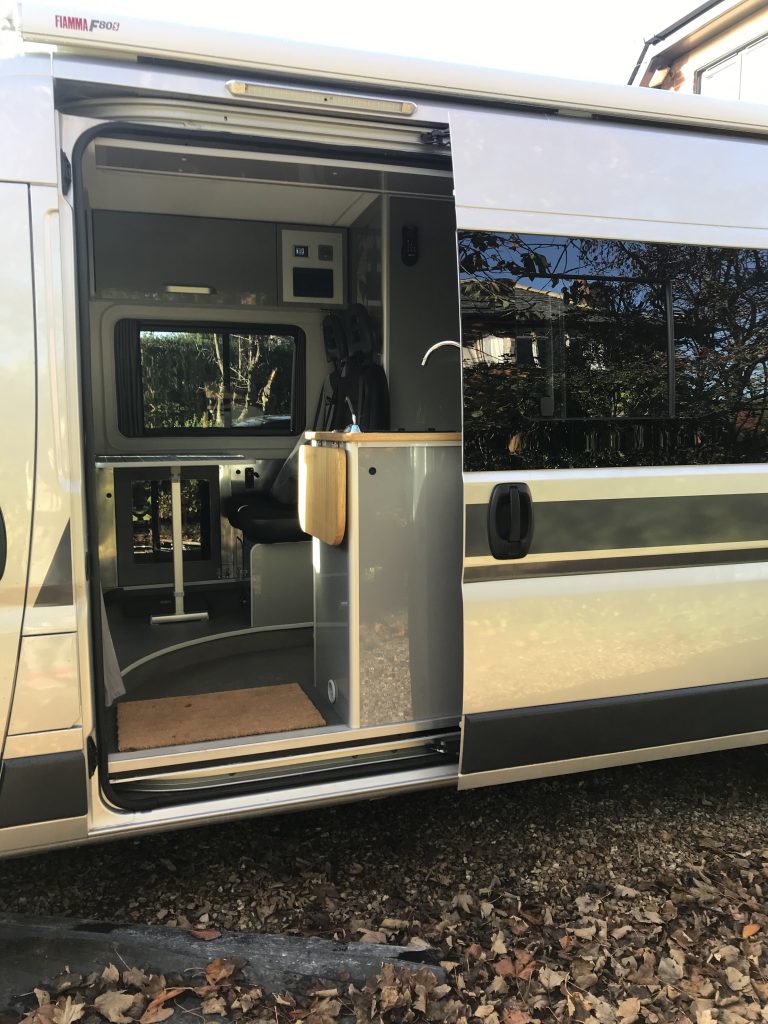
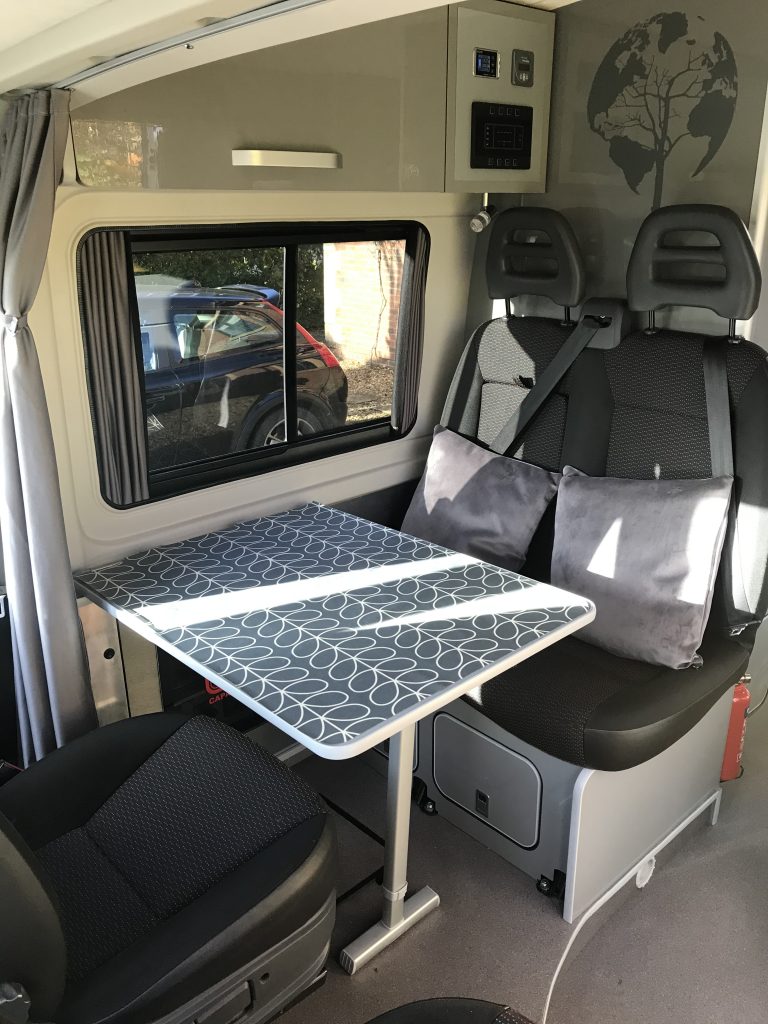
The Interior:
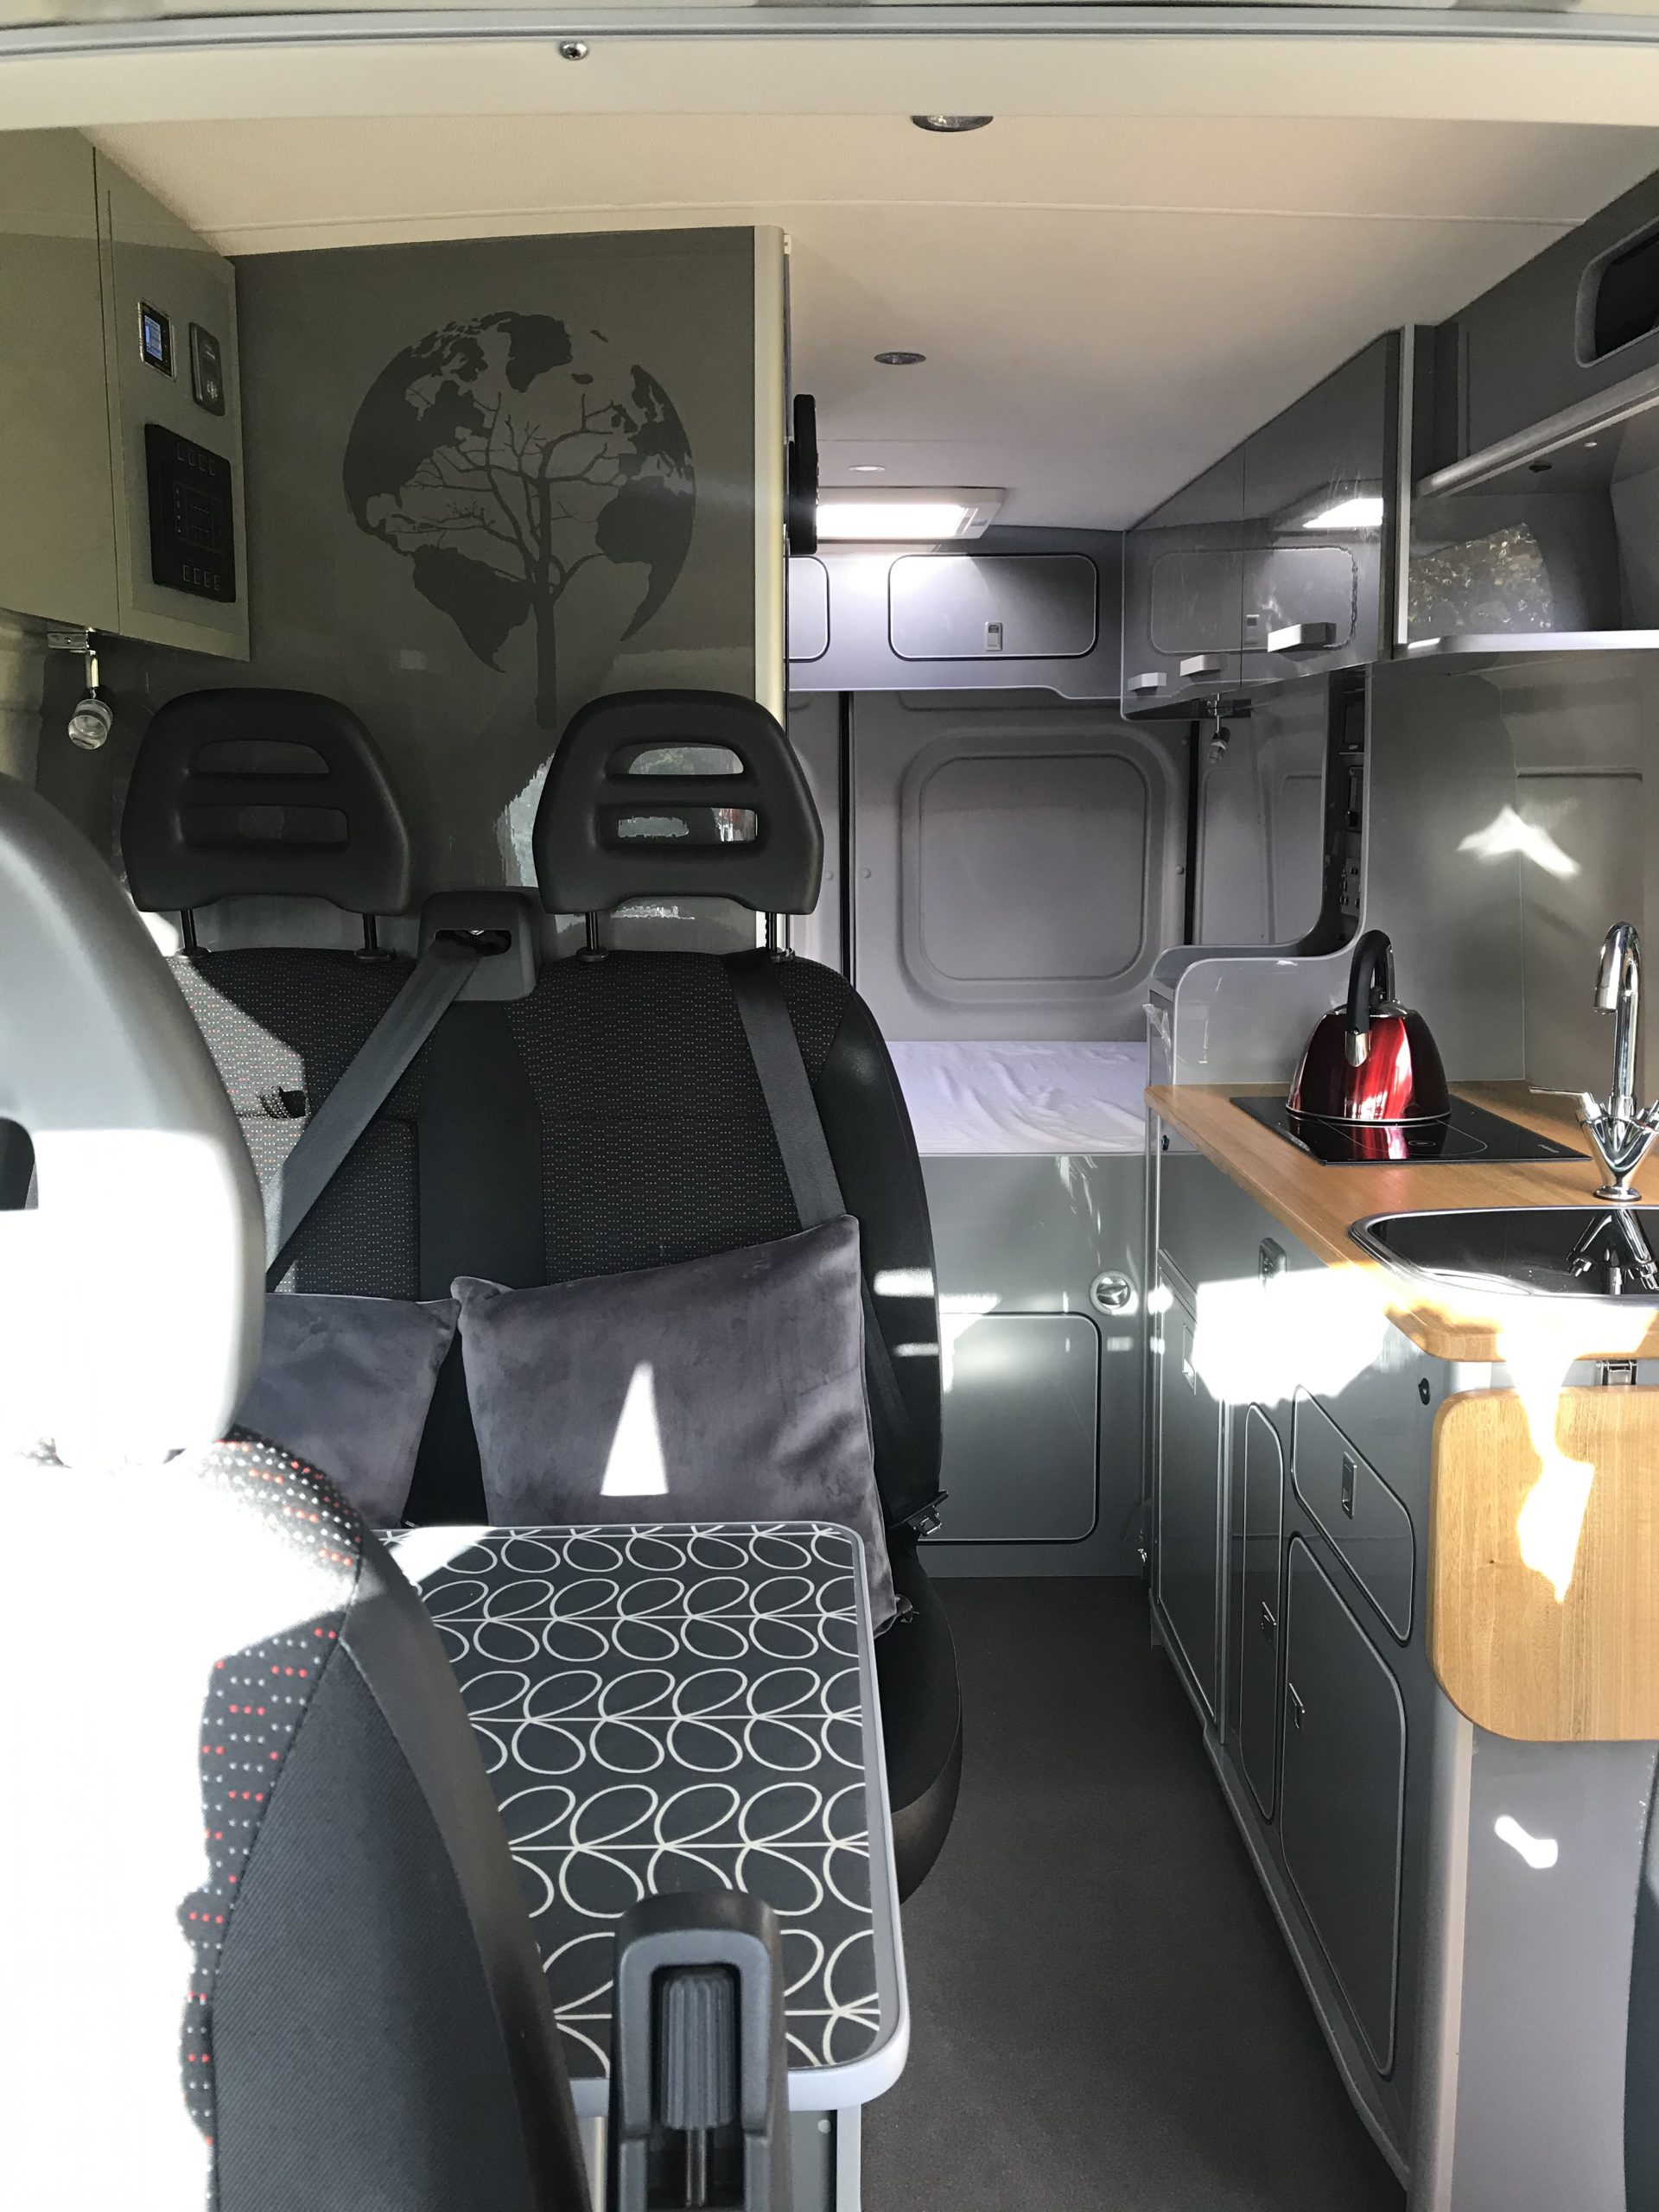
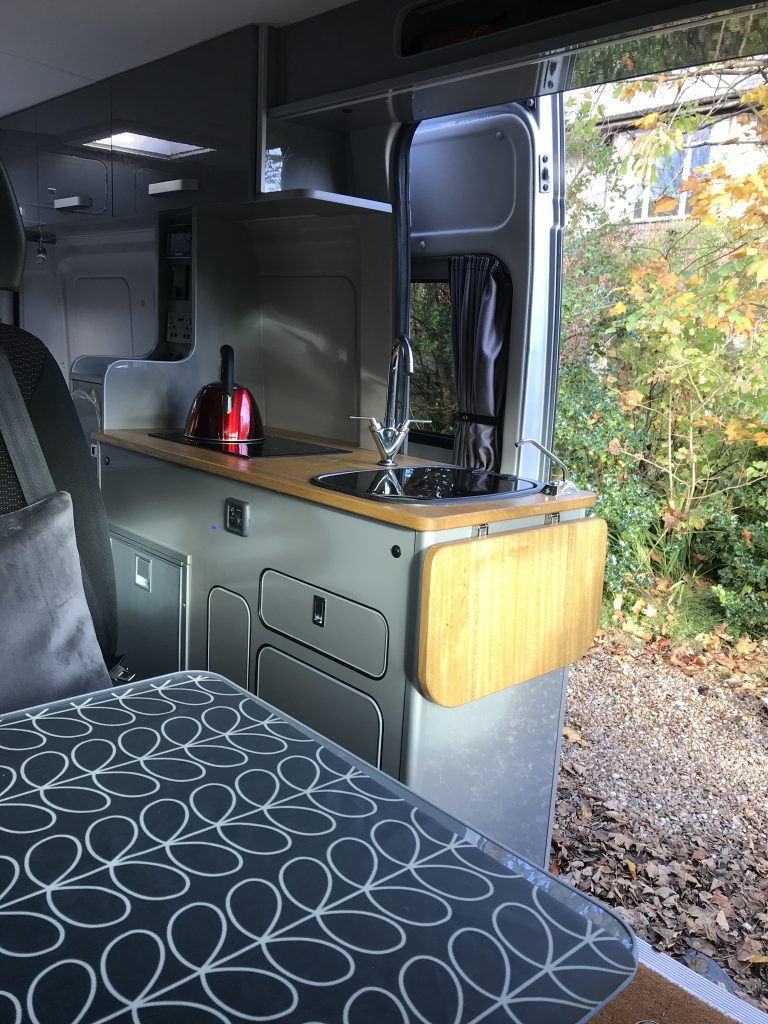

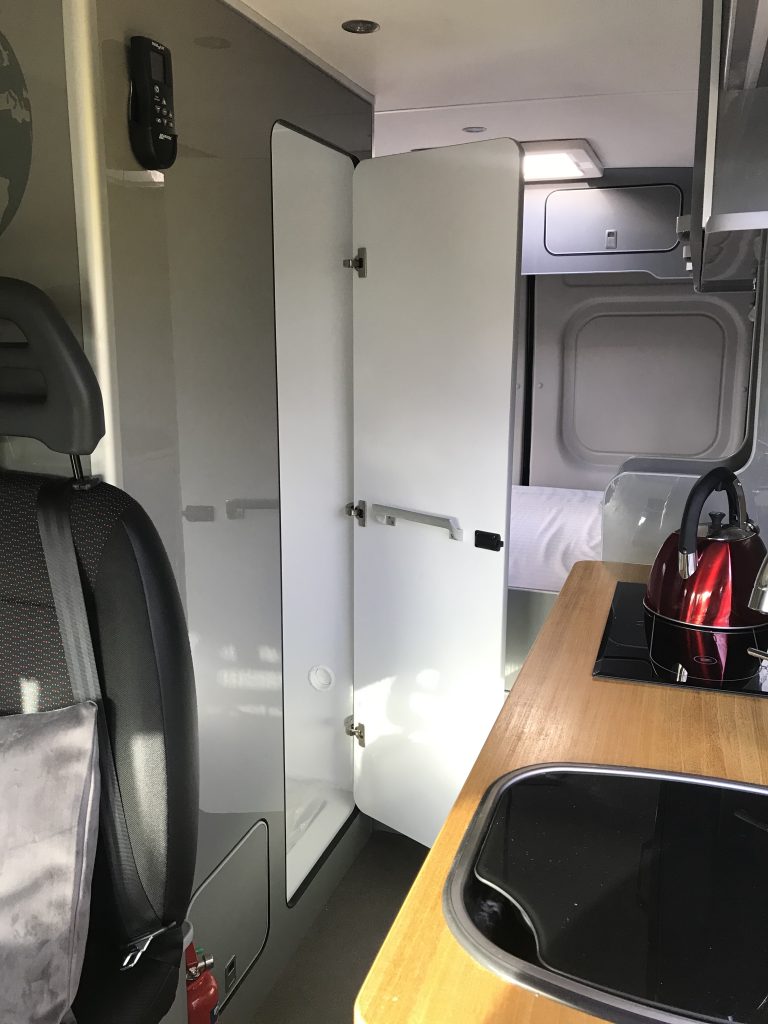
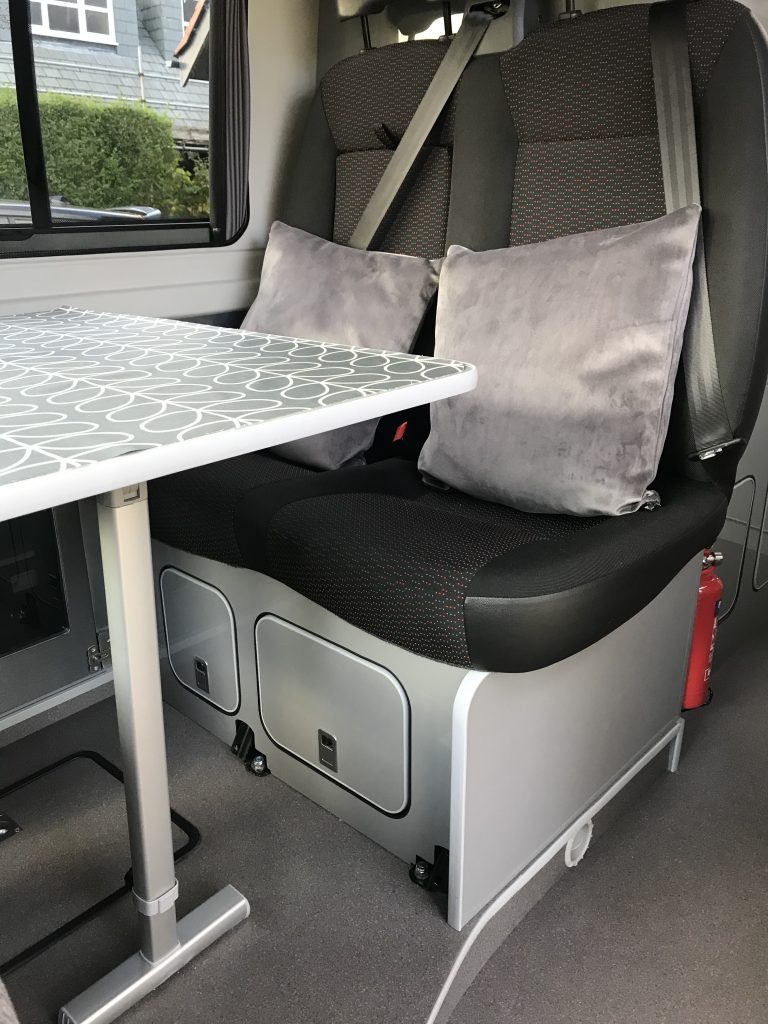
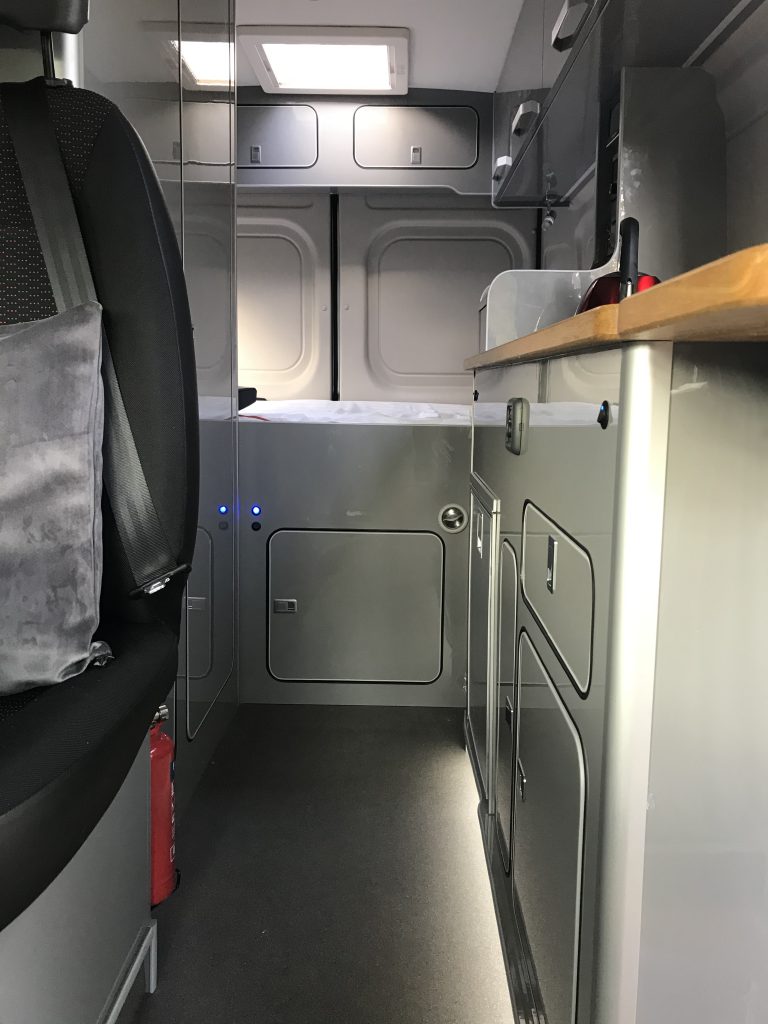
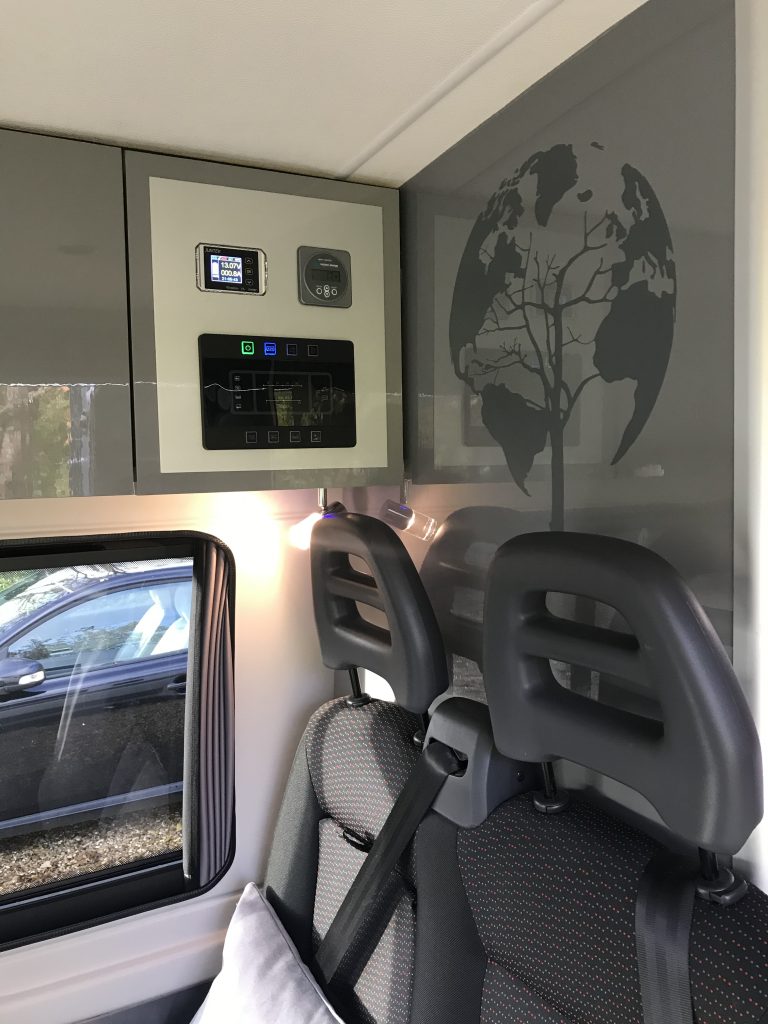
Continued……..
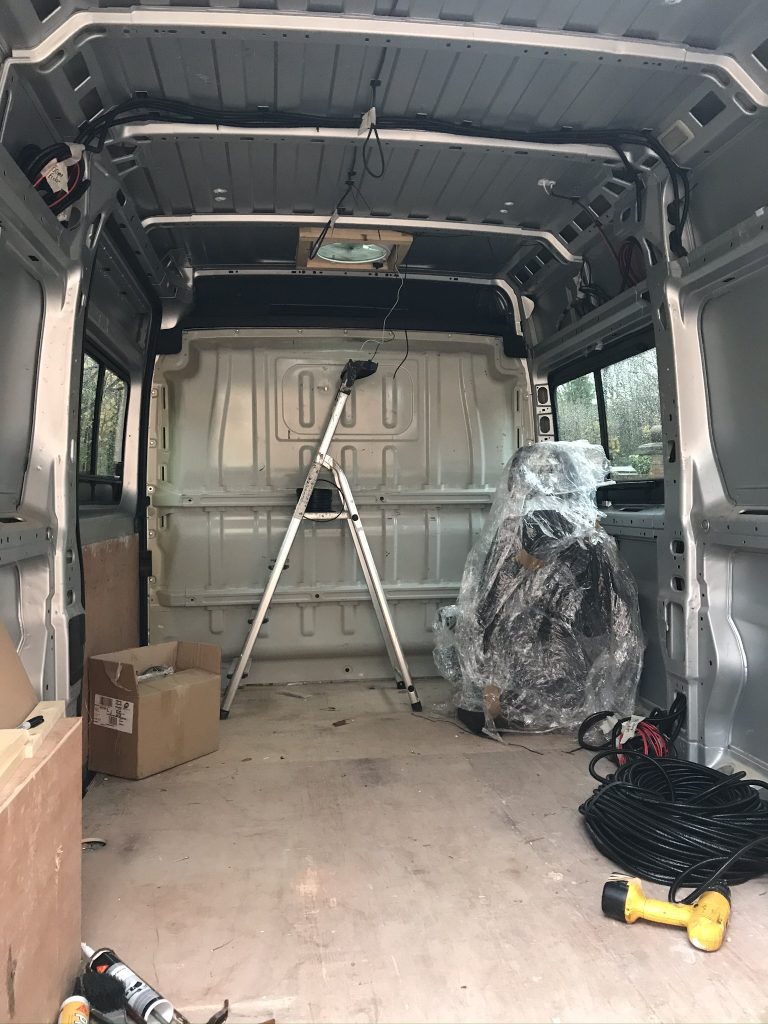
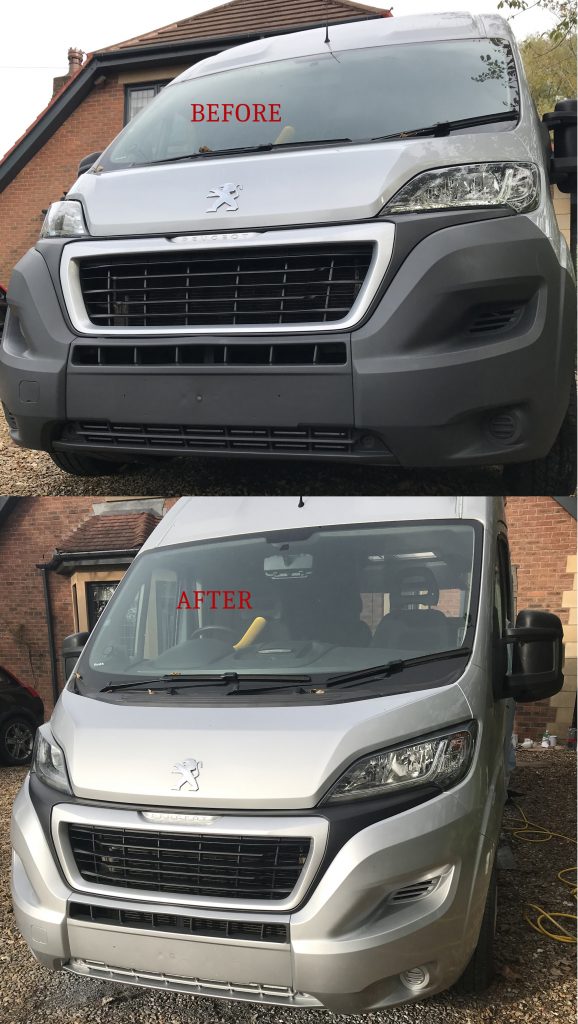
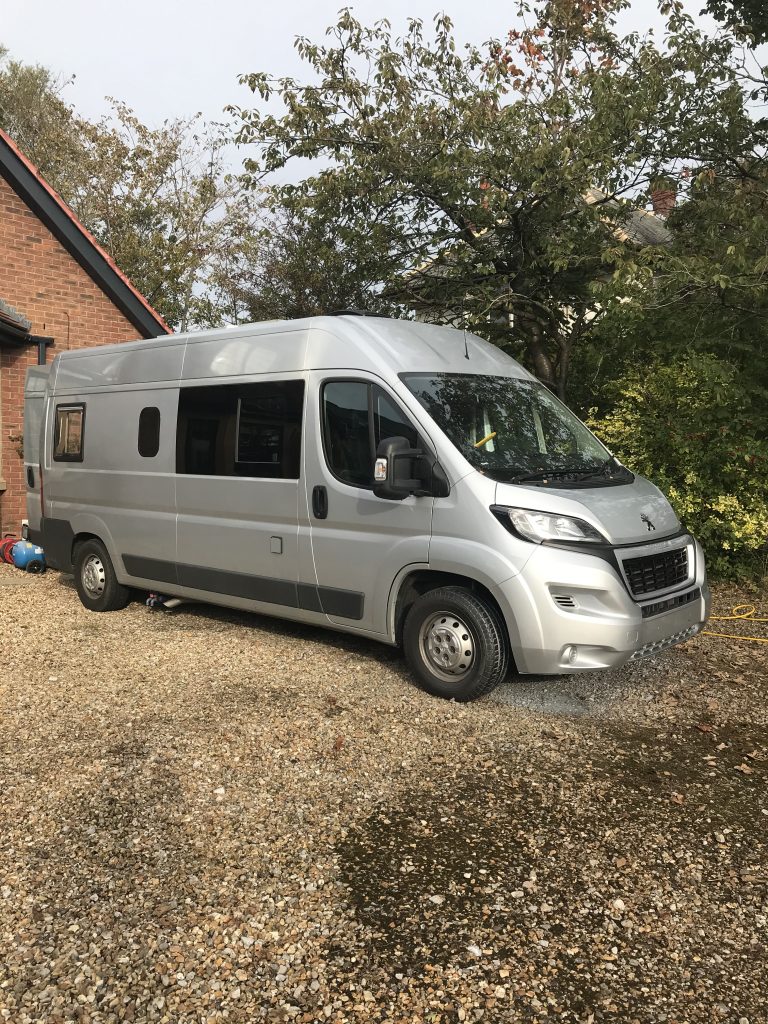
First a few images of the Peugeot Boxer LWB Van before work commenced.
Before:
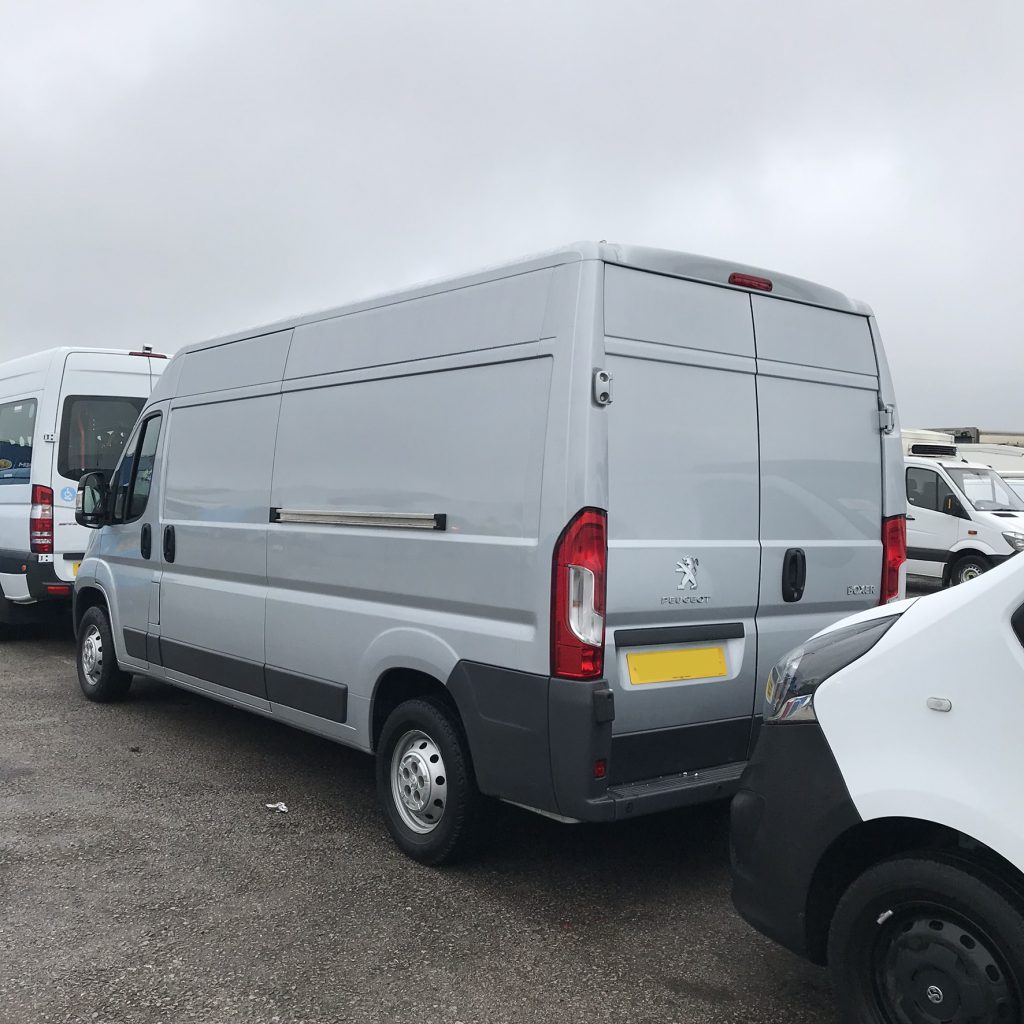
Before:
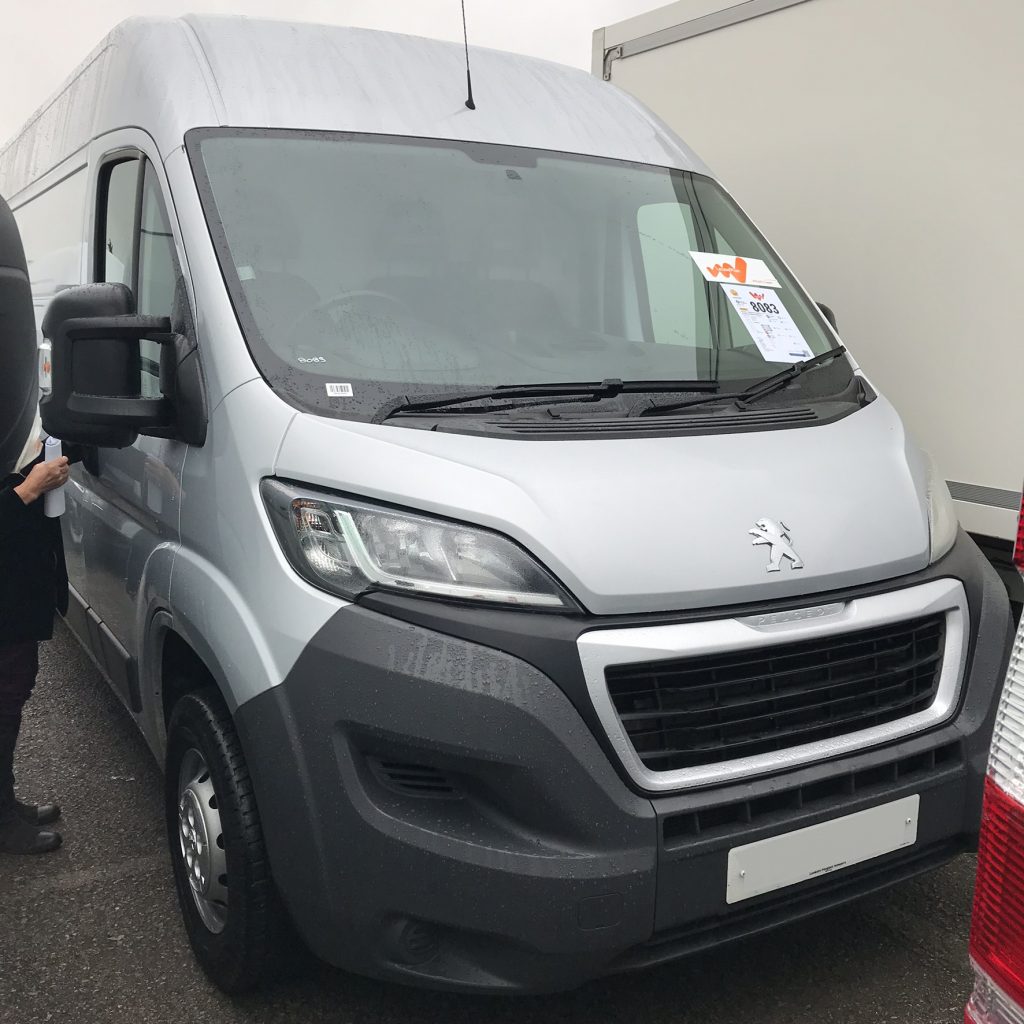
Before:
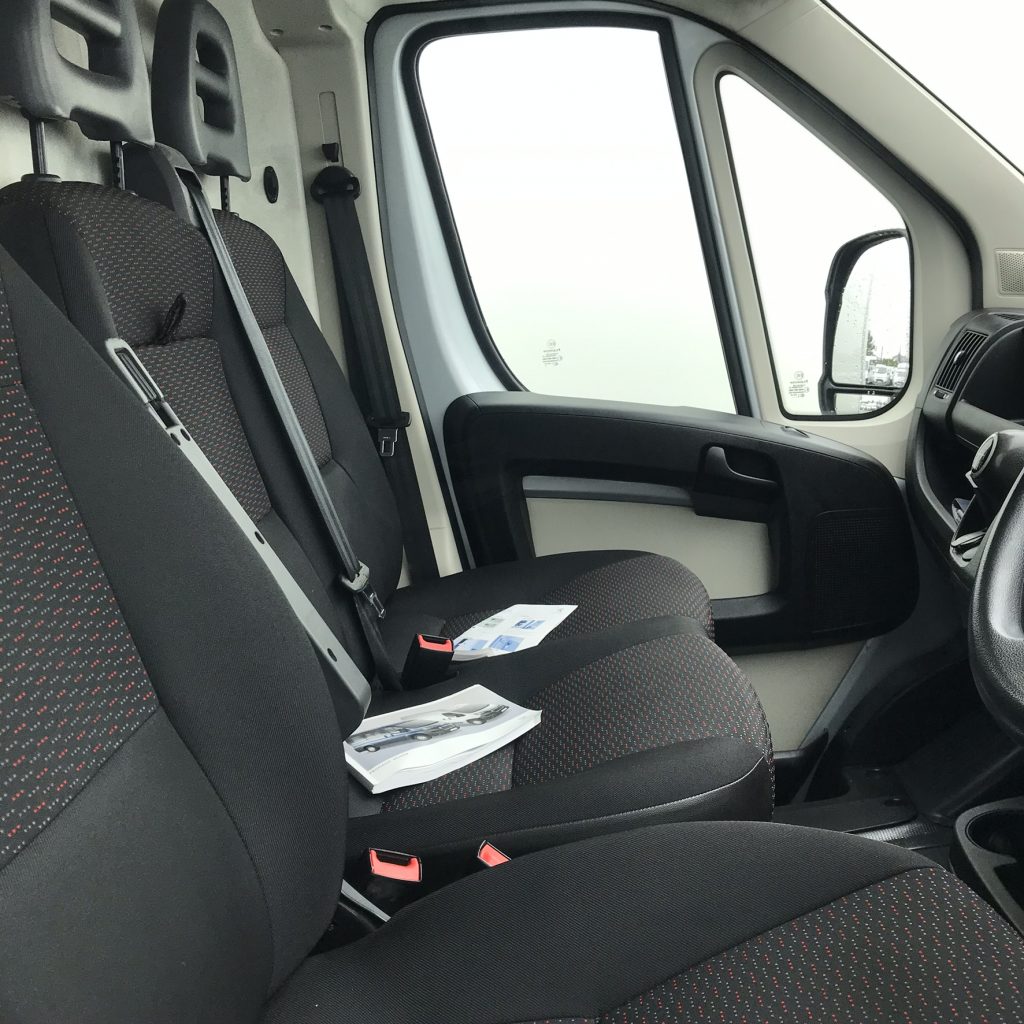
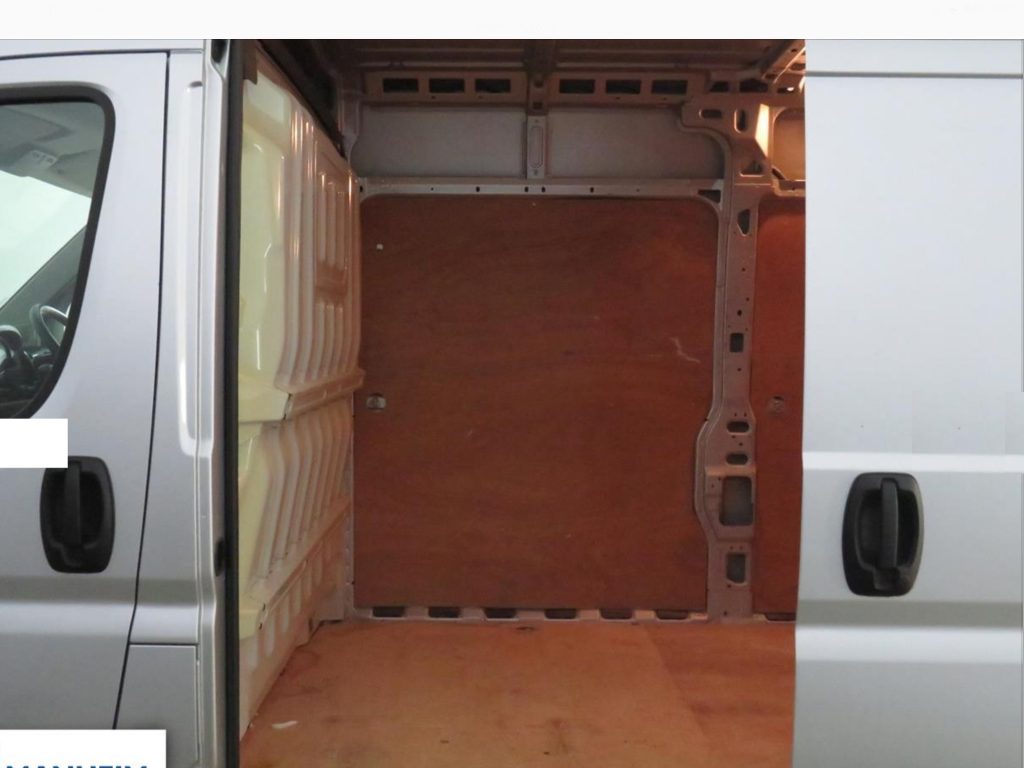
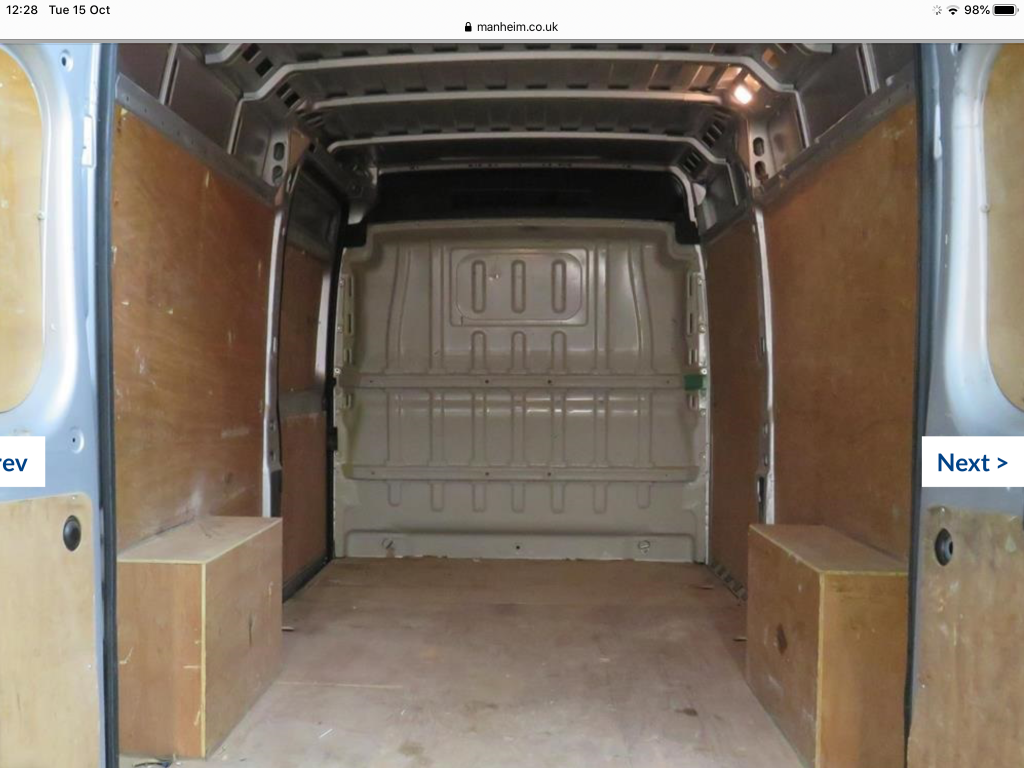
Before:
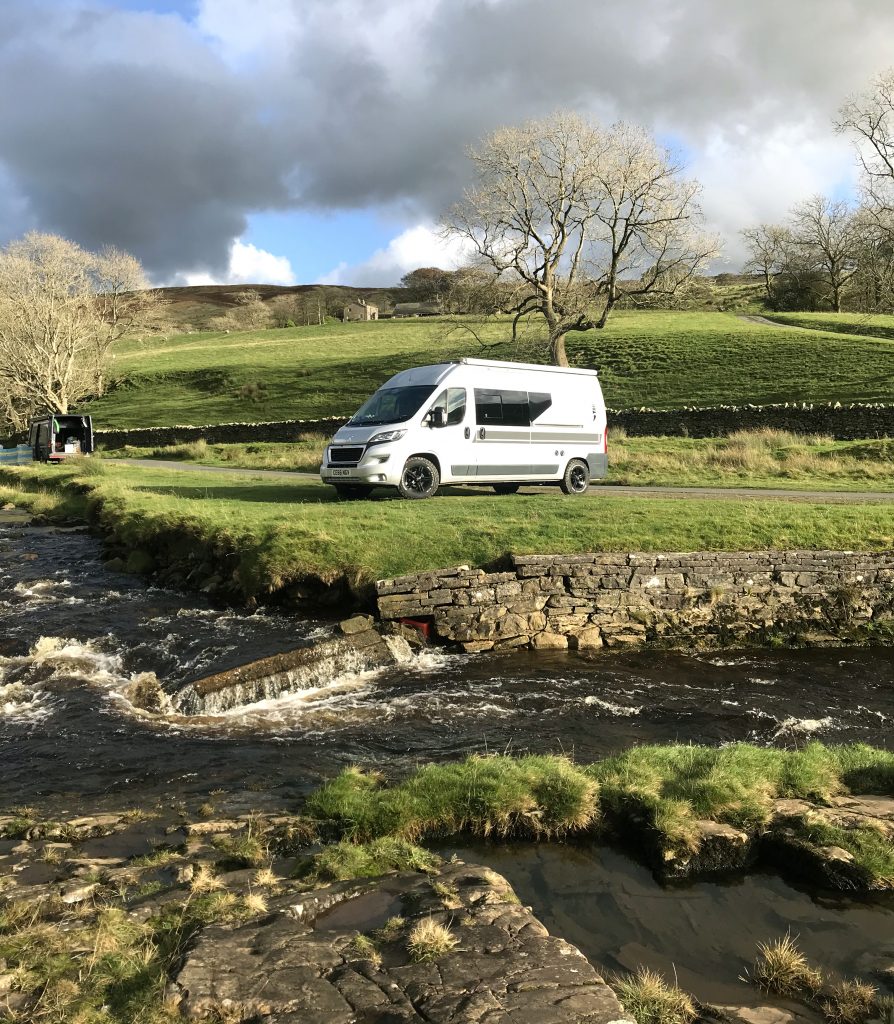
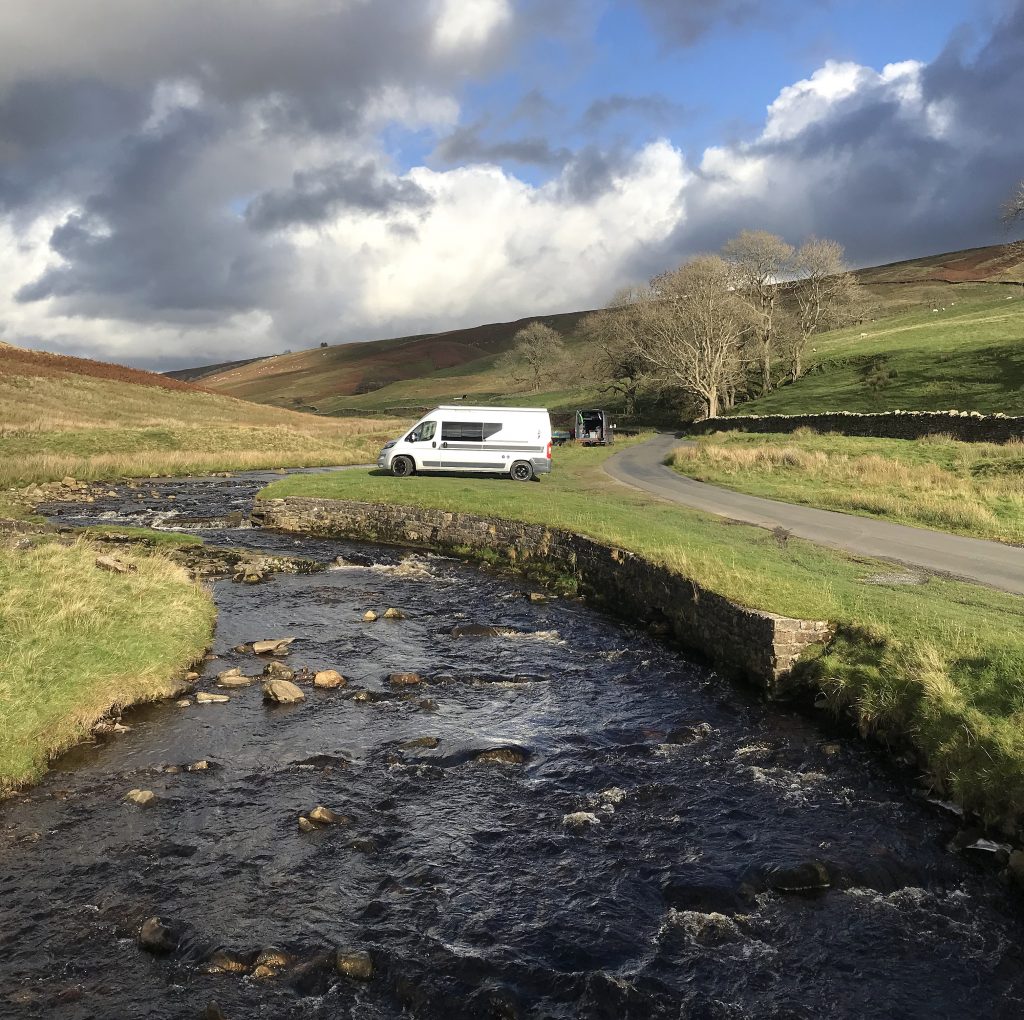
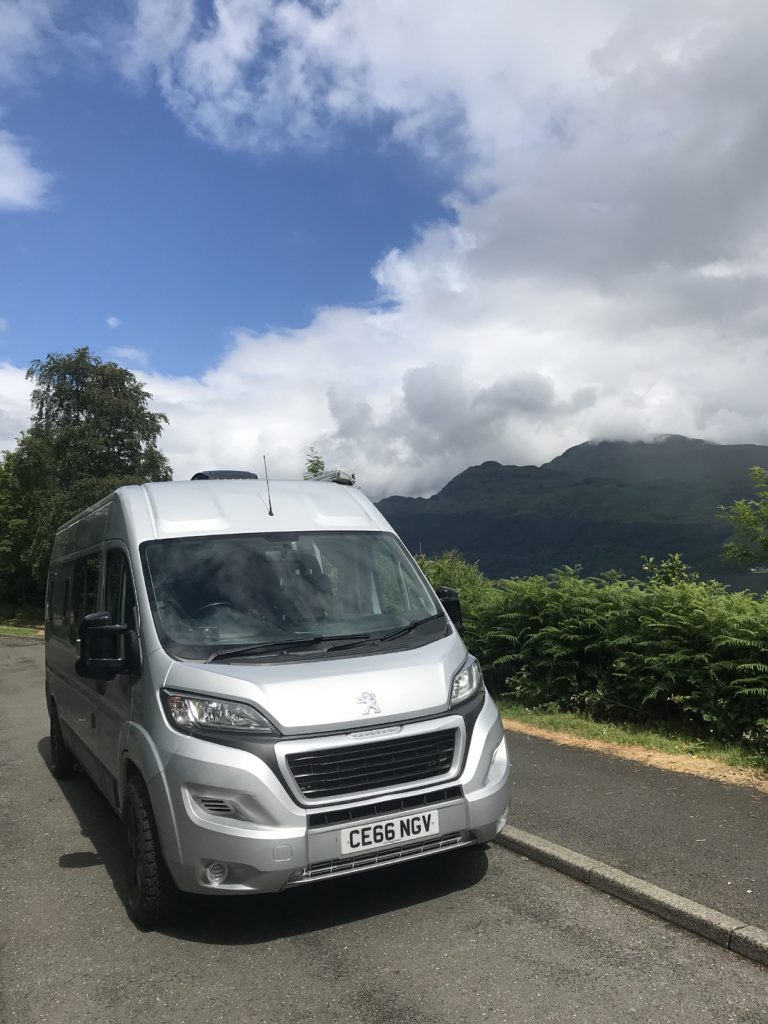
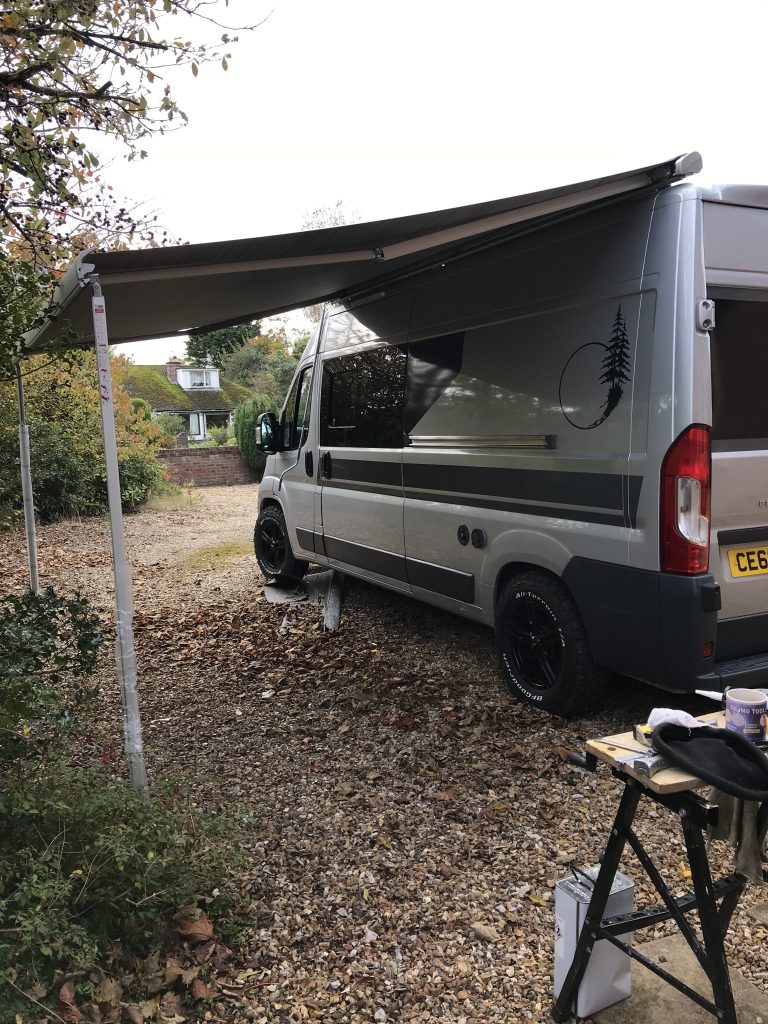
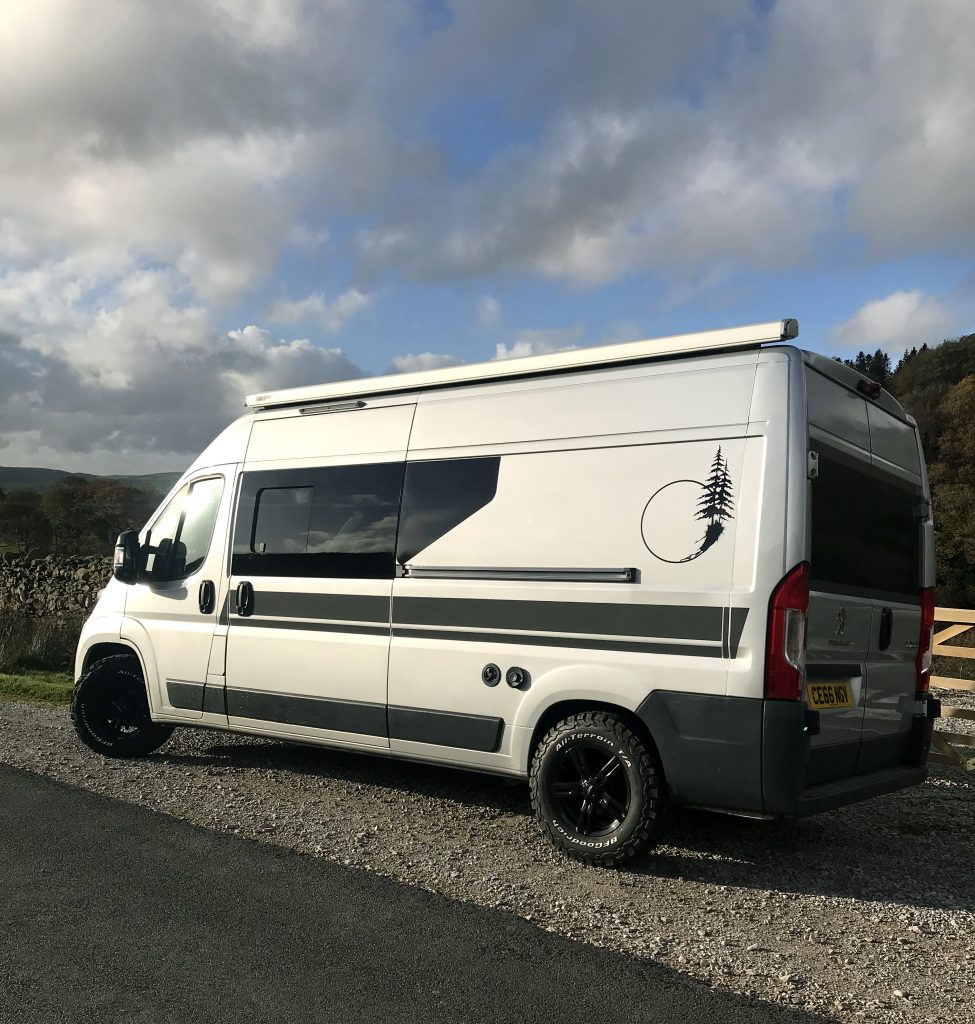
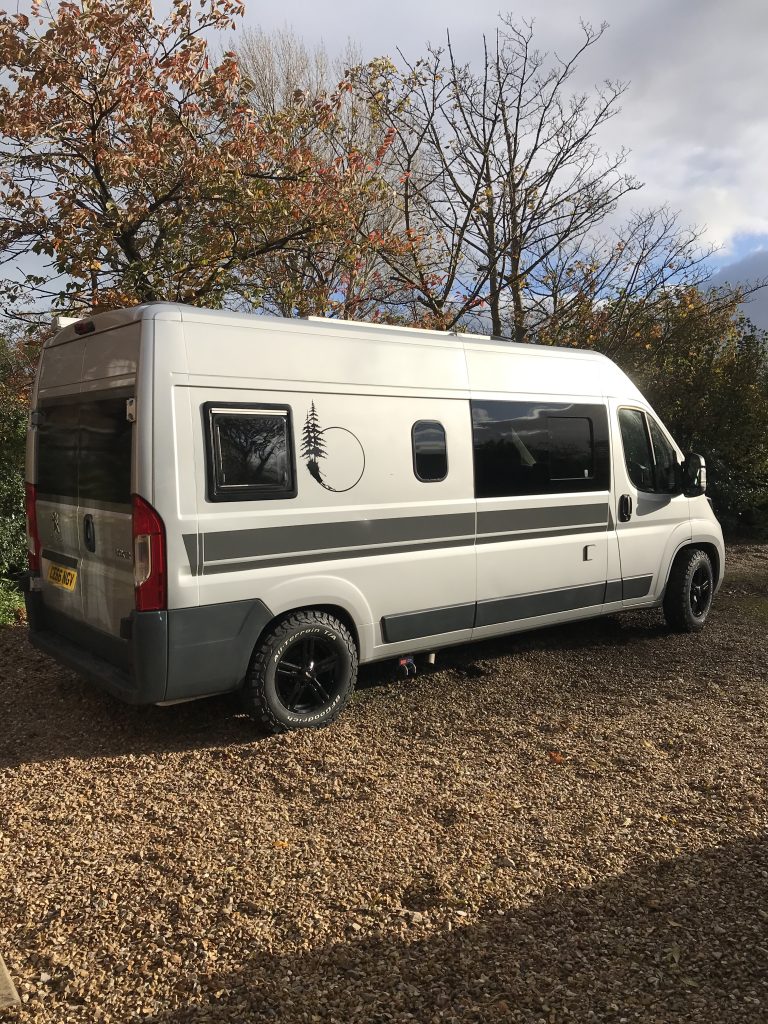
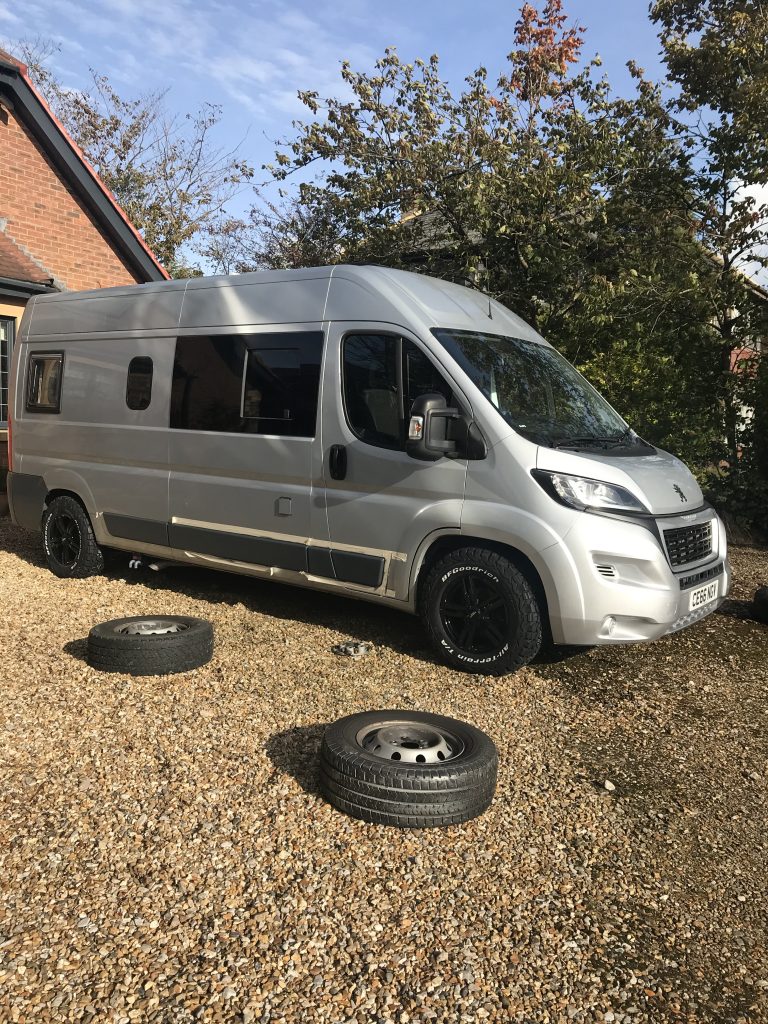
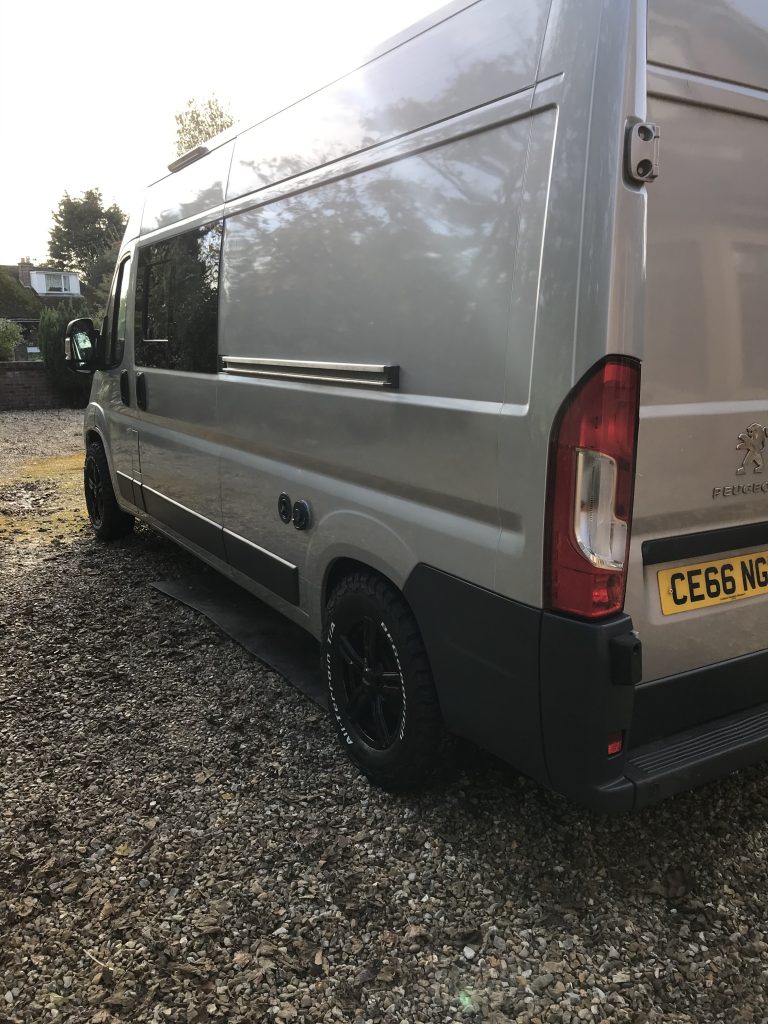
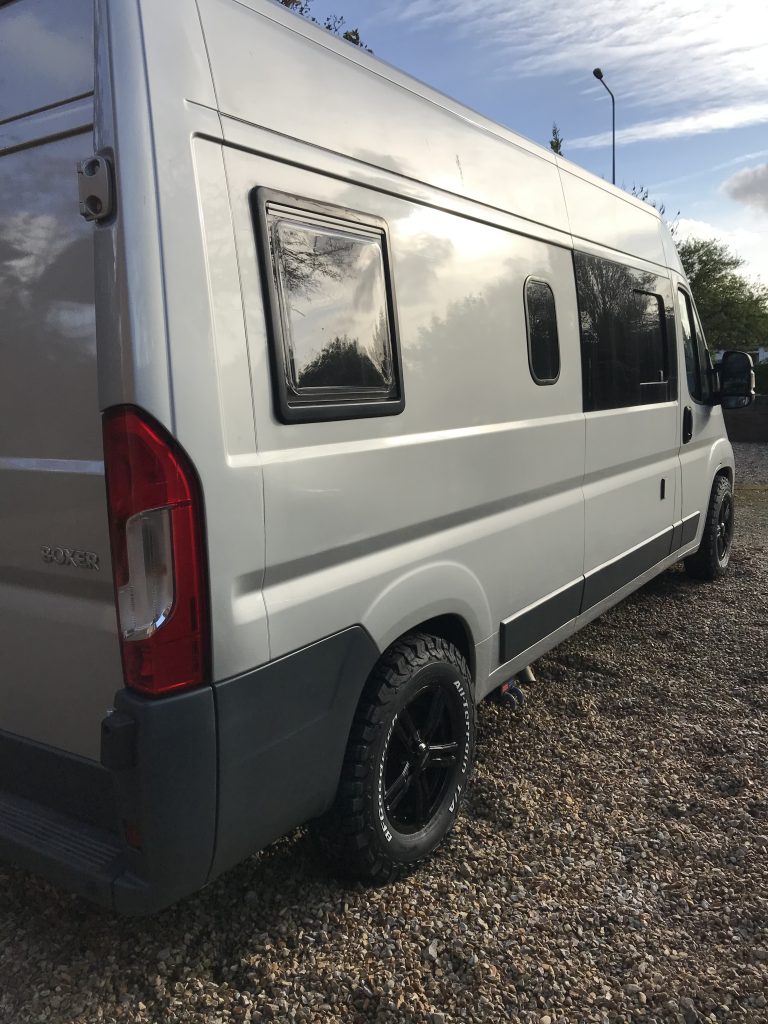
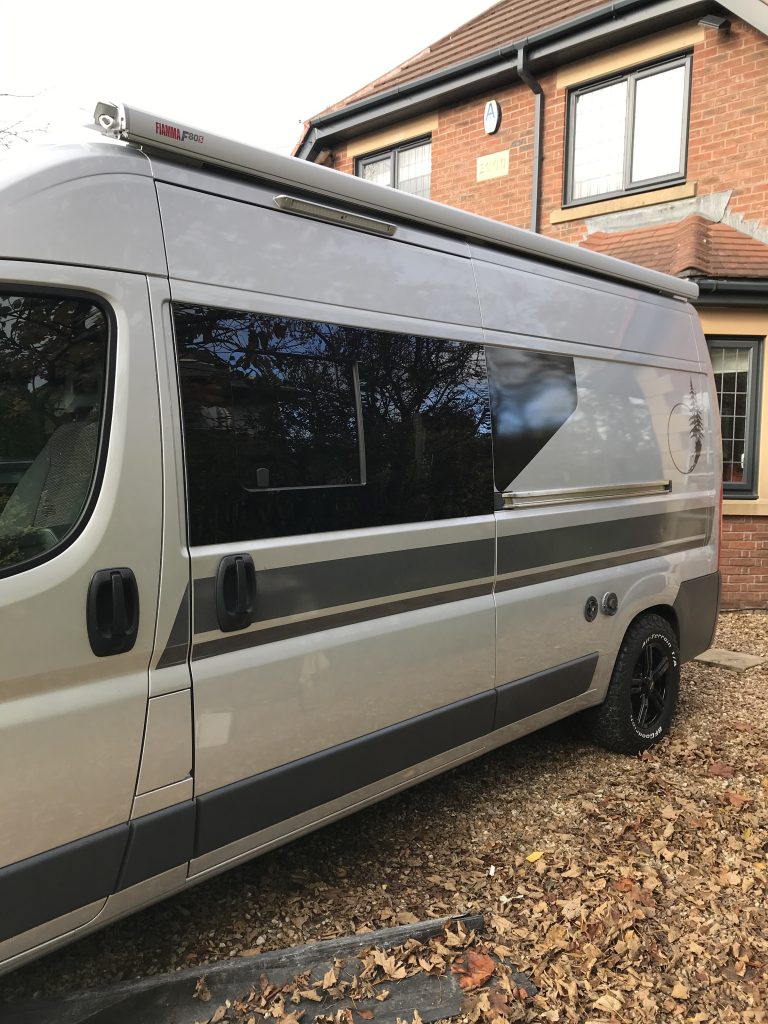
After….


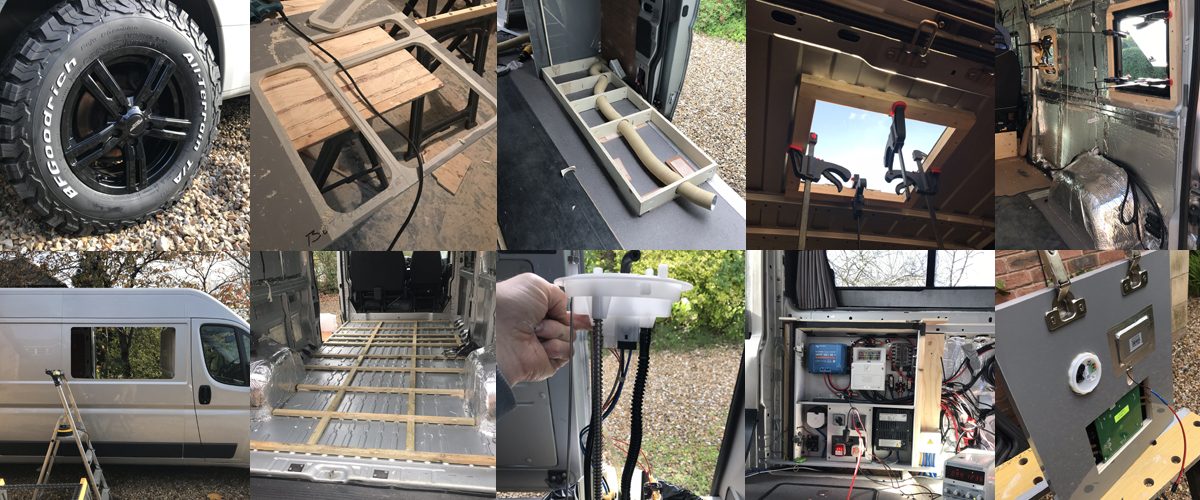
Continued……..

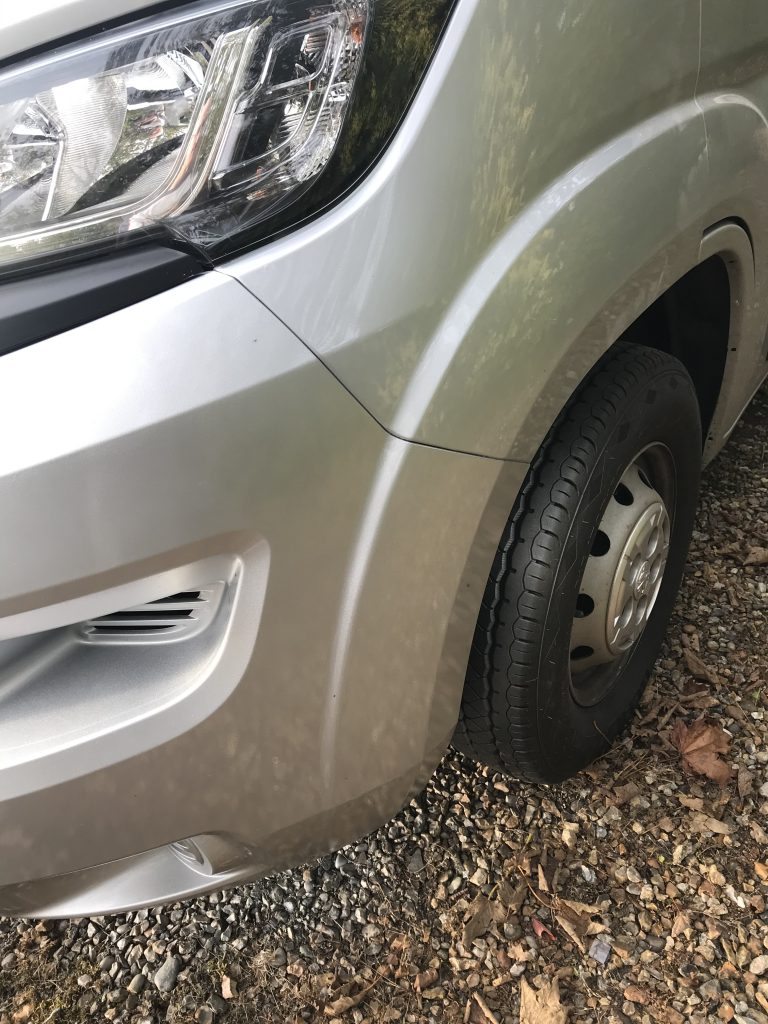
Upgrading the Wheels is it worth it?
It seems to be fairly popular to change to larger more rugged tyres. I have seen a few vehicles particularly off-grid campervans that have had this upgrade. But is it worth it?
Why Change them?
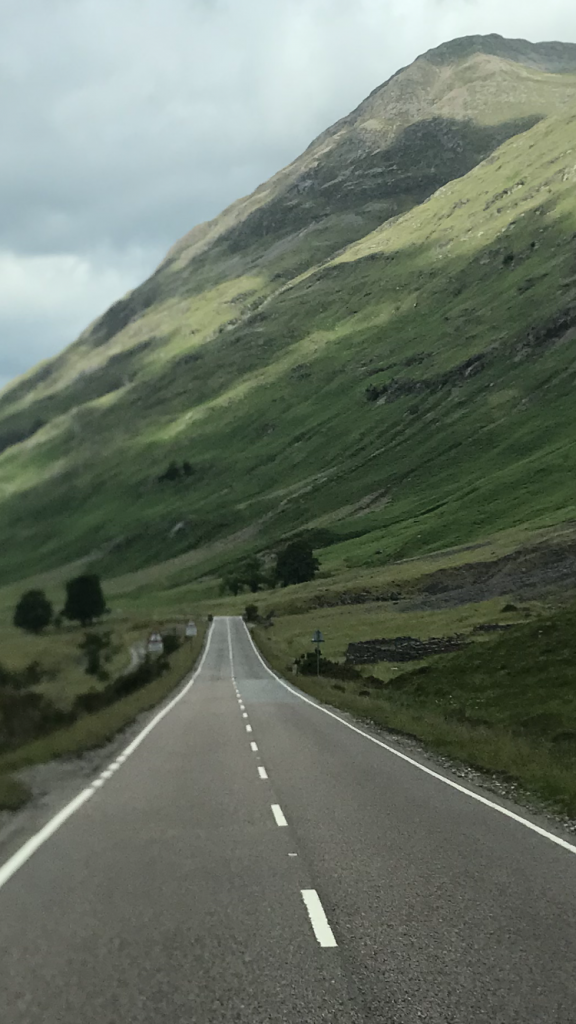
I once had a situation in my car were it got stuck on wet grass. The grass was fairly flat and although it was wet the car didn’t sink in mud. With some wheel spinning I managed to break free but another car wasn’t so lucky and had to be towed off by a pickup truck. What surprised me was just how easy it was to get stuck, I think that because the grass was short and wet it added to the problem. My camper-van will be going into such places and I didnt want to repeat this event.
Positives and Negatives:
Negatives: Lets start with the Negatives. Firstly, the costs, if you add the alloy wheels then its going to cost around £1100 (about $1500). Then there is the increase in fuel, my tyres will add 0.03mpg in other words for every 100 miles I drive it will cost me 3 miles. Then there is the additional noise. Peugeot recommend a tyre that is rated to a 71db sound level and my tyres will give 74db sound level. The Peugeot Boxer Tyres are 15″ and my new tyres are 16″ which may give a speedo discrepancy.
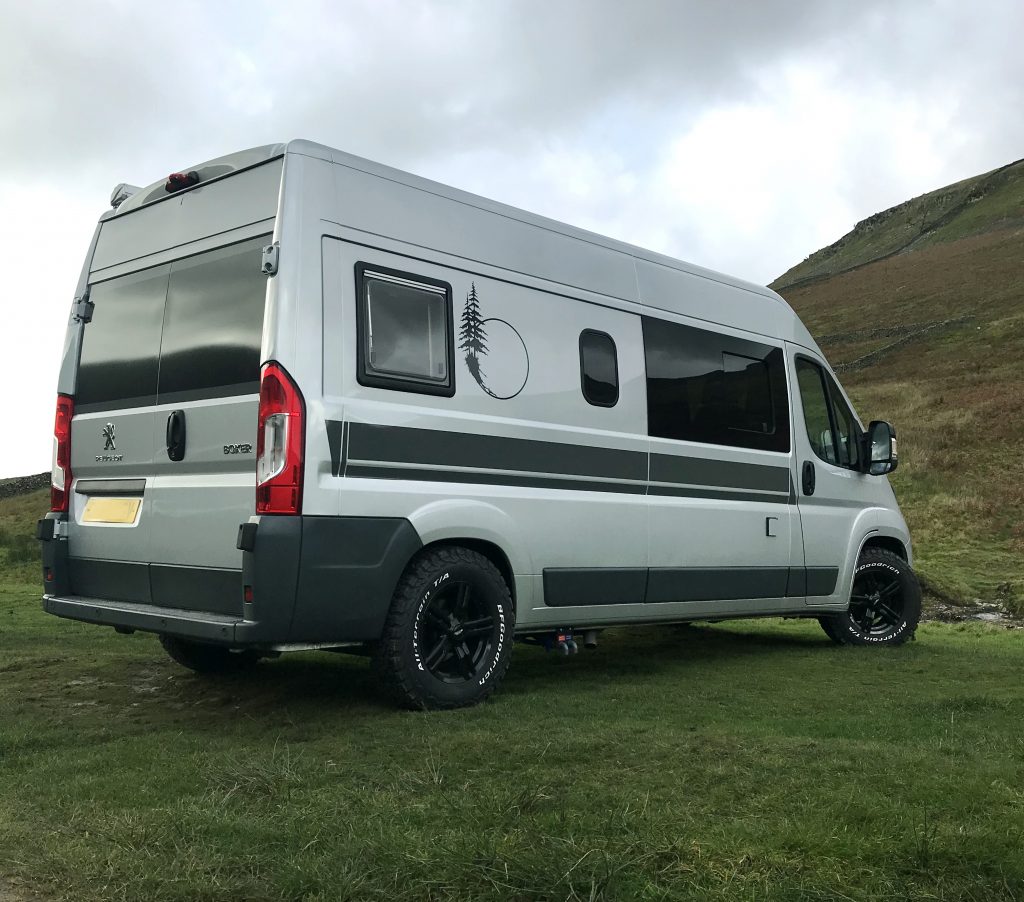
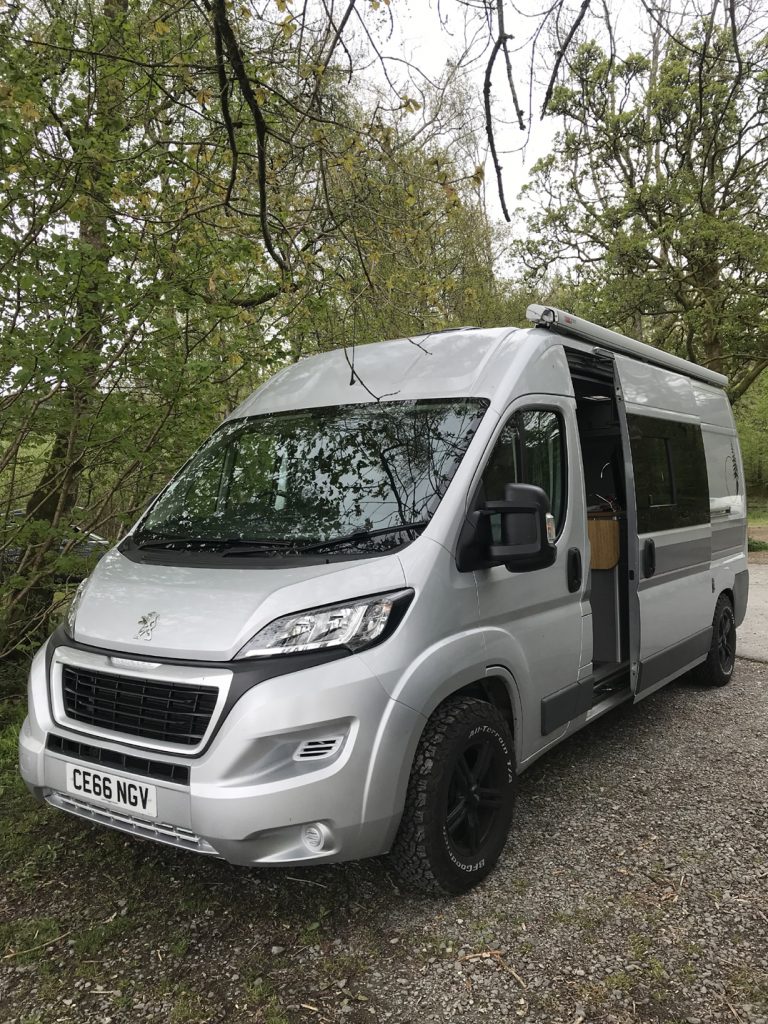
Positives: Rugged Tyres will get you out of rough parking-trouble unless you do something stupid (common sense applies). They can also last longer than standard tyres, mine are rated with a life span of 50K. Also they ride the UK roads rather well and potholes are never a problem (fewer punctures hopefully) as they have much tougher side walls. They may also increase the height of the vehicle (Peugeot are 15″ mine are 16″), this is ideal especially as I have under-slung water tanks. Above all they are very tough and practical.
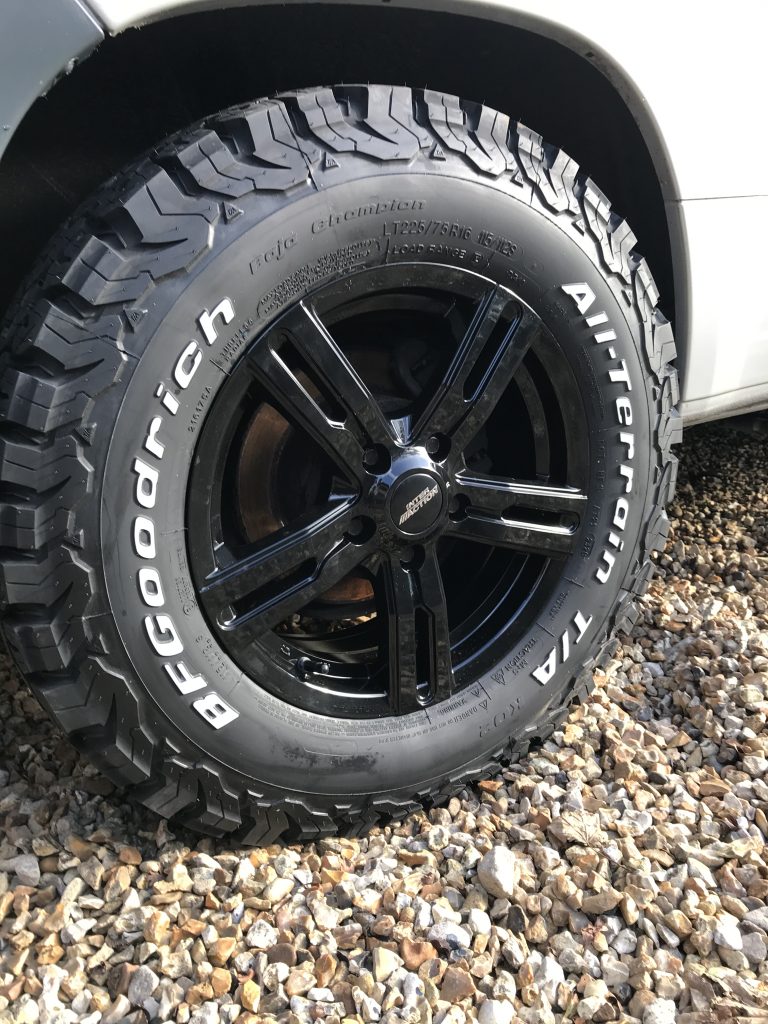
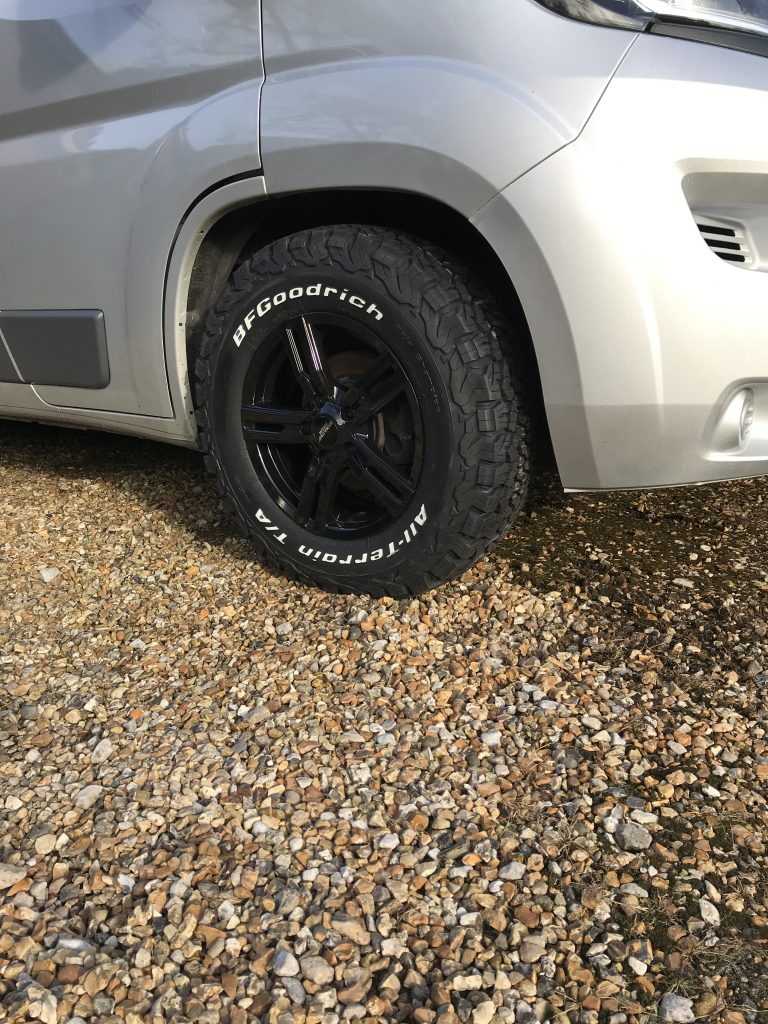
Which Tyres? I decided on a set of BF Goodrich All Terrain KO2 with a set of Inter-Action Alloy Wheels, they are available from Elite Wheel and Tyres and come ready to fit (Balanced with Locking Nuts).
https://www.elitewheels.co.uk/
Are they more noisy?
Actually I was surprised, they are the same as my previous set or maybe even quieter. This may be because my previous tyres were a mixture of unbranded tyres. Its likely they were not rated highly for sound and so I didn’t notice any difference. Others have also reported that the BF Goodrich KO2 are fairly quiet, I have to argee these tyres are not loud in any way.

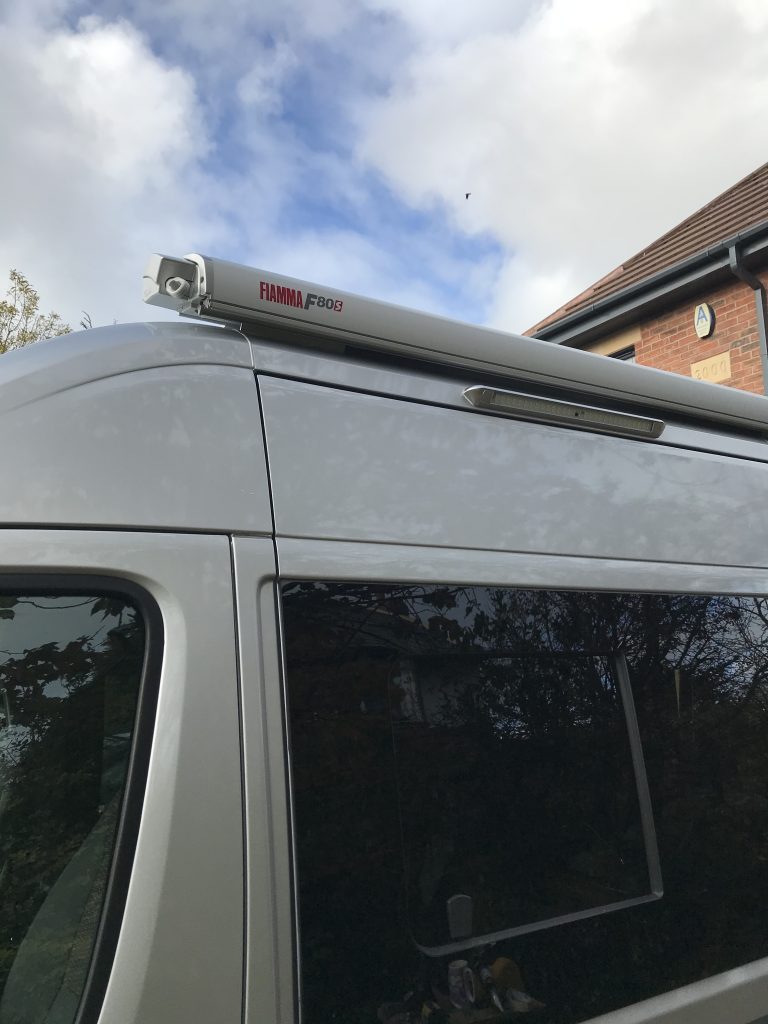
Adding the awning is supposed to be a two man job. However, as I fitted this during Covid19 lockdown I wasnt supposed to mix with anyone. This meant fitting it on my own (or waiting for some weeks).
Weight: The F80 S weights 51kg which is heavy enough, however, its also 4 meters long so its awkward to maneuver.
Kit Type and Size: The kit I used was for the Peugeot/Fiat/Citroen Model (After 06-2006) With a Roof height – H2 (2,524 mm) Length – L4 (6,363 mm) Kit Type F80S 400 and the fitting kit number was 98655-904.
How to fit yourself (as a one-man job). With a 4 meter long awning weighing 51kg then walking this up a ladder may be difficult. The way I was able to get the kit onto the roof was fairly simple and not difficult at all. I left the kit inside its packing box and decided only to unpack once it was on the roof of the van this prevented it scratching the vehicle during the lift. I reversed my vehicle so that it was about 8 foot from a tall wall (my house) I placed a ladder against the wall and stood the kit upright against the back of the vehicle (opp the rear doors). I took the end of the kit (box) that was on the floor and walked it up the ladder with the box resting on the edge of the roof, then sliding it fully onto the roof. Its not as difficult as it sounds. It took me less than 2 minutes to get it onto the roof and about half the weight was supported by the van. Once the kit is on the roof you can remove the cardboard packaging. Support the awning on some of the packaging material or it will scratch your van roof.
Below: The awning is on the roof for the first time now its time to add the brackets.
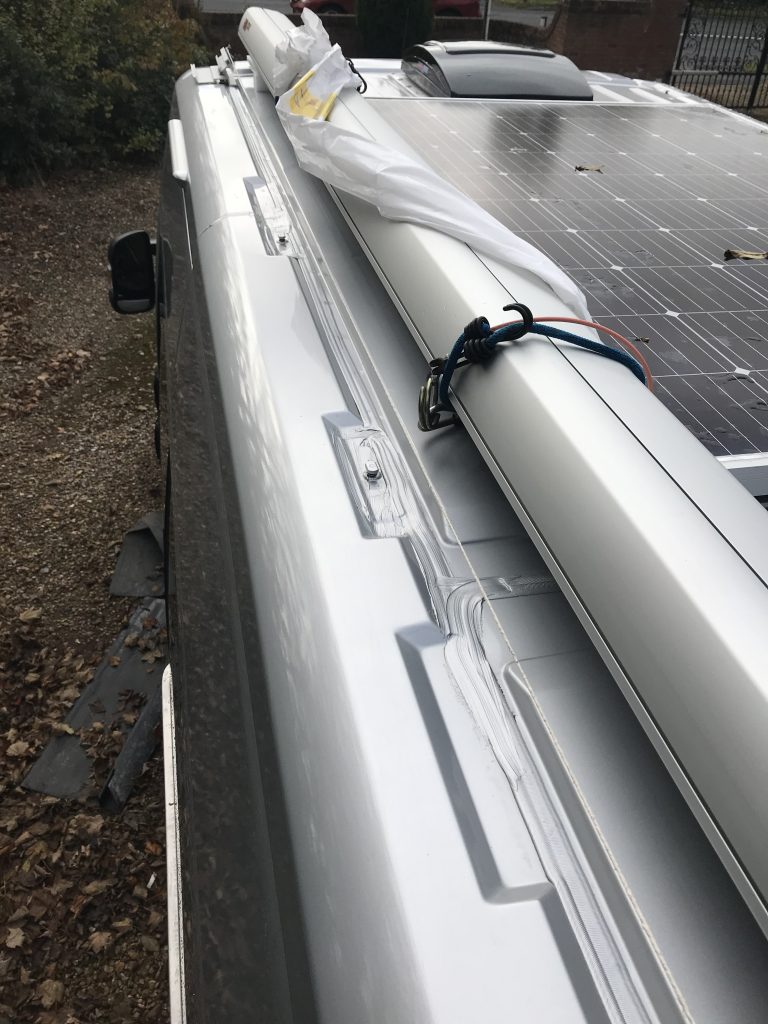
Below: I decided to fit the first bracket and add a plumb line. Pay attention as each bracket (there are 3) goes in its own place, you cannot mix them. I haven’t added any Sikaflex at this stage because I dont know whether these brackets will need adjustment. Its very important that the brackets are aligned and also important that they are at the same height.
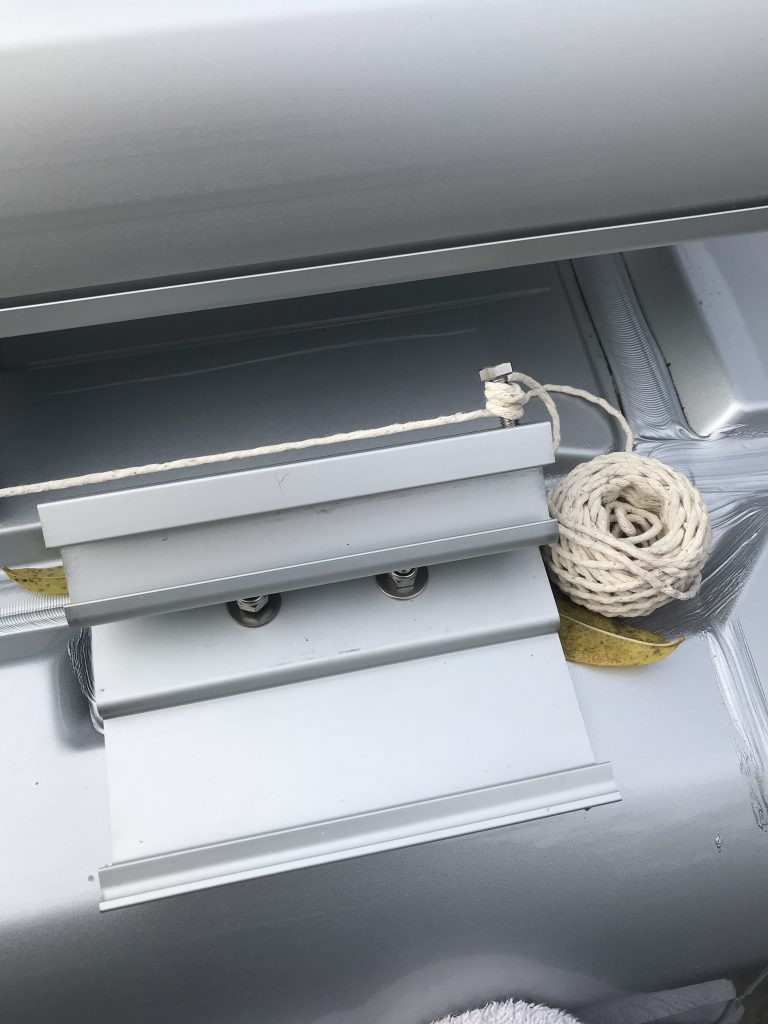
Start by adding the Front and Rear Bracket first then add the centre bracket.
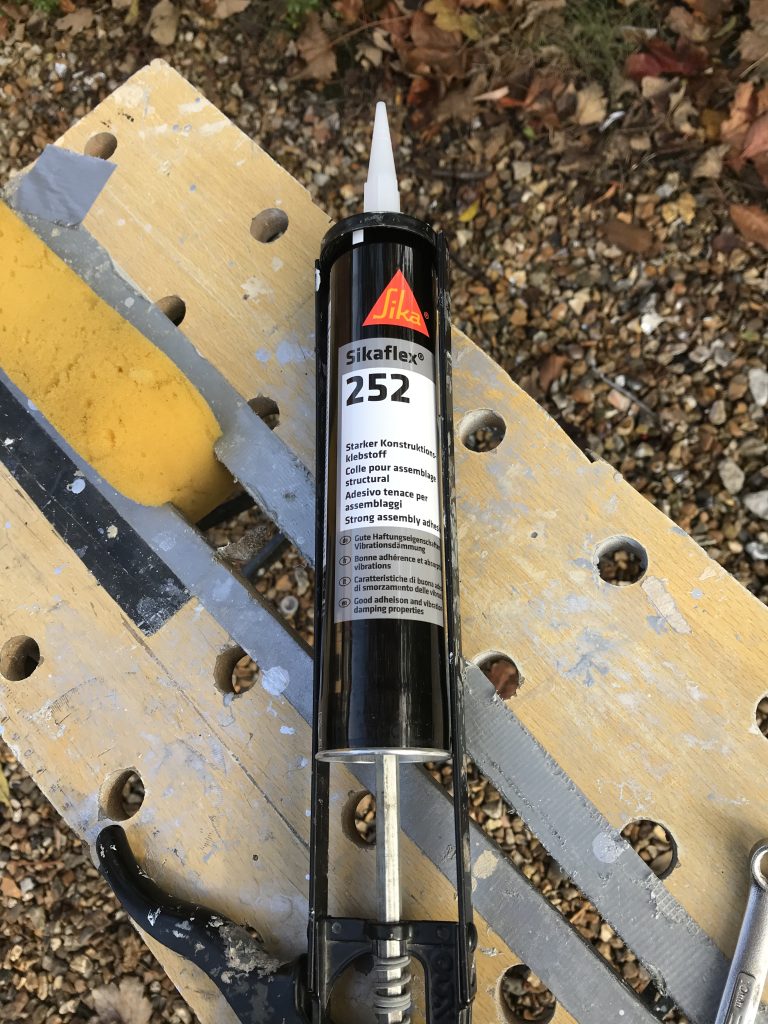
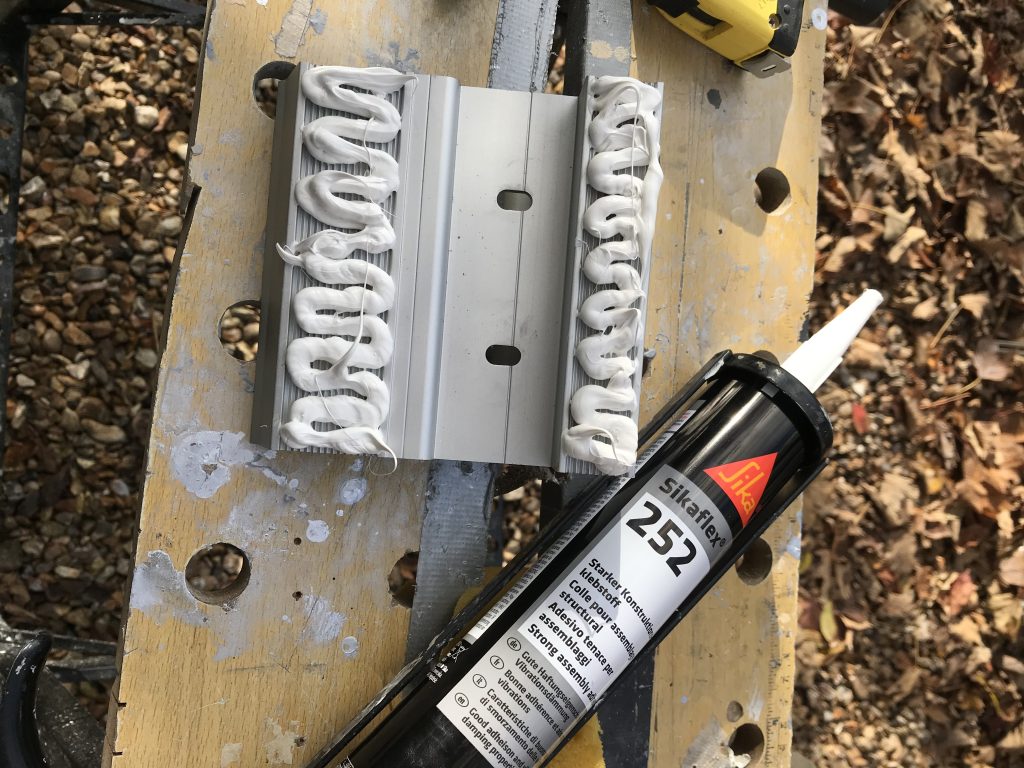
Below: Make sure you use SikaFlex 252 (not 512)
Below: Apply plenty so that the bracket can bed-down onto the Sikaflex
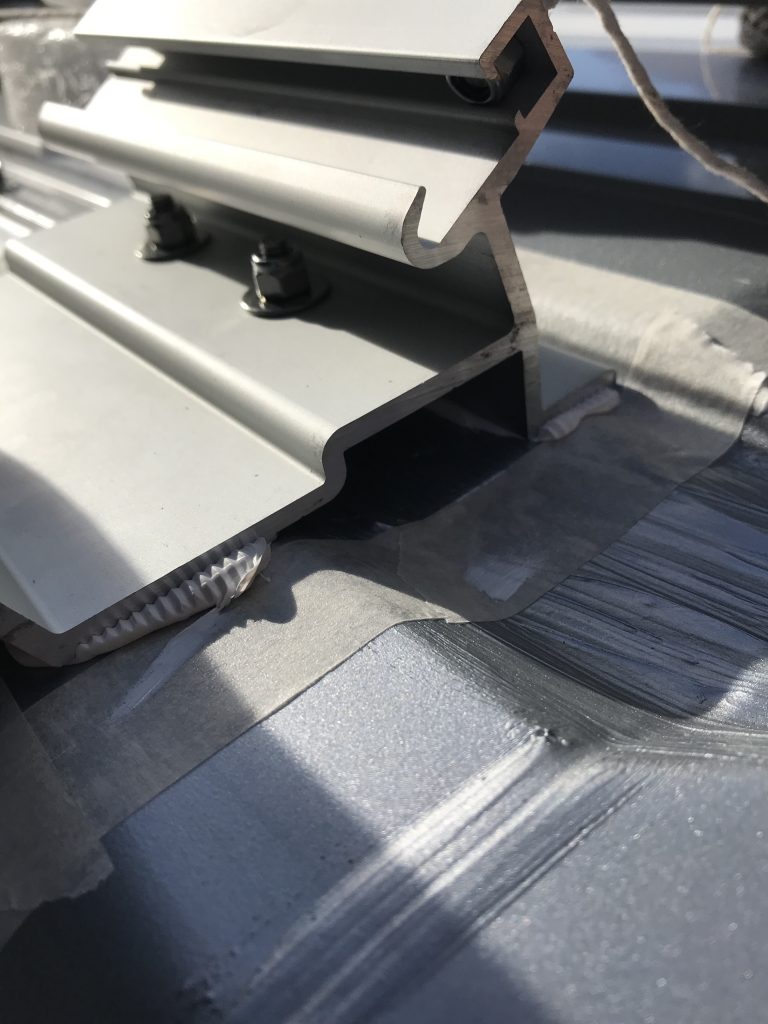
Below Make sure the surface is clean but also completely dry and not damp: I added masking tape to keep the area neat before adding Sikaflex but also because I was working in October and I was just around the minimum recommended temperature for using Sikaflex. There had been rain earlier in the day and I had an opportunity were the weather changed and the sun came out. I made sure the surface was completely dry. A good way to check is to use masking tape. Masking tape hates the damp, it easily comes off on damp surfaces. By using this tape I could see it stuck well and that suggested the surface was bone dry (fully dry).
Should I wait for the Sikaflex to become firm? I didn’t want to add the Sikaflex then tighten the brackets down hard only to find that the Sikaflex squirted out at the sides leaving a very thin layer. I was unsure whether to leave the Sikaflex to stiffen and to tighten the brackets later. When I applied the Sikaflex to the brackets I noticed it was very dense (thick), perhaps this was because the weather was cold so I decided to tighten the brackets to see how well it “stayed-put” (stayed in place) under the brackets or whether most of it would be pushed out under pressure. What I found was that the majority of the Sikaflex stayed in place, even under high pressure. This gave me confidence to tighten the bolts. I prefer this method because if left too long then the Sikaflex could become “rubber like” and make the brackets too high thus making the awning not level and possibly unstable.

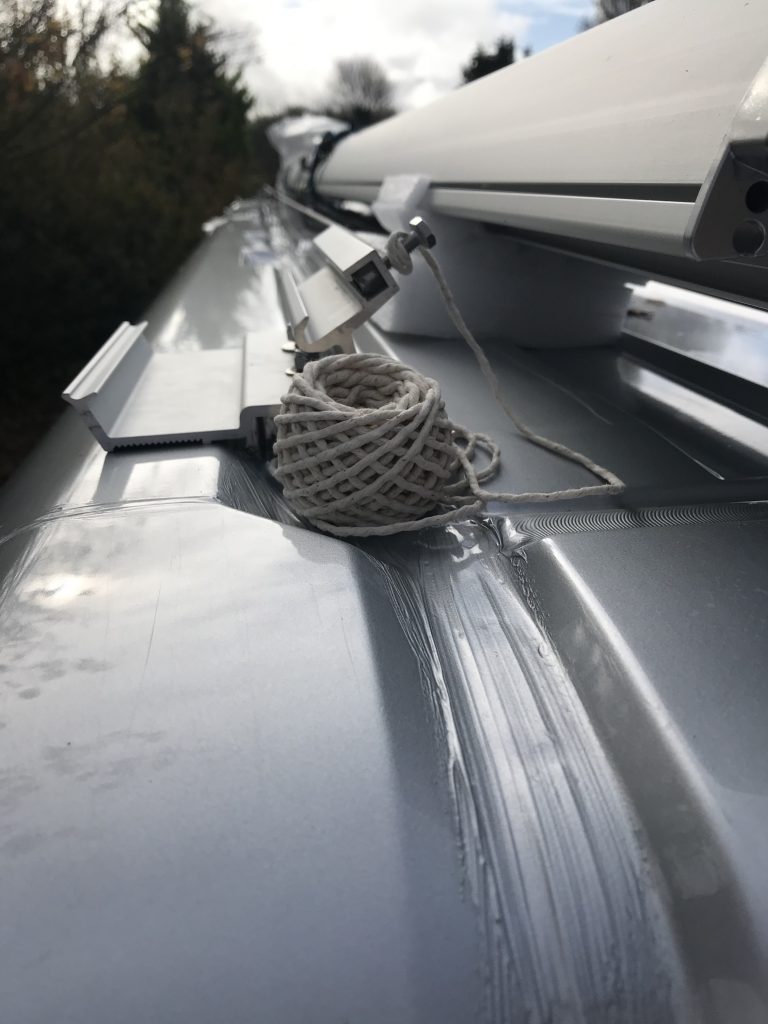
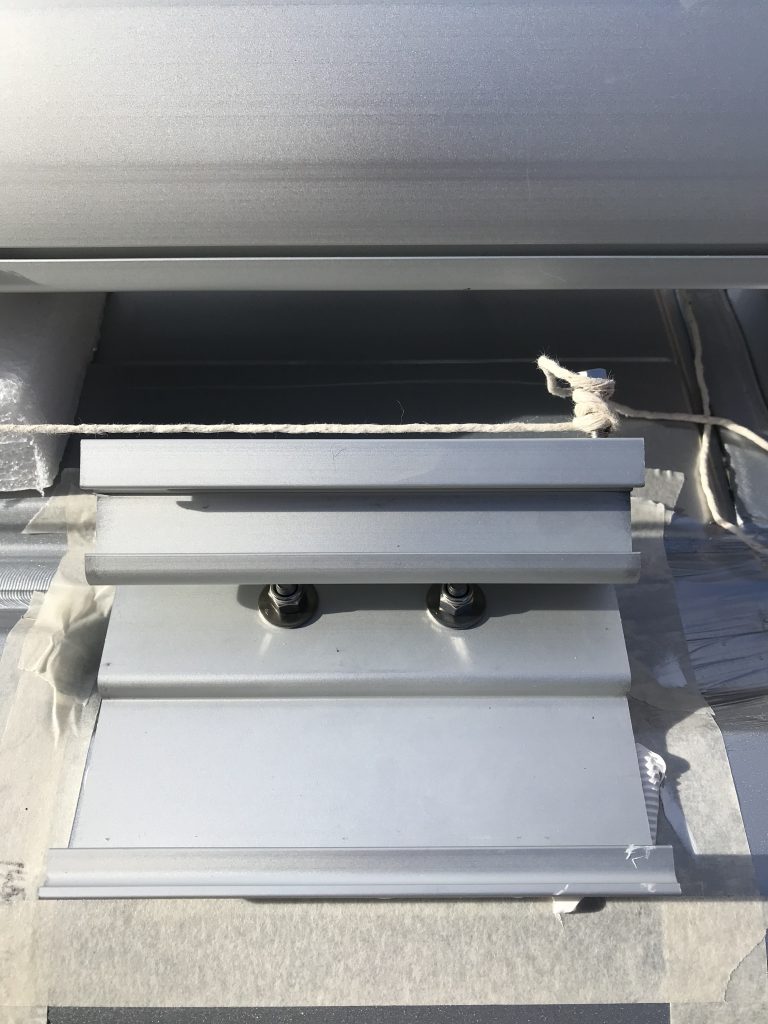
Below: Now that the Brackets are fitted and the Sikaflex added its time to check that each bracket is aligned correctly using the plumb-line.
Below: I wasn’t planning to fit the awning until the Sikaflex had fully cured (dried). But it didn’t make any difference because the brackets had been fully bolted down and were not going to move any further. I did see someone on Youtube that hadn’t aligned one of the brackets correctly and he had an awful time trying to remove the bracket. So much so that he damaged a bracket and van roof removing it (not something I wanted to do). This shows just how strong Sikaflex 252 is. Once its on, it isn’t coming off.
Below: I am glad I fitted the awning when I did rather than leaving the Sikaflex to fully dry overnight and fitting the awning the next day. In fact I dont plan to use the vehicle for two days so that I can be 100% sure everything is fine (some recommend you dont use the vehicle for 24 hours). By fitting the awning whilst the Sikaflex wasn’t fully dry gave me the satisfaction of knowing that if I had made an error I could correct it and remove. Some people have fitted the brackets then tried to fit the awning the following day only to find they didn’t align the brackets correctly. I felt it better to avoid this mistake.


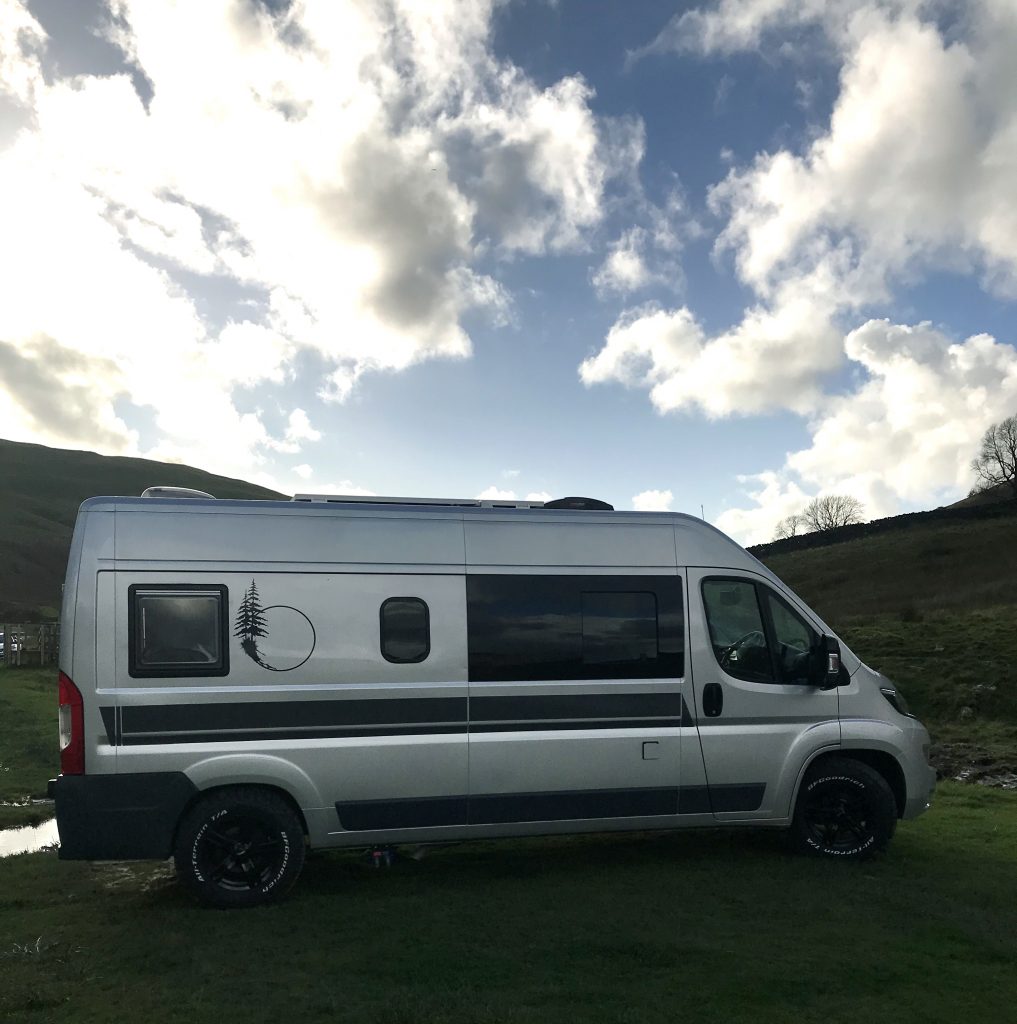
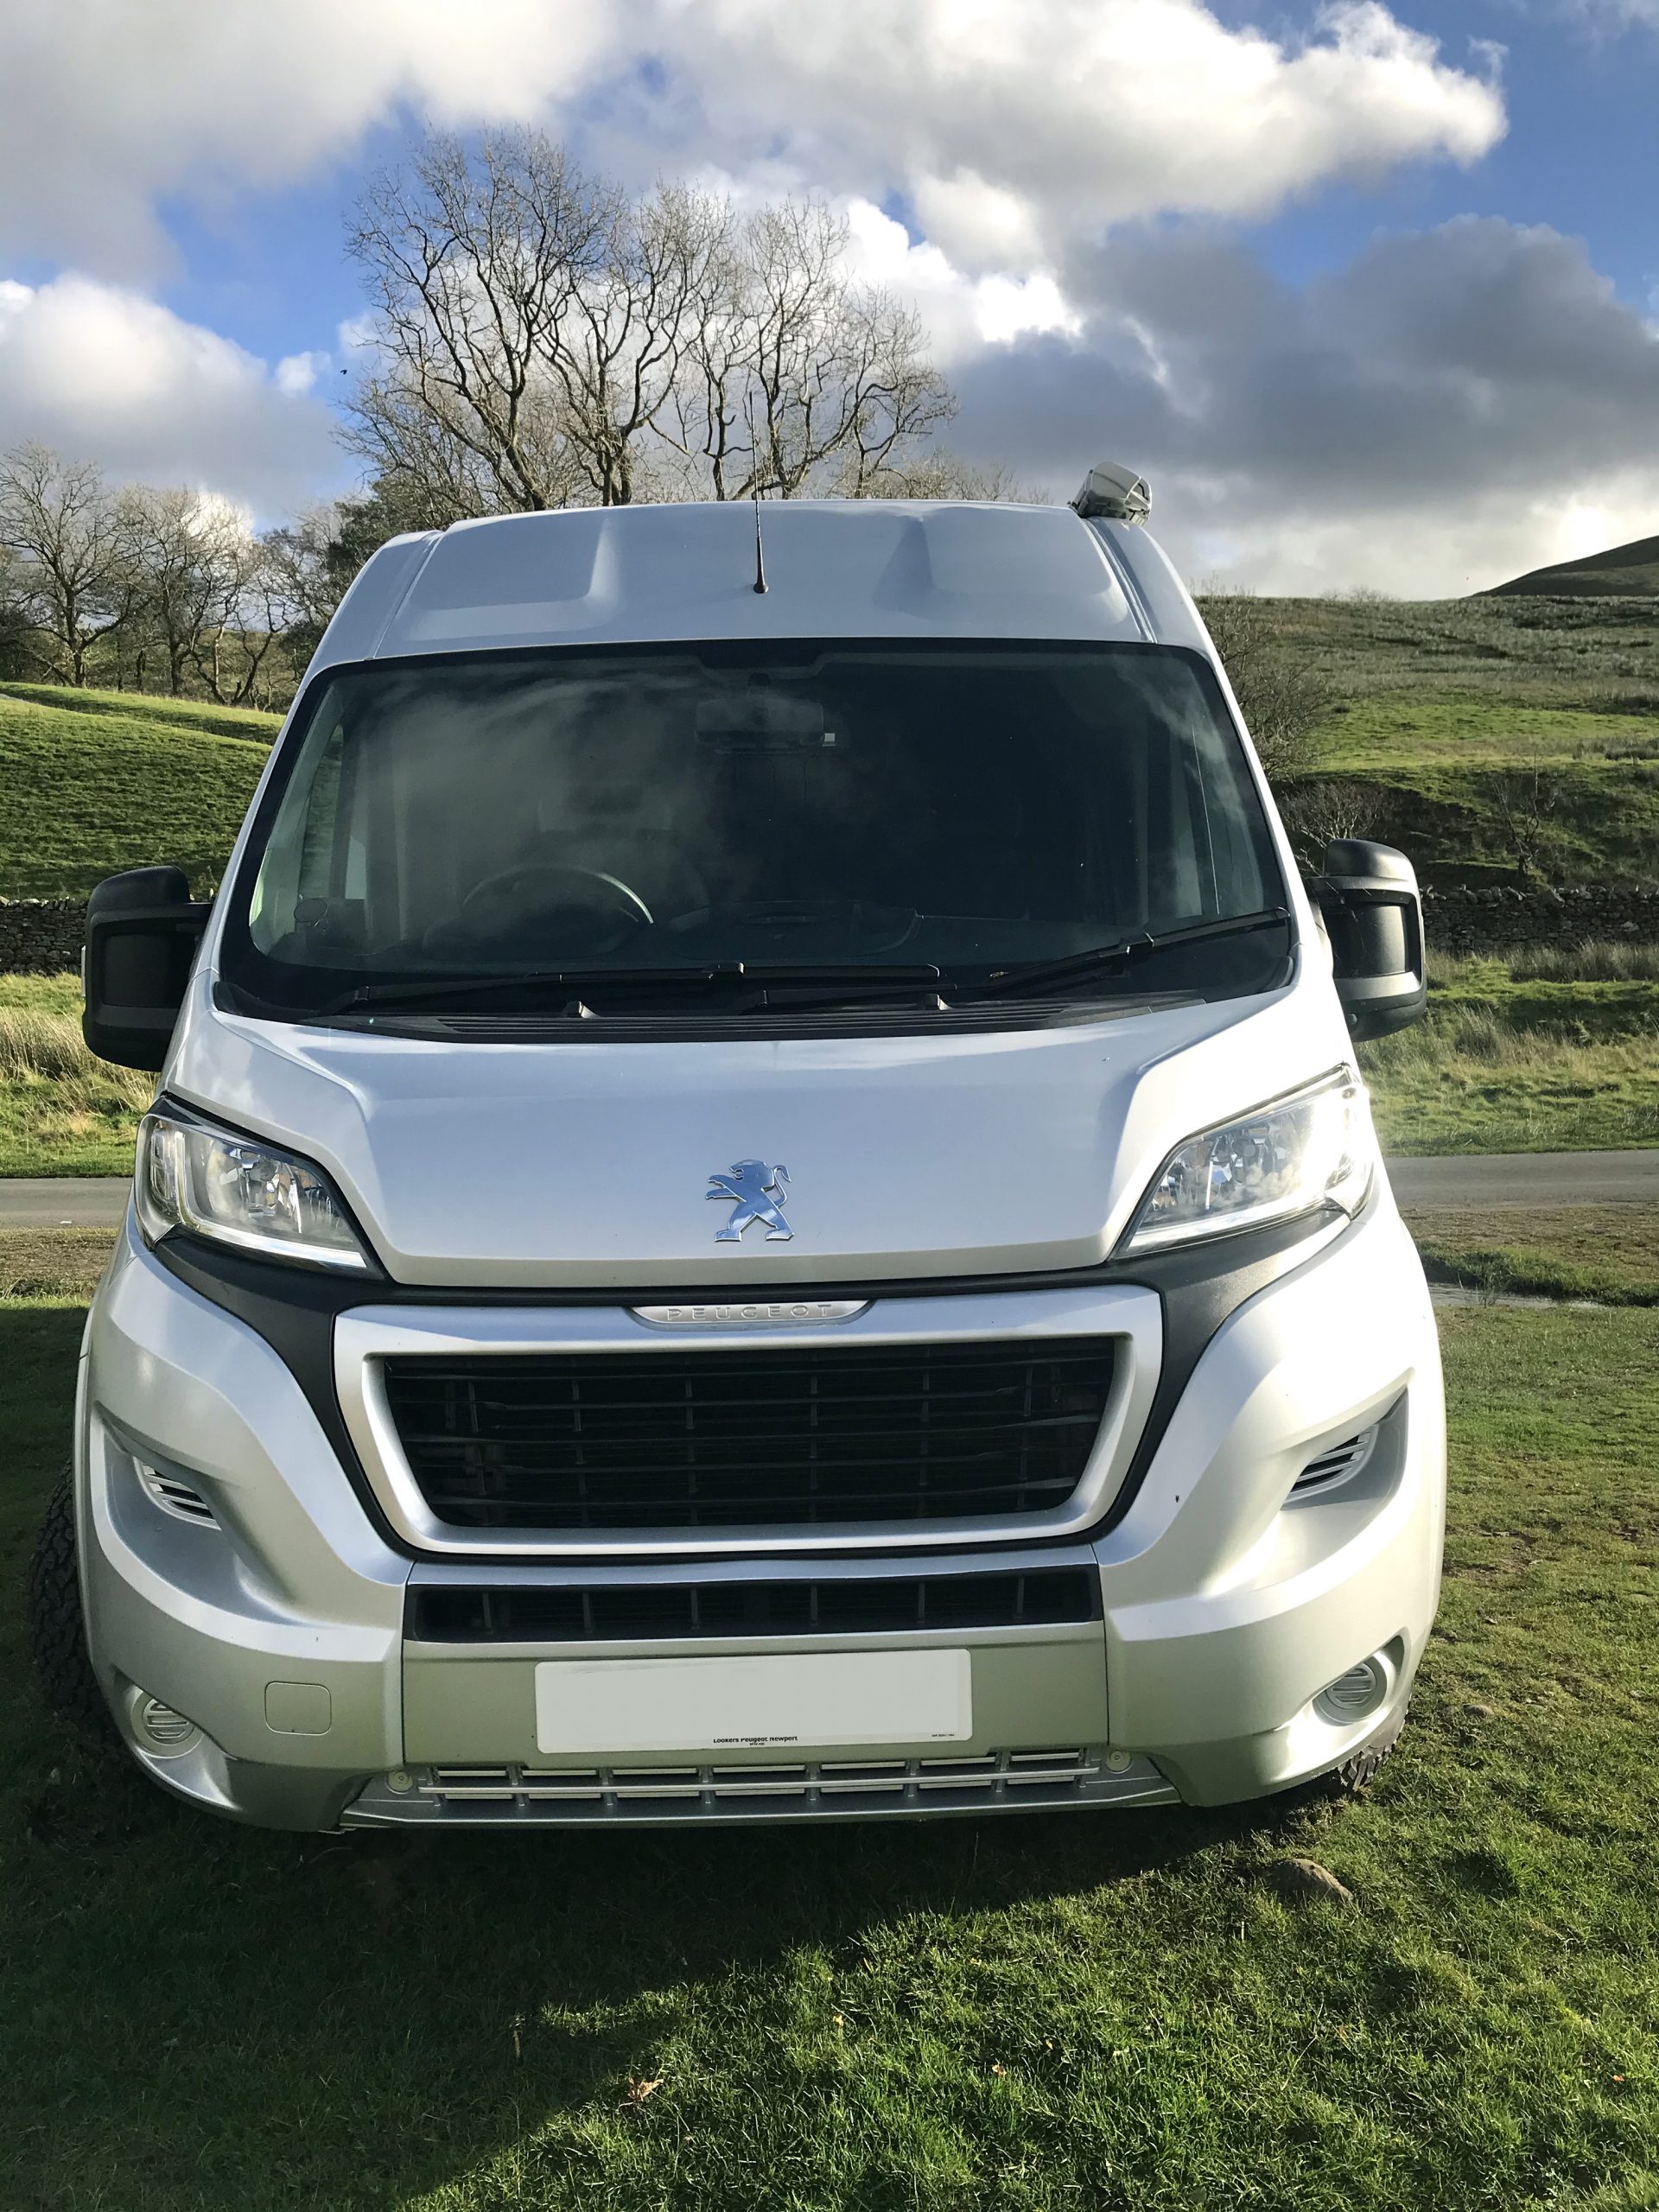
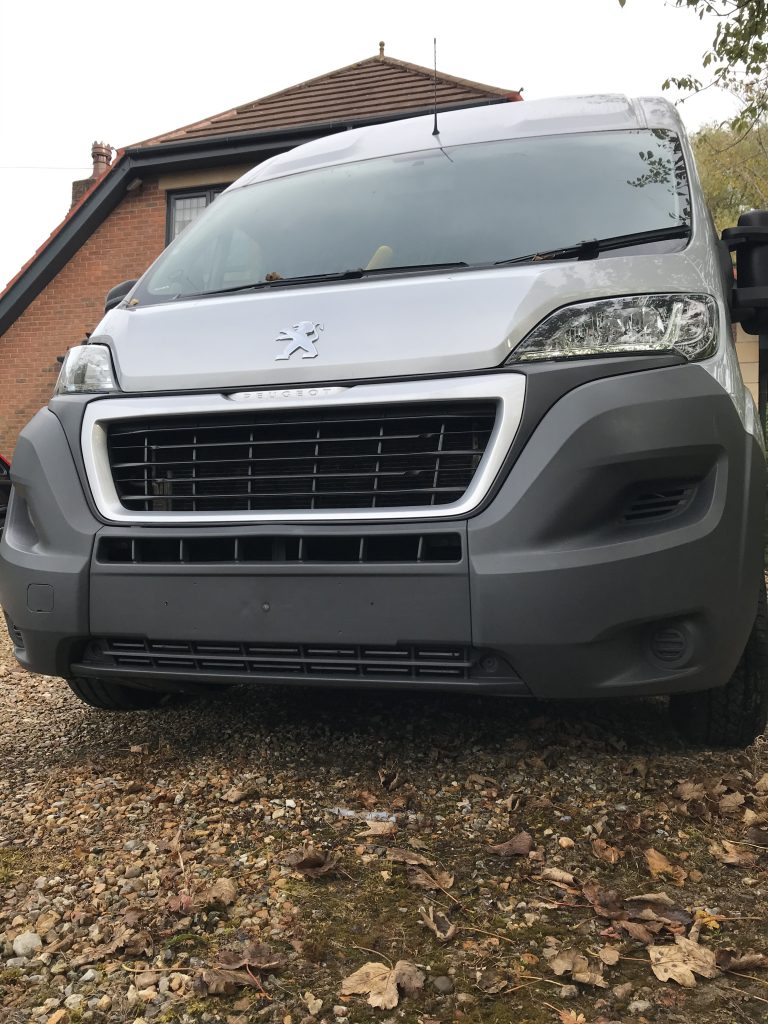
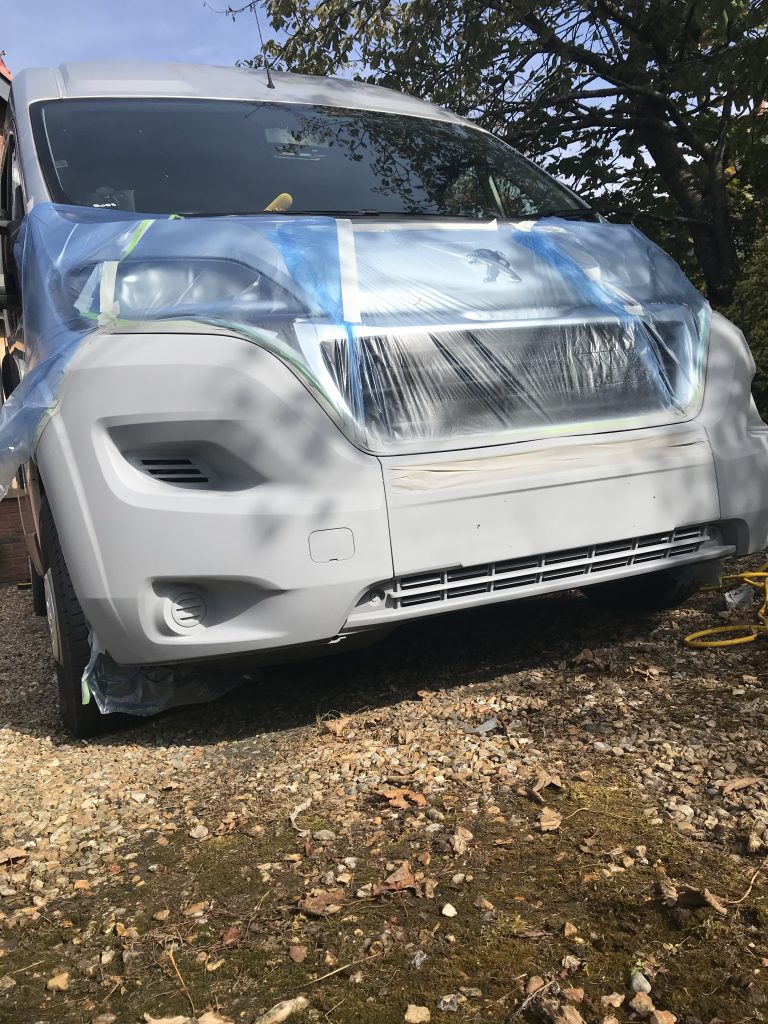
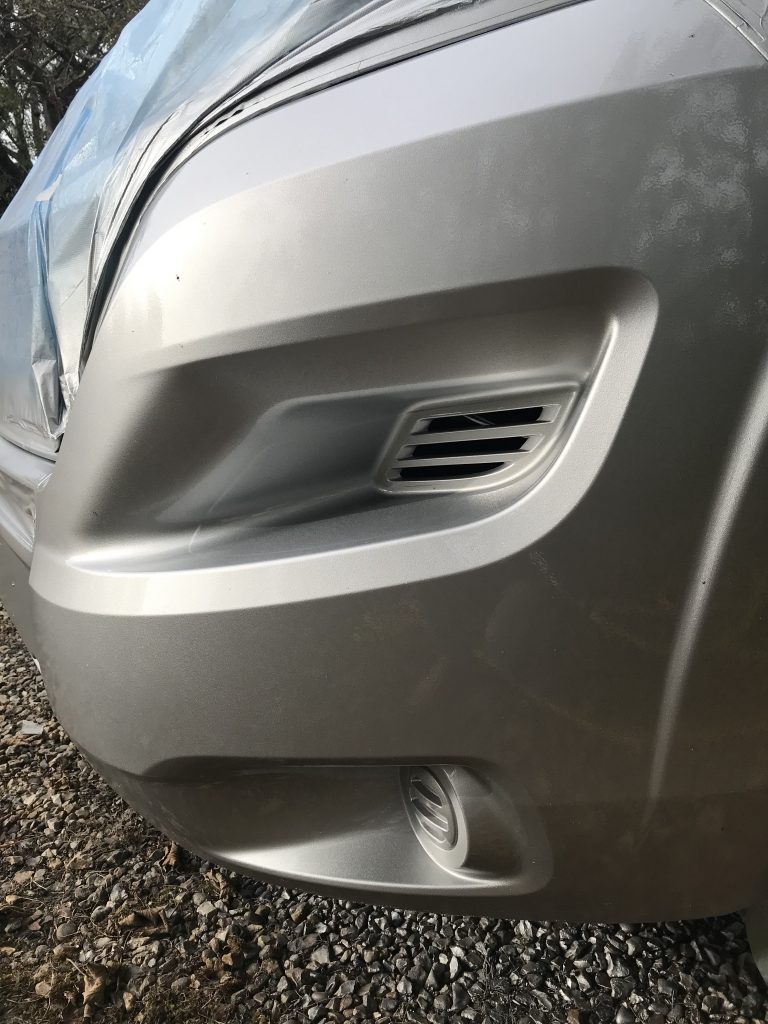
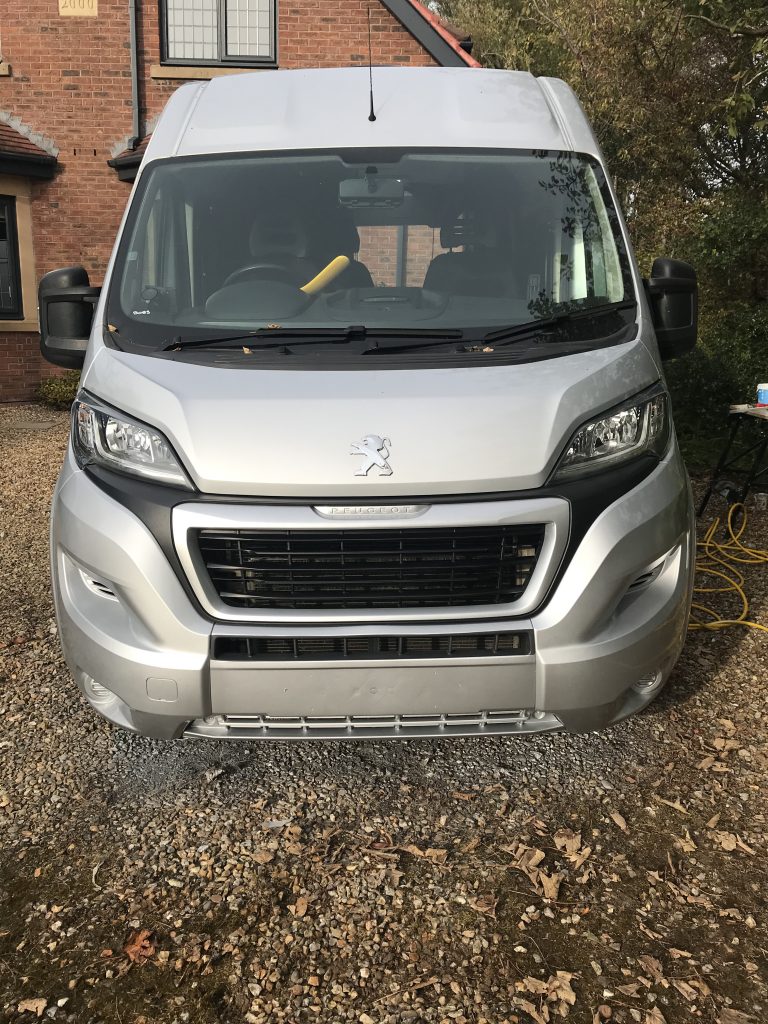
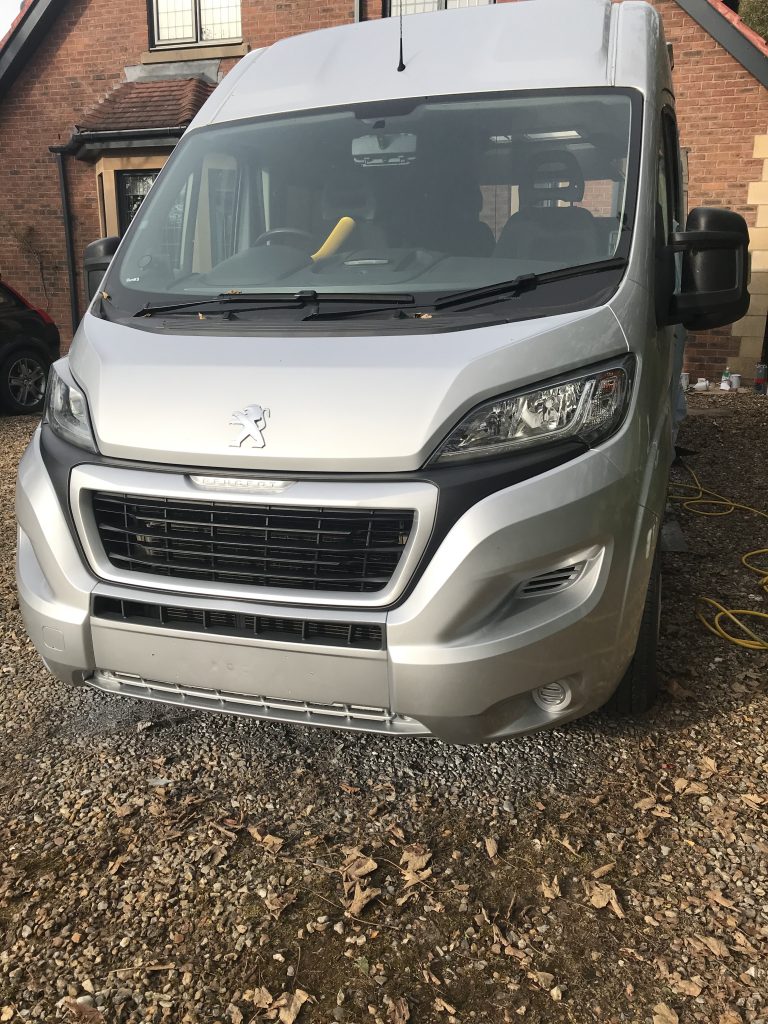
How to make your own: One of the things I notice about a home made camper-van conversion and a factory version is that the front bumpers on the factory version are always colour coded, meaning painted the same colour as the vehicle.
For some people this addition may seem OTT and I would agree its unnecessary. However, I wanted to touch up some areas inside the back doors that had a few scratches and decided rather than buy an aerosol that I would instead spent a bit more and spray the front bumpers as well. As it turned out I ended up spending a lot more. The paint and materials came to around £140 ($180).
Materials Required: You can simply prime and paint the front bumper but I would advise using a plastic adhesion promoter. This is a product that you spray onto the plastic, it acts like a primer and creates a strong bond between plastic and paint. I used a product call Octoral PA65 PLASTIC PRIMER. Unlike grey primer which is often thick this is a fairly thin clear liquid. I also used a Primer with Hardener, a Base Coat and a Clear Top Coat with Hardener.
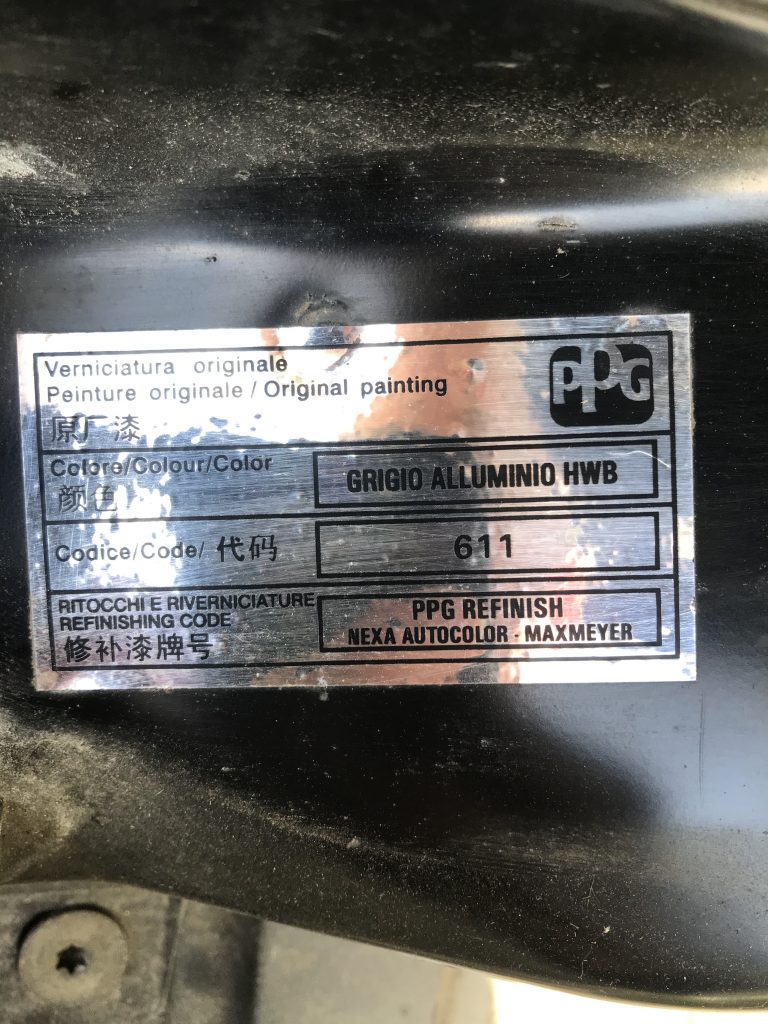
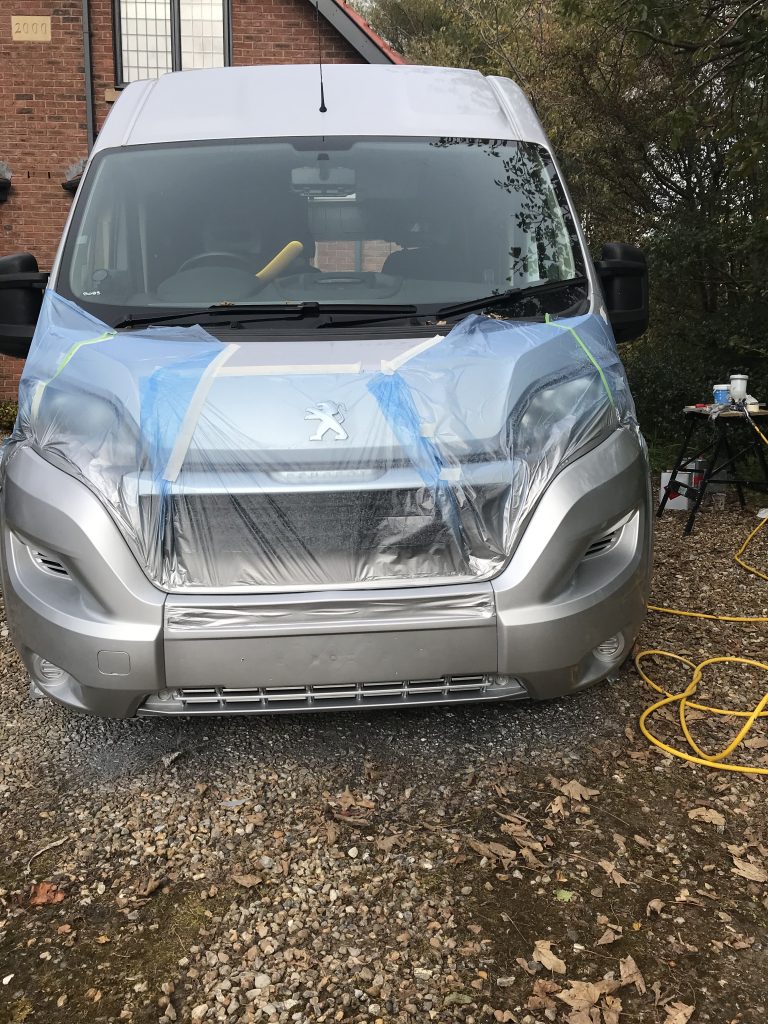
How to locate your vehicle paint code number: Before I start, I need to know the colour code number of the vehicle in order to have the paint mixed. On the Peugeot Boxer, Fiat Ducato and Citroen Relay this is located under the bonnet (hood).
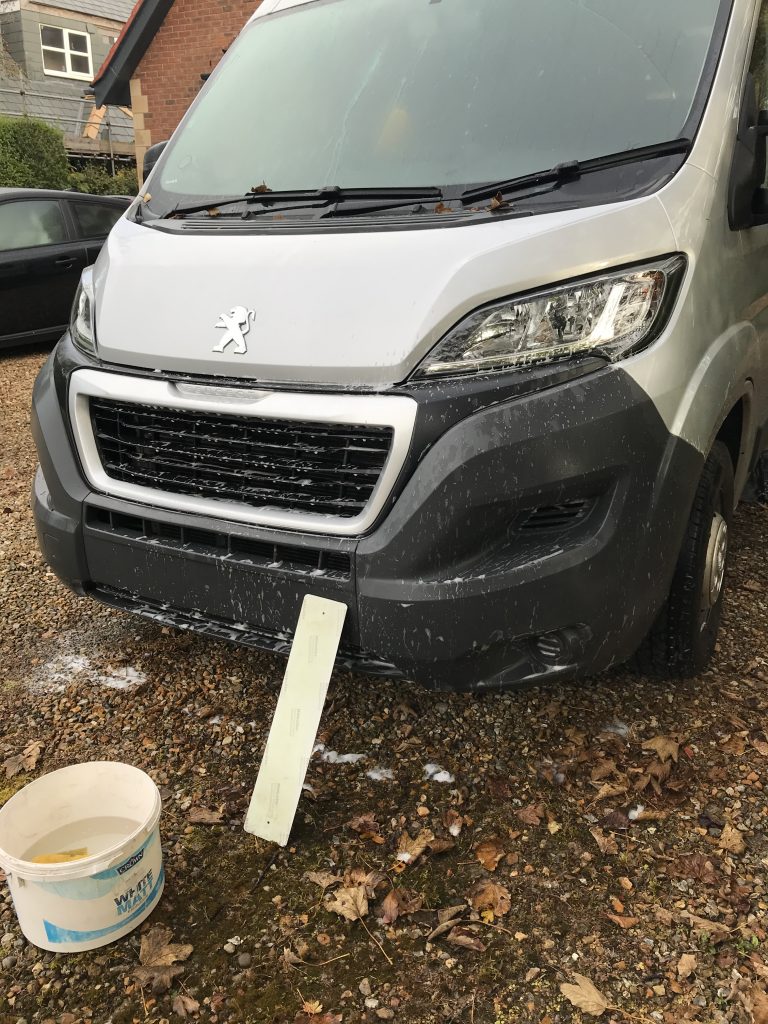
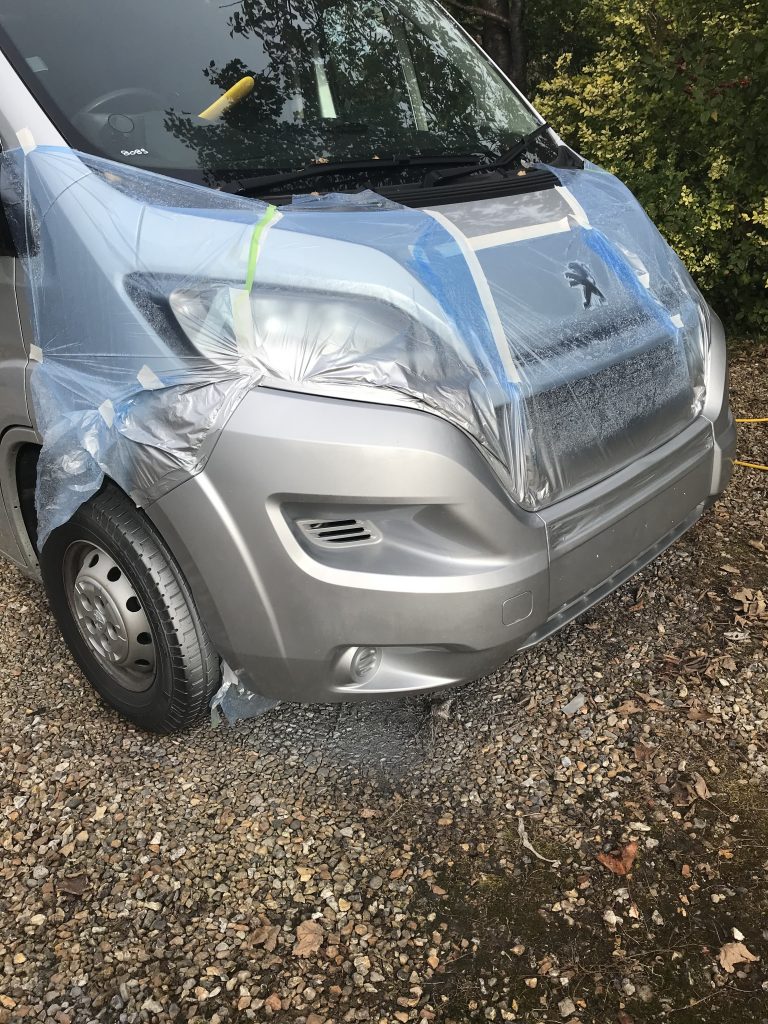
Stage One: The first stage is to give the bumper a good clean.
Stage Two: I made sure the surface was free of any oil or grease by wiping with isopropyl.
Stage Three: The next stage is to apply the Plastic Adhesion Promoter, these are available online in aerosol format. However, I bought a trade version (Octoral PA65) to use with my own compressor spray equipment. No mixing is required, simply pour into the gun and spray. Take care as its fairly thin so easy to run.
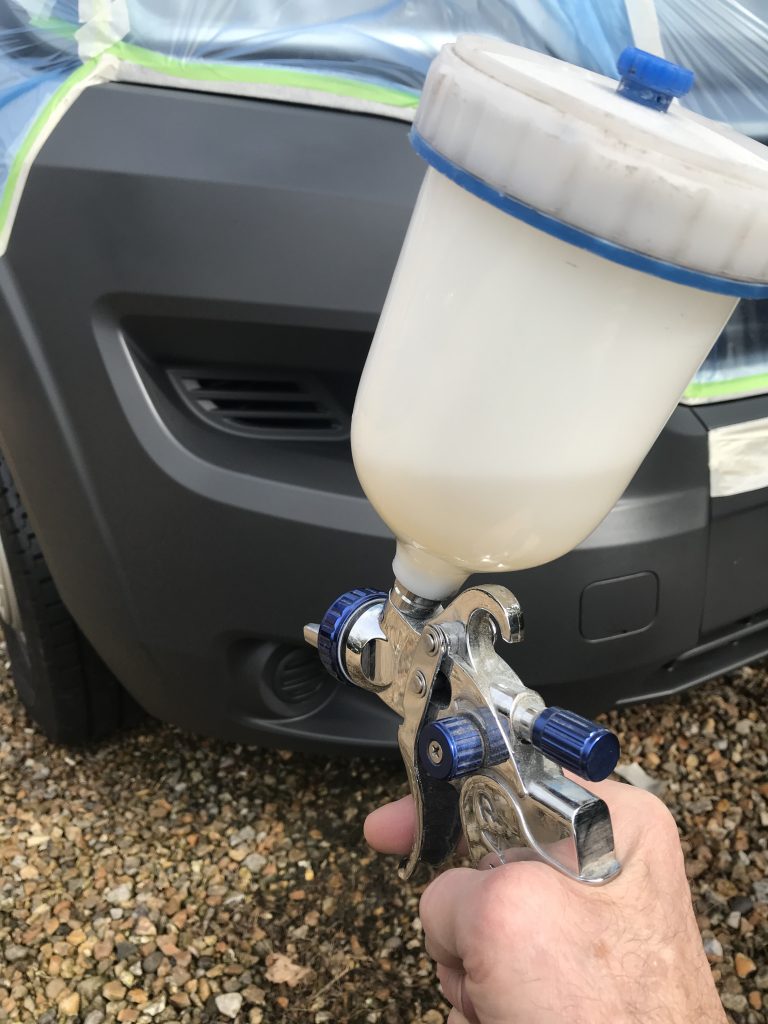
Below: No real difference as the Plastic Adhesion Promoter is like spraying thick water. The image below is after spraying Octoral PA65.
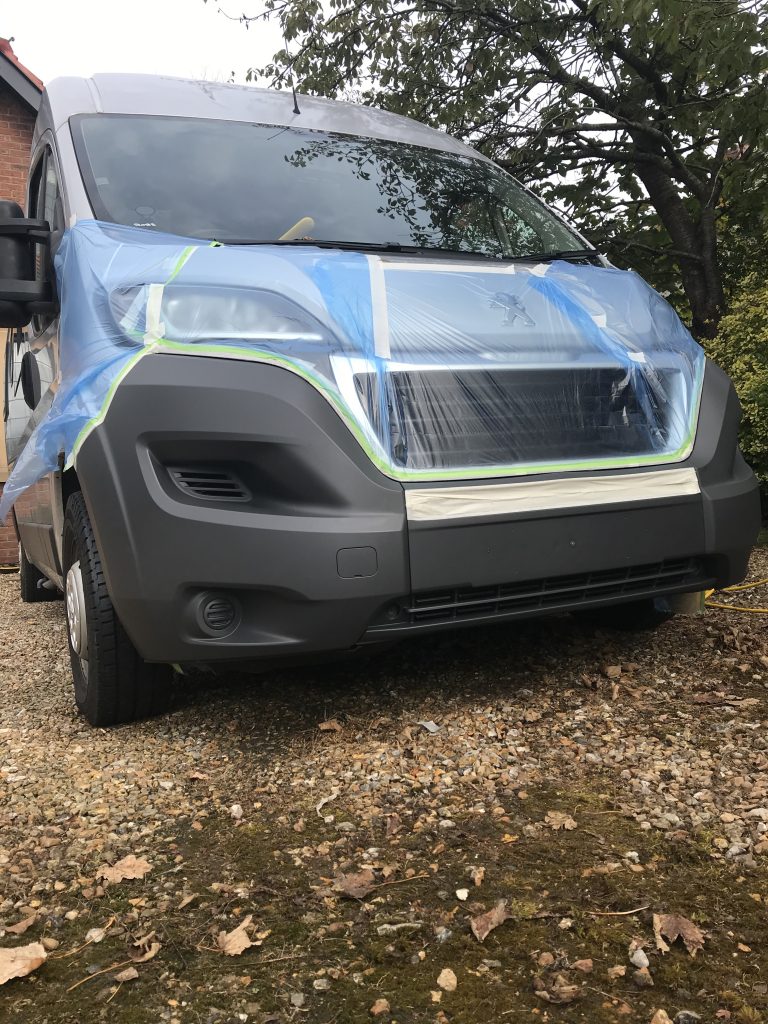
Stage Four: Now its time to add the primer. You could use an aerosol spray, if so I would recommend UPol as this is a good quality primer (some I have tried are not too good – get a good one). I mixed my own grey primer with hardener, this type of paint requires a spray gun. The primer paint system had a 4:1 ratio. 4 parts primer and 1 part hardener.
Stage Five: After the primer has hardened (not long 20 mins or so). Give it a light sand using P400 wet and dry.
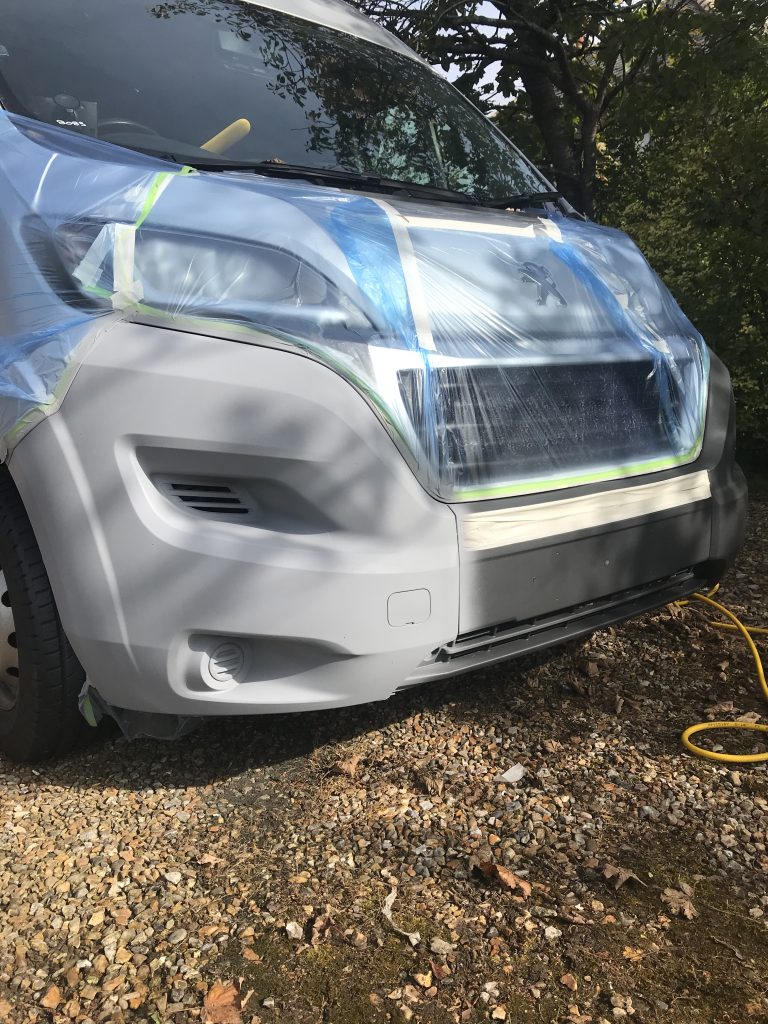
Stage Six: Now its time to add the Base Coat. I sprayed this coat using compressor spray equipment. I have my own but if you dont then you can usually hire this equipment for the day. I found it almost as cheap to buy the equipment. Although my equipment cost more than the basic set-up you could buy an air compressor for around £120 and it would be adequate (see Clarke Tools/ Online and shops). You will require something that will spray at 45 psi (more is better but not a necessity).
Below: Applying another coat of Base Coat
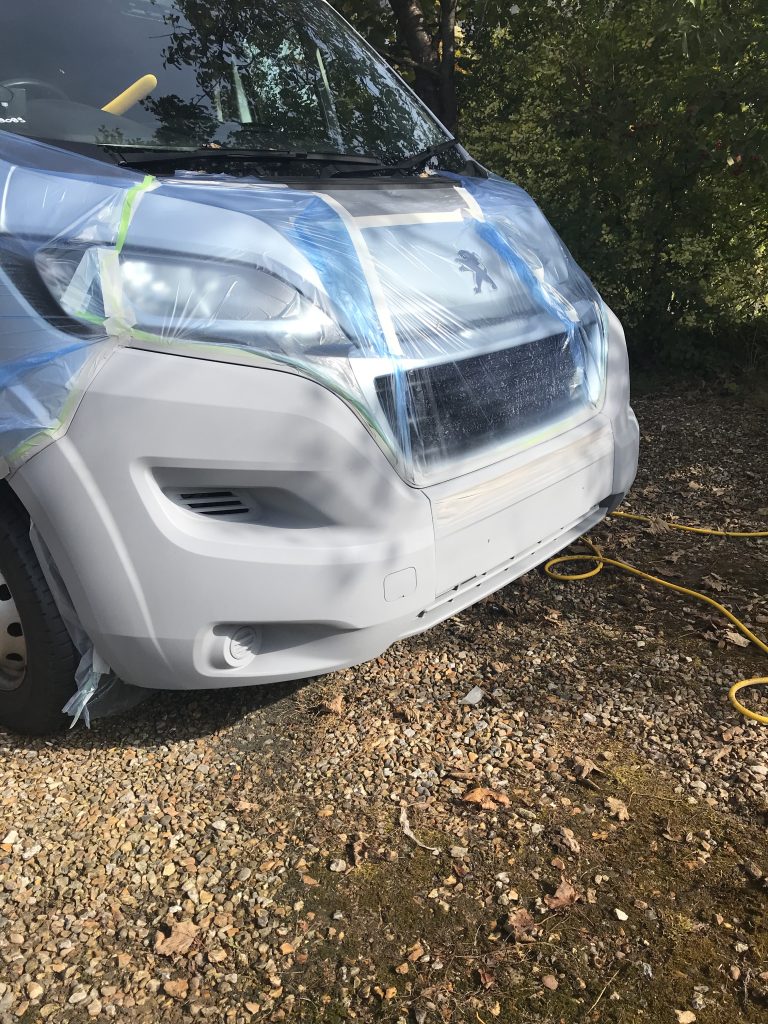
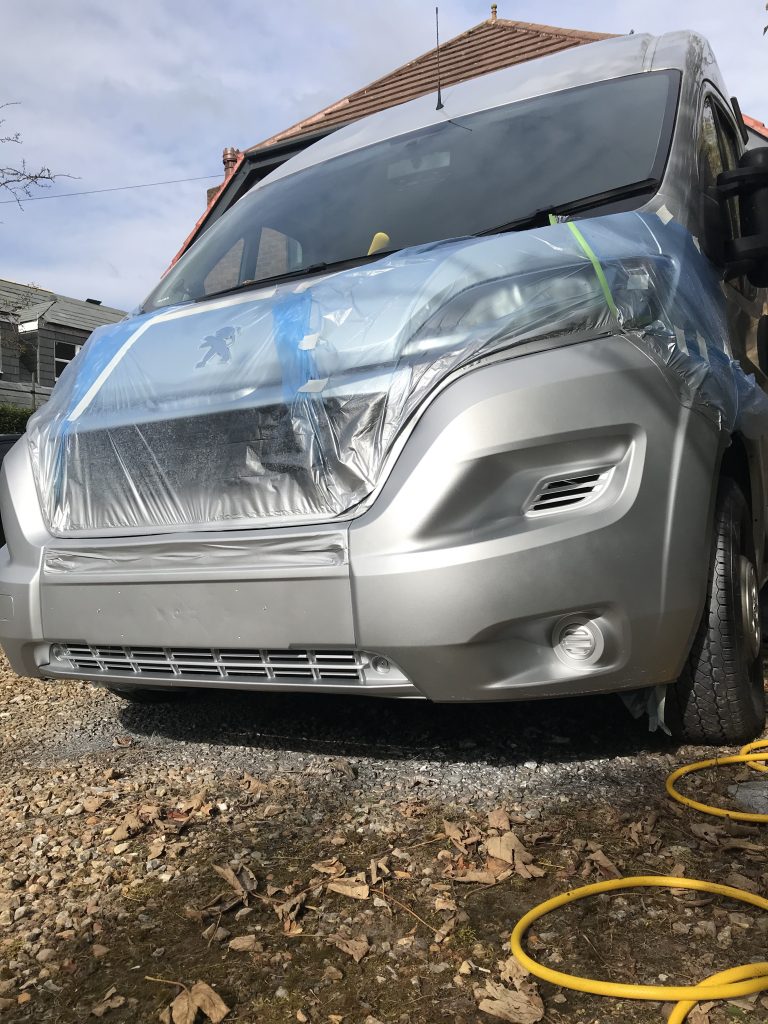
Stage Seven: Now its time to apply the clear Top Coat. This is a two part paint system consisting of a Clear Coat and Hardener with a 2:1 ratio (2 Clear Coat and 1 Hardener). Thinners should not be required but if you need it then my system allowed for a maximum of 10% (dont exceed). Below, the shine appears for the first time
Below: The first layer of Clear Coat has been applied
Below: Another coat added
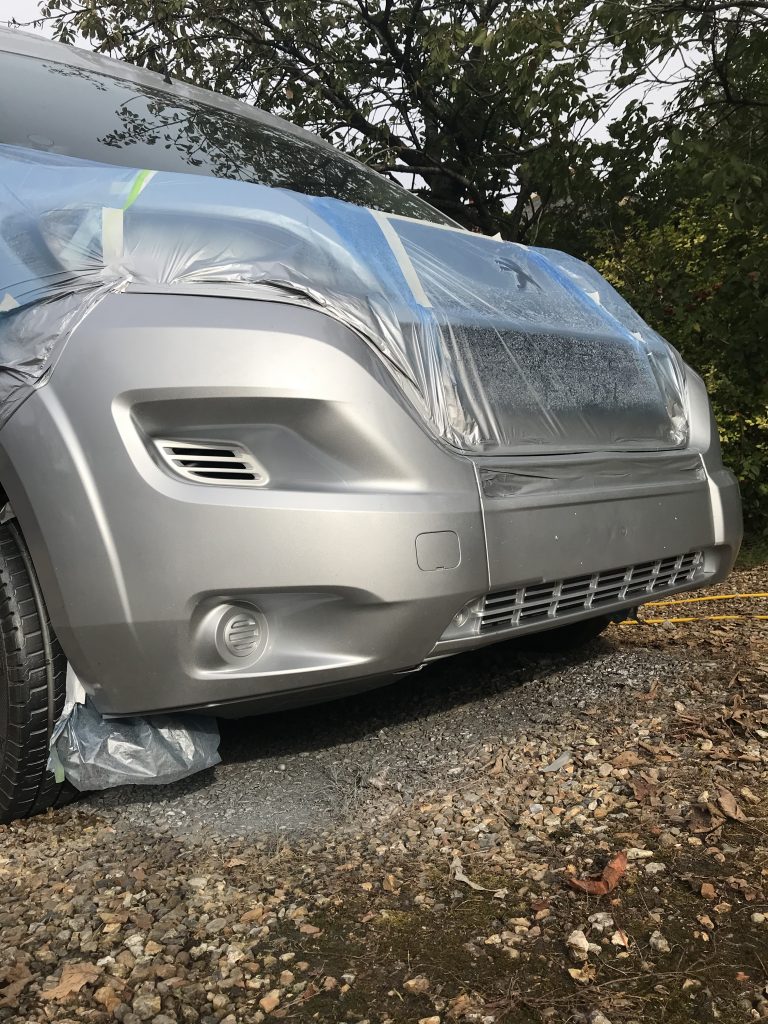
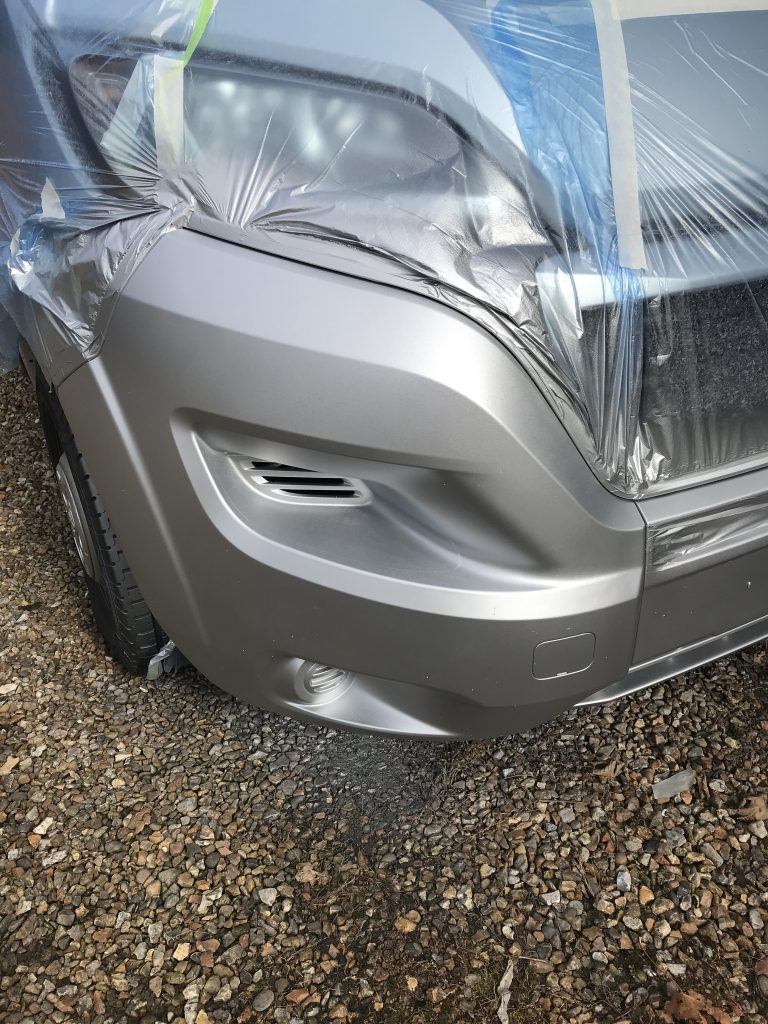
Below: Paintwork is dry so now is the time to remove the masking tape. Be careful removing the masking tape as the paint wont have fully hardened.

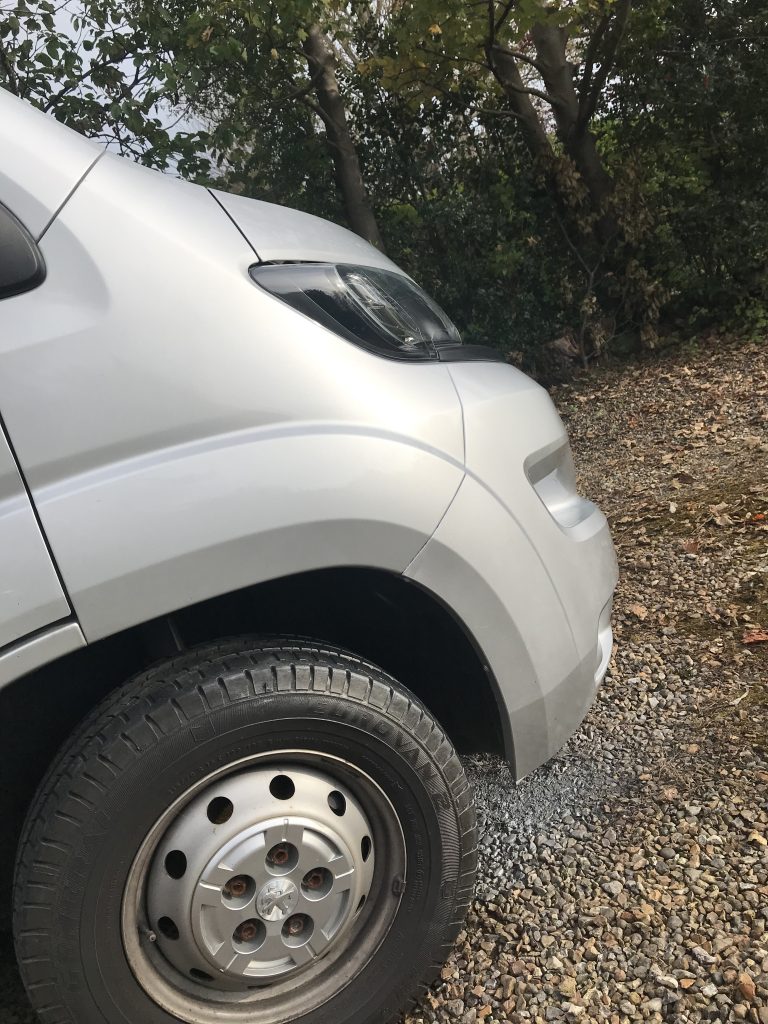
Below: I am satisfied with the colour match, there is no obvious difference between the vehicle and bumper
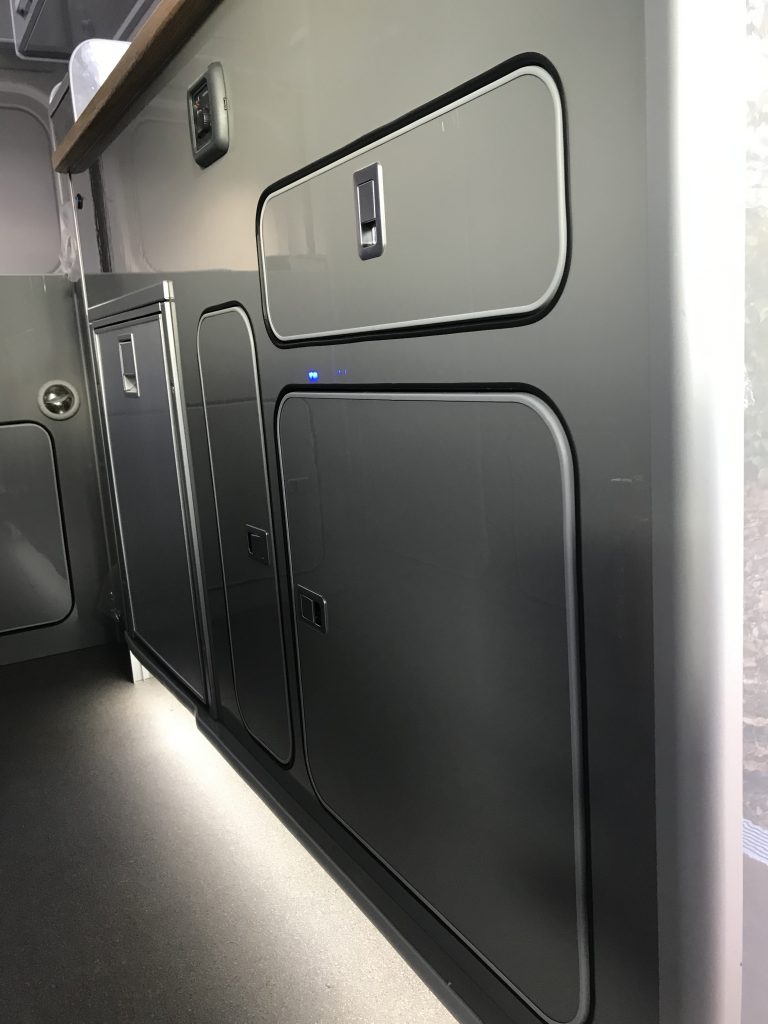
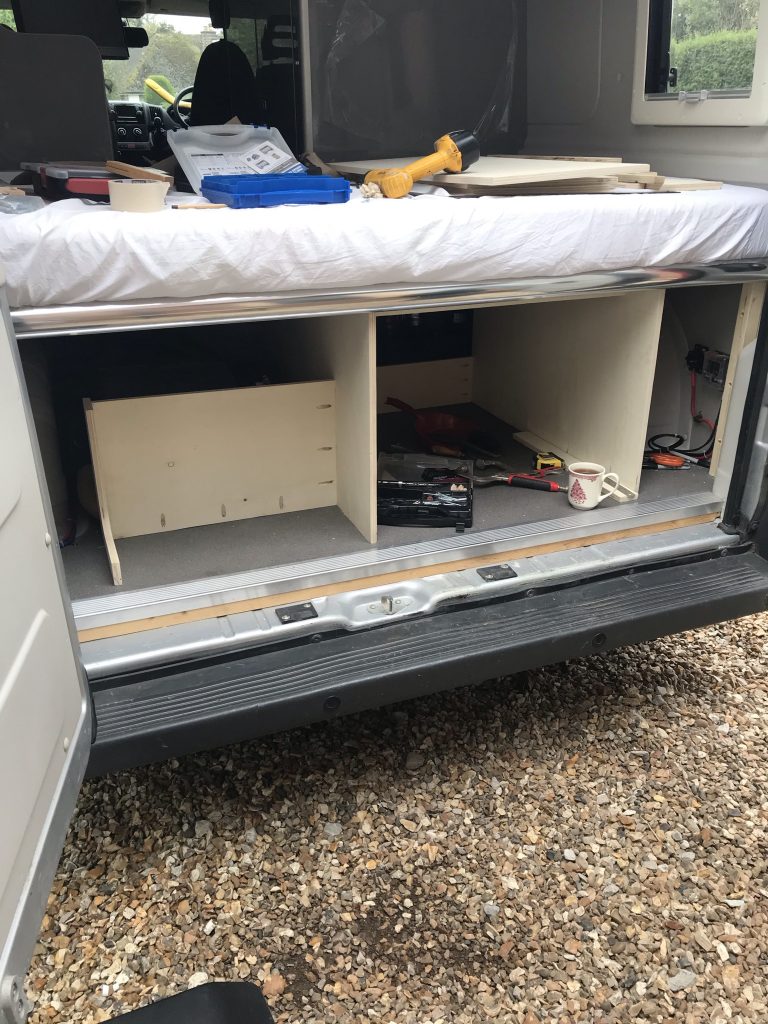
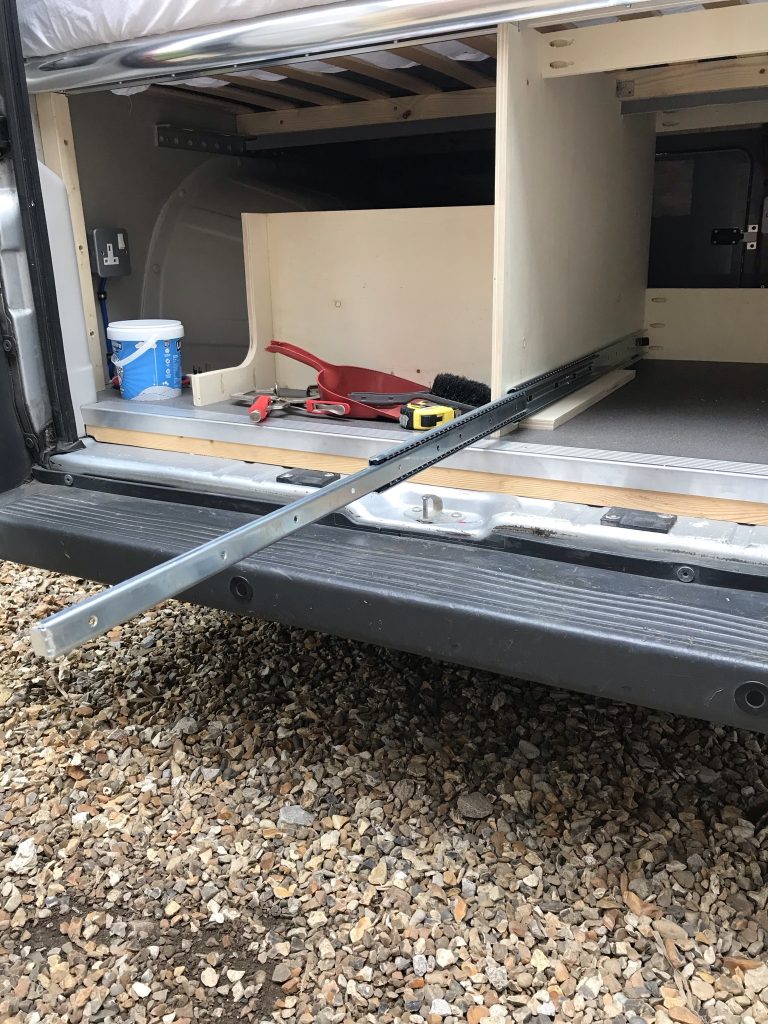
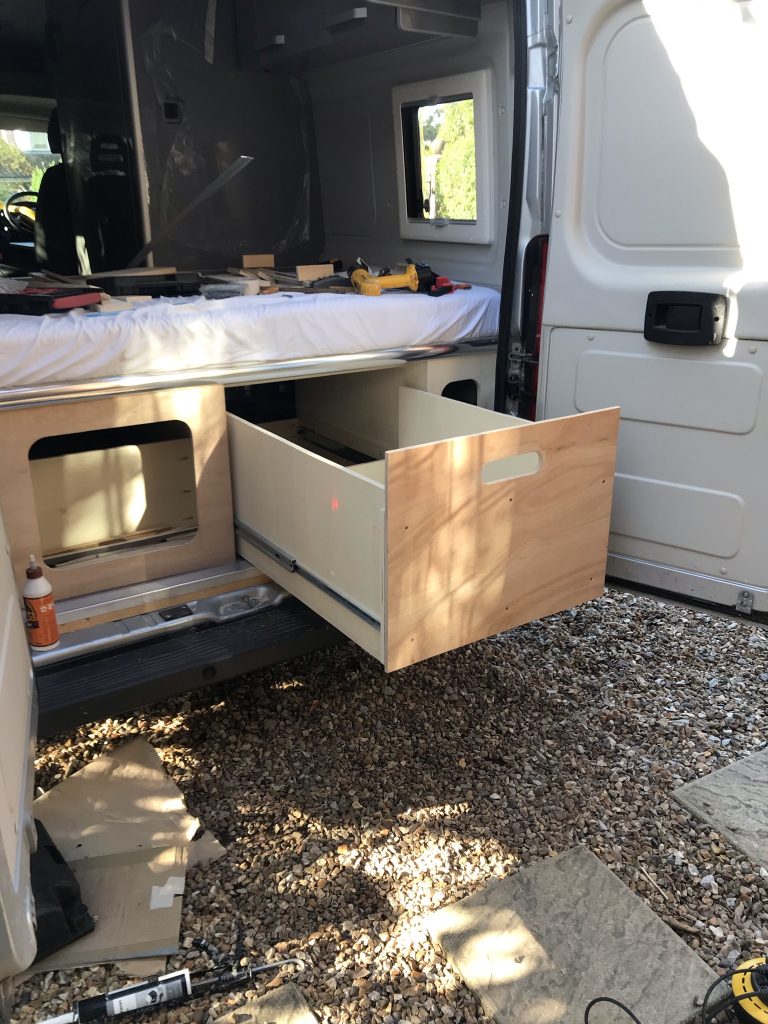
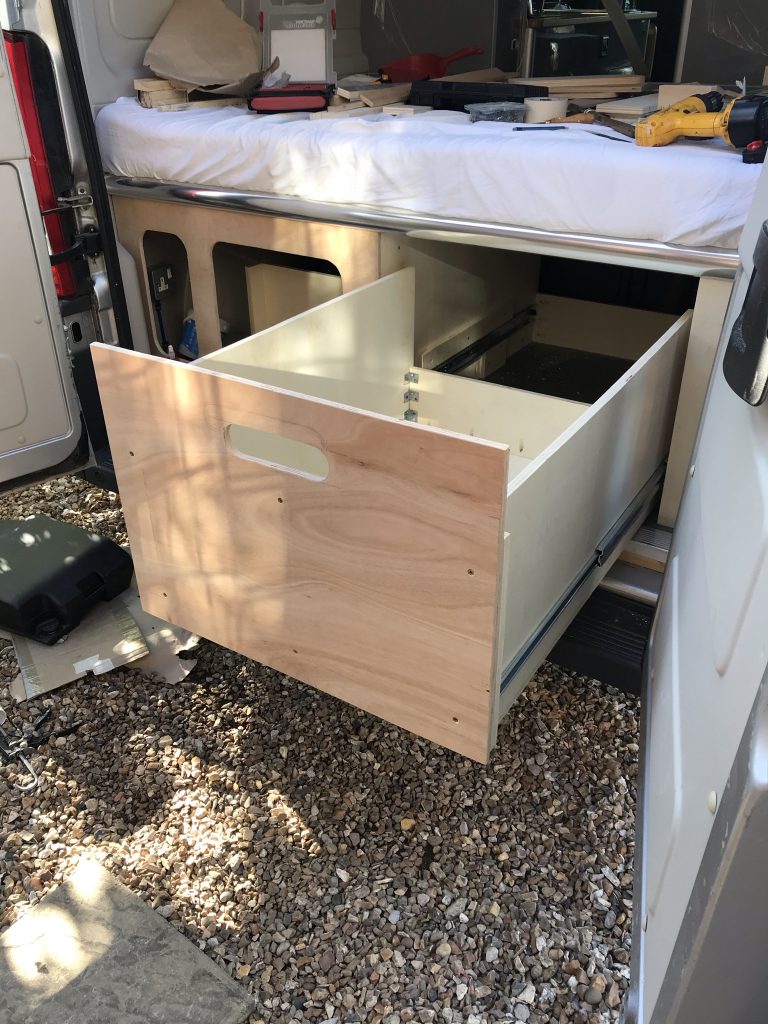
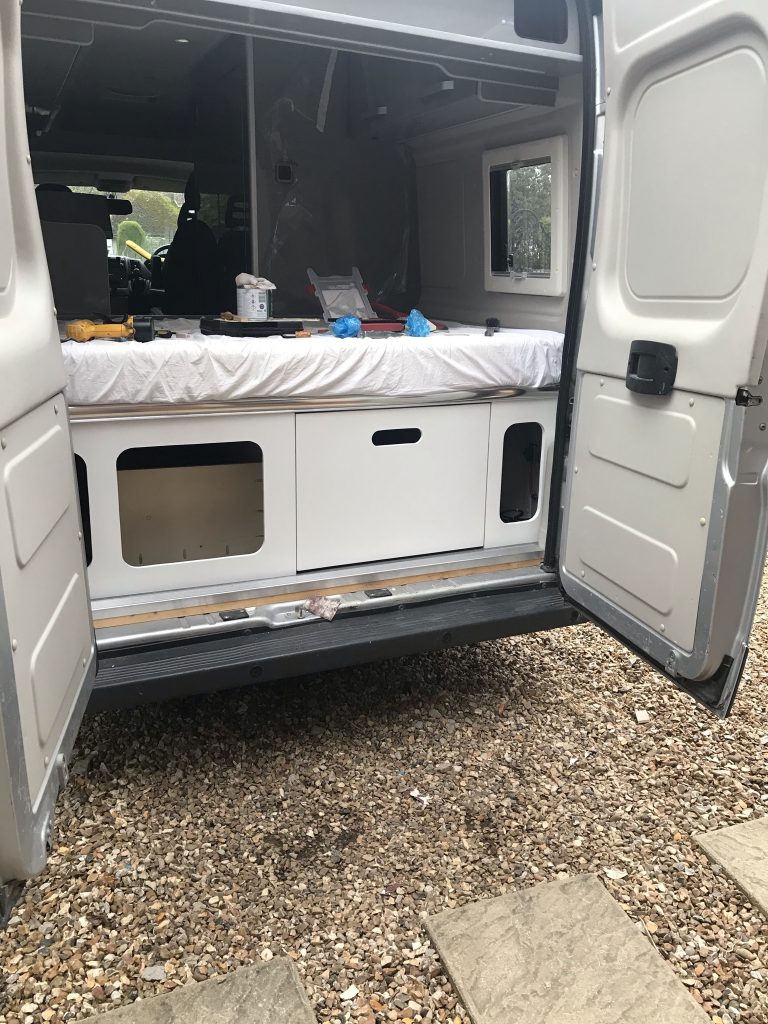
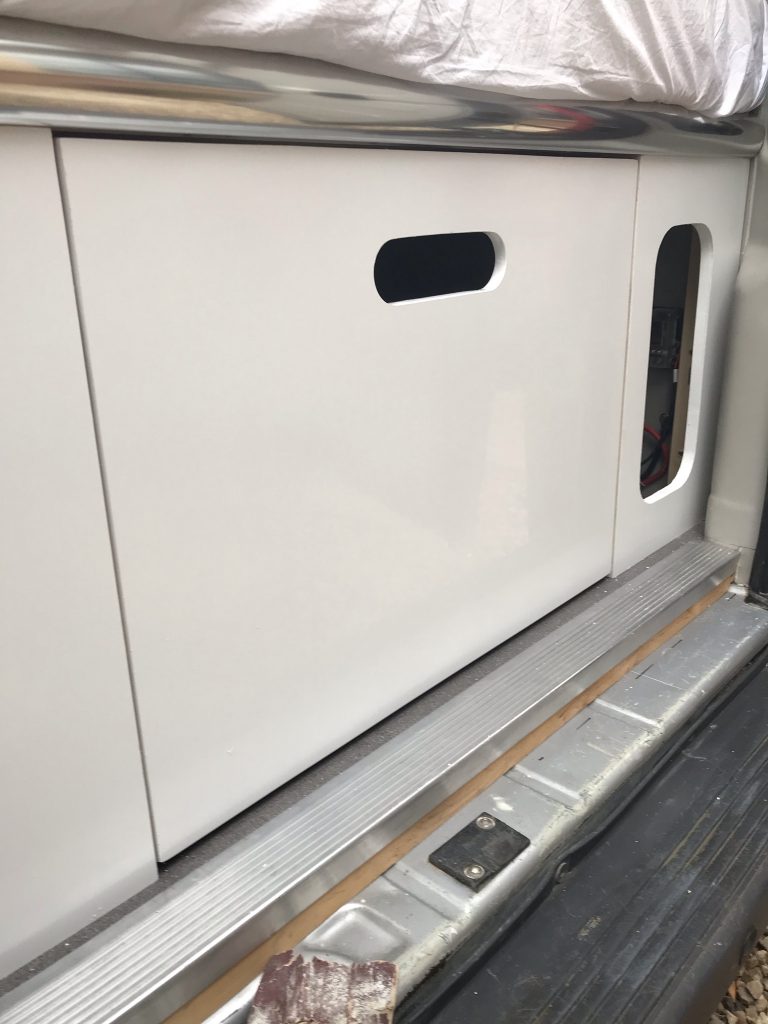
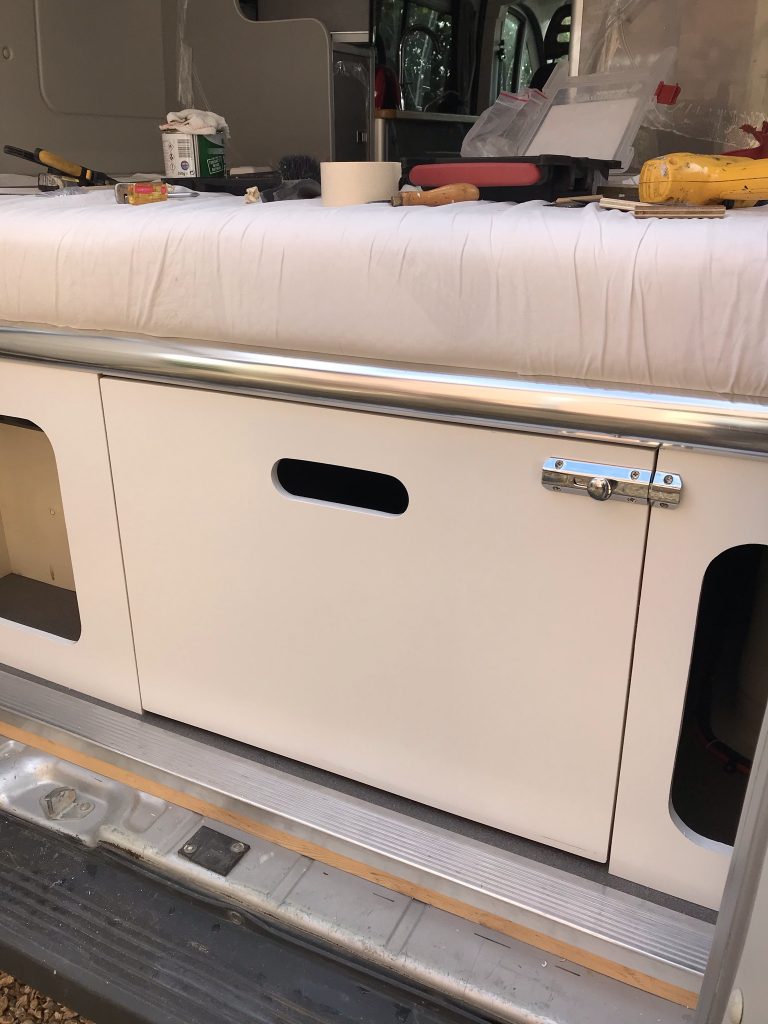
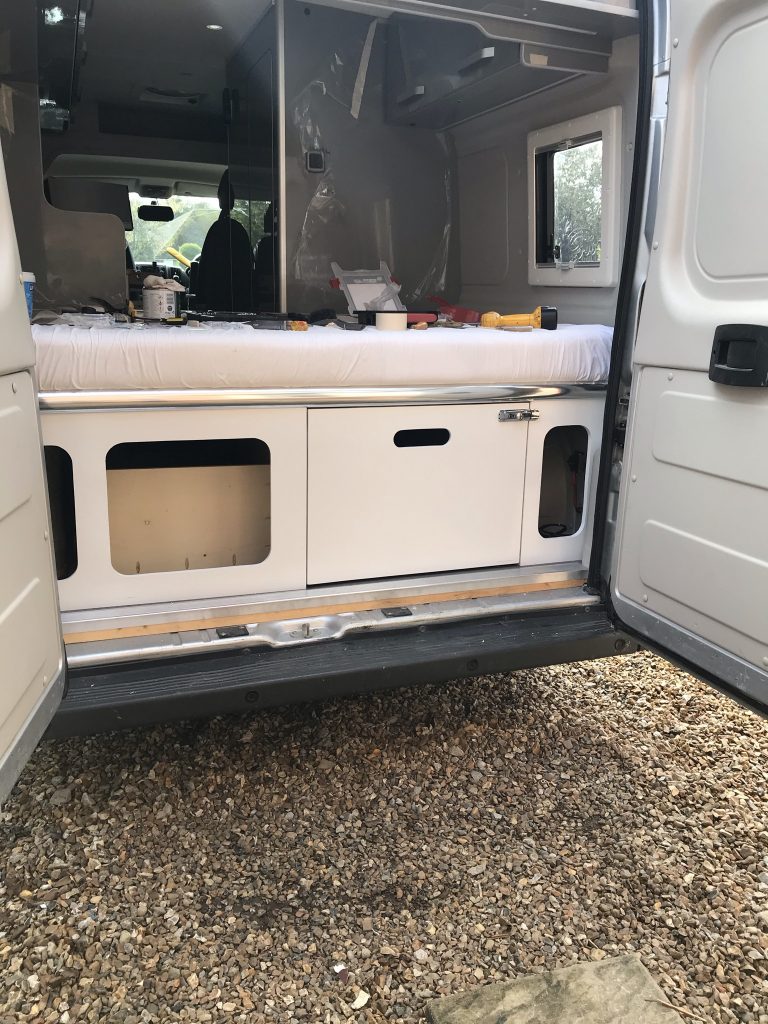
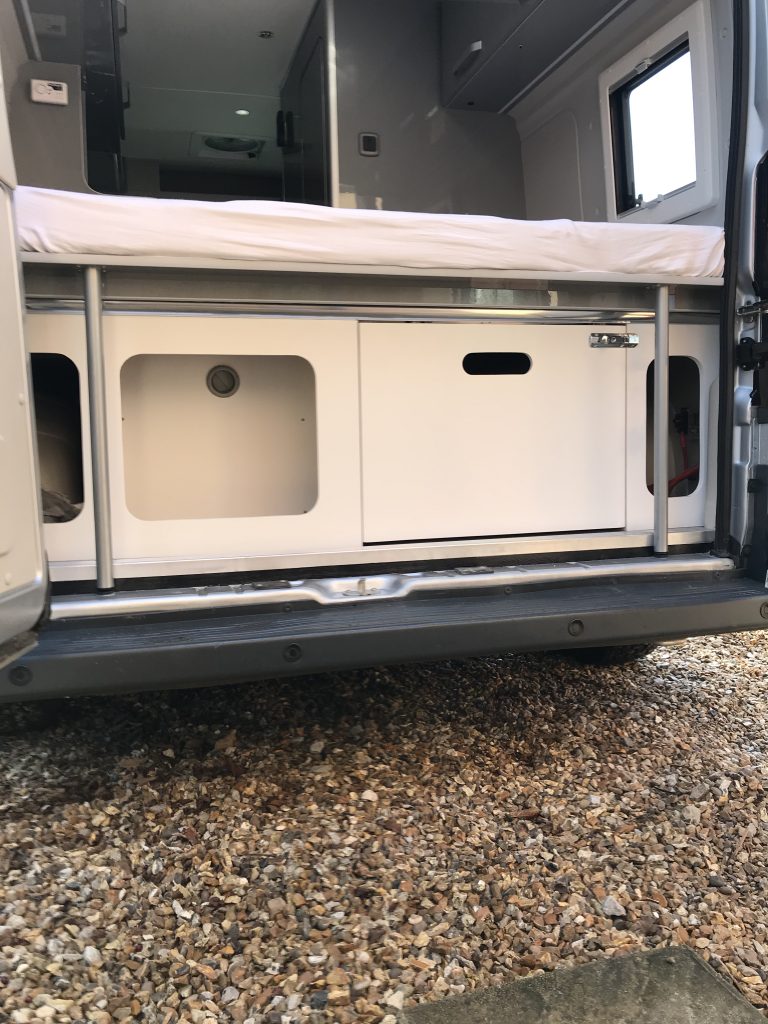
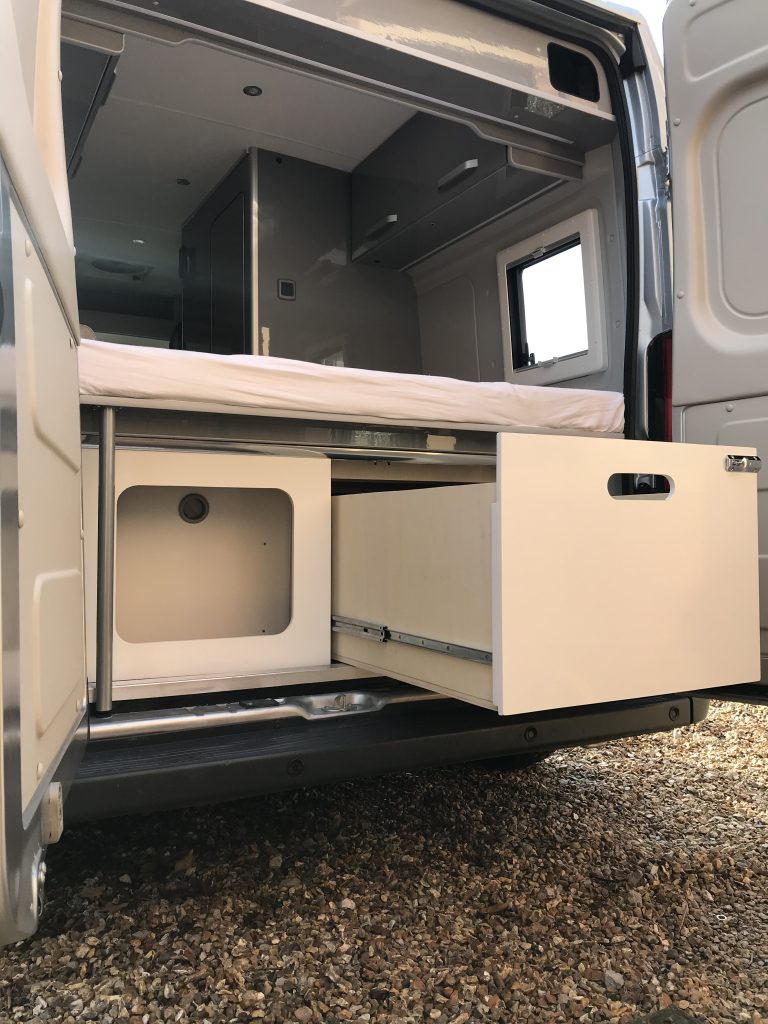
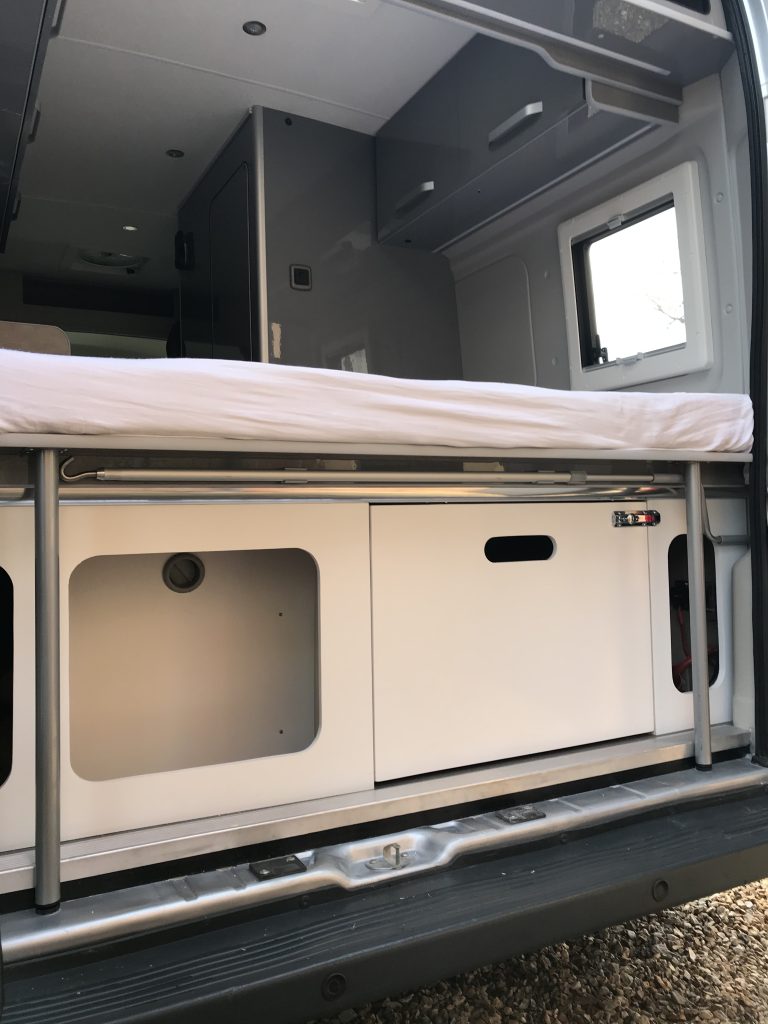
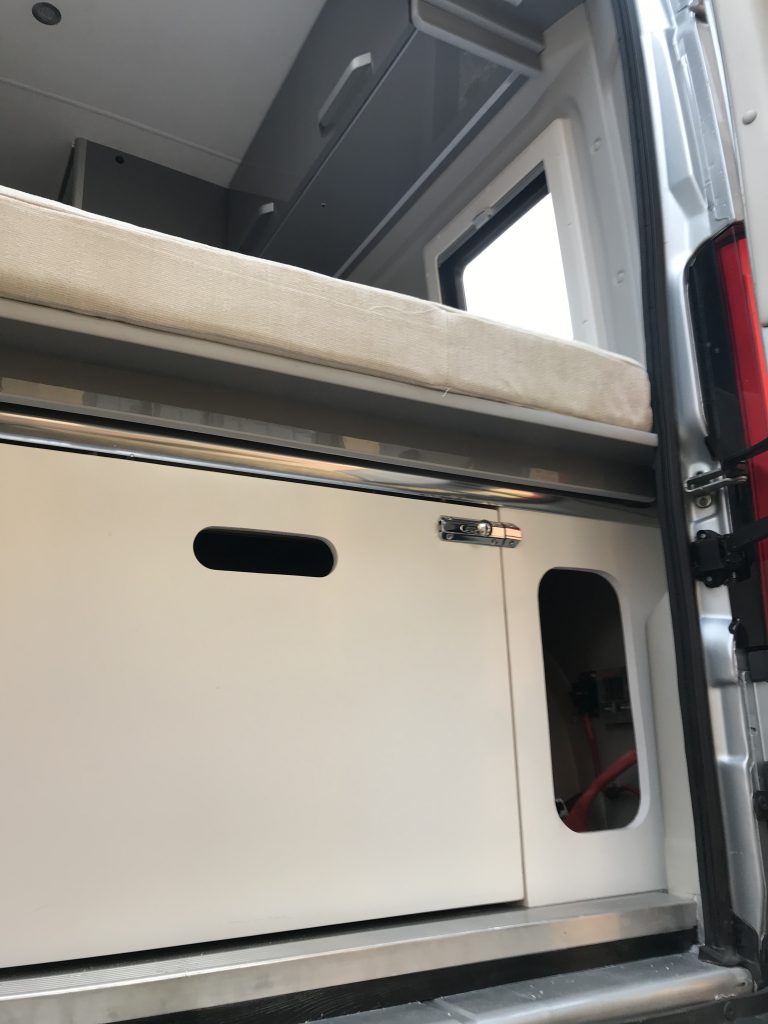
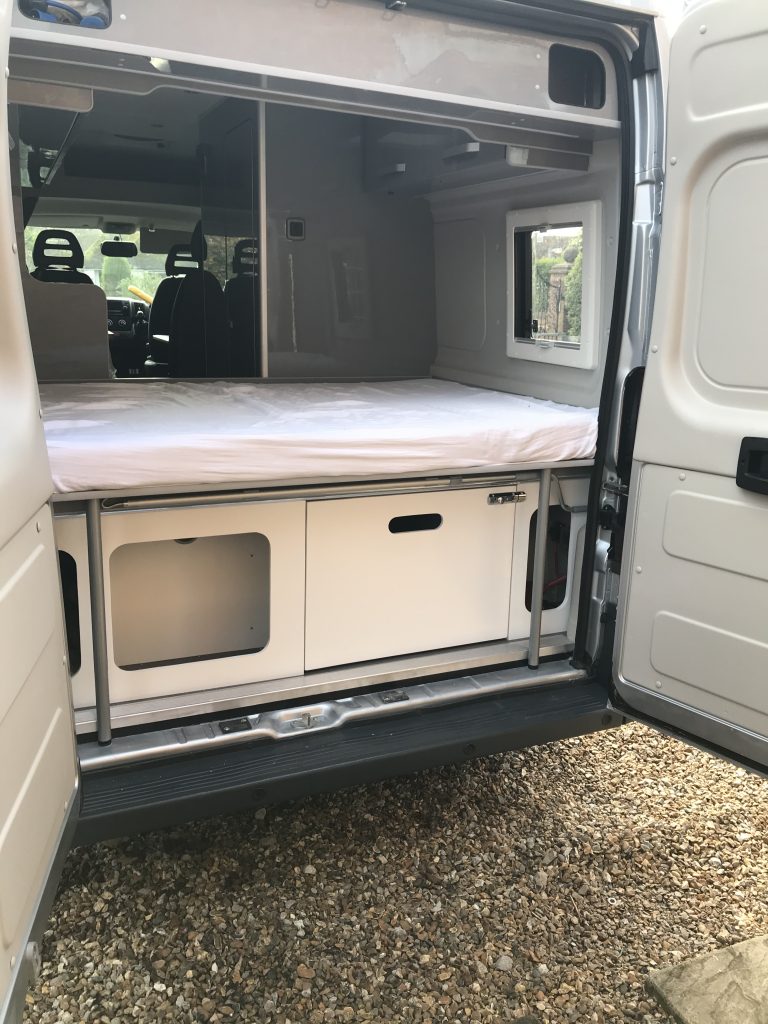
Often this area is left blank so people use boxes to store whatever it is they want to carry. I didn’t want to do this, I wanted something neat like a large sliding drawer that I could pull out and fill with the items I plan to carry. I also wanted some access from inside the van, be it limited.
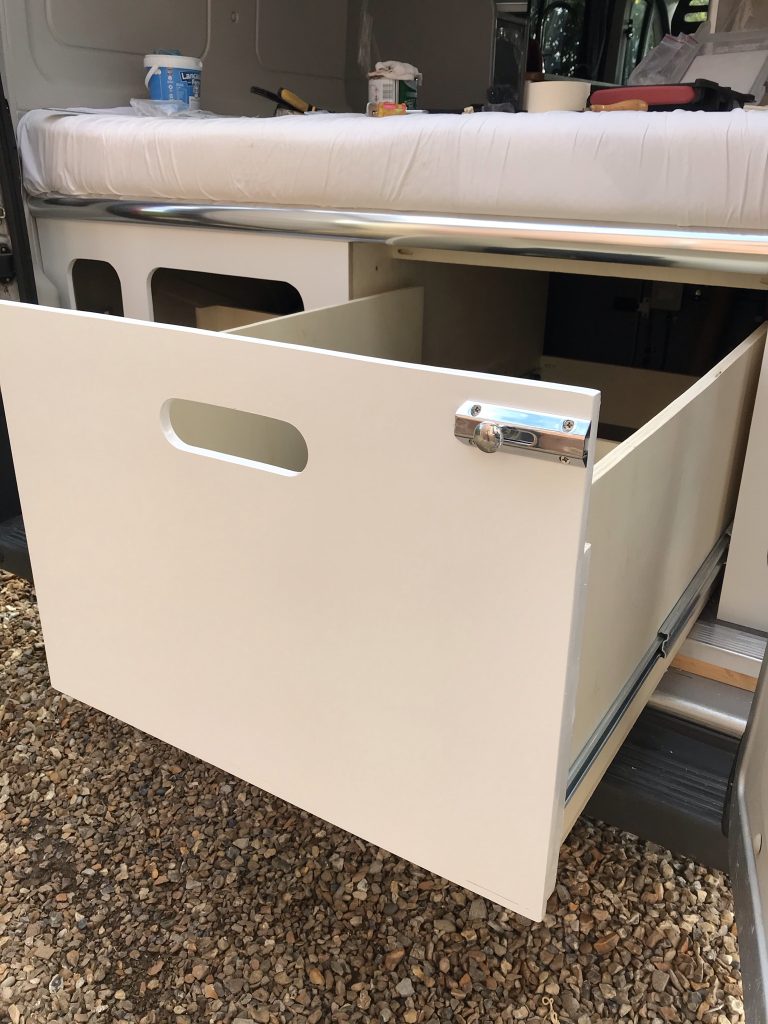
I am restricted to the amount of space I have and without raising the bed any higher (I didn’t want this) it seemed the best option was to have one very large drawer, perhaps not large enough to take a couple of folding bikes but close. If I wanted to take bikes then the drawer could be removed.
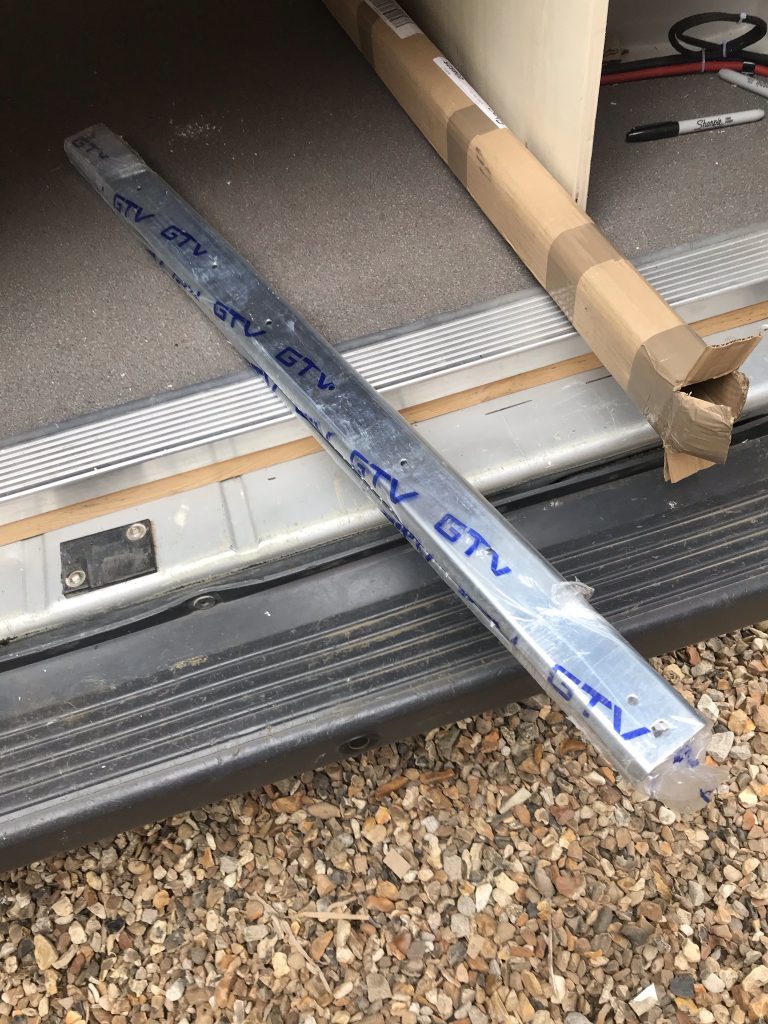
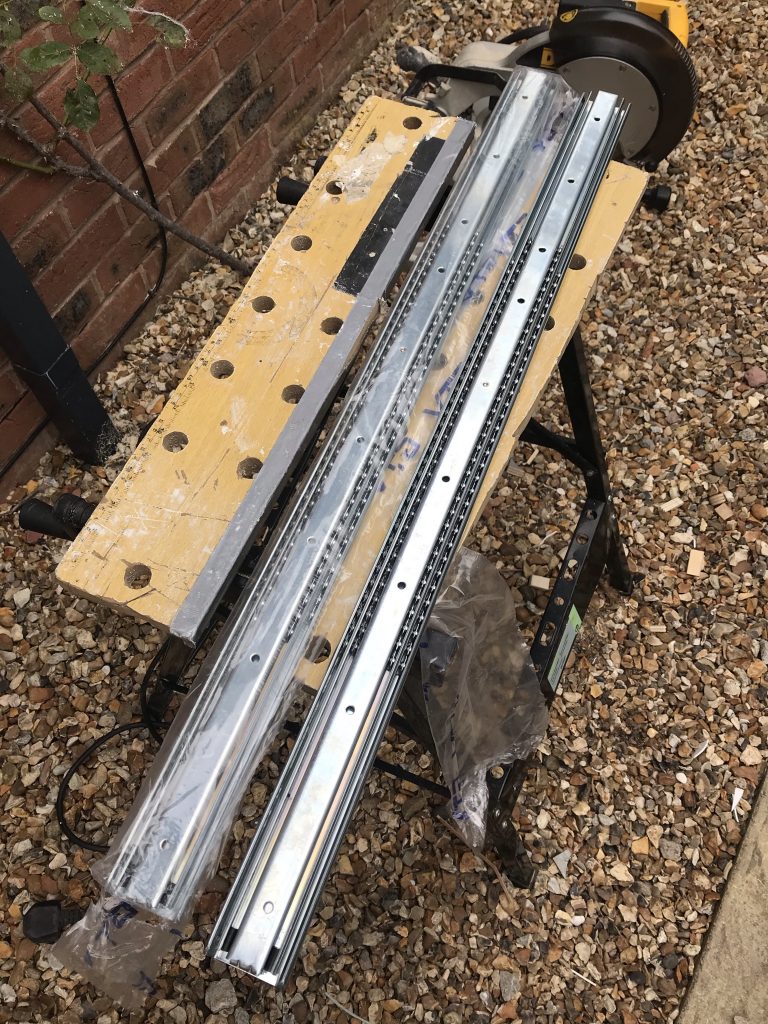
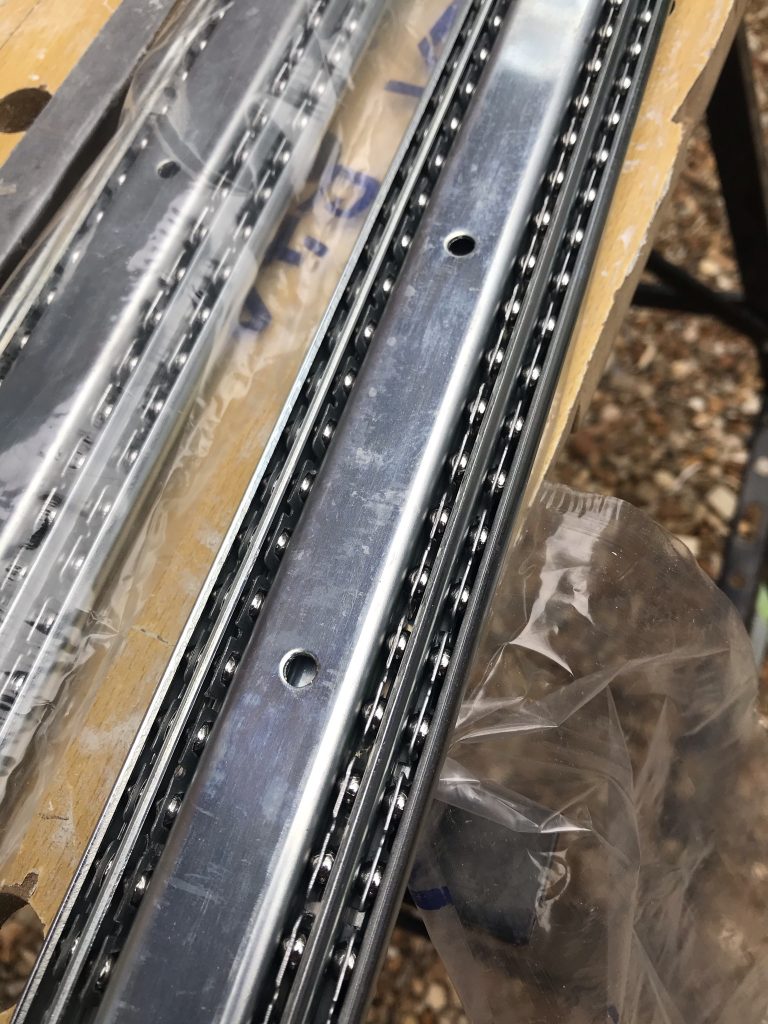
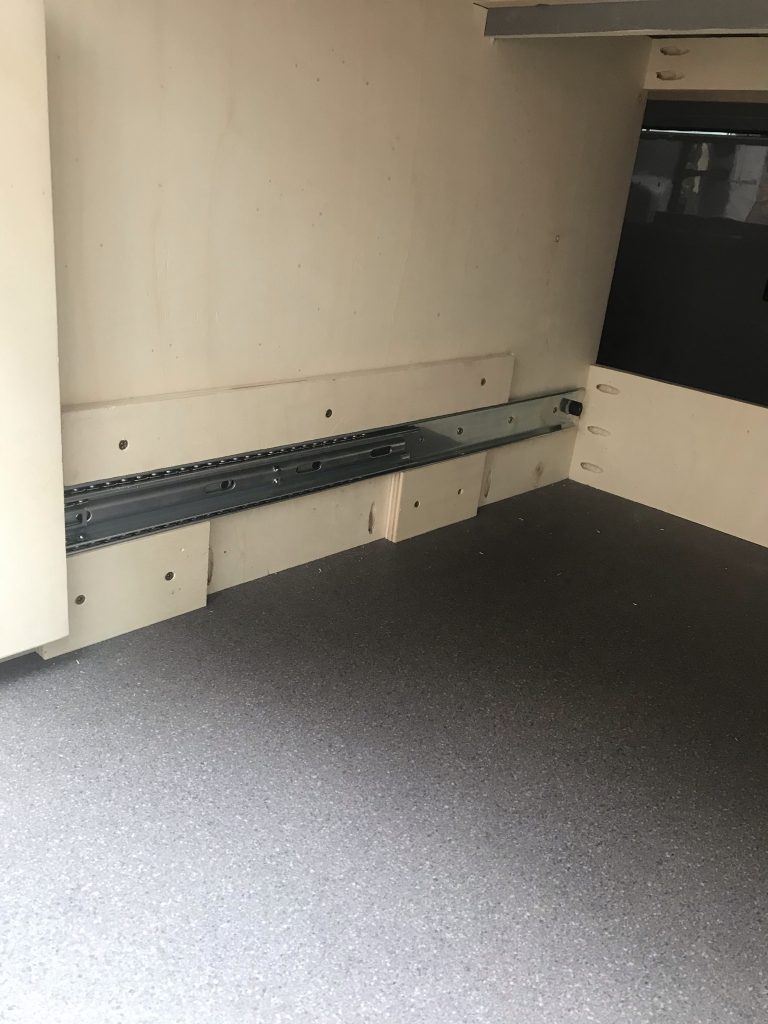
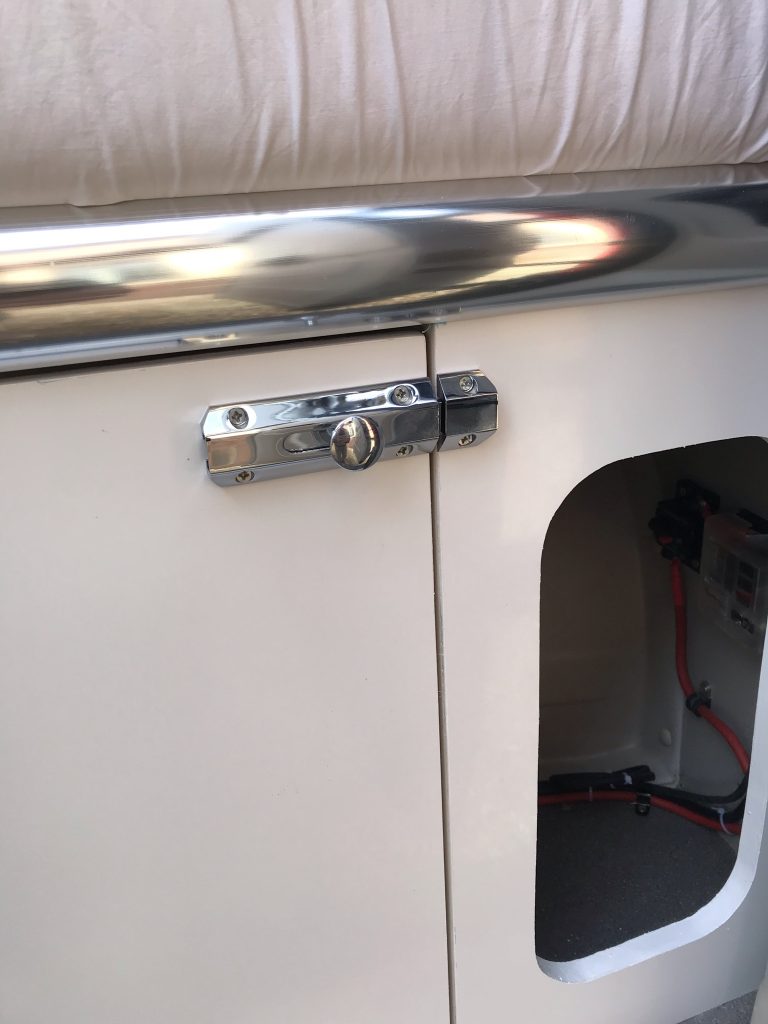
100KG Drawer Sliders: In order to build something I could rely on I used 100 KG drawer sliders that were 80cm in length, ample for what I needed.


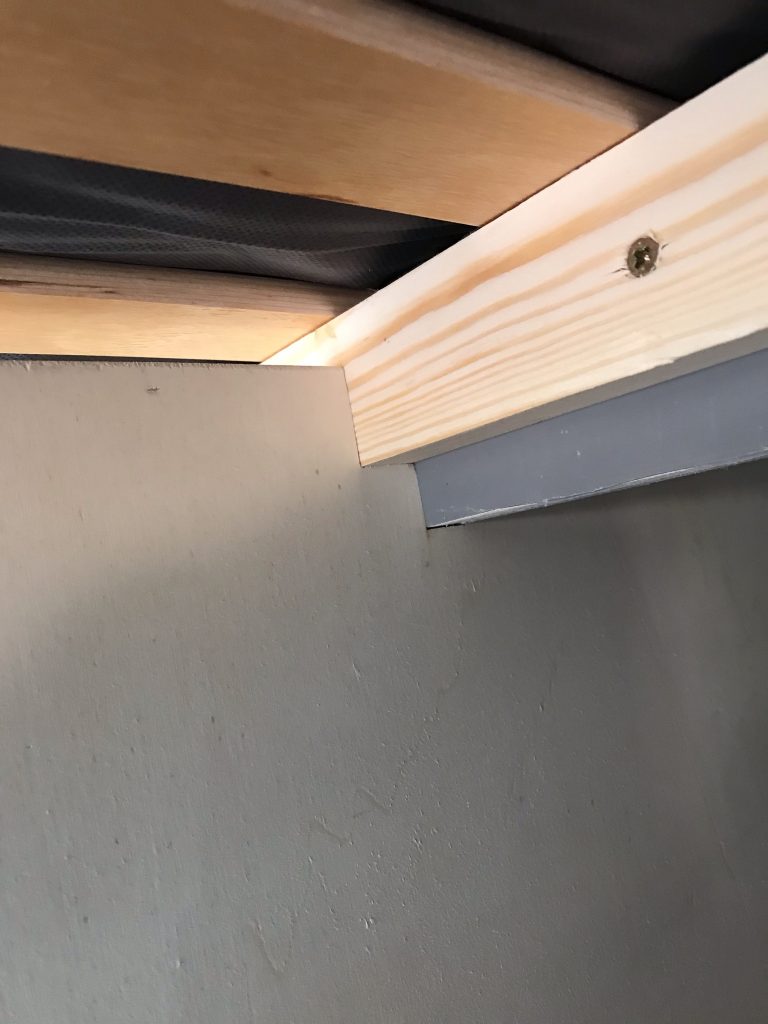


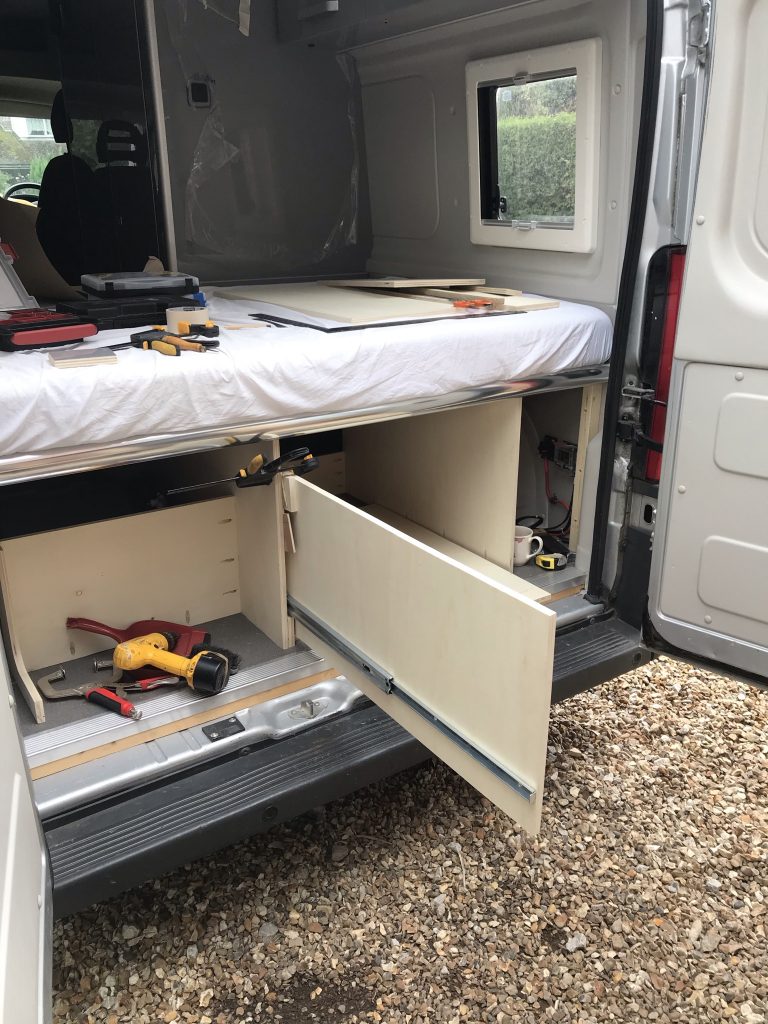


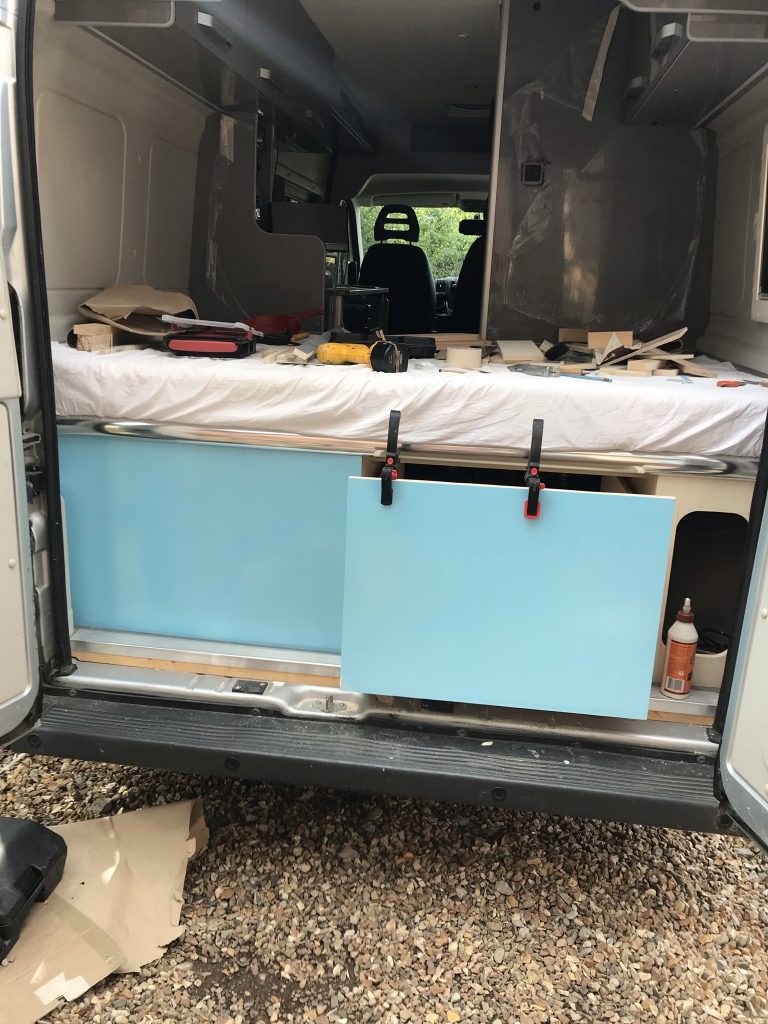

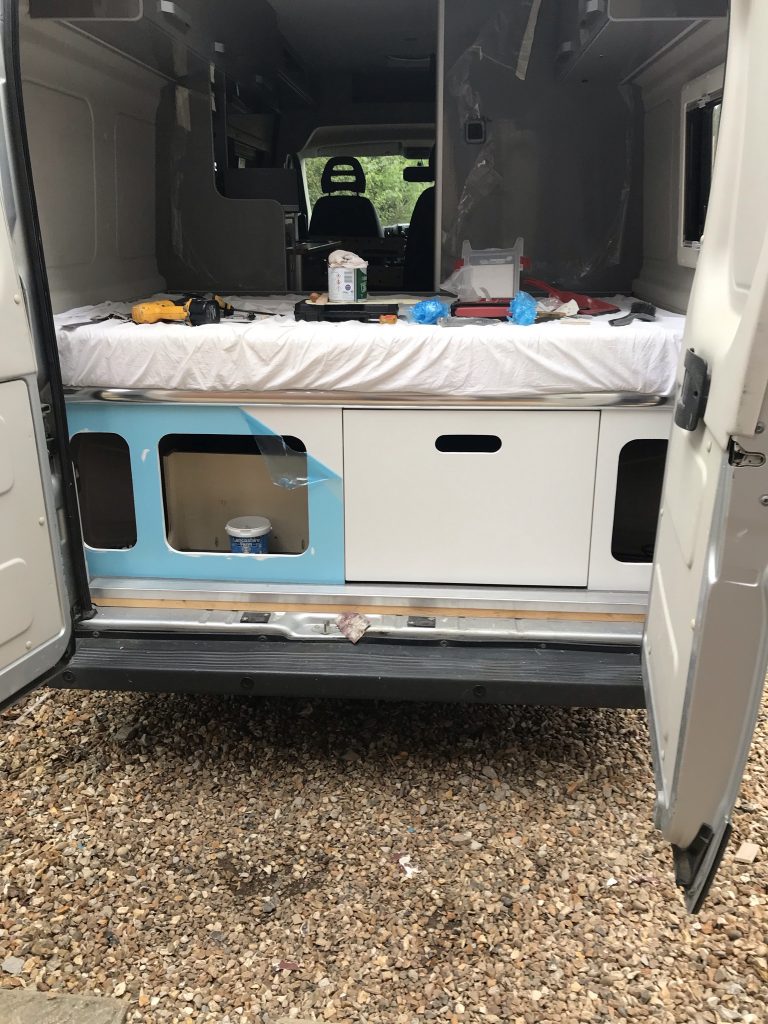

The bed extension is fitted thus making a full size double bed. The two supports below also serve as holders for folding chairs.
Below: One last job and thats to add the awning release bar.
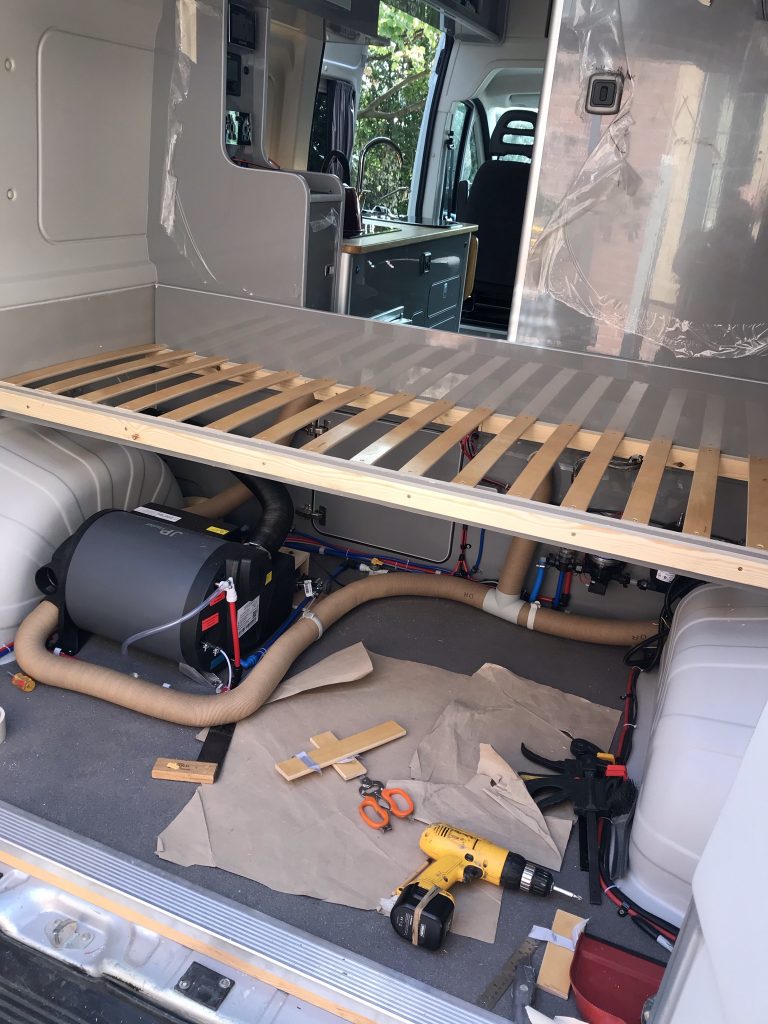
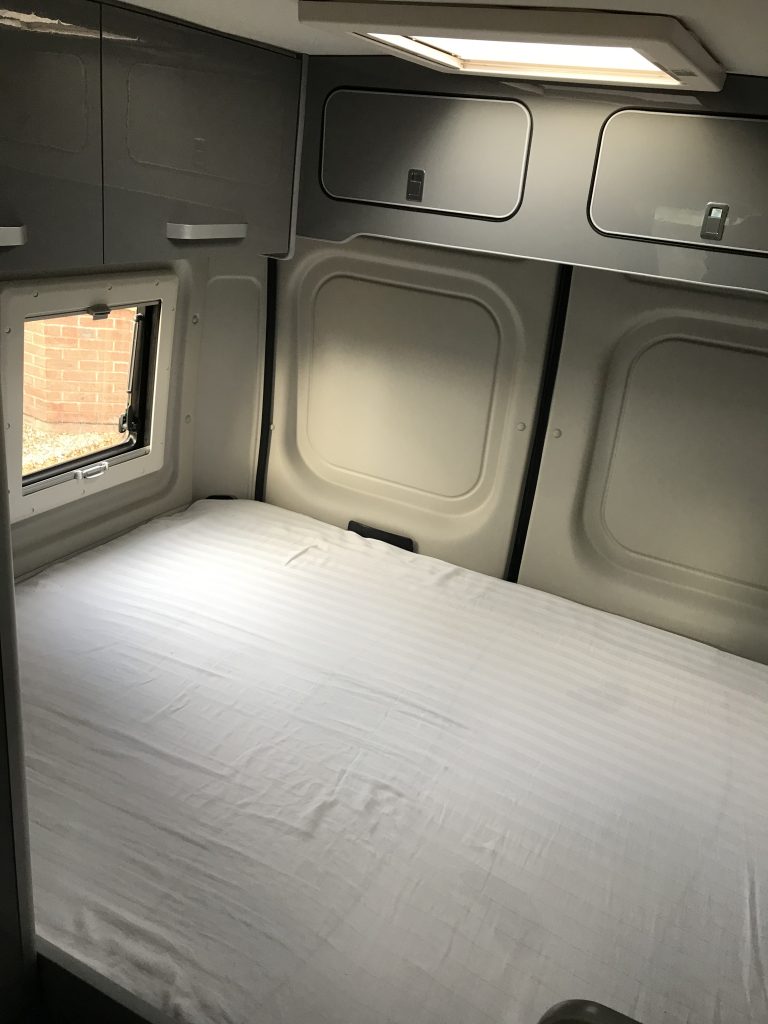
The Peugeot Boxer, Citroen Relay and Fiat Ducato all have a six foot internal width. This is wider than the Mercedes Sprinter and VW Grafter. Personally I prefer the Mercedes/VW layout as they allow for much larger beds but the drawback for me is that both the Mercedes Sprinter and VW Grafter are much larger vans. What this means is that a double 6.3 ft X 4 ft bed fits nicely across the width of the Peugeot boxer ( not easily possible in the Mercedes and Sprinter). But a 6.3 X 4 Double is fairly small and I want something larger, below I will show how I overcame this issue
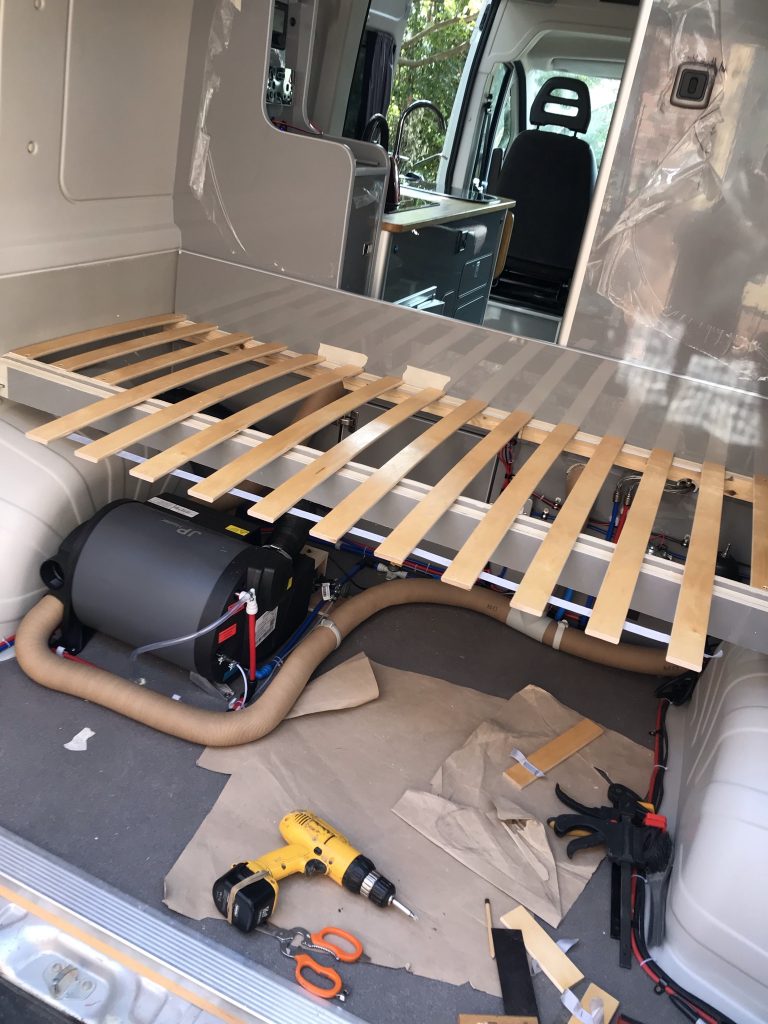
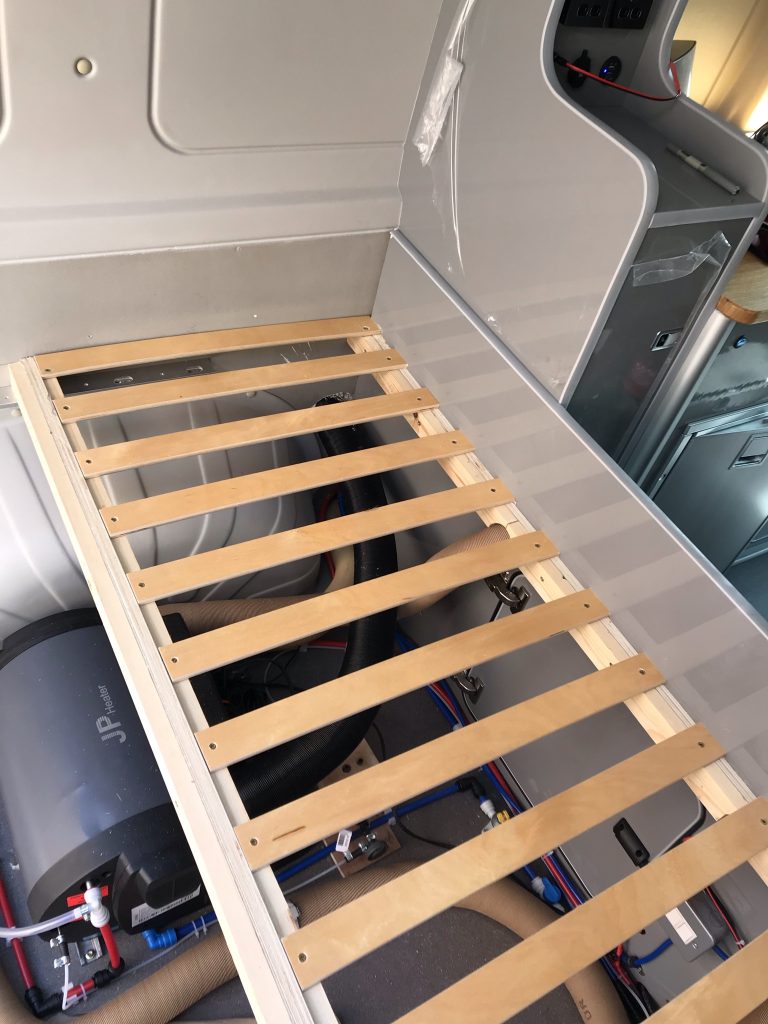
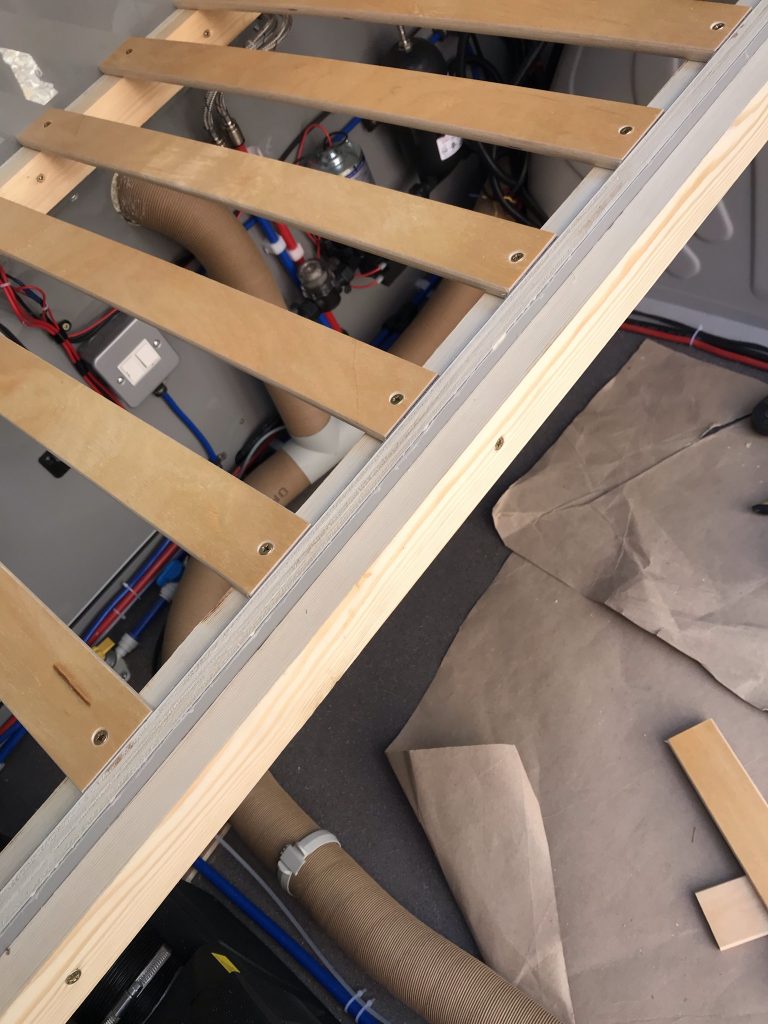
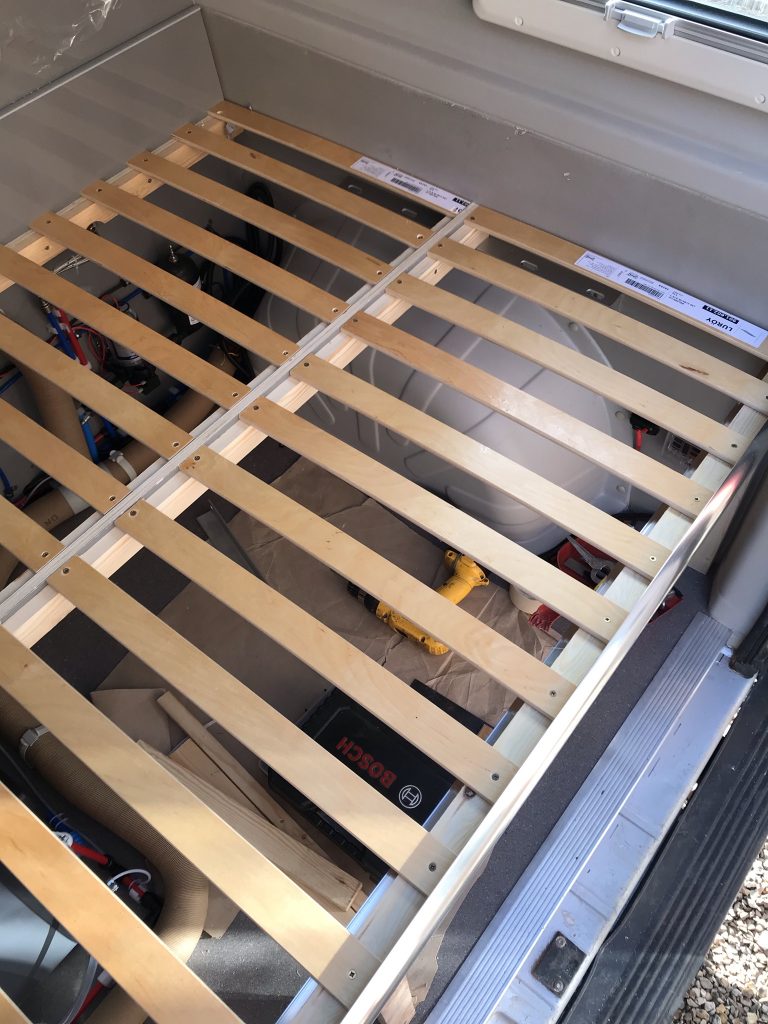
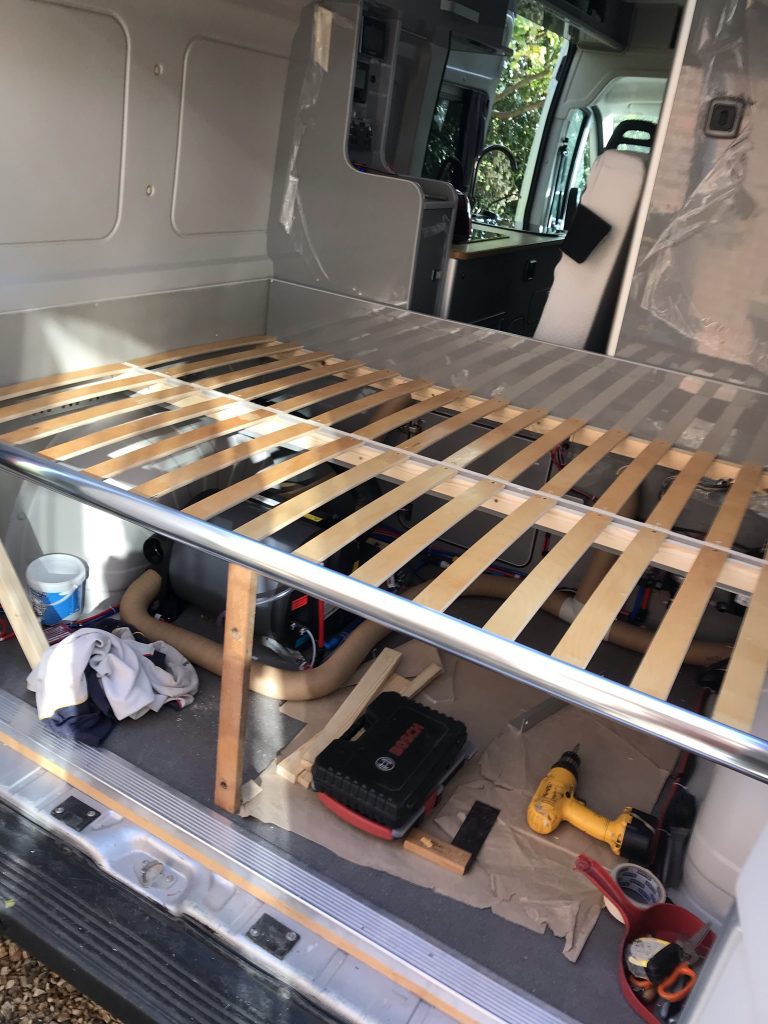
Bed-base: To build the bed base I used 2 X Ikea LURÖY Slatted bed bases at 90×200 cm each (see link below). Its wise not to use a flat board, mattresses need to breath and unless air can circulate then you run the risk of growing mold under your mattress
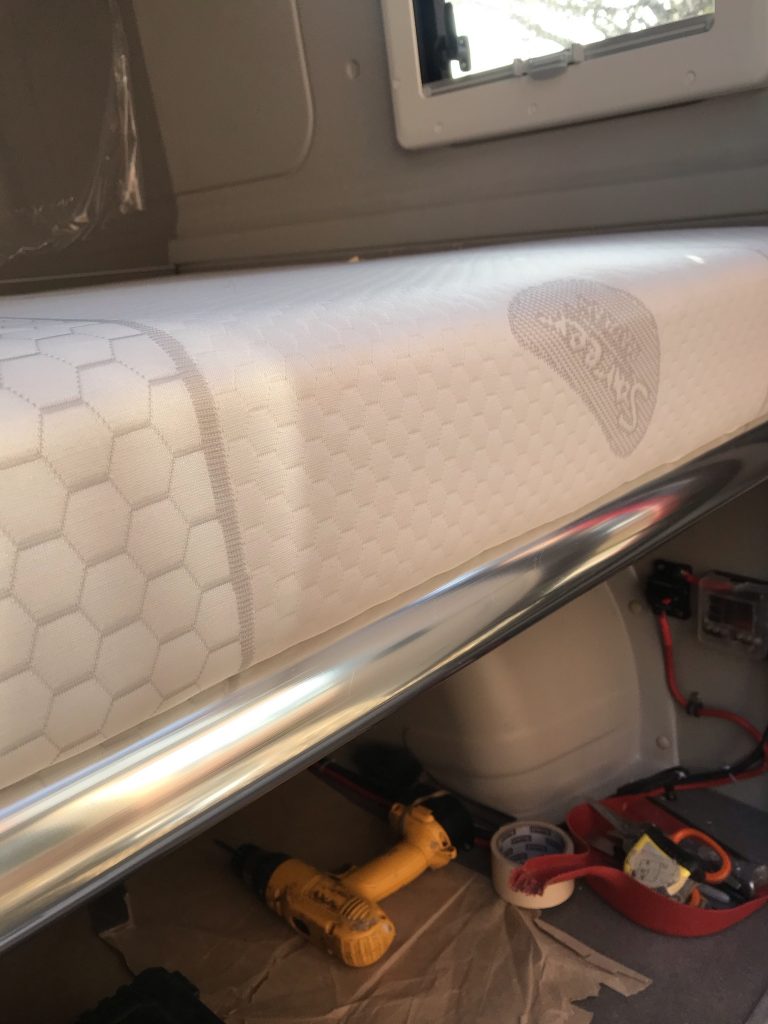
Mattress: For the mattress I used the Sareer Matrah Memory Foam Mattress from Wayfair (see link below). This mattress has a removable cover and because its made from memory foam and doesn’t have any internal springs its also not too thick or heavy (less than 15cm), it can also be rolled-up. Another advantage is that it doesn’t need to be rotated, there is a top and a bottom. Plus is actually very comfortable.
Now its time to increase the size of the Bed
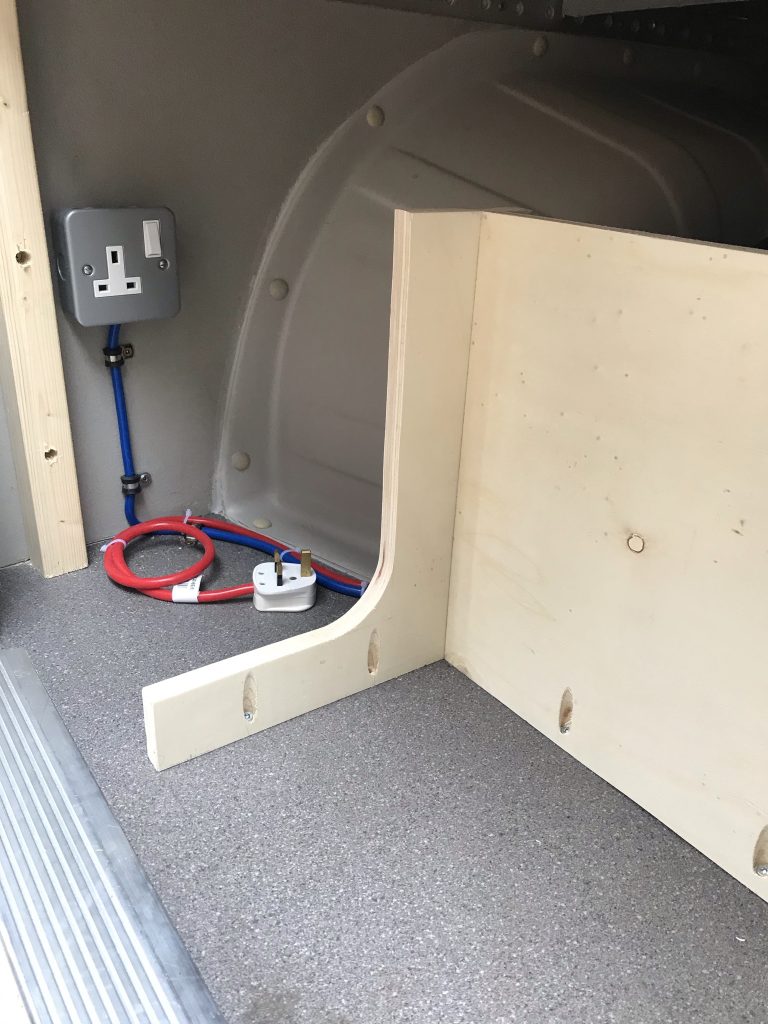
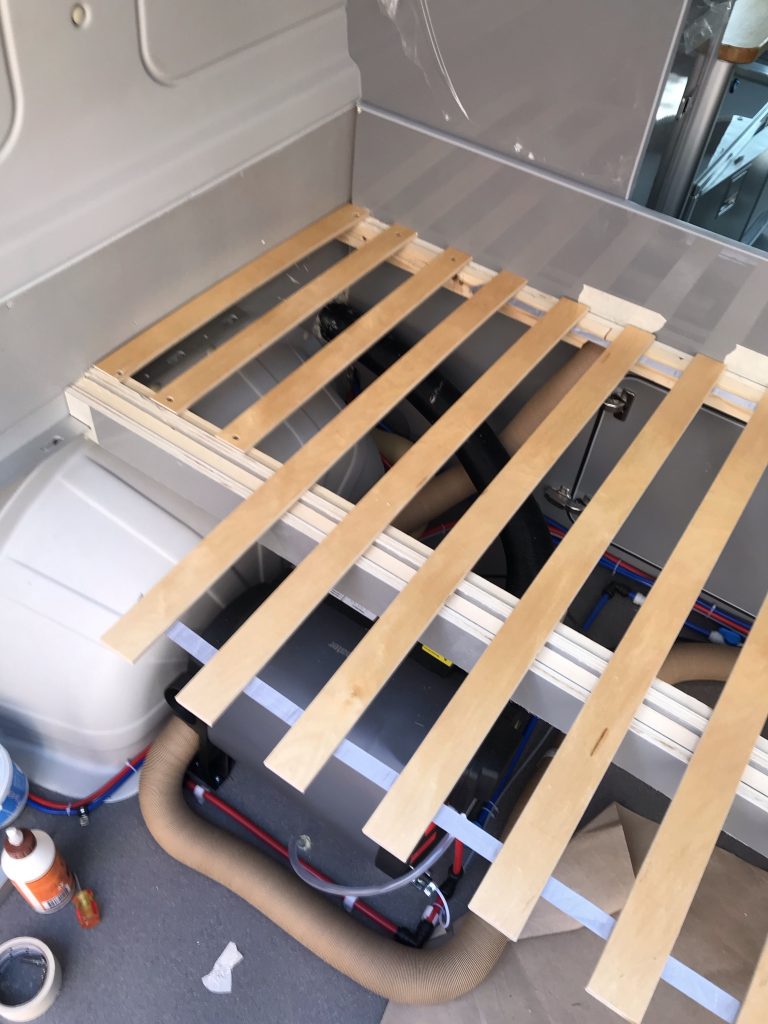
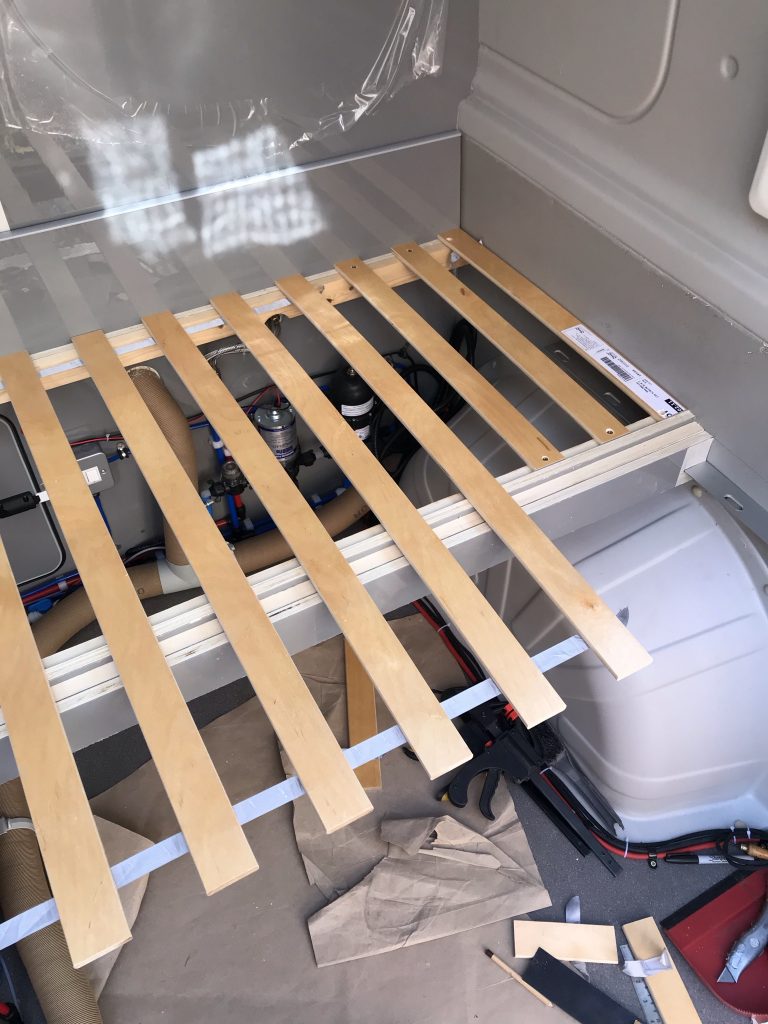
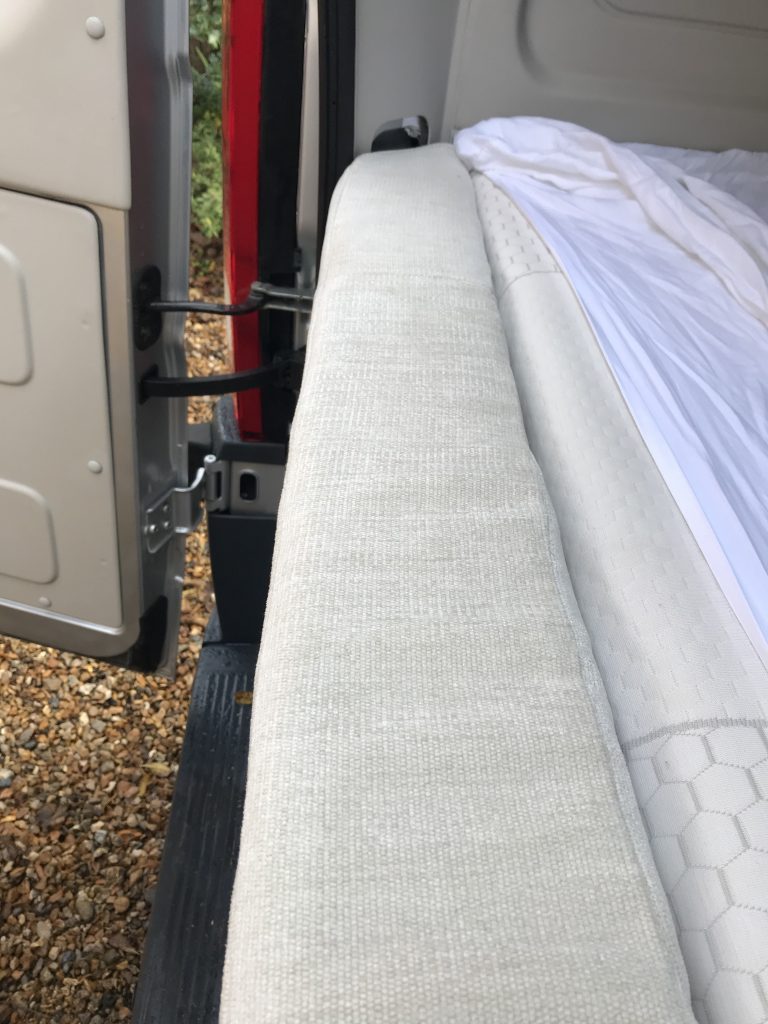
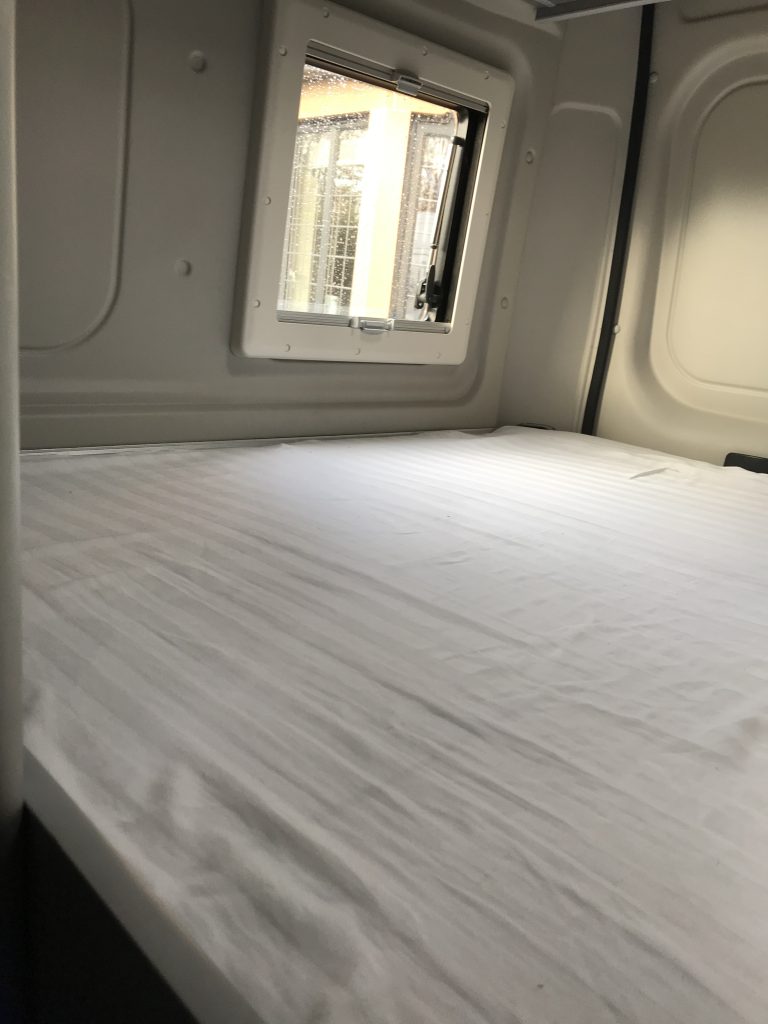
So far I have fitted a small Double Bed (6.3 ft X 4 ft) because this size of bed fits nicely along the flat walls of the van. However, there is a gap between the bed and rear doors, its dead space because the van curves inwards where the access point to the rear lights are located.
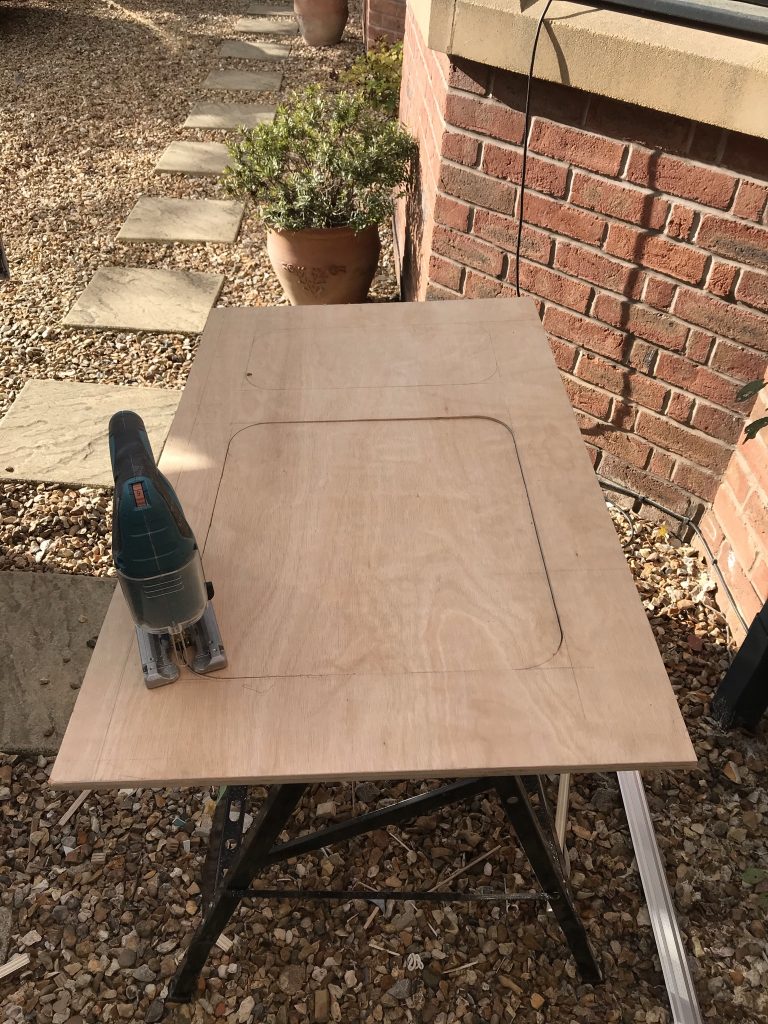
I decided to extend the bed and also have a removable section
Having space at the rear of the bed near the rear doors is handy if you want to transport something tall. So it seemed a good idea to make a section that once fitted can be removed.
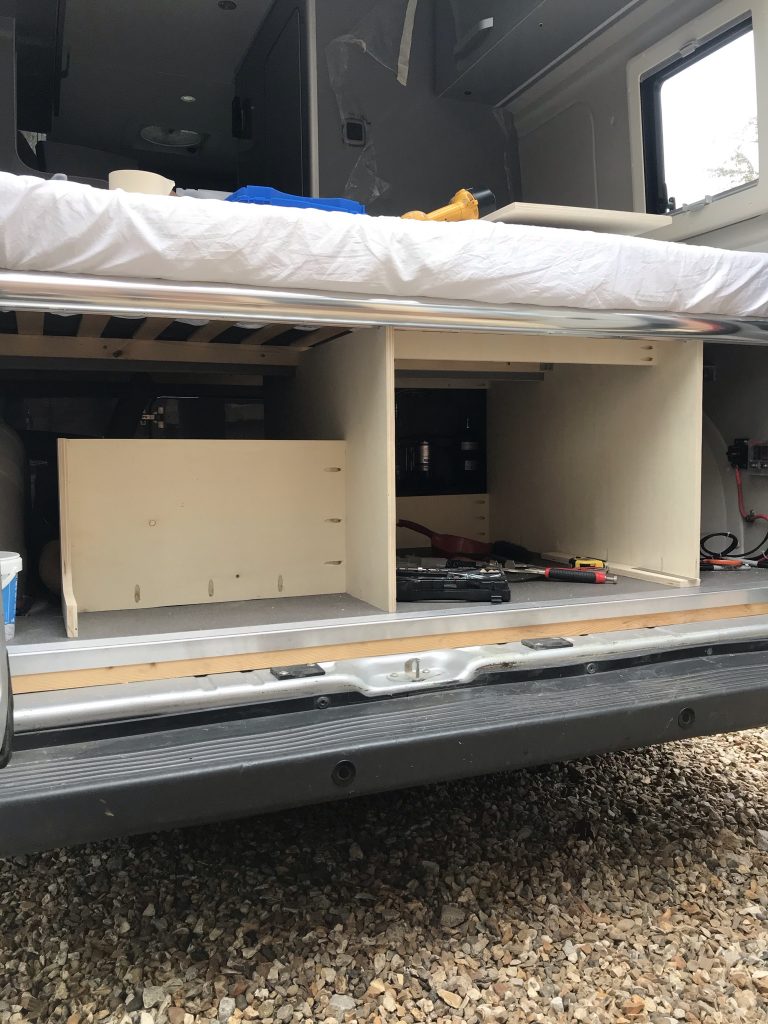
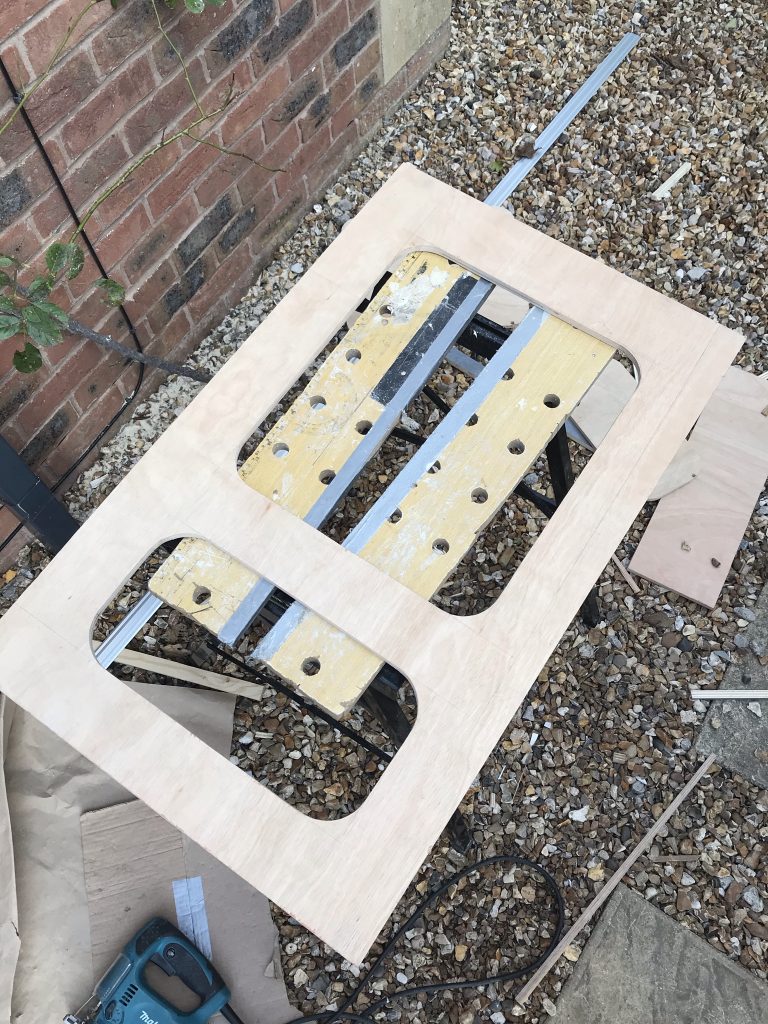
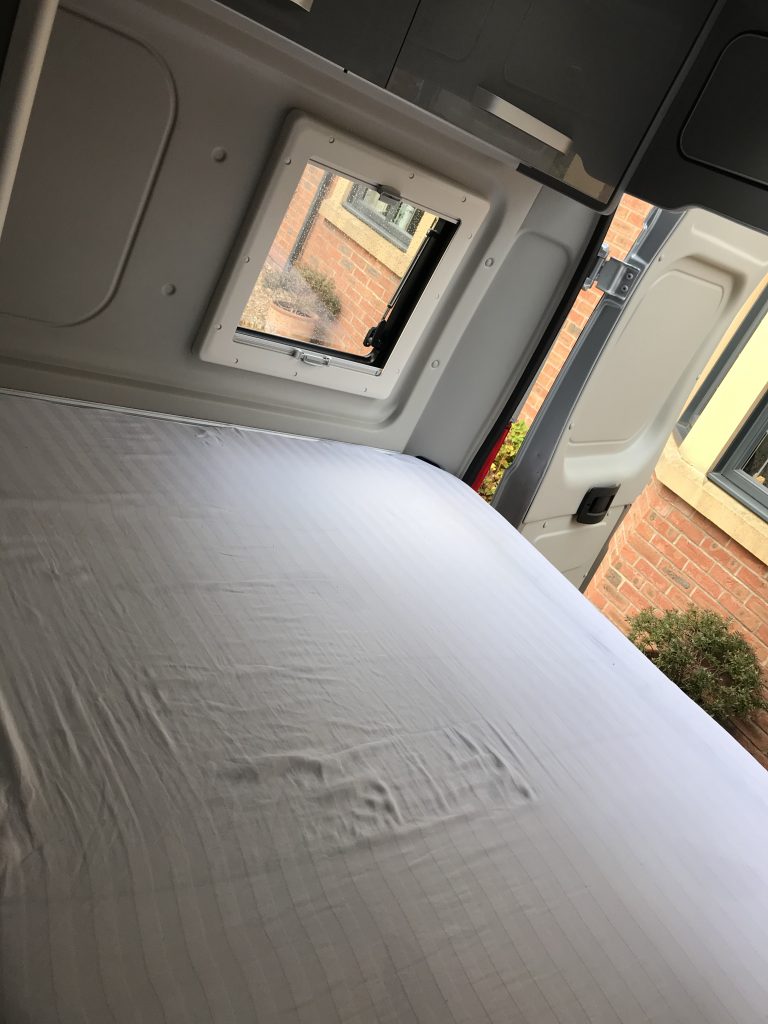
The addition may look small but it makes a huge difference
The additional section I made didn’t look that large but once it was fitted I could see it made a very big difference, I went from a Small Double (6.3 ft X 4 ft) to a Full Size Double or Std Double (4 foot 6 inches X 6 foot 3 inches)
IKEA LURÖY Slatted bed base90x200 cm
https://www.ikea.com/gb/en/p/luroey-slatted-bed-base-90160211/
Wayfair Sareer Matrah Memory Foam Mattress
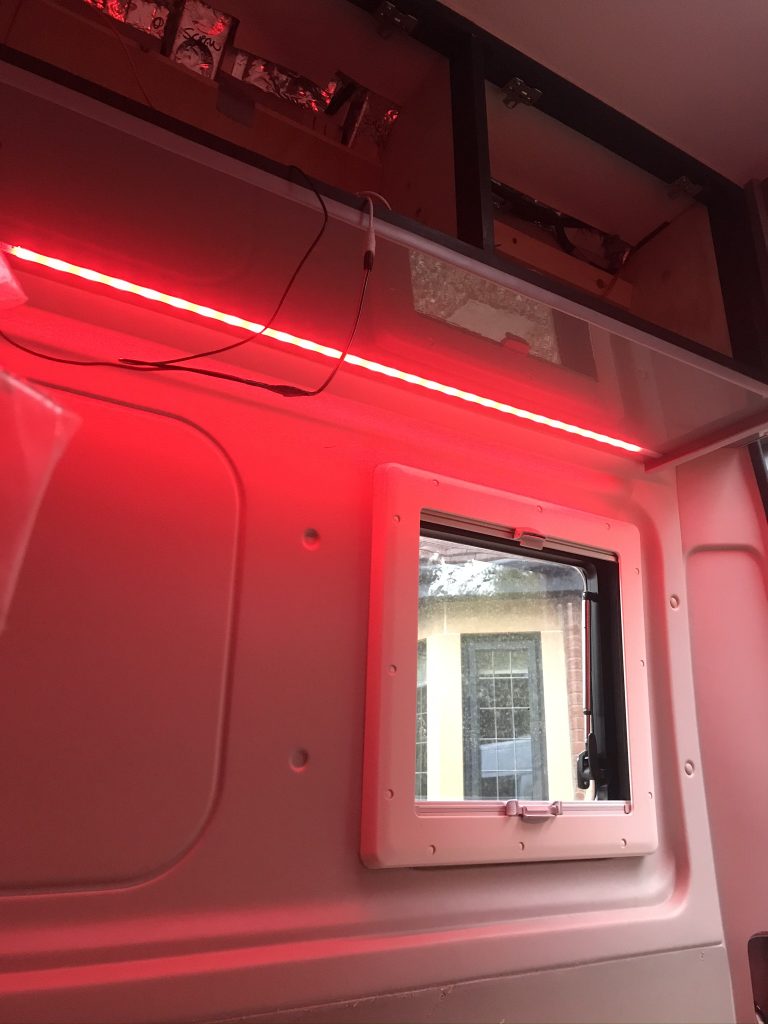
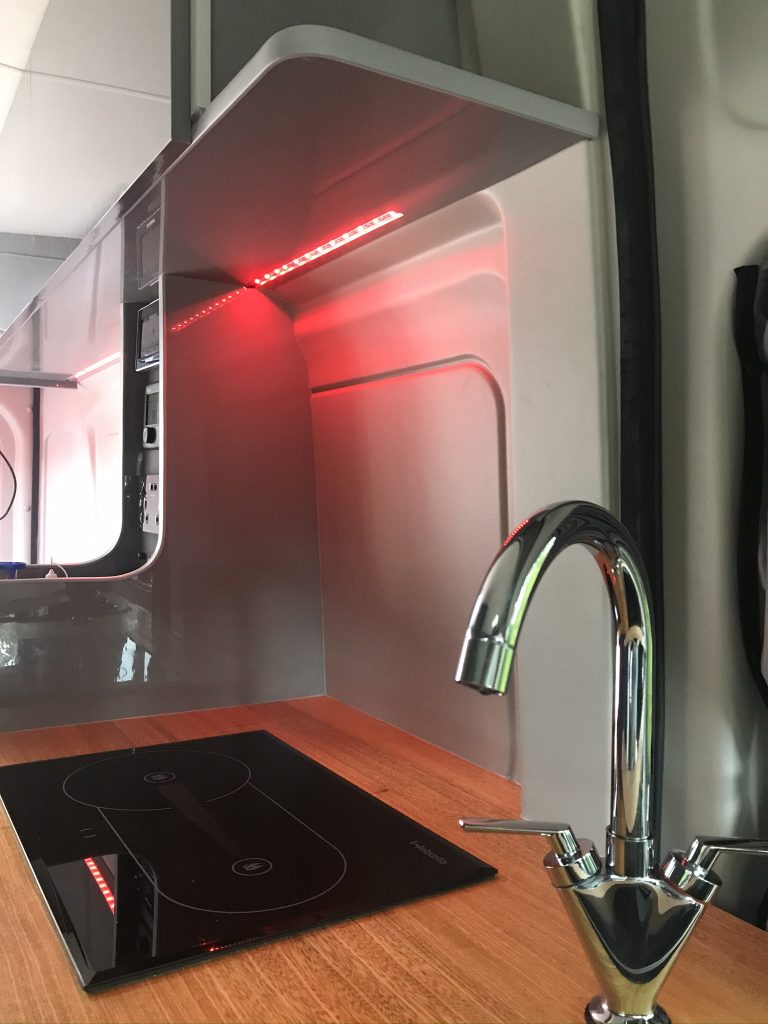
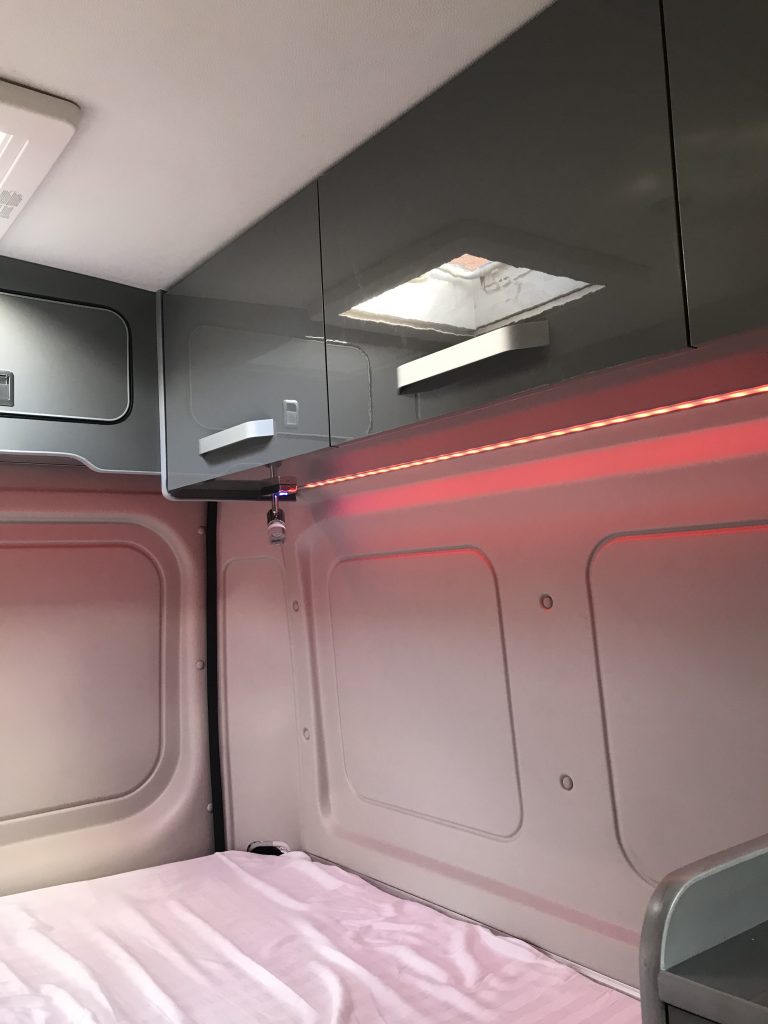
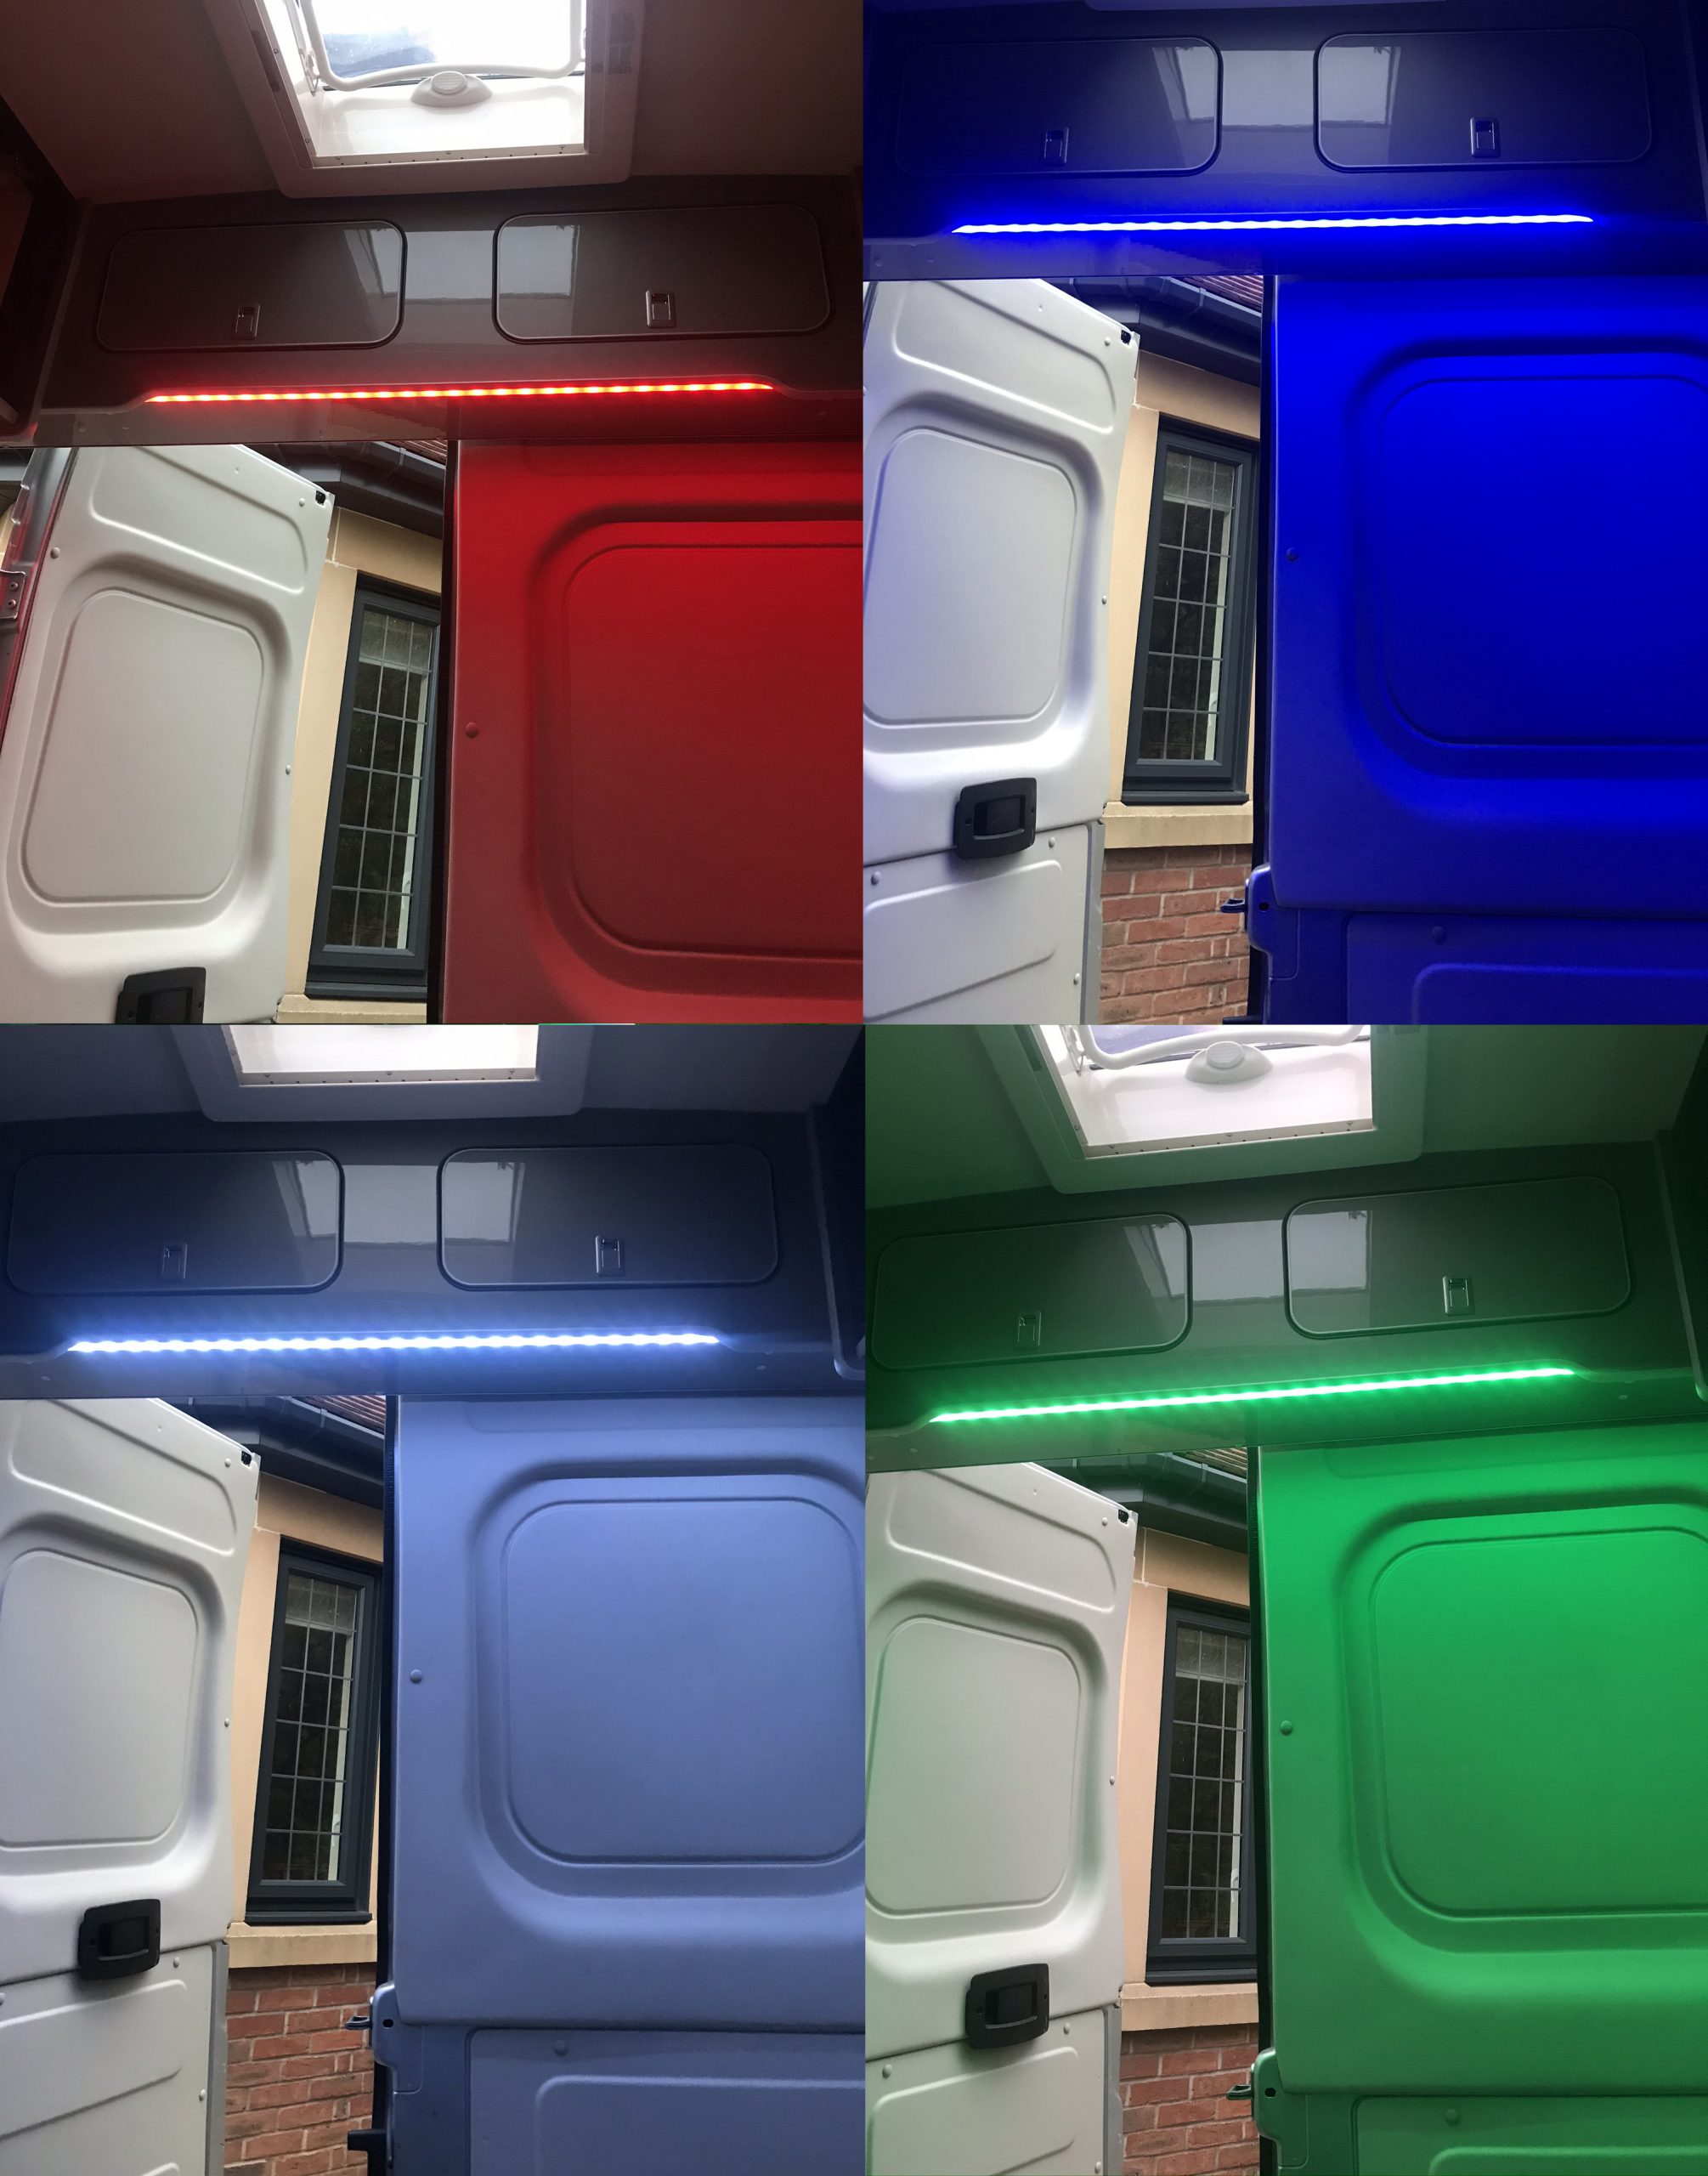
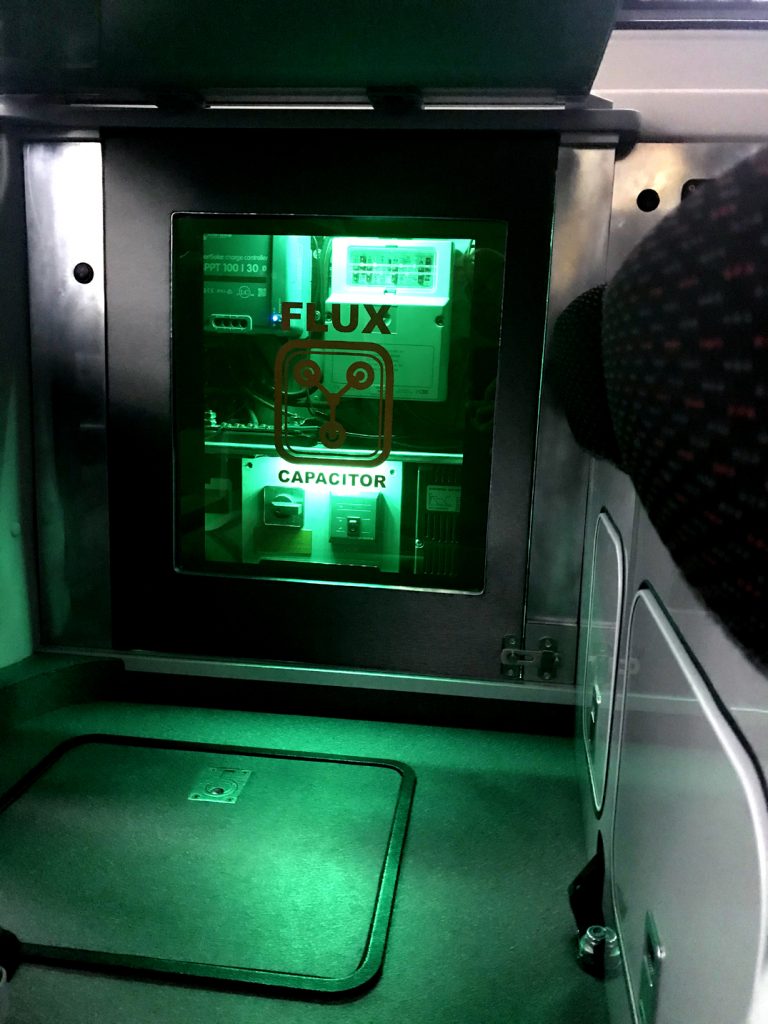
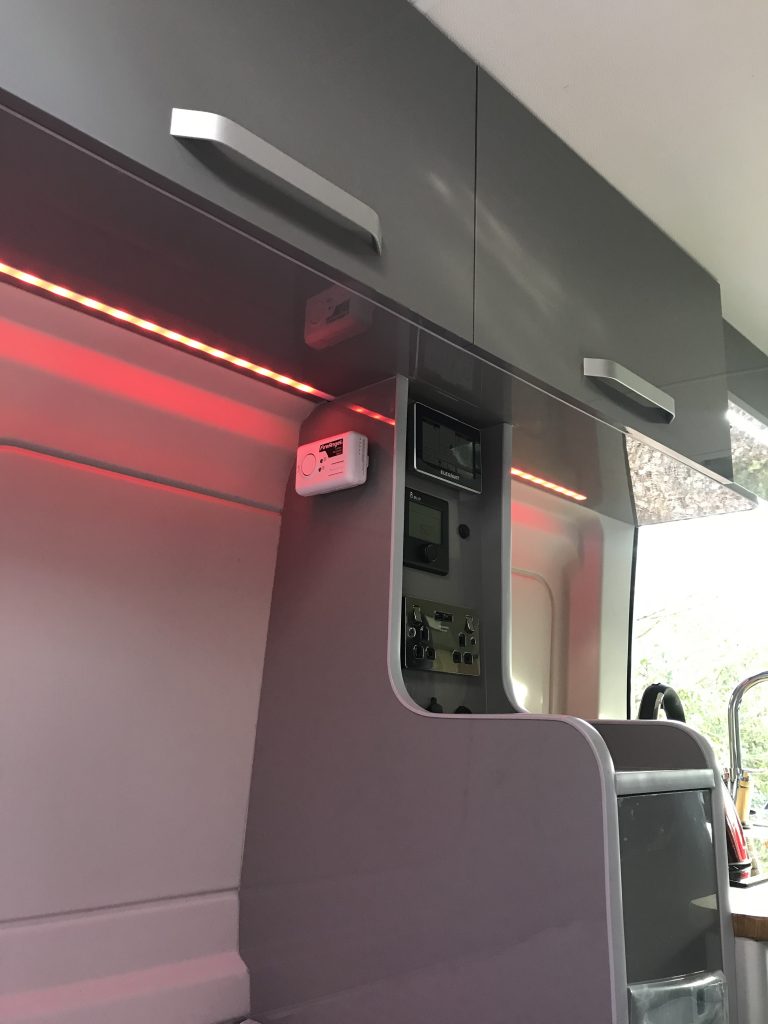
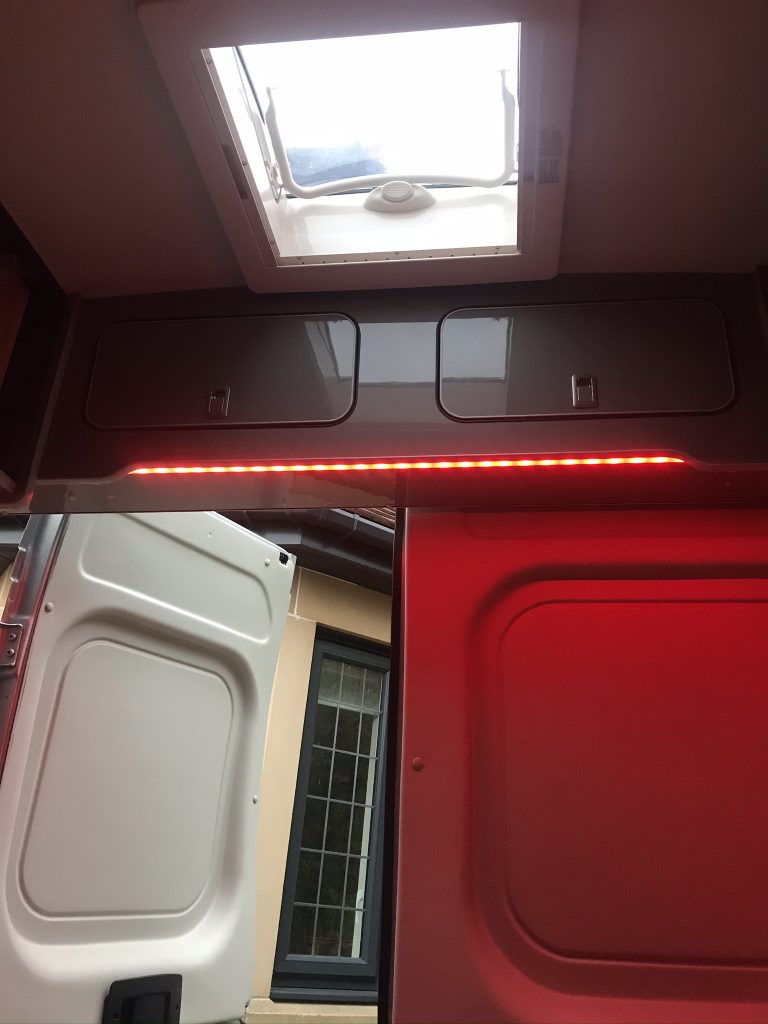
This section is about fitting multi-coloured LEDs. If you arent sure whether to select plain white or multicoloured then one of the advantages of multi-colour LEDs is that you get both, White and Coloured. The other advantage is that you get a full spectrum of colours that you can control via a phone app, the range of colours is massive.
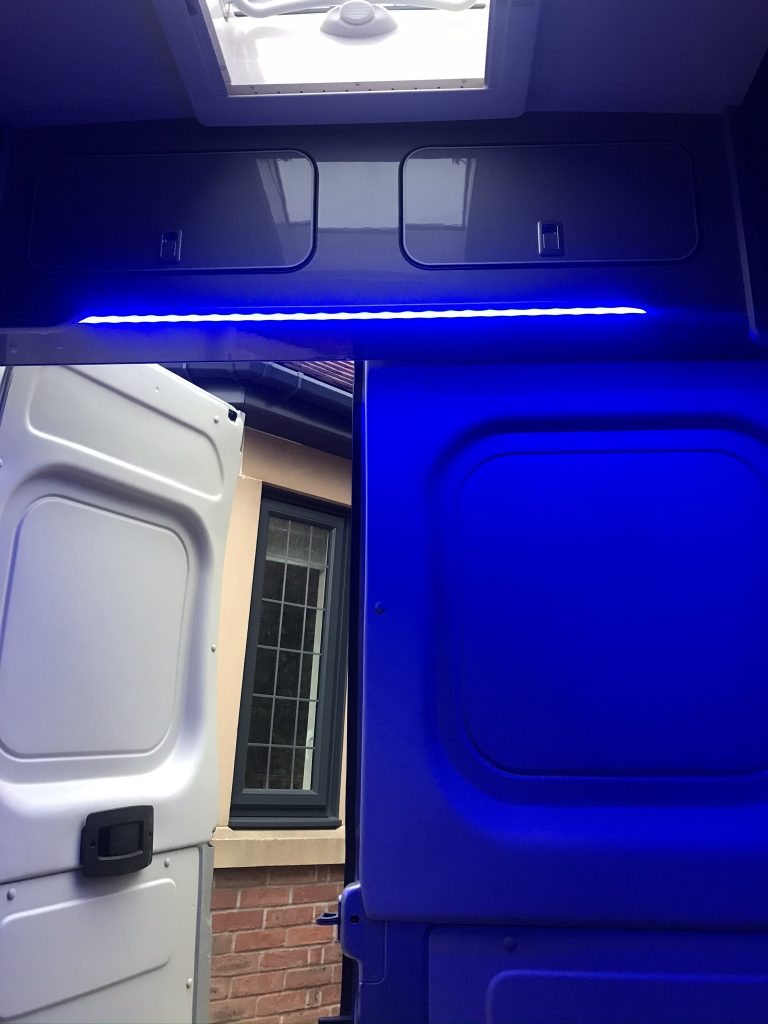
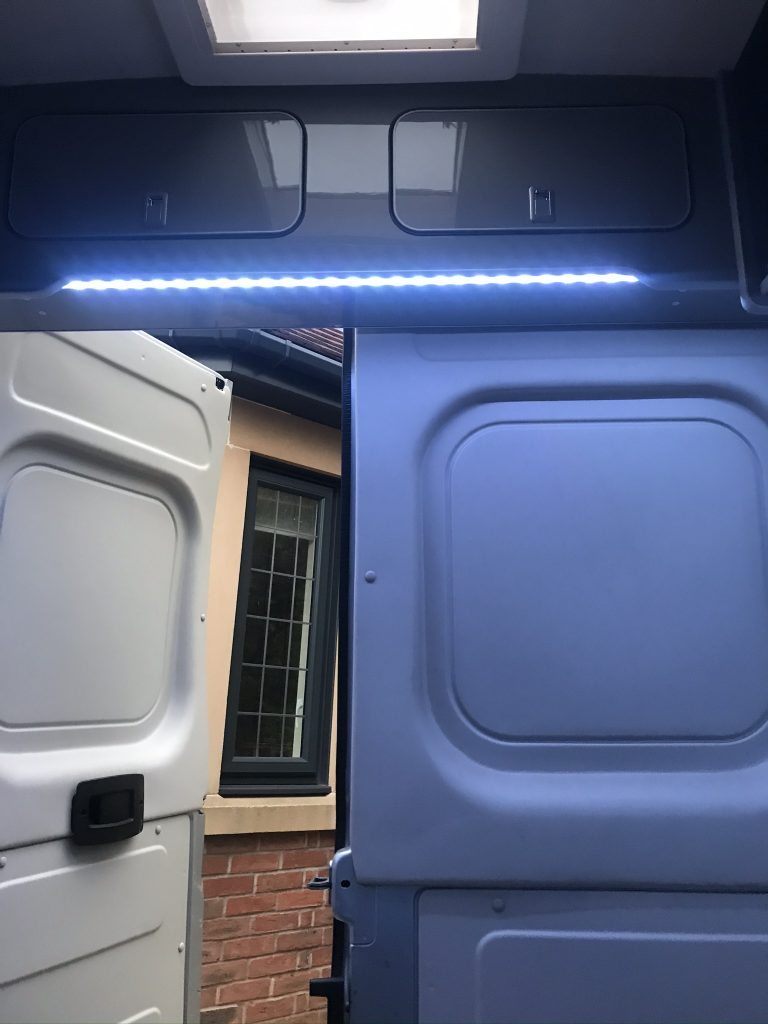
Below are a few of the base colours, not everyone’s cup of tea, but remember you can select almost any colour you can imagine so if you want soft tones then there is an option for this. A comparison is shown below, note the deep blue and the soft blue.

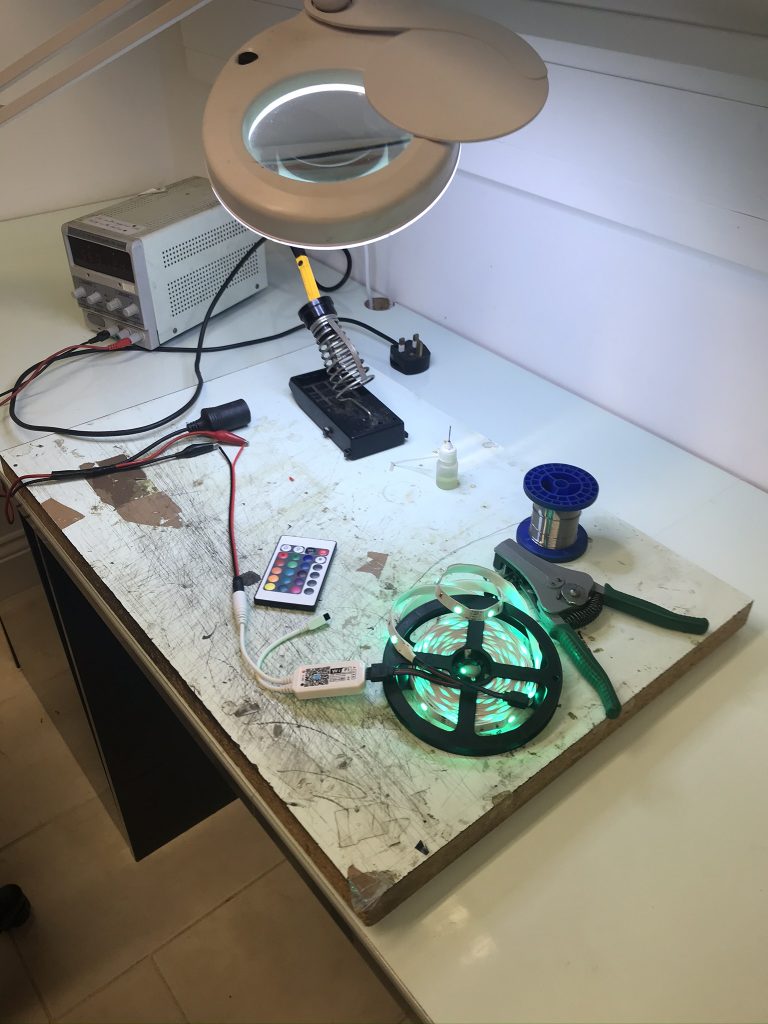
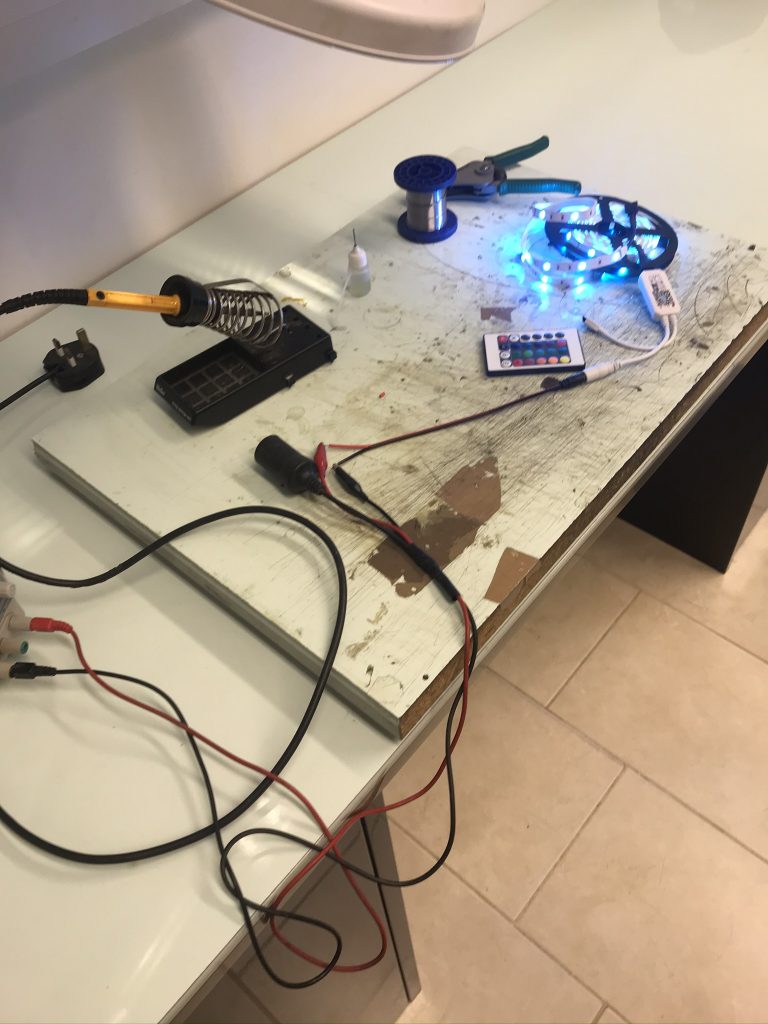
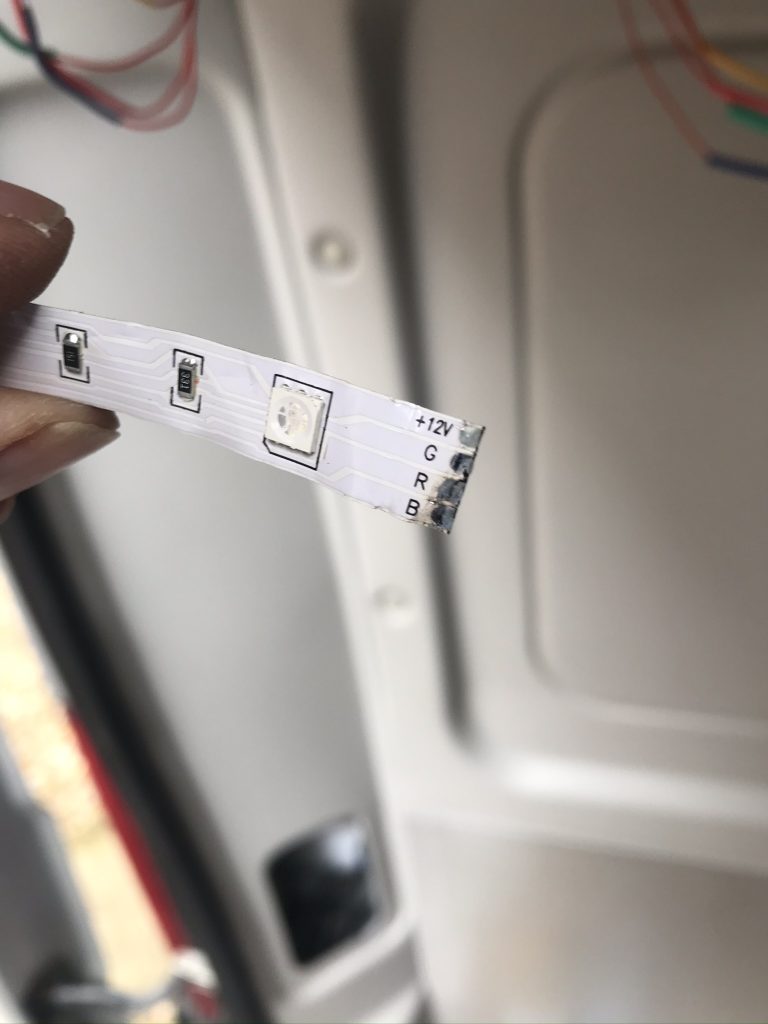
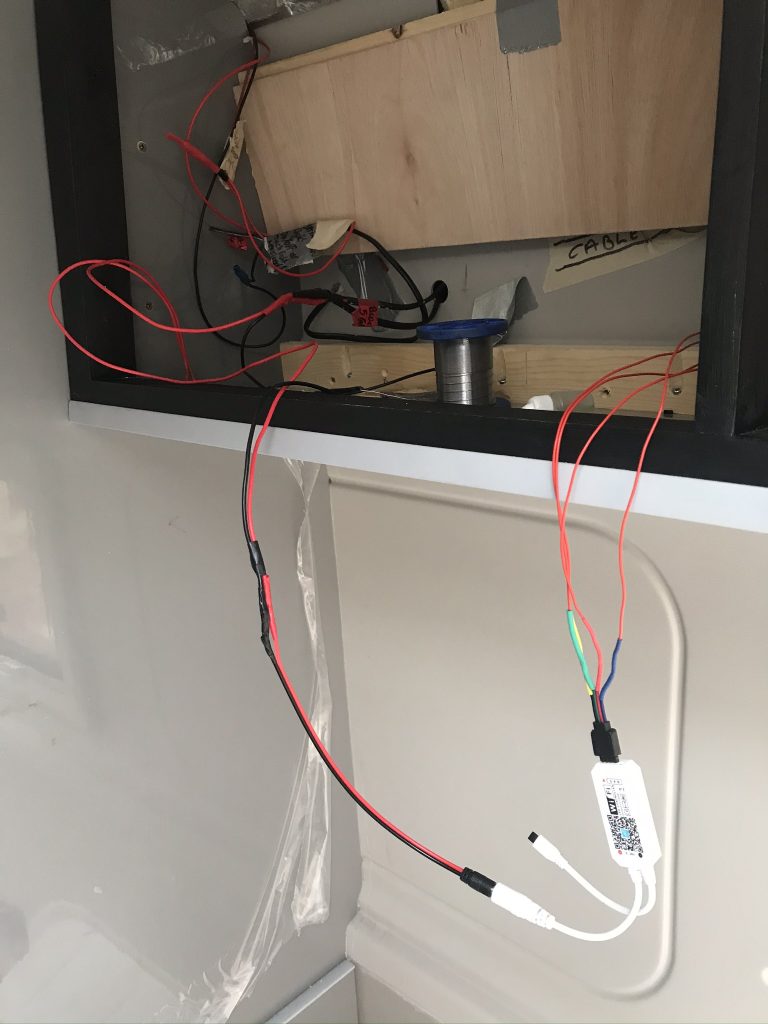
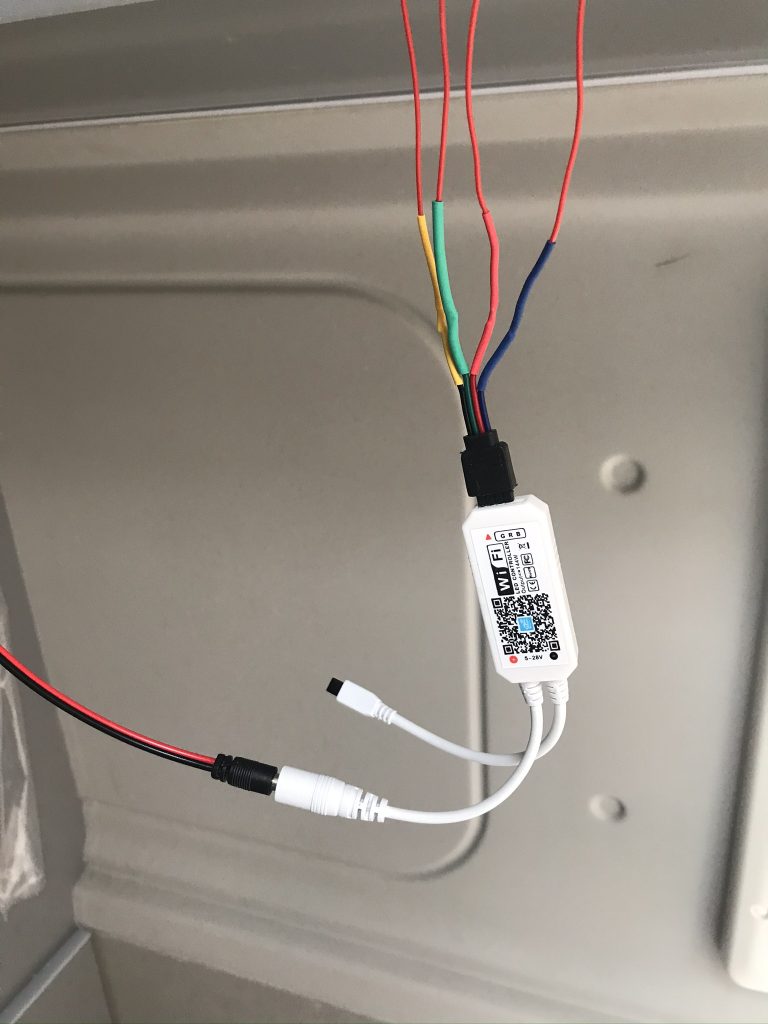
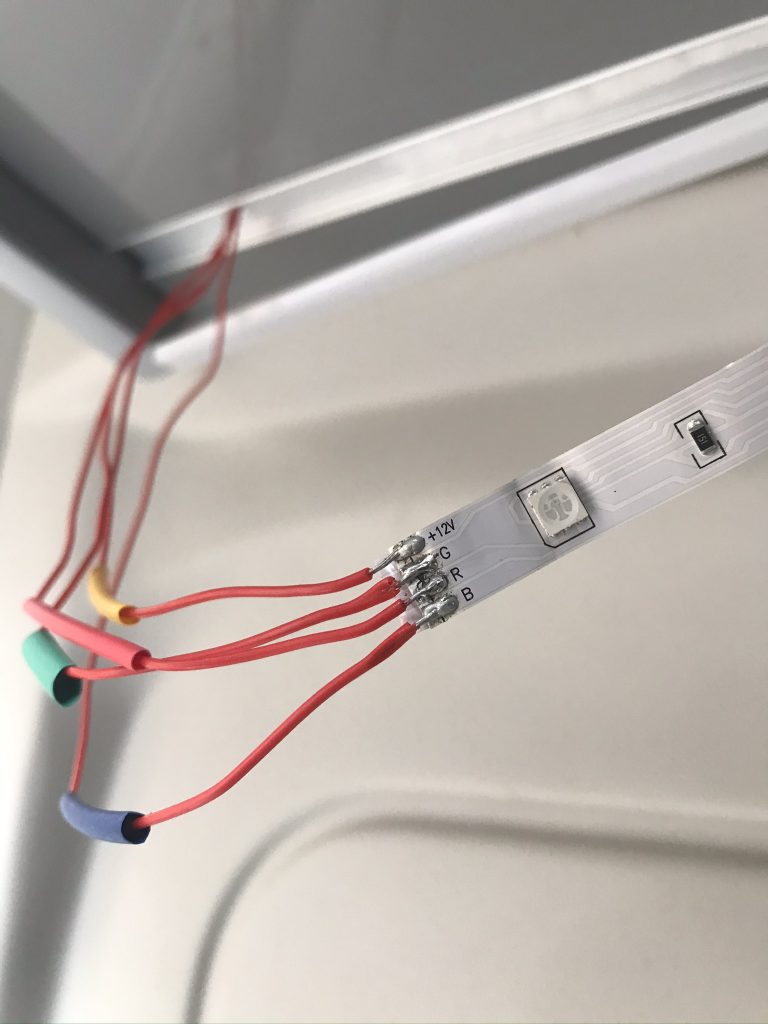
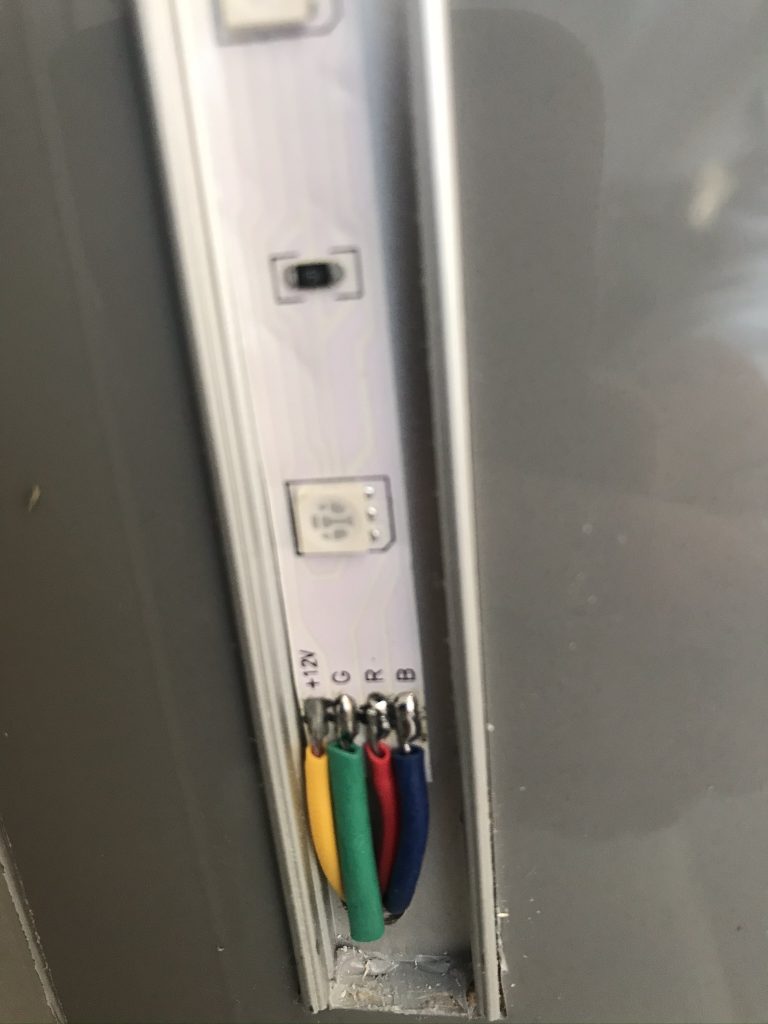
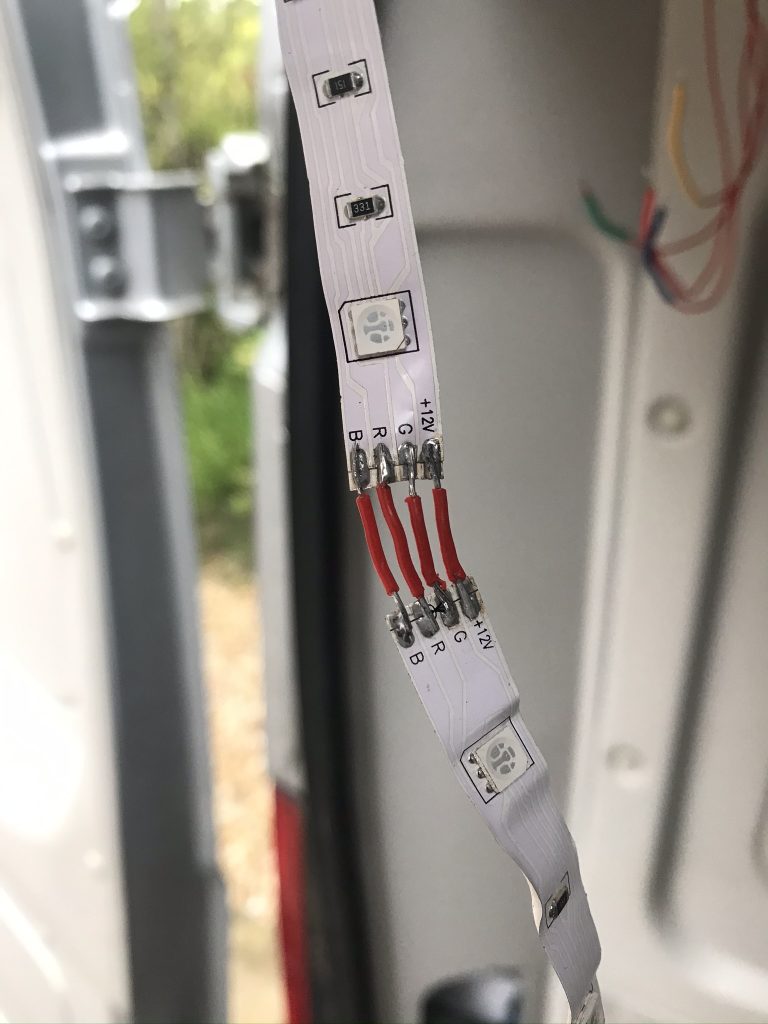
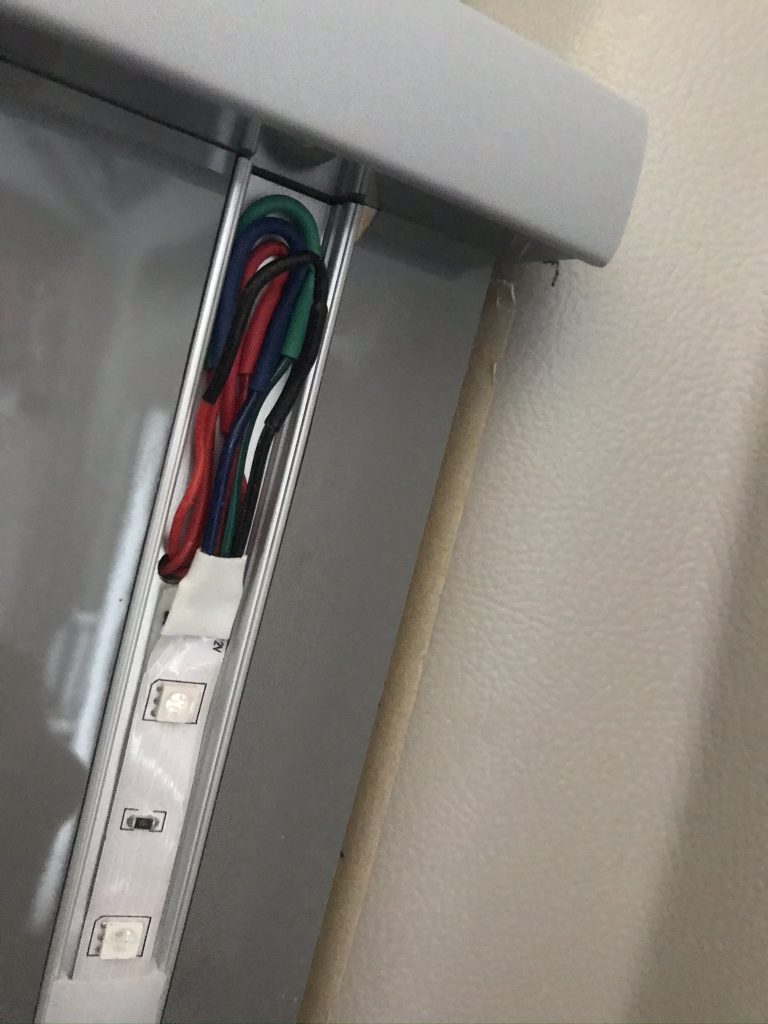
Below: You can buy connector blocks which are easy to fit but I prefer to solder my own connections. I protected the connections with a Hot Glue Gun so they dont short if the strip was to come loose.