6152 Case Polishing

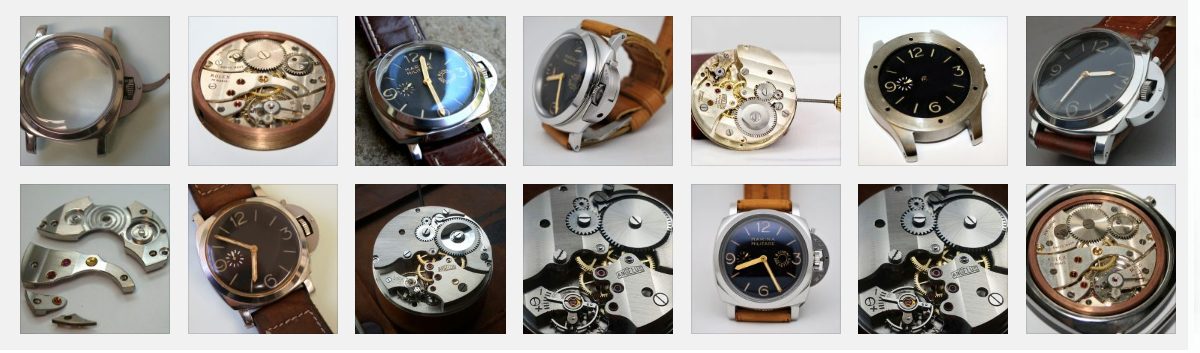
There also a great step-by-step tutorial just above this post. To find it, go to “6152 Project” at the top of this page and look for the drop-down box. There are over 80 images that take you through every stage.

How to build the 6152 step-by-step using the Nightwatch 6152 Case:

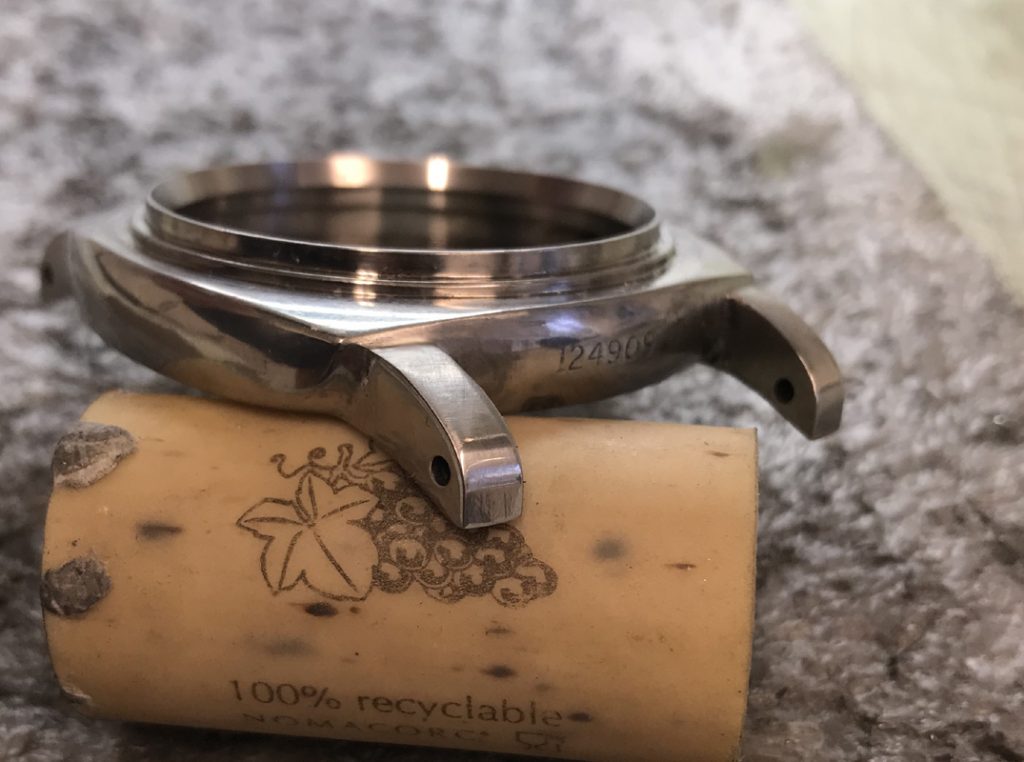
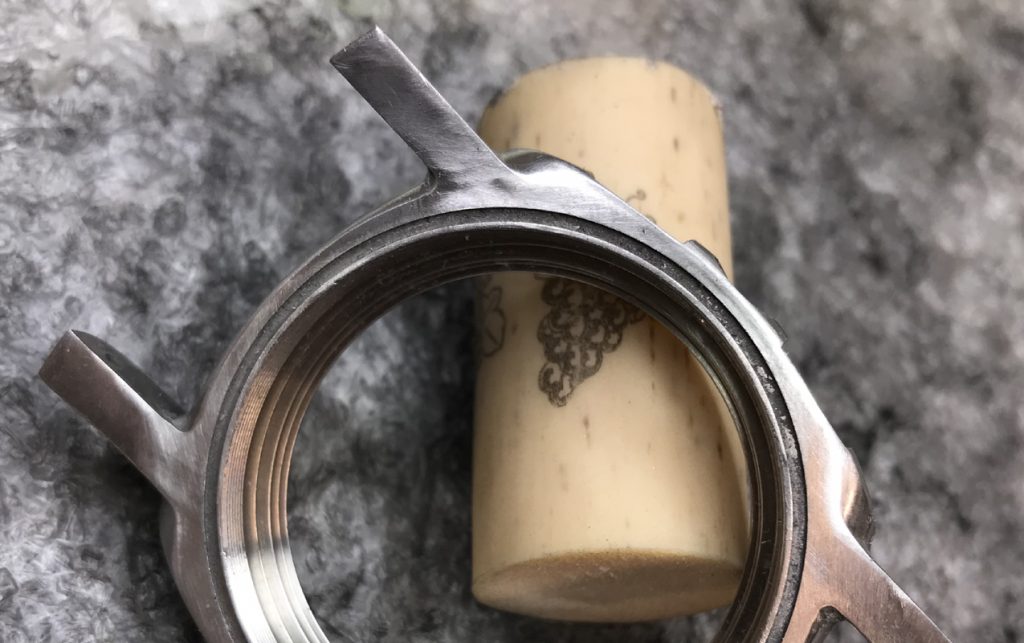
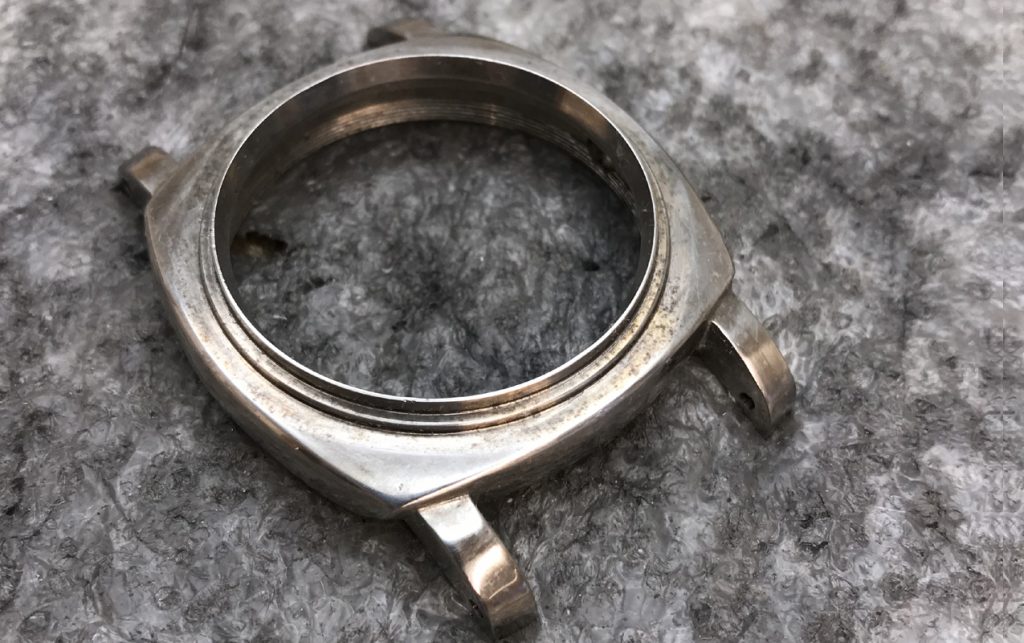
This section shows how to polish and age the case

Paper is all you need: You can use an industrial polisher to finish your case but this will give a “brand new shine” depending on which grade of buffing wheel you use. Below I will finish this case using only wet and dry grit paper. When done correctly it will give a low-level shine as you would expect on a watch that is over 50 year old

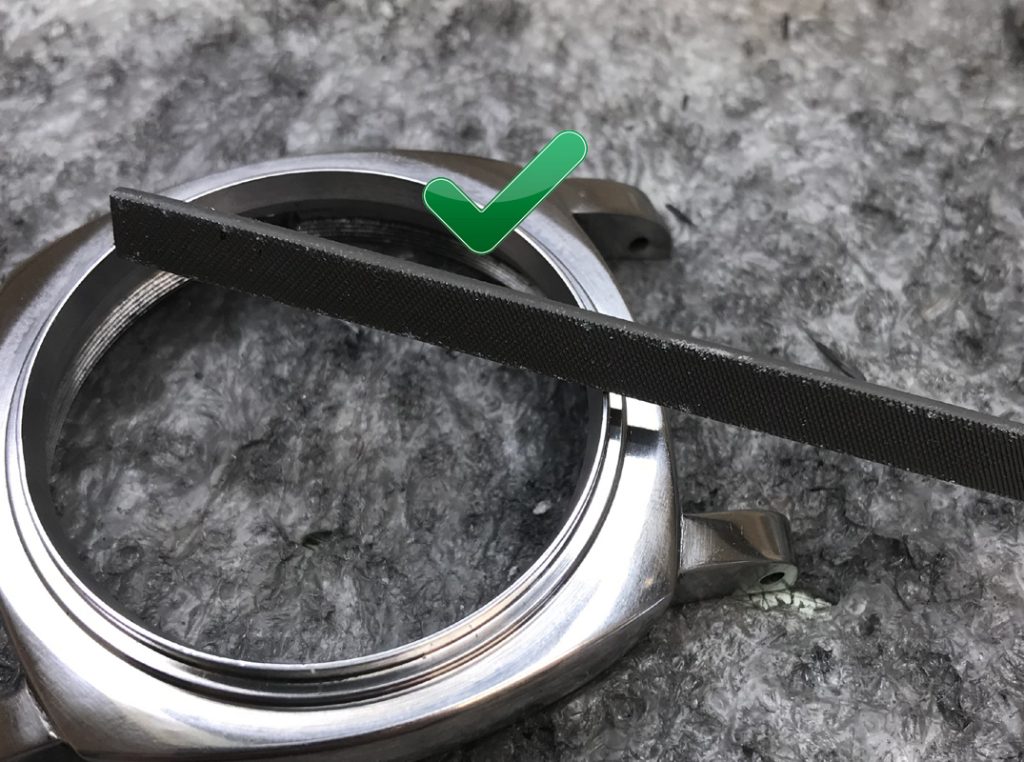
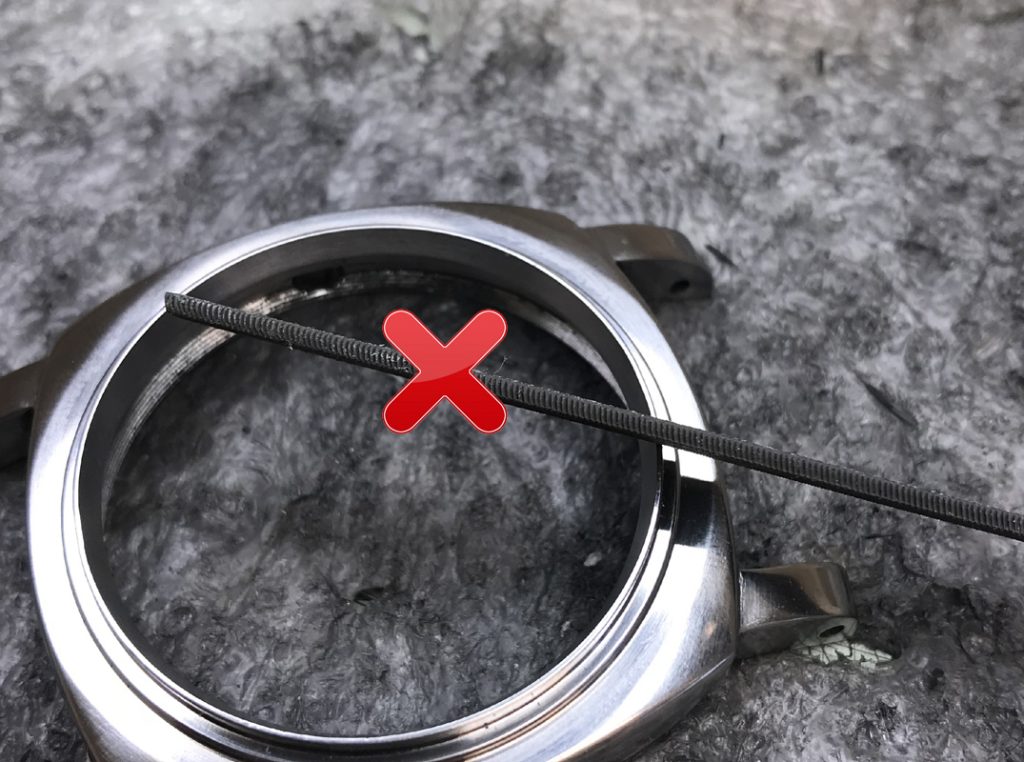
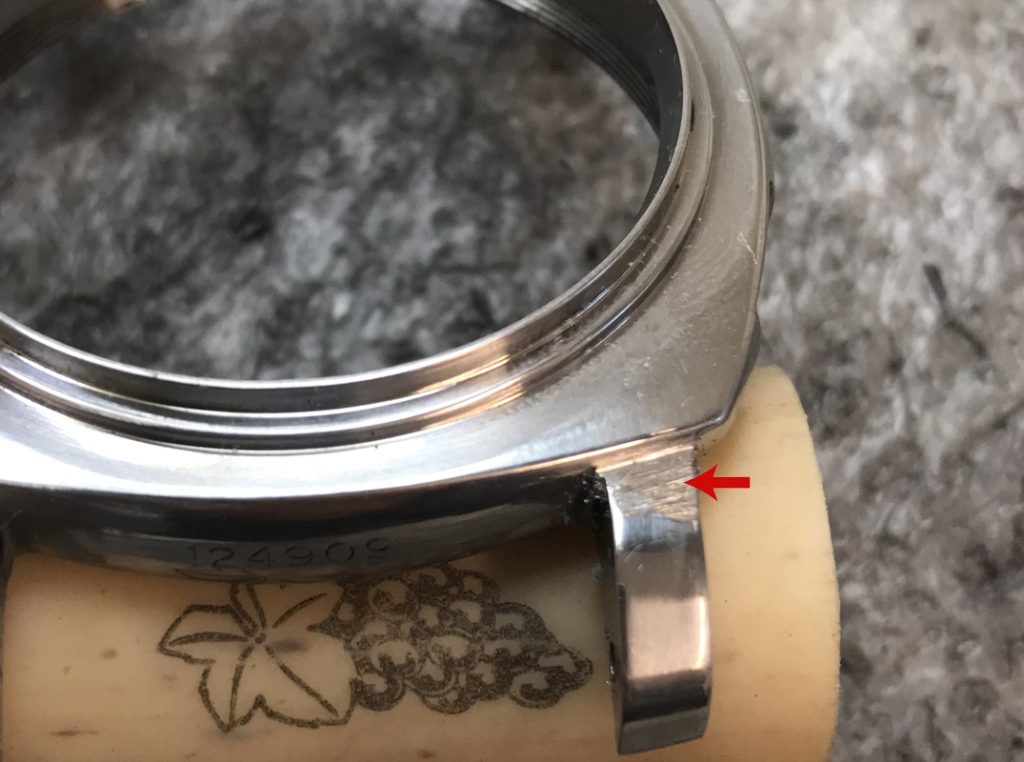
Below: Start by rubbing the case with P400 wet and dry

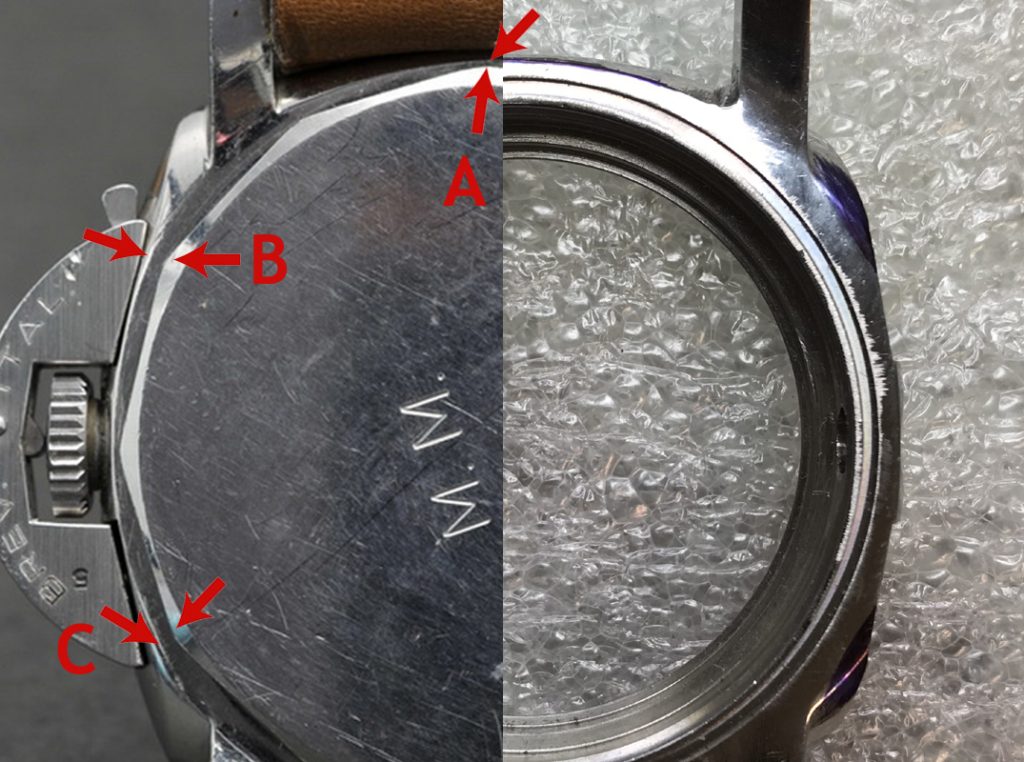
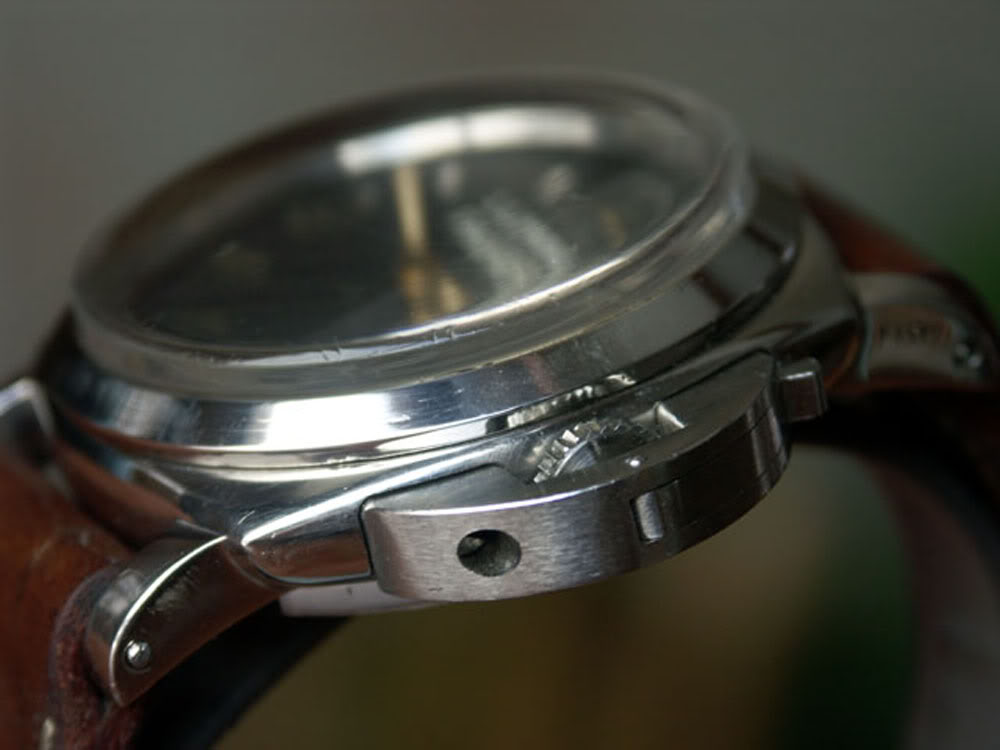
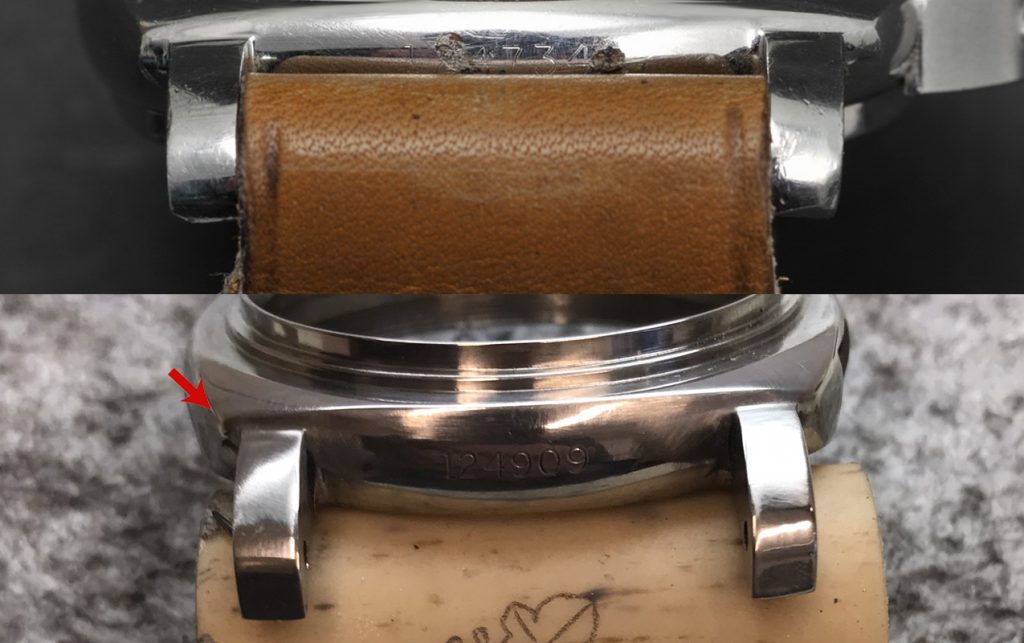
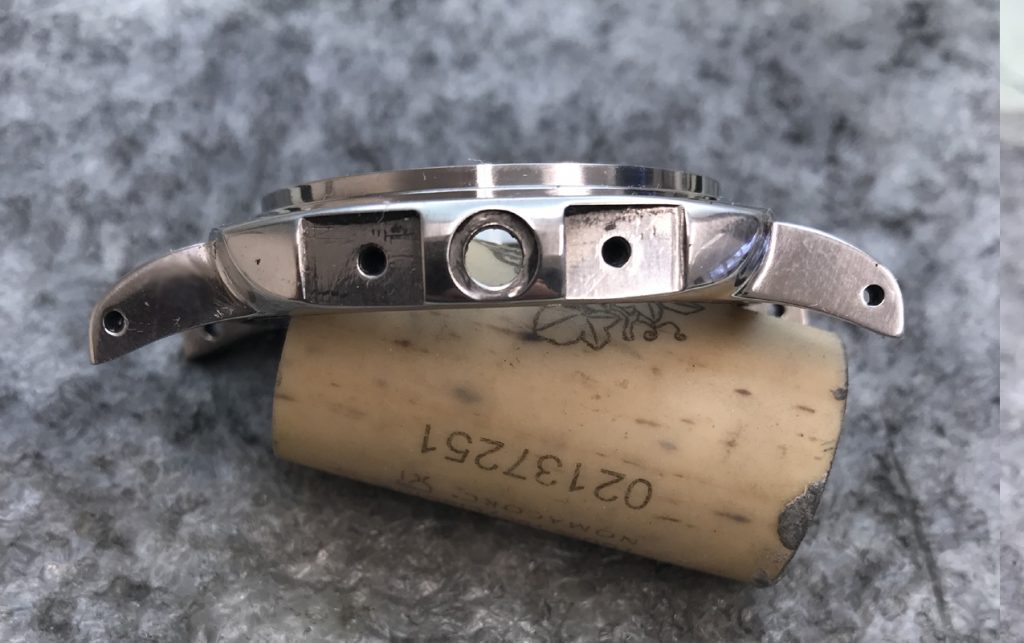
Below: This image shows a case thats been polished using a machine. This is fine but it does look too new.

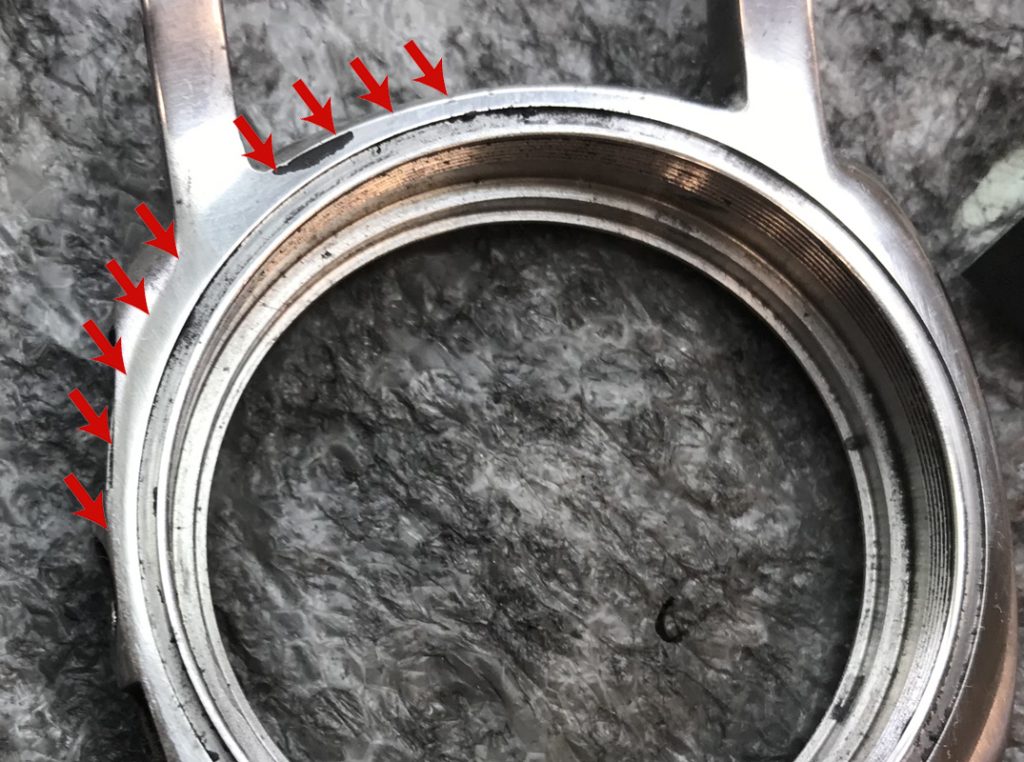
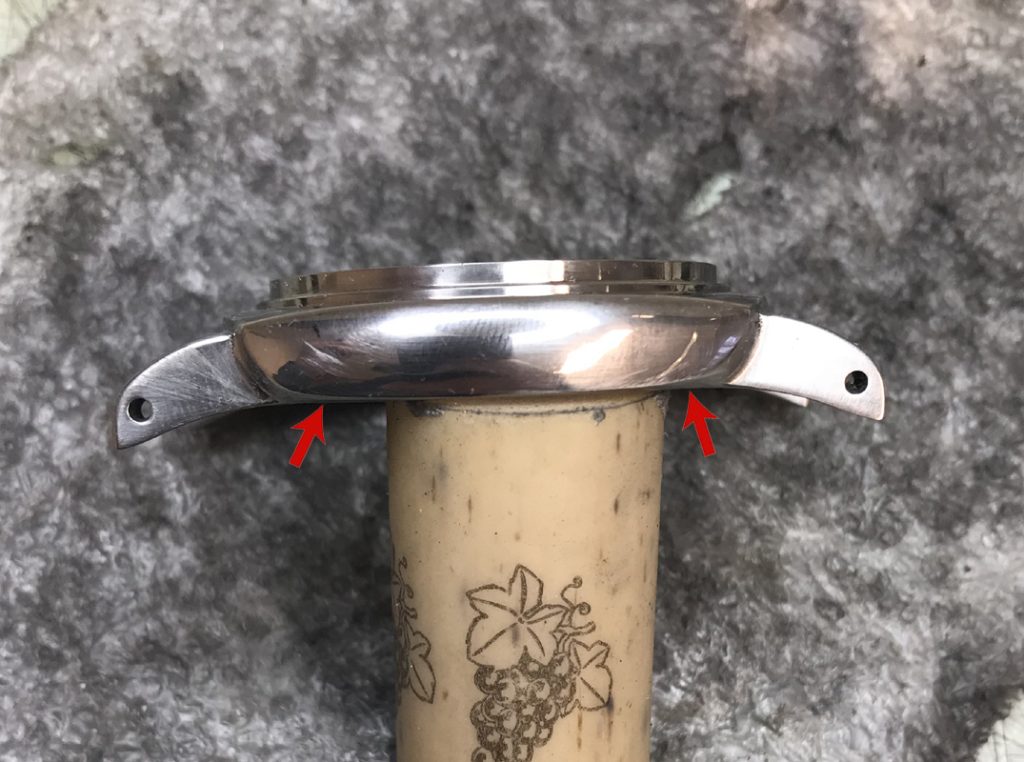
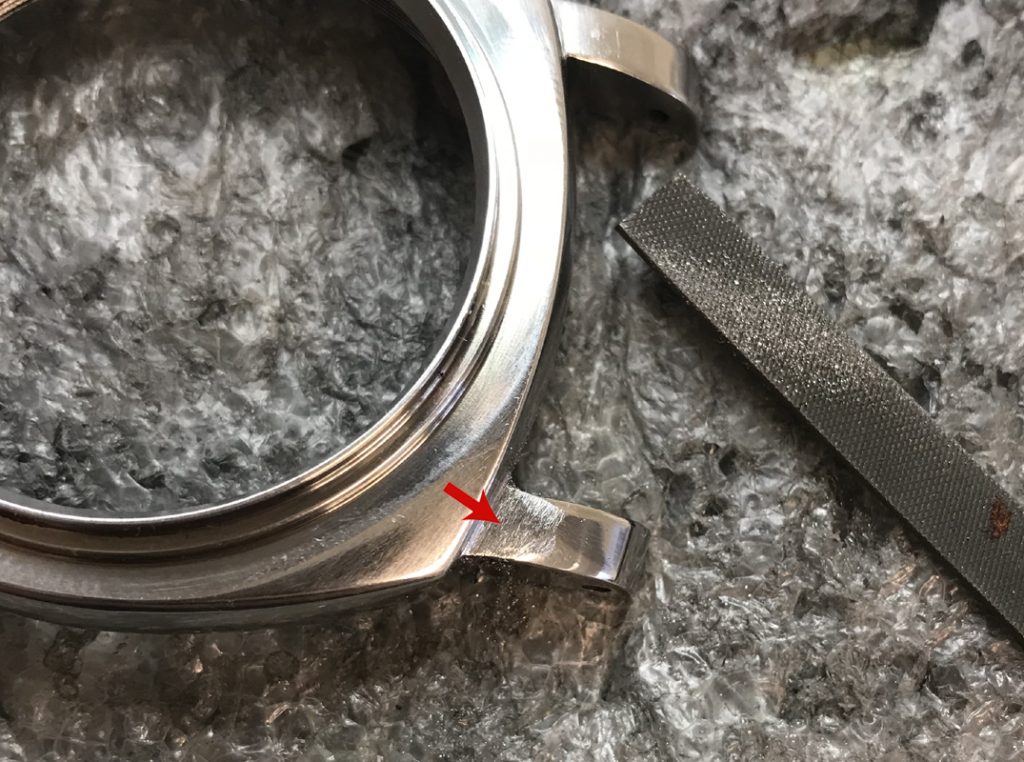
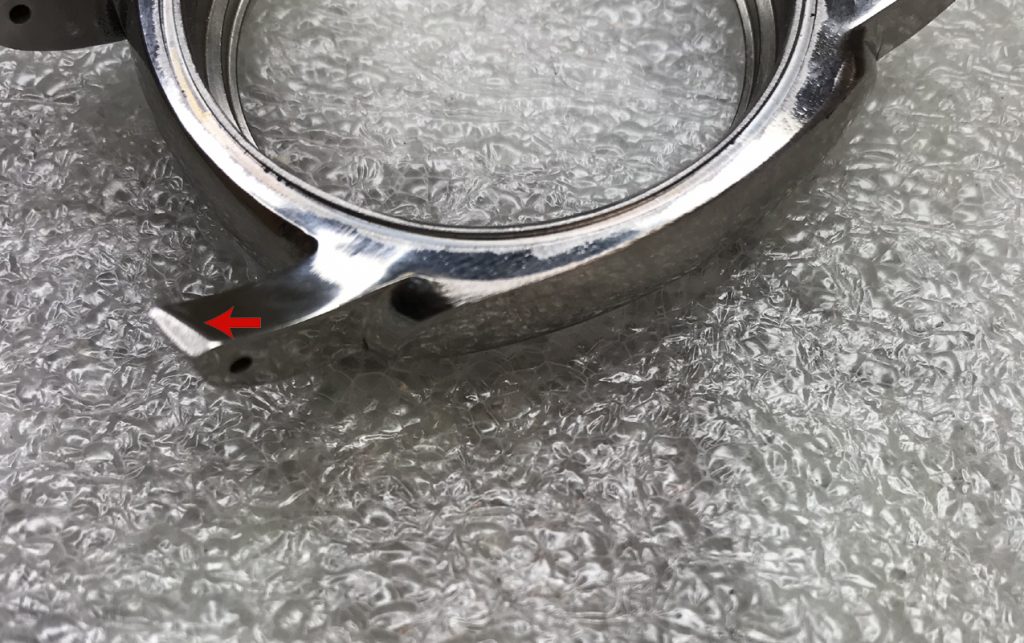
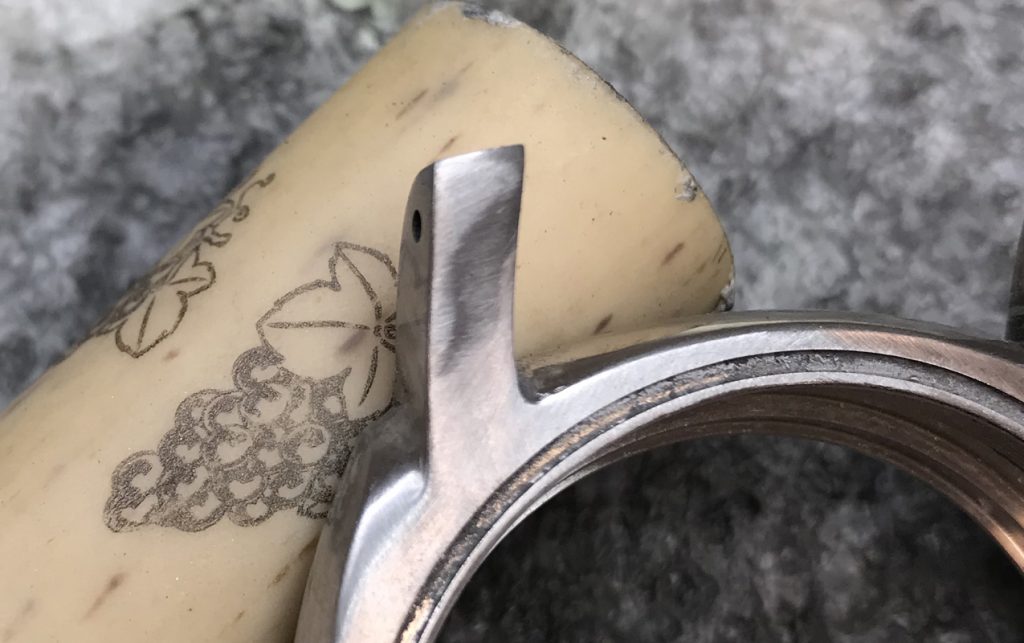
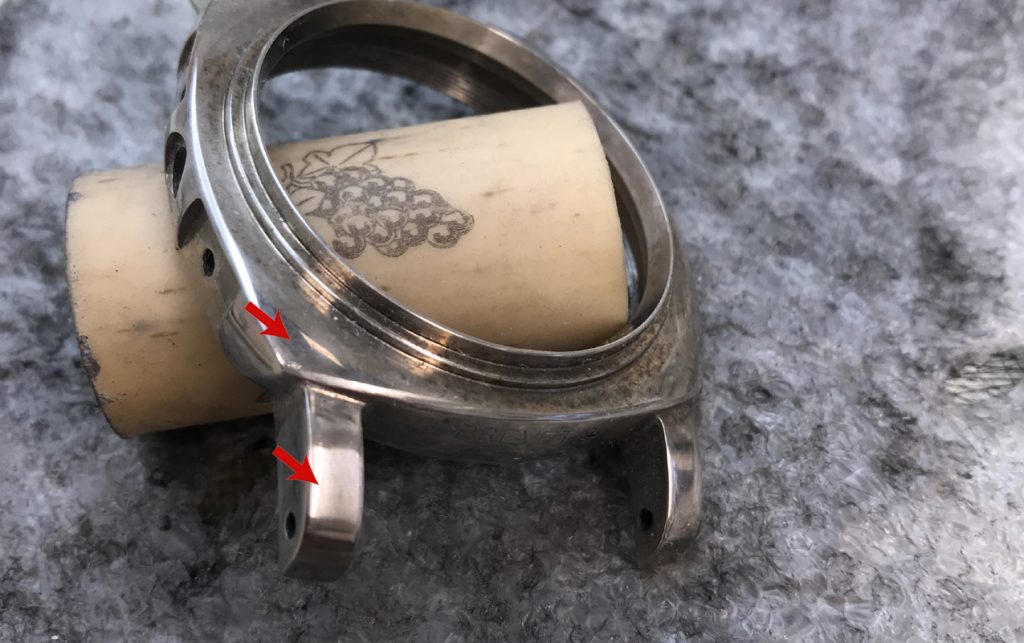
Below: When you polish the case you will start to see any errors you have made. Get them all out.

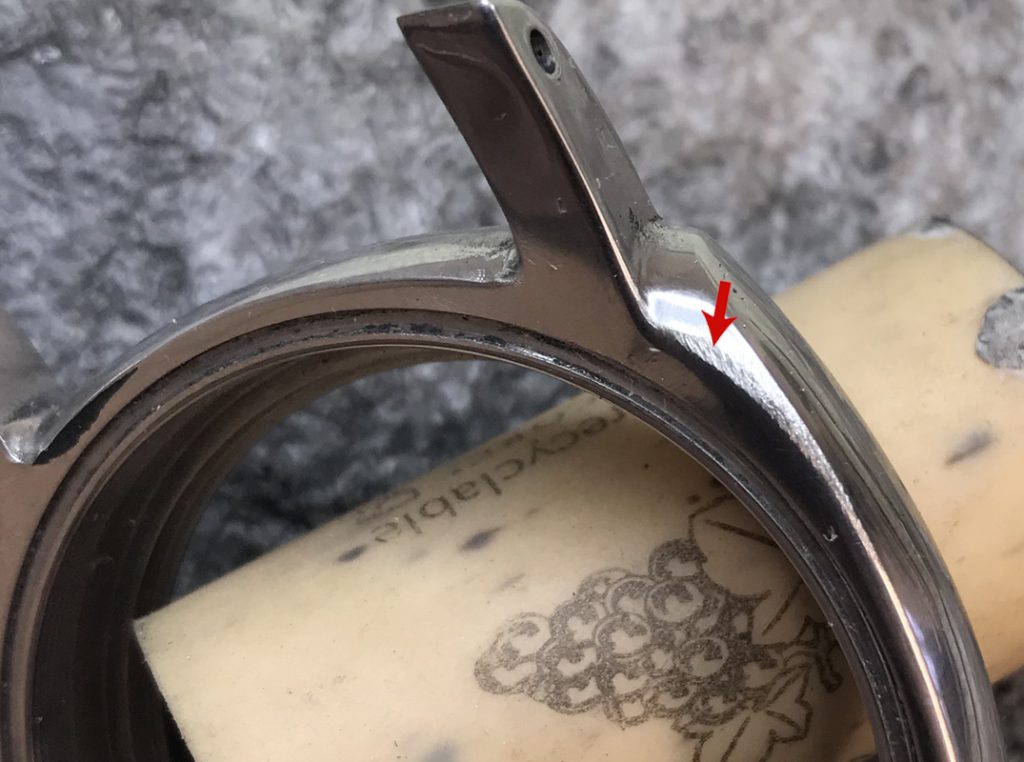
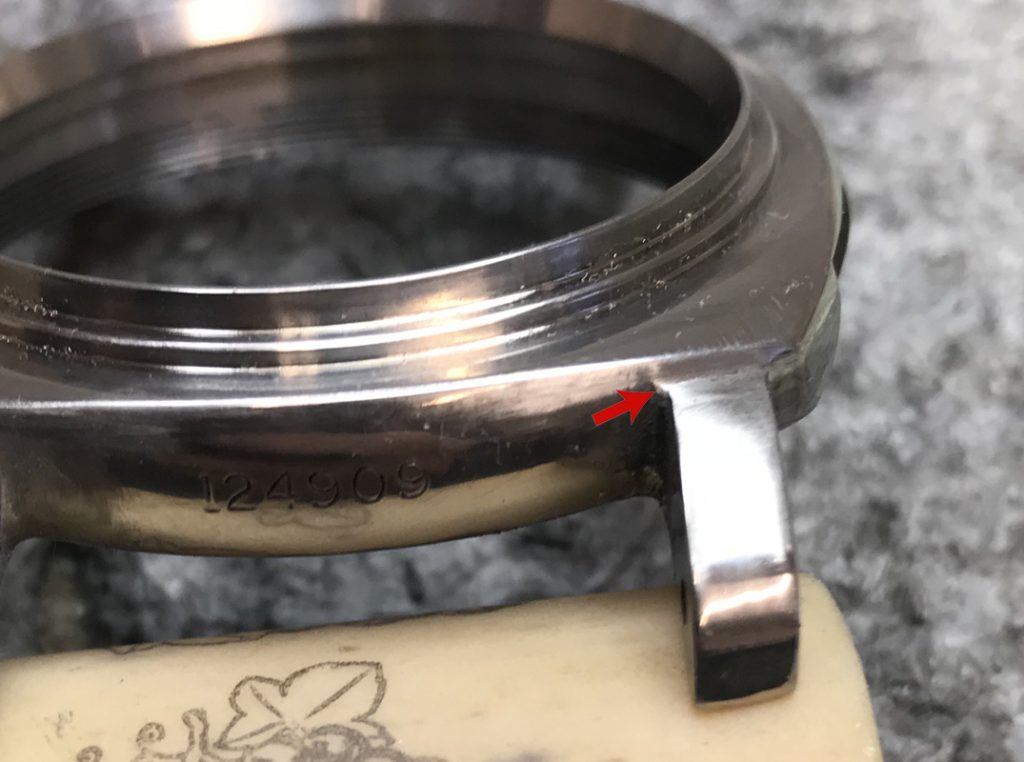
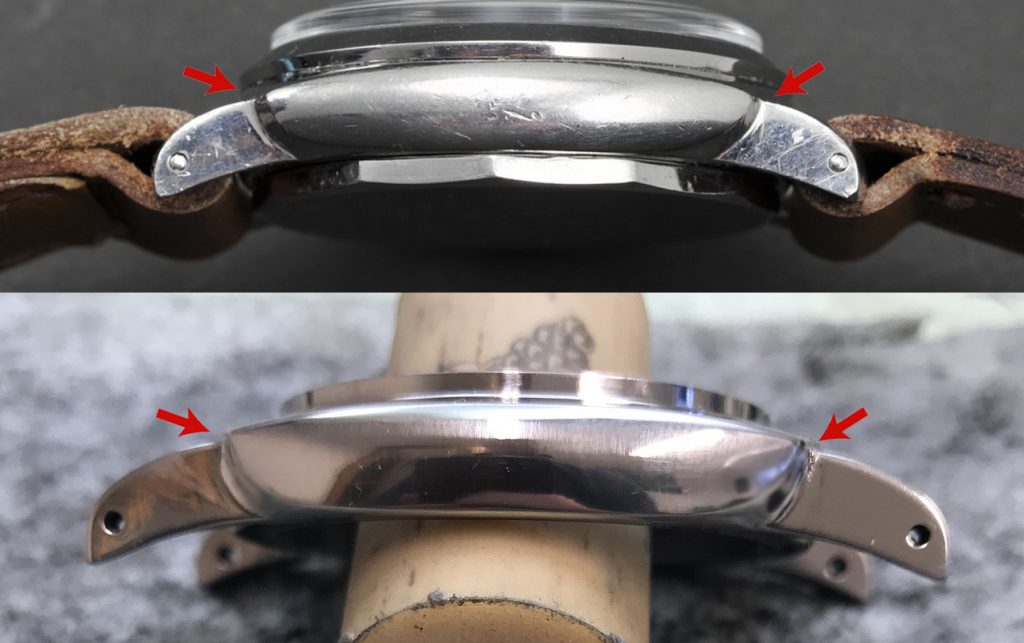
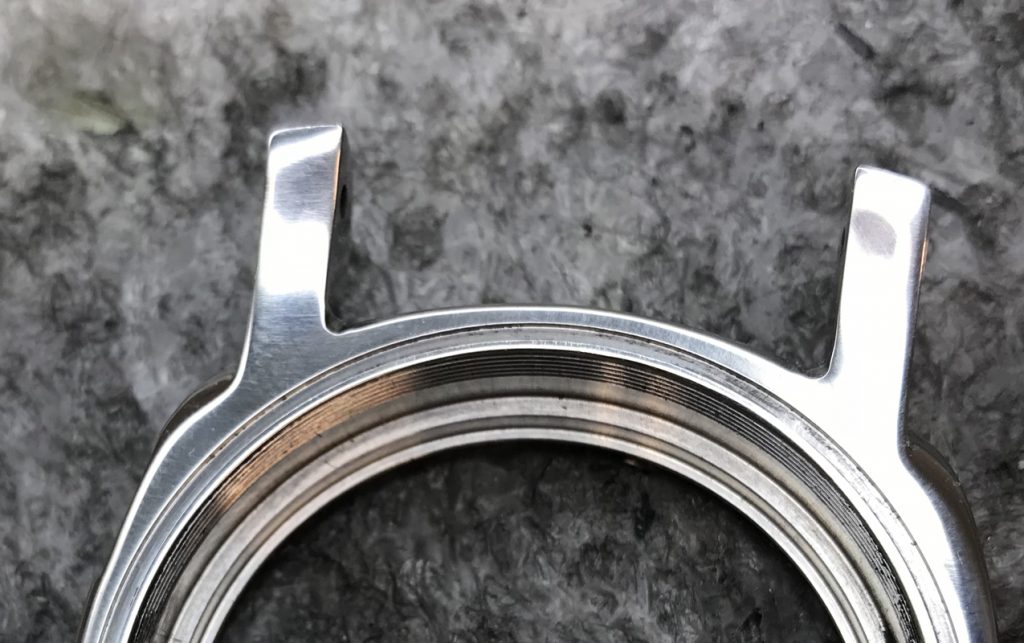
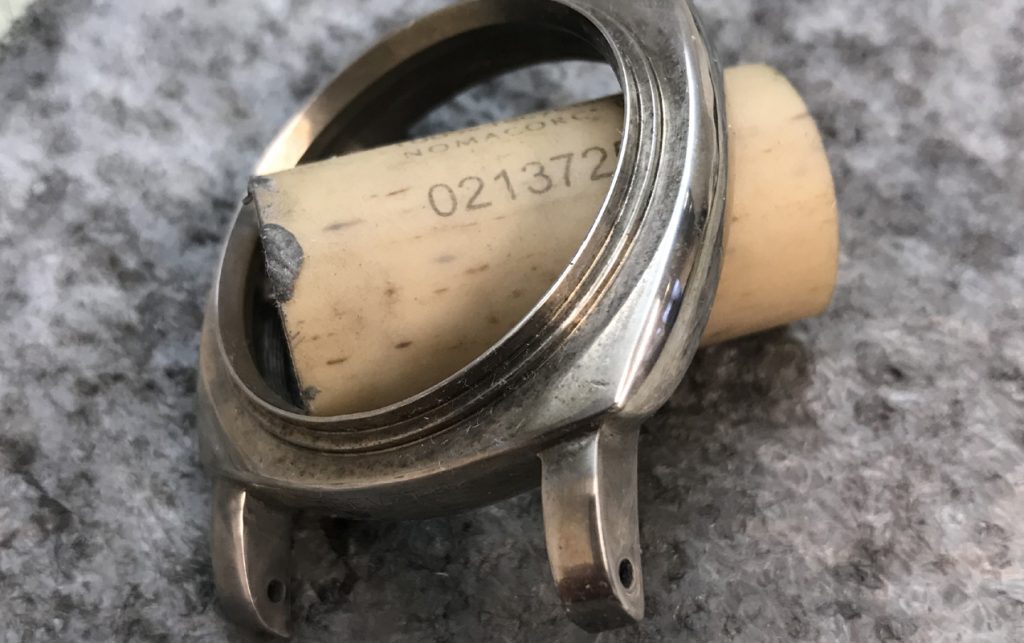
Below: The case has had P400 wet and dry and now its had P1200 wet and dry (a very fine grade paper). I usually rub the p1200 on itself  (rub 2 surfaces of p1200 together) to make it even finer. Then rub the case, you will find that the paper on its own will polish the case to a nice level (not too shiny).

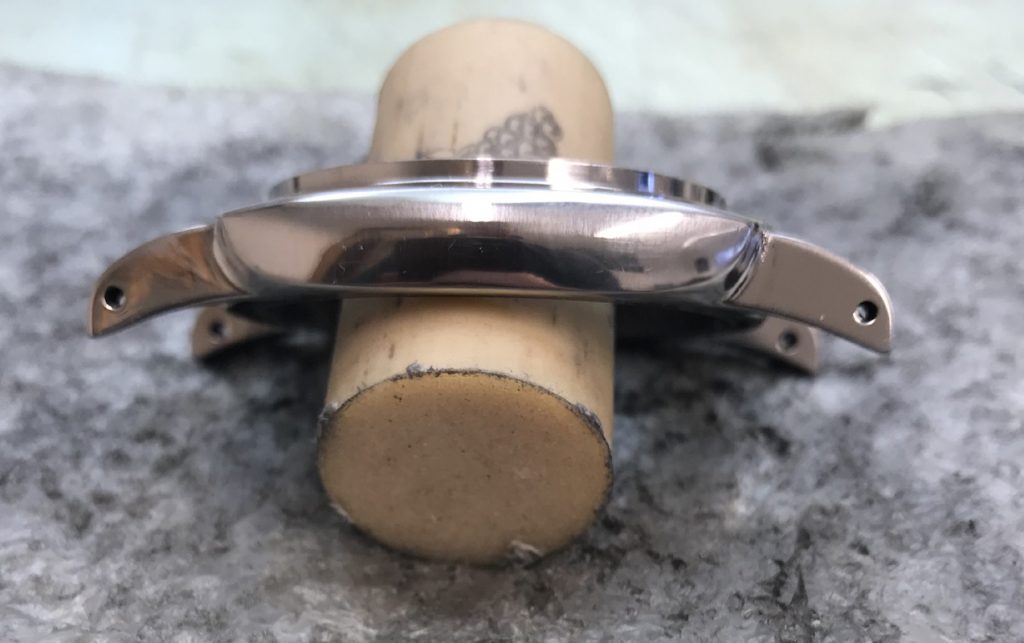
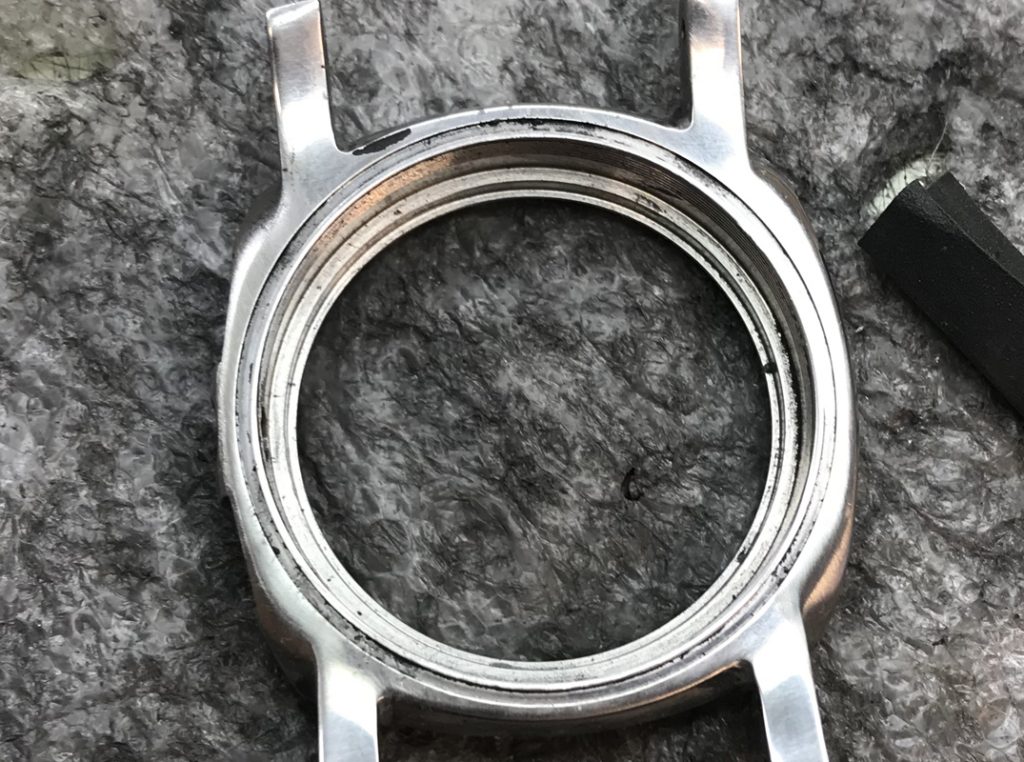
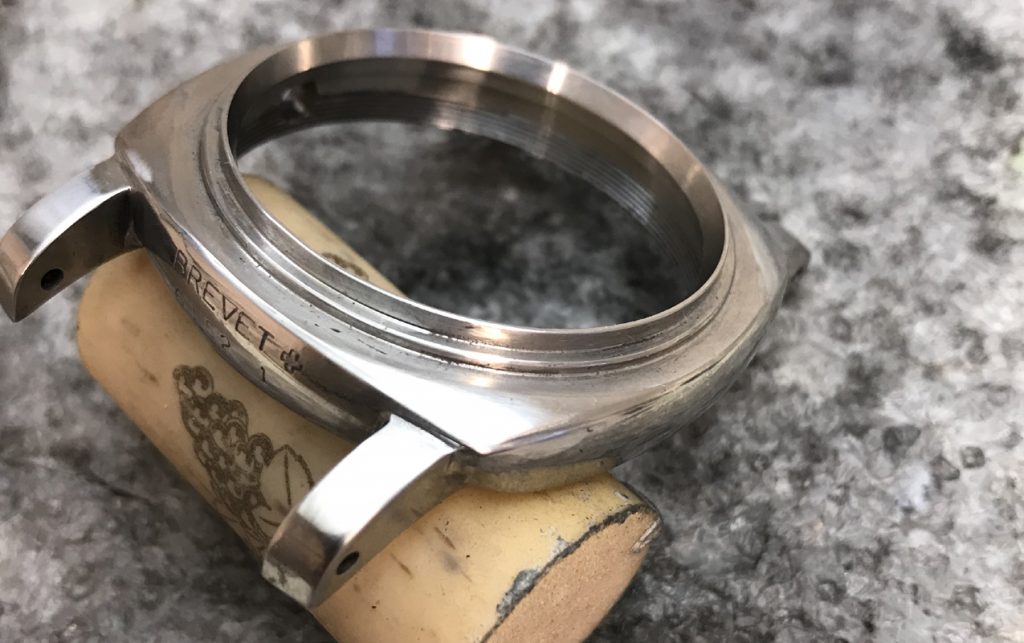
Below: Polished with only paper

Ageing the Case Further using acid and making it look 50 years old

I have separated these stages as some people will not have acid or prefer not to work with it. Acid will add very fast aging to the case. Here is how its done.

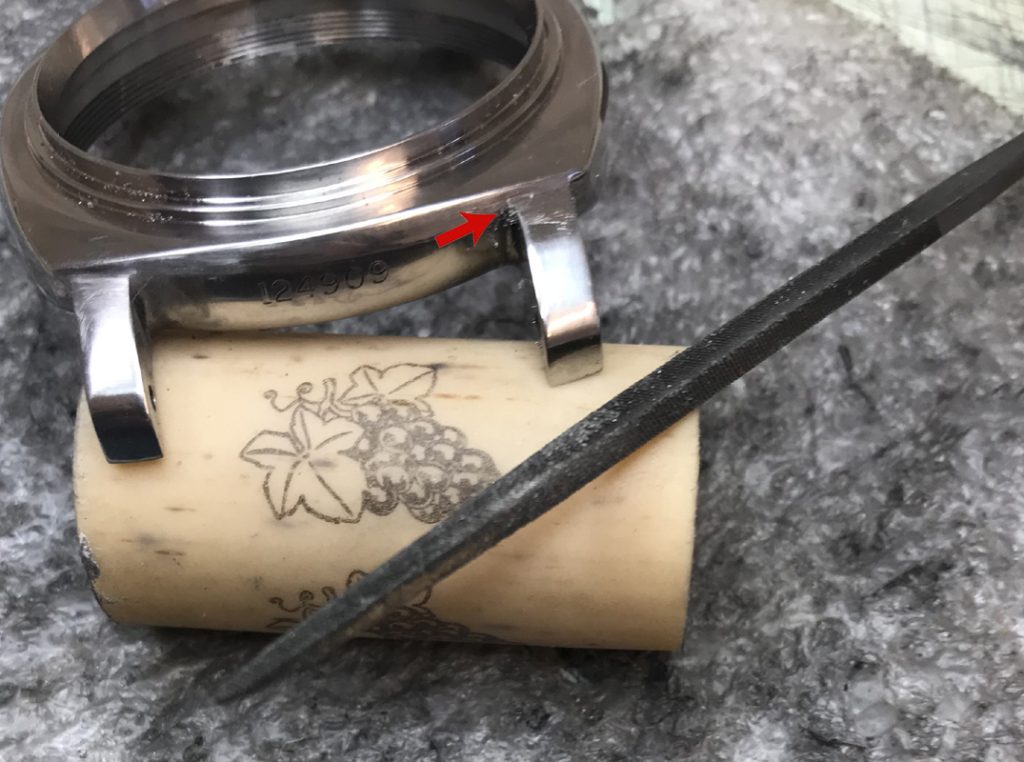
Below: The case is being prepared with P1200 wet and dry. You can skip this process as shown above if you have already polished your case with p1200, simply dont polish the case too much and make it too shiny

Below: Make the case shiny but not too shiny (a little dull)

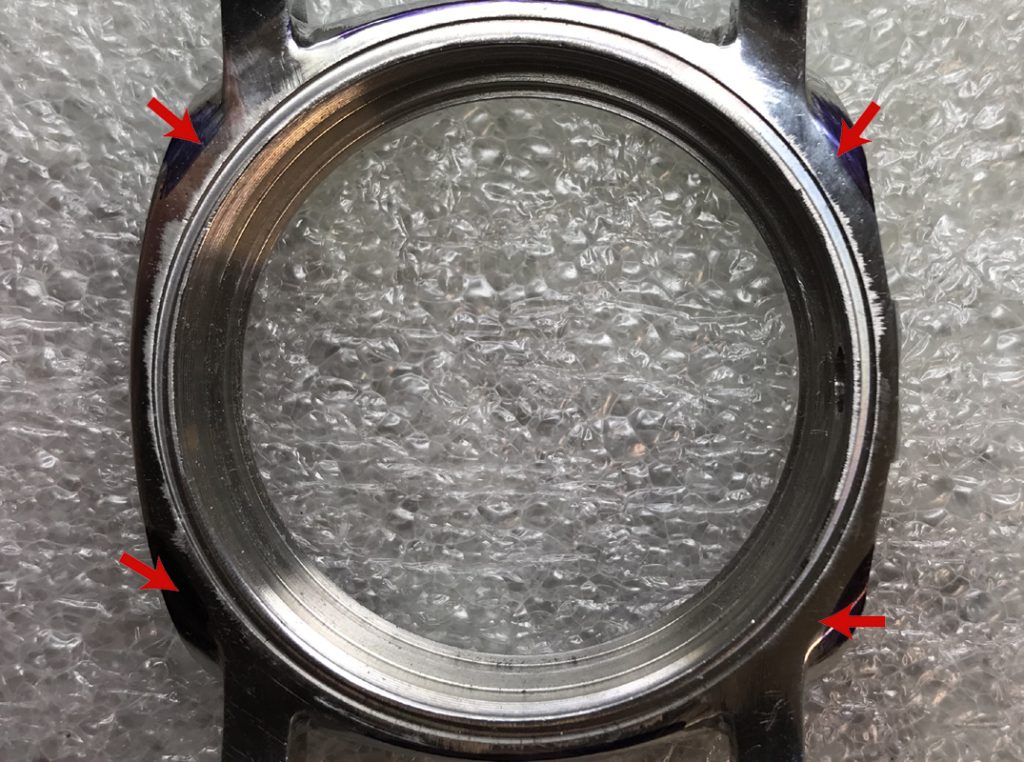
Below: This is what the finish should look like before acid

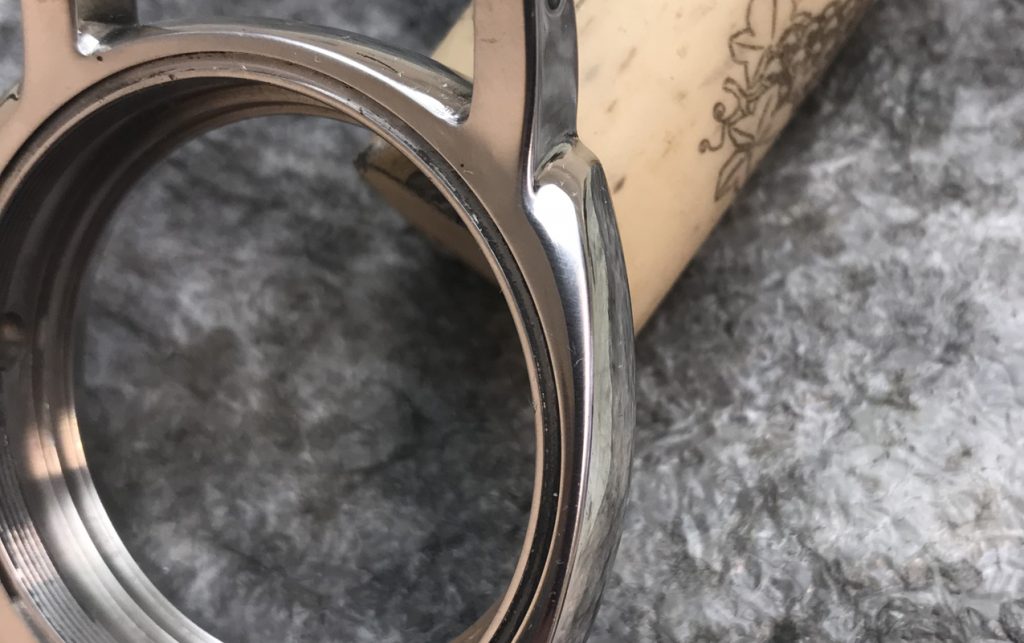
Below: The case has been dipped into hydrochloric acid for around 5 minutes (test first with a piece of stainless steel as acid come in different strengths).

Below: 5 minutes later

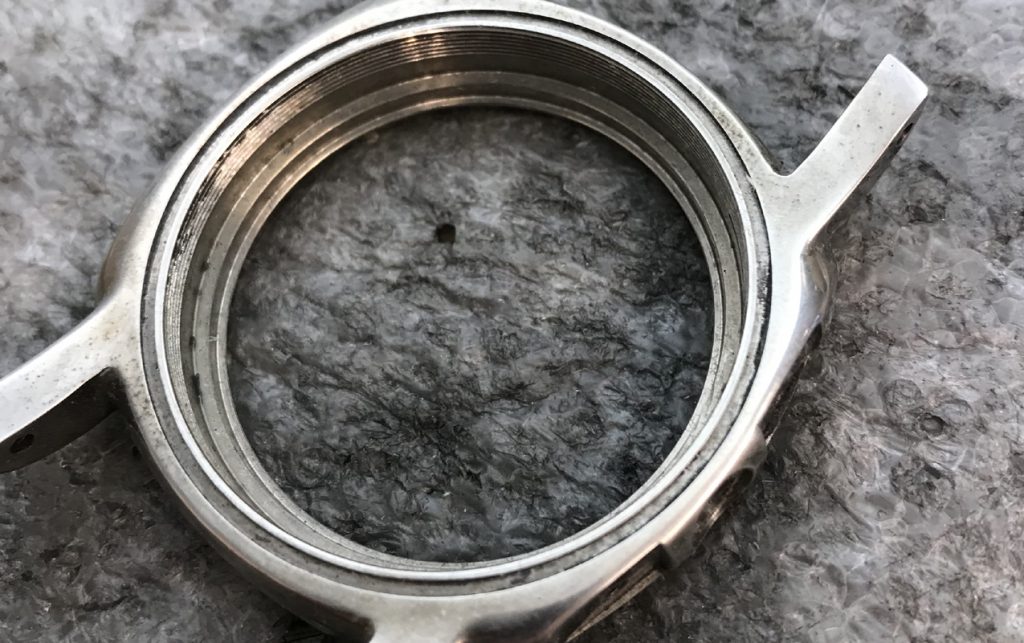
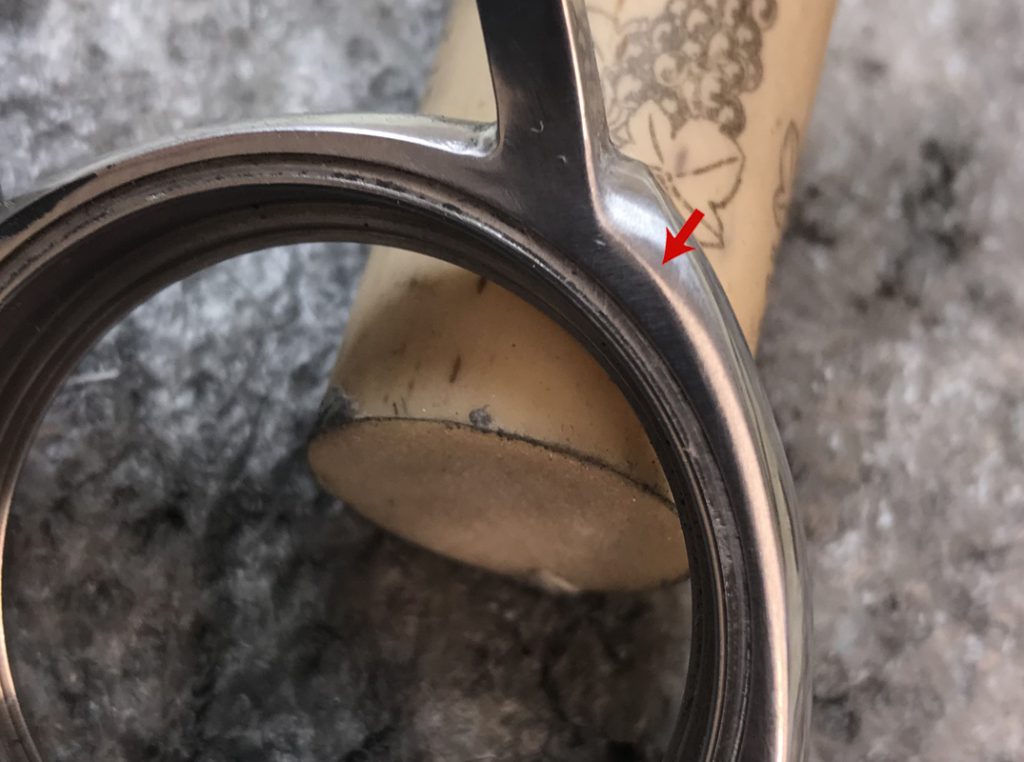
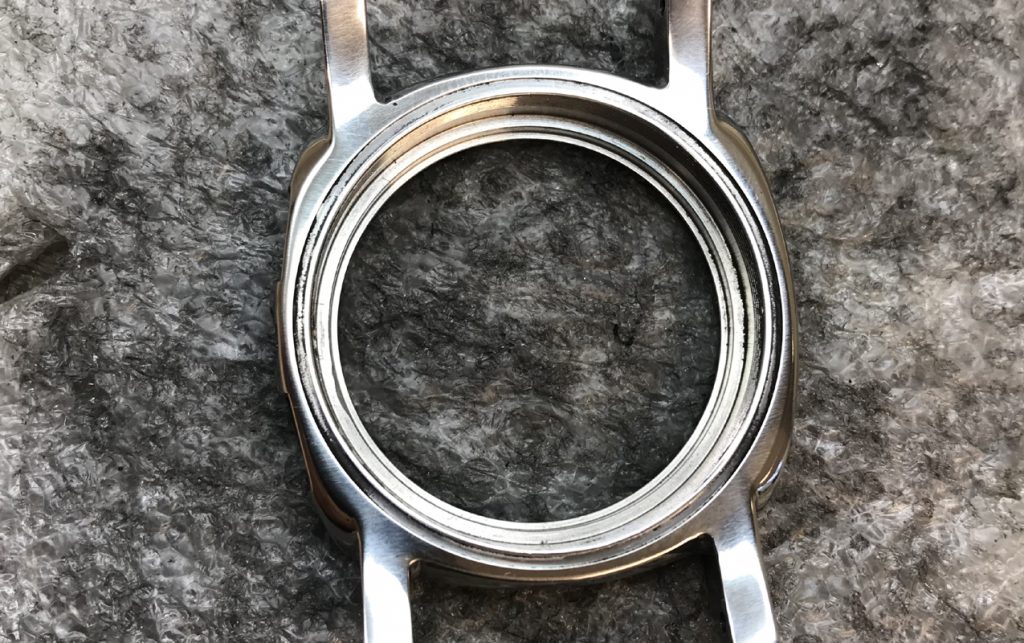
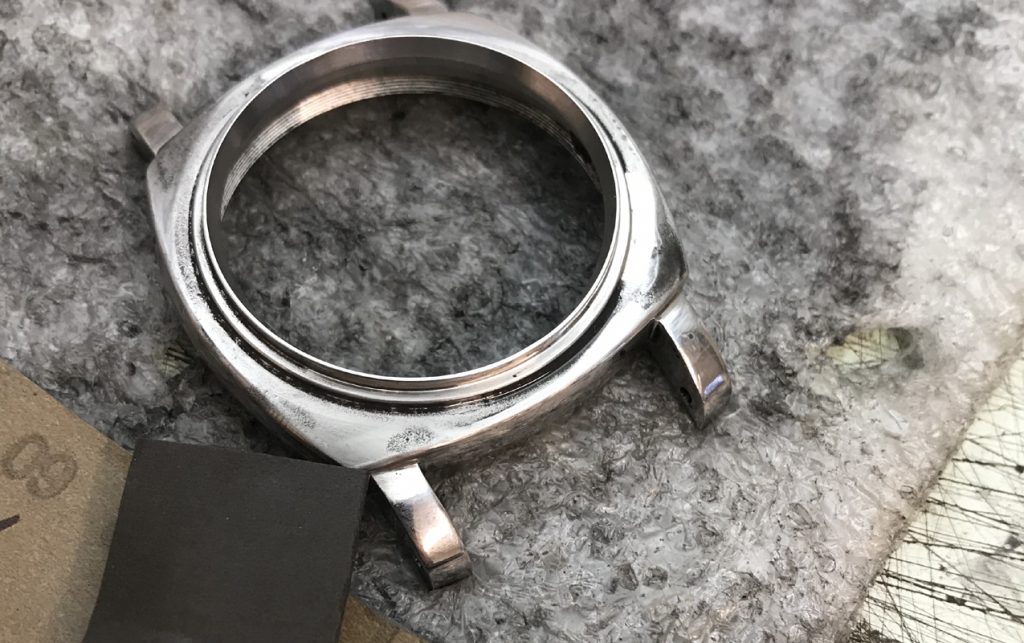
Below: later the case will be lightly polished in places, this image shows the case not polished straight after acid.

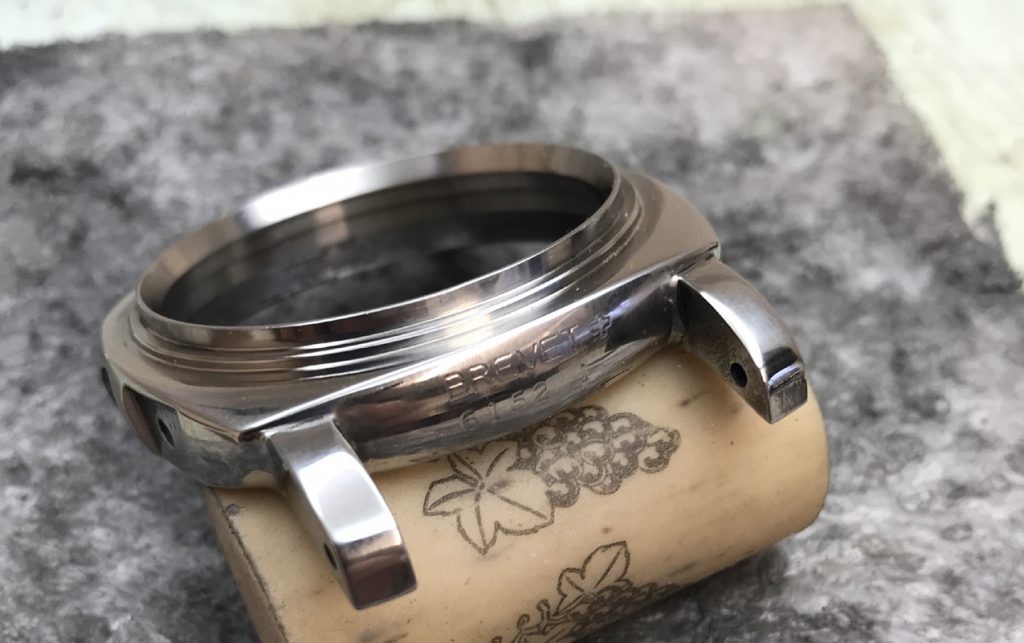
Below: Now its time to polish some areas with a cloth to remove some of the acid ageing. Do not used wet and dry paper.

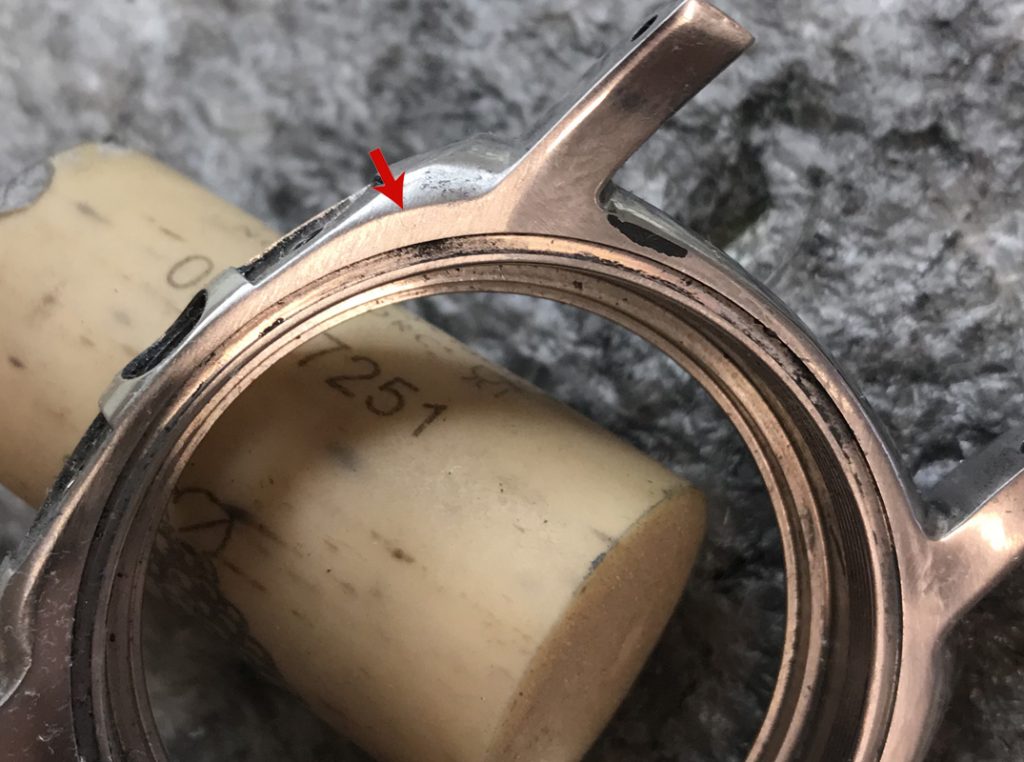
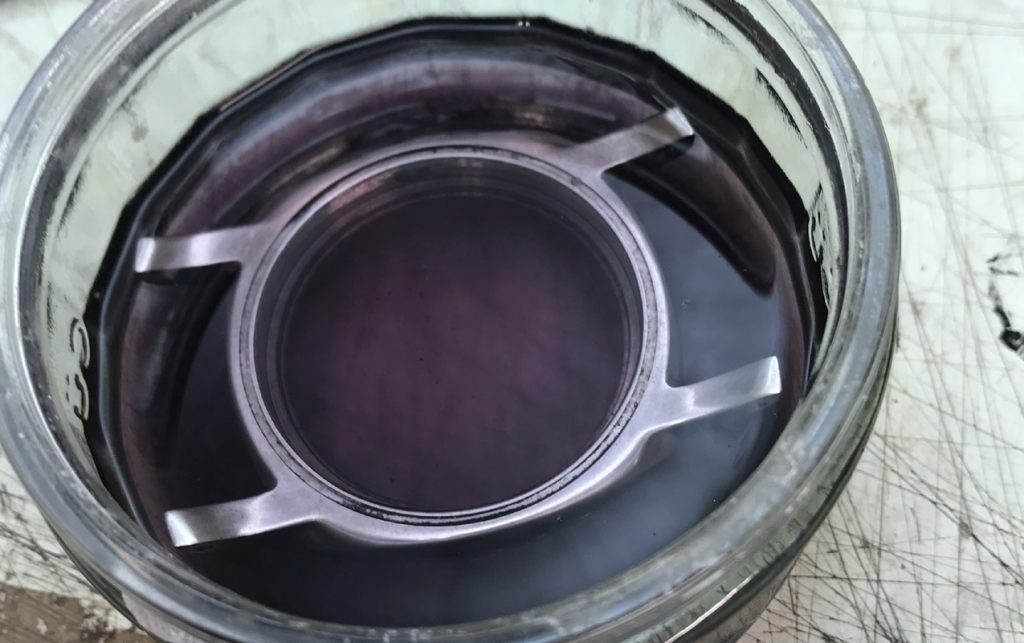
Below: The inside of the case is nicely aged and is left as it it.

6152 Case Project – Rear Case

How to build the 6152 step-by-step using the Nightwatch 6152 Case:

Important: Try not to get the shape around the edge perfectly round. If you look at the image below you can see that the Case Edge on the authentic case doesnt follow the exact curve of the Case Back Edge.

Below: The red arrows show the areas to be filed.

Below: Use a small flat file to do this work

Below: Start by working the curve with your file this will shape the following

  1. The outer back edge of the case
  2. The bottom curvature of the case

Below: Note how its even and smooth, remove the file marks with P400 wet and dry paper.

Below: This is an important image because it shows the curvature of the rear of the case. The case is already shaped well so all you are doing is adjusting it a little to get the same curve as shown in the image below.

Below: The case is starting to take shape. At this stage its been finished with P400 wet and dry

Below: Look carefully and you can see it needs a little more metal taking off. Dont worry if you dont get it right first time and always remember not to take too much metal off if this is your first time.

Below: After some adjustment we have the correct shape, this shape compares well with a genuine case.

Below: The adjustments that have been made have also shaped the rear a little.

Image Above: shows an authentic Vintage Panerai 6152 watch.

6152 Case Project – Lug shaping.

How to build the 6152 step-by-step using the Nightwatch 6152 Case:

Important: The 6152 has added metal to the top surface of the Lugs. This is so that you can shape the lugs to the desired dimensions, to give the “step” you see in the images below. Remember, try not to remove too much metal, if you want to remove more you can always do this later.

Below: I am going to use a small fine/medium flat file. Note the edge of the file, make sure that the smooth side is the side you use near the top surface of the case.

Below: This is the side you should NOT use. Keep this side away from the case

Below: Start by filing down the top surface of the lugs.

Below: Start with one lug and try and get it right before starting on the next

Below: When you remove metal from the top surface you will see a small curve of metal starting to form in the corner of the lug (see red arrow). Use a small square file to remove this

Below: This is an image of the type of file you require

Below: The “step” has been formed to the depth that is required. The case comes with a “step” and for some people this may be enough. However, because extra metal has been added in this area you have the opportunity to make the step as small or as deep as you wish.

Below: We can now compare our case with a genuine case. Tip: Lighting can play tricks, what you see in the image isn’t always accurate so compare different images.

Below: If you look at the case from the side, the step doesn’t look as deep. This is because the top surface edge of the case curves down towards the top of the lug.

Below: Now its time to smooth out the rear of the lugs, the image below shows the area to be filed flat.

Below: It doesn’t take long and with a little filing the area is soon flat.

Below: Dont forget to finish smoothing the area using P400 wet and dry paper (or grit paper).

Below: This area has not been polished on a polishing machine. Instead you can get great results just by using P1200 wet and dry paper. This gives more of an aged finish and not the super bright finish that the polishing machine gives.