There are numerous lining you can chose. Try and get something that can be wiped down and doesnt absorb water because even with the best insulation you can still get condensation and you dont want it to linger in the roof lining.
Which did I choose? Most van builds seem to use a wood based lining thats coated, its common so see this type in caravans. I wanted something a little different so I made the wooden sections and covered them with a man-made Leather Fabric. It has the feel and texture of real leather and can be wiped down so its fairly resistant to water. That doesn’t mean it looks plastic in fact it looks the opposite, if you didn’t know you would think it was high grade leather. This material is available on the internet from many fabric suppliers. I used a public and trade fabric supplier in Manchester UK, they have a warehouse selection much larger than a high street shop.
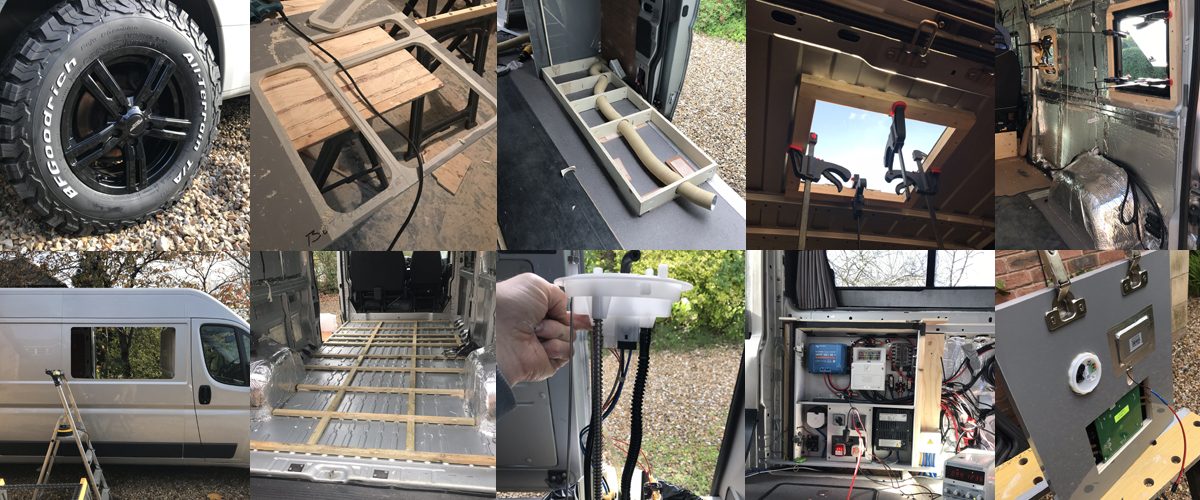
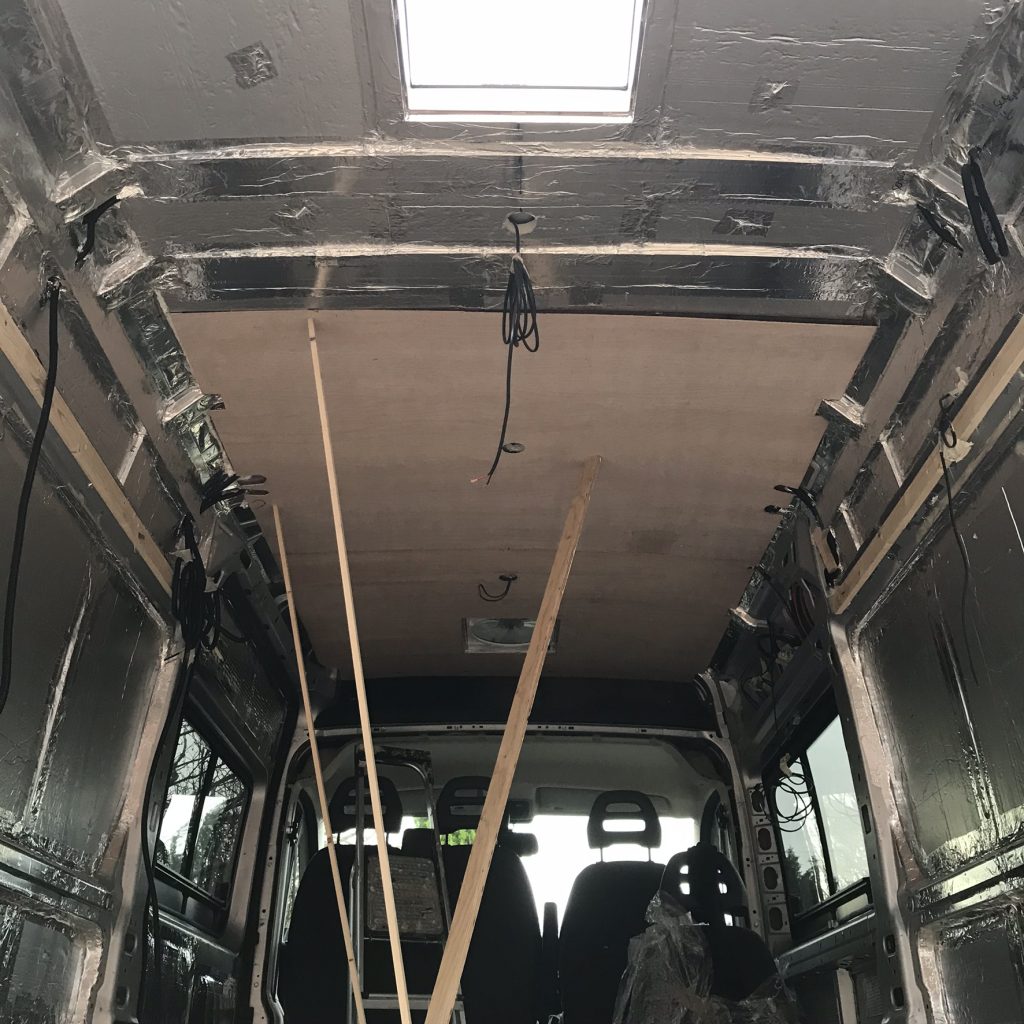
Below: If you look carefully you may see some wooden strips that have been screwed to the roof with self-tapping screws, they are covered with aluminum tape so its easy not to notice them. These wooden pieces are the base in which the wood rood panels are screwed to.
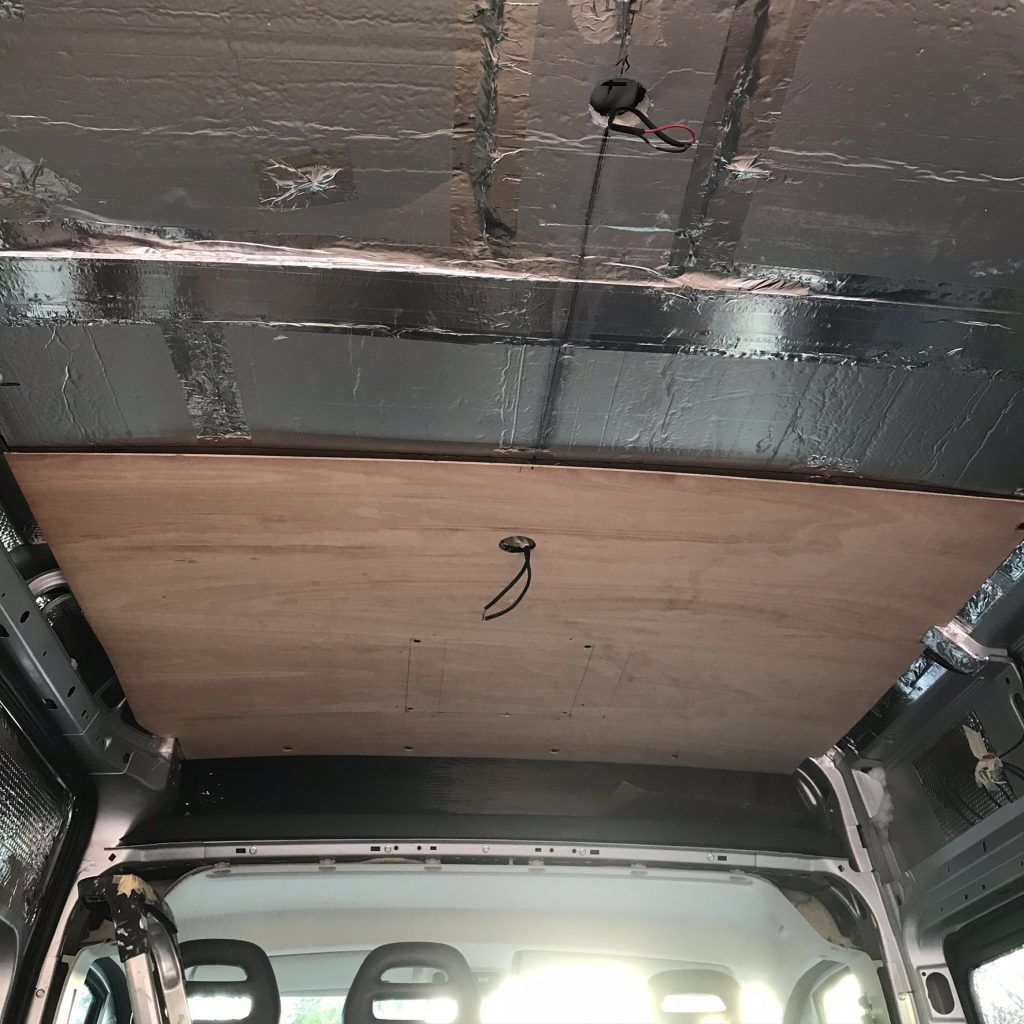
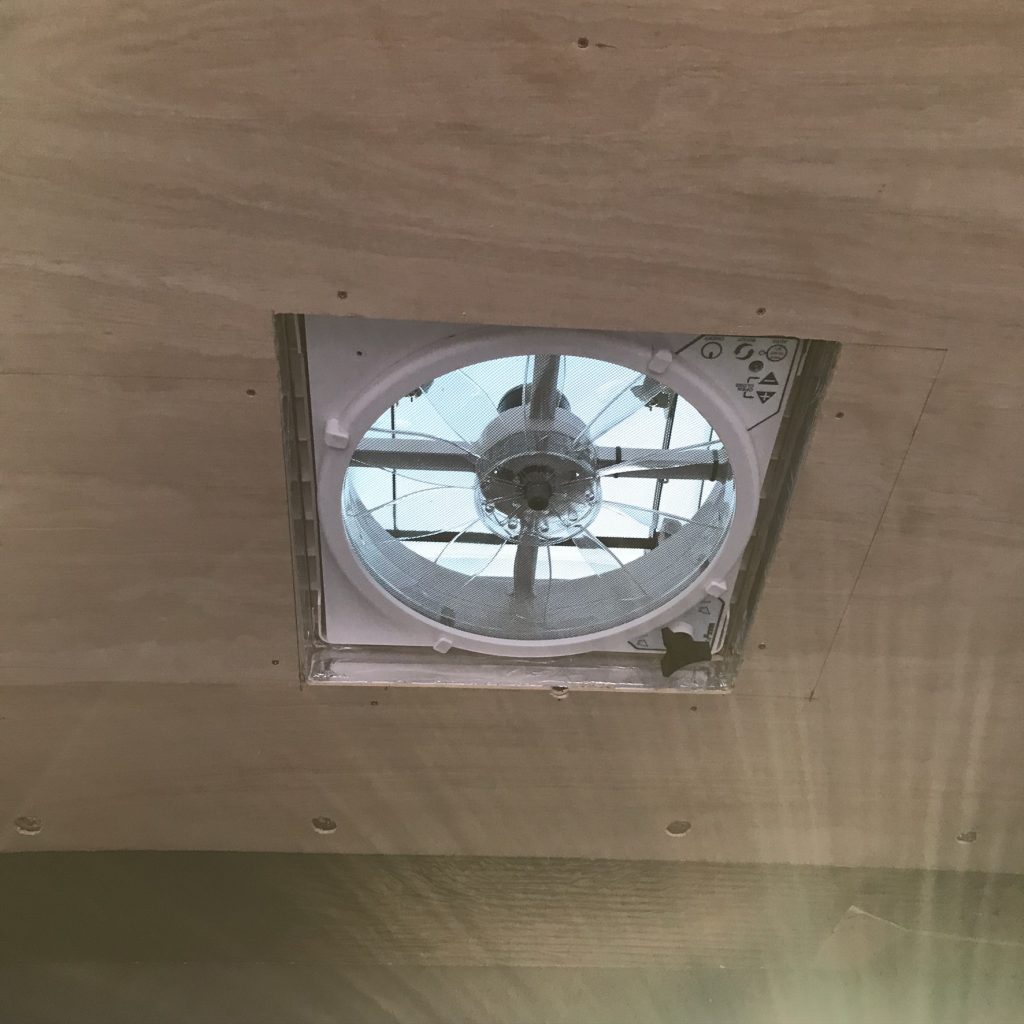
Below: I used a “template cutter router bit” its a cutter with a small bearing that runs around the edge of the wood you are cutting. It makes cutting a hole for the vent so much easier and also quite fast. It leaves a neat edge.
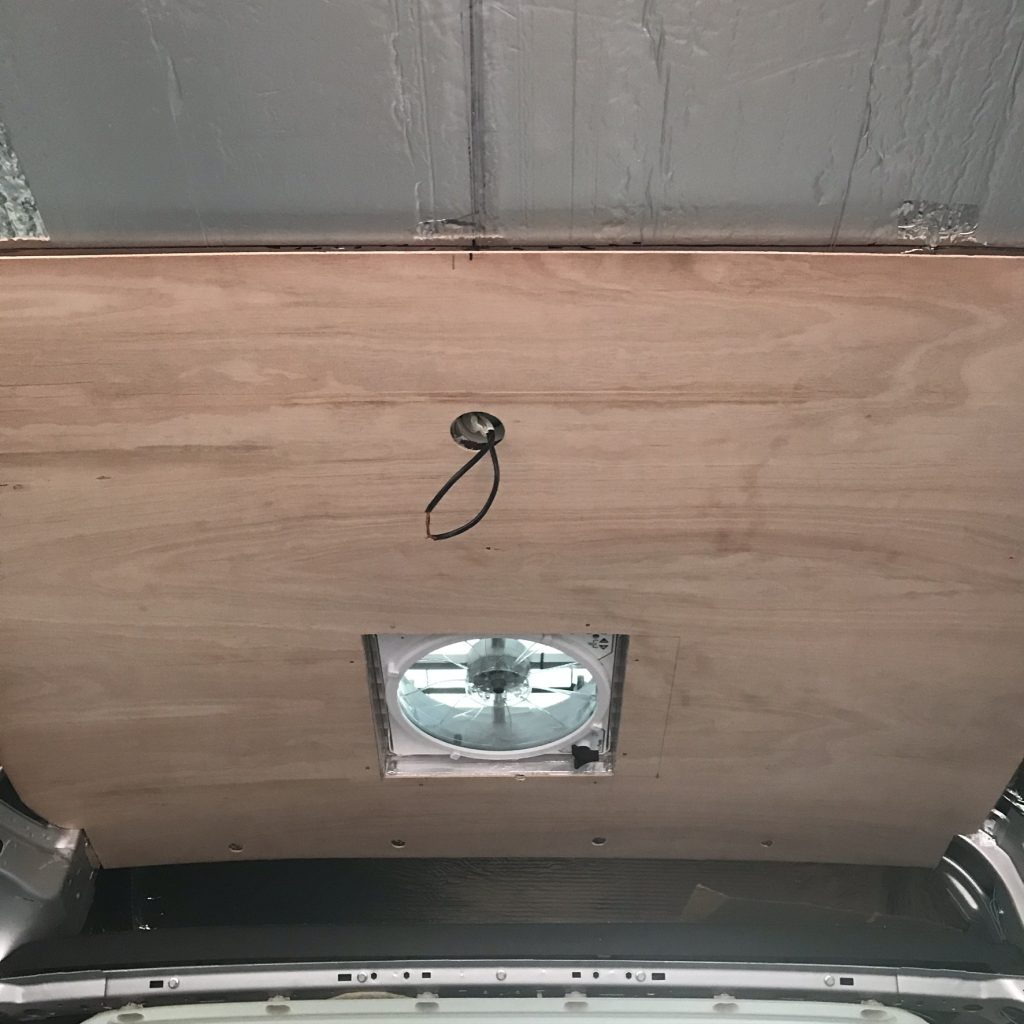
Below: With a route this hole took around 1 min to cut
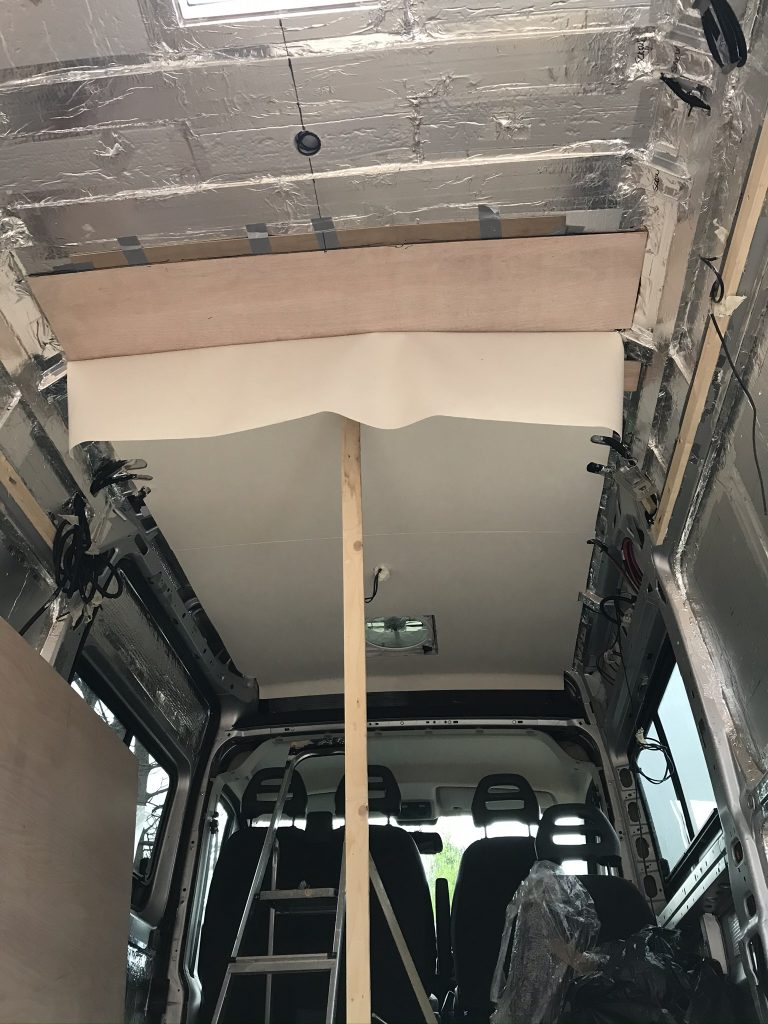
Below: Some of the panels end sections didnt sit directly over a beam so they couldn’t be screwed down at one of the edges. I couldnt leave them as the two panel edges would “flop” and move. To overcome this I made a few 60mm X 150mm strips of wood (9mm thick) and attached them to the end of one wood panel. When I fitted the next panel I added some sikaflex to the wood strips so that they would joint together and hold as one. In other words these wood strips allowed the panels to join or lock together a bit like a set of teeth at the end of one panel.
Below: The fabric is being added, first the wood is sprayed with contact adhesive then the fabric is sprayed. Make sure you have wood and fabric aligned correctly because if not your fabric will run off course, take your time here.
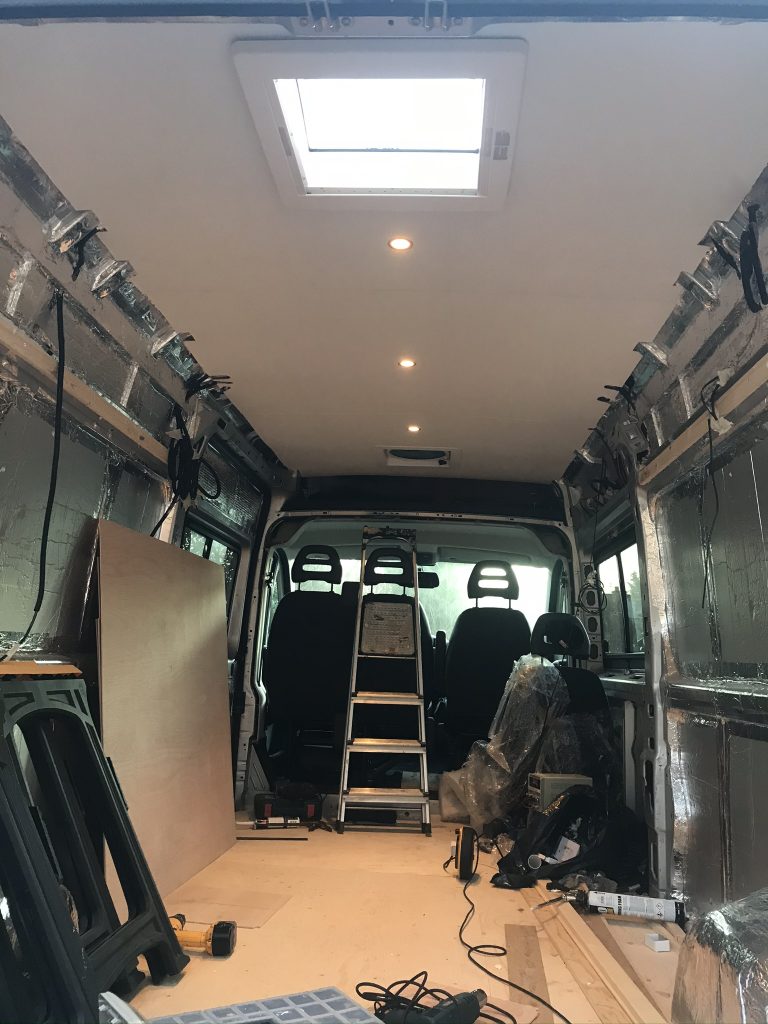
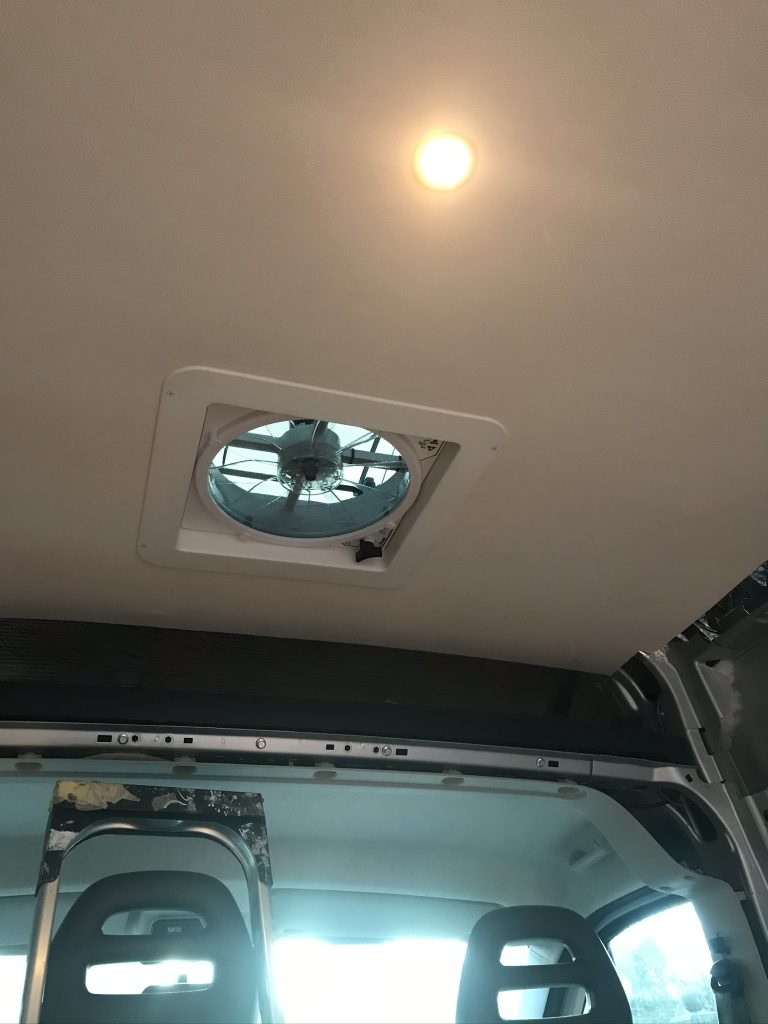
Below: I had already added cables to the ceiling and decided to drill a few holes and fit the lights. Power hasn’t been installed at this stage the lights are working off a Mains Power supply which delivers 12 volts. I decided to use “touch-lighting” a on-off switch isn’t required, you simple touch the light you want switching on with your finger. To turn off tap it with your finger. This gives easy lighting control.
I Want Fabric,
Unit 5 Bute Street,
Salford,
Manchester,
M50 1DU,
Telephone: 0161 9250333
The Type of Faux leather used in my camper-van is “Nova Faux Leather Upholstery Fabric, Cream” see link below.
https://www.iwantfabric.com/nova-faux-leather-upholstery-fabric.html
Vehicle Fabrics from the same company
https://www.iwantfabric.com/vehicle-upholstery/automotive-leather
I used 2 Spray-Cans of Contact Adhesive
https://www.iwantfabric.com/heavy-duty-contact-spray-glue-full-case-x-12-tins.html