Should I upgrade? I wasn’t going to upgrade the suspension, the van wasn’t low at the back and it looked and seemed to handle quite normal. However, after inspecting the Leaf Springs and the Rubber Bump Stops I found that the Bump Stops had started to corrode. It was time to make a change and perhaps upgrade my suspension.
Check your suspension
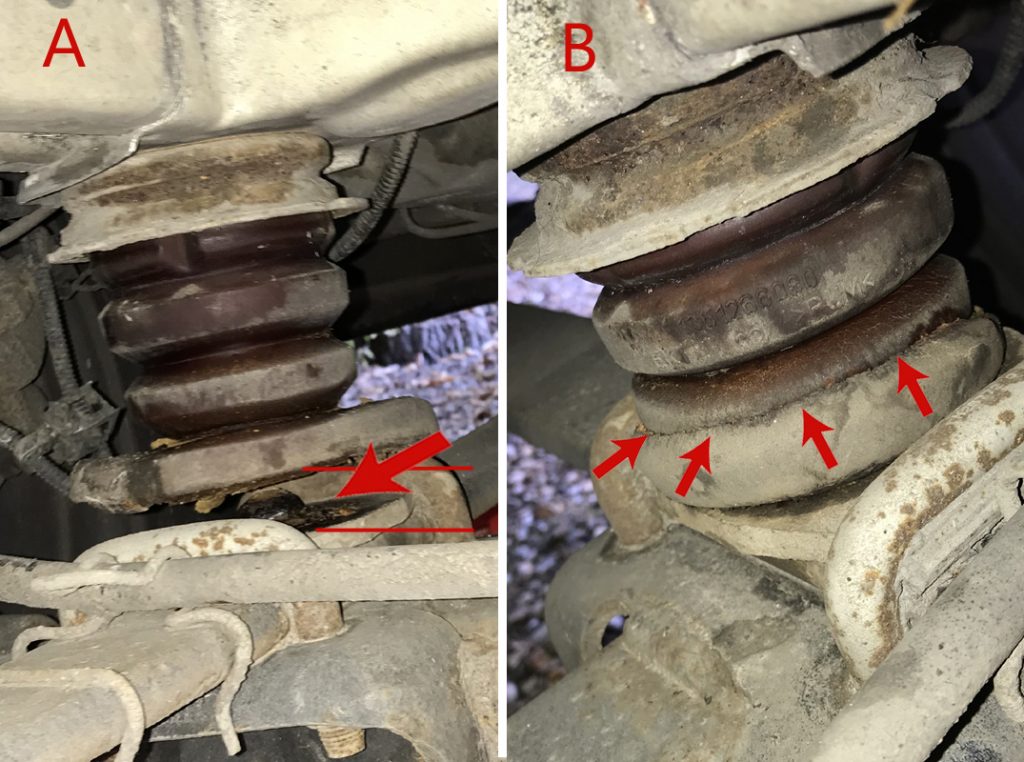
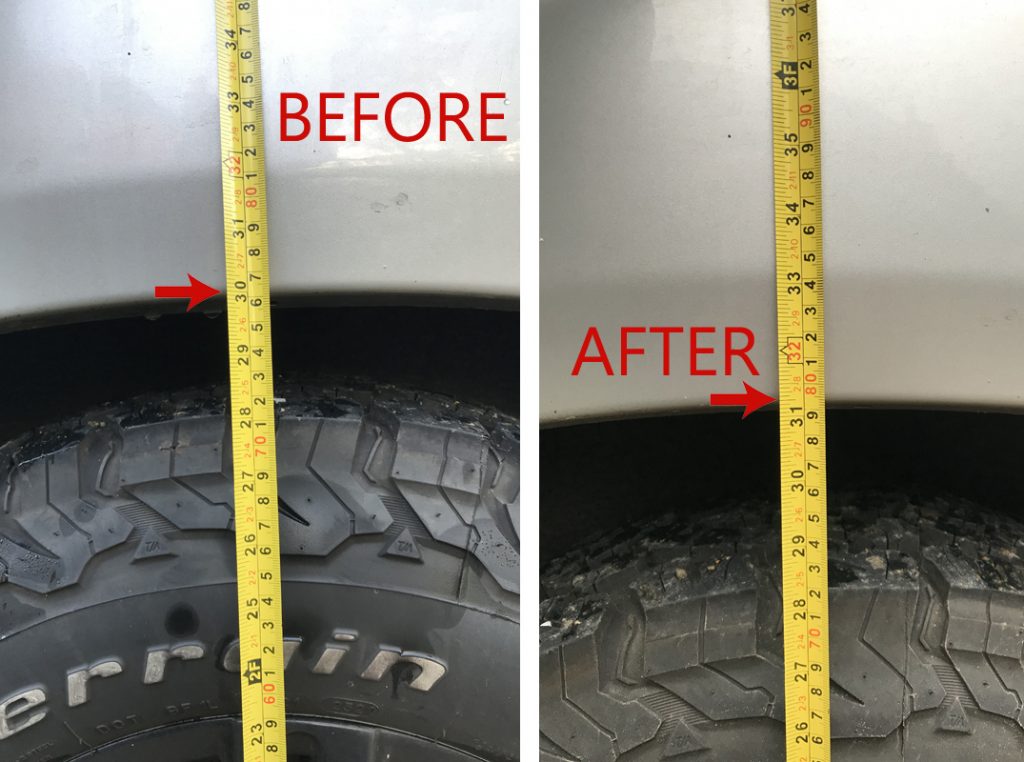
Picture A (above) shows the Van before it was converted into a camper-van. Note how high the Bump-Stop sits above the Leaf Spring, this is because no weight has been added to the vehicle.
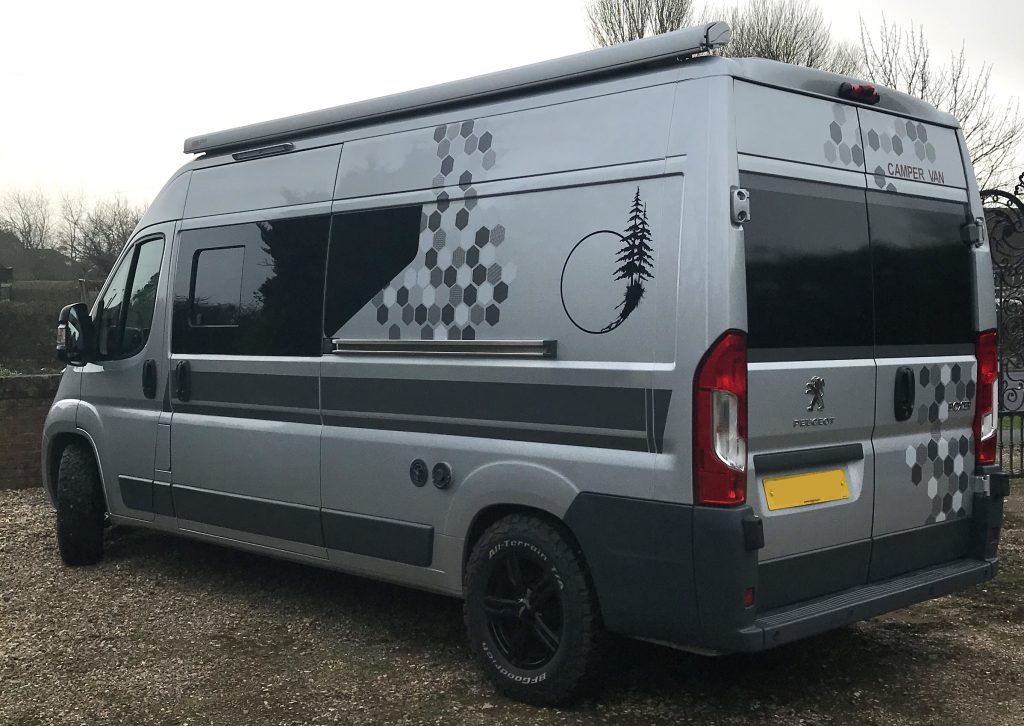
Picture B (above) shows the camper-van after completion. Even though lightweight materials have been used in its construction note how much lower the van now sits. The Bump Stop now sits permanently on the Leaf Spring, thus probably causing increased wear, in fact the Bump Stop has started to split and break. The age of the van is 4 years old and the mileage is 40,000.
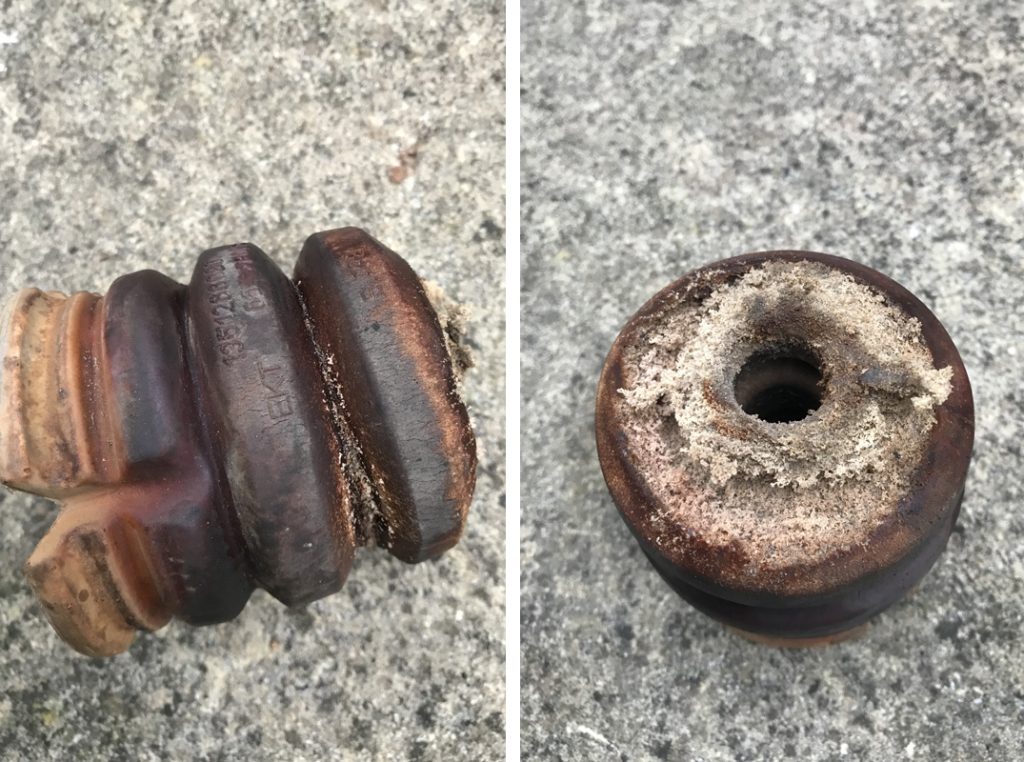
Above: The Bump Stops are in poor condition (4 years old and 40K miles). Was the wear caused by constantly being compressed onto the leaf spring? I dont know but it is time to change them.
Air Suspension or Sumo Springs?
Air Suspension: This is a good solution to increasing the height of a vehicle and also helping to “firm up” the ride. Having air suspension means that you can often adjust the height of the vehicle when parked on uneven ground.
Be careful: Having too much air pressure can damage the chassis and can cause small cracks to appear in the chassis (the van cannot be repaired if this happens in Germany and it is not allowed back on the road ). Also be careful if the compressor is wired directly into the vehicle without a voltage relay. Permanently wired compressors have been known to overheat and sometimes catch fire should the voltage drop below 12v and the compressor is left switched on.
What is the difference between Air Suspension and Sumo Springs?
Airbags and SumoSprings are types of air springs. The main difference between an airbag and SumoSprings is how the air is captured/controlled. With a traditional air bag, a compressor with hoses and valves is used to fill up the balloon inside of the airbag. This requires maintenance so the air bag does not crack and/or leak. The air inside of SumoSprings is captured in millions of air pockets inside the micro-cellular urethane material. You could drill a hole through SumoSprings and they would still work.
So which type did I use?
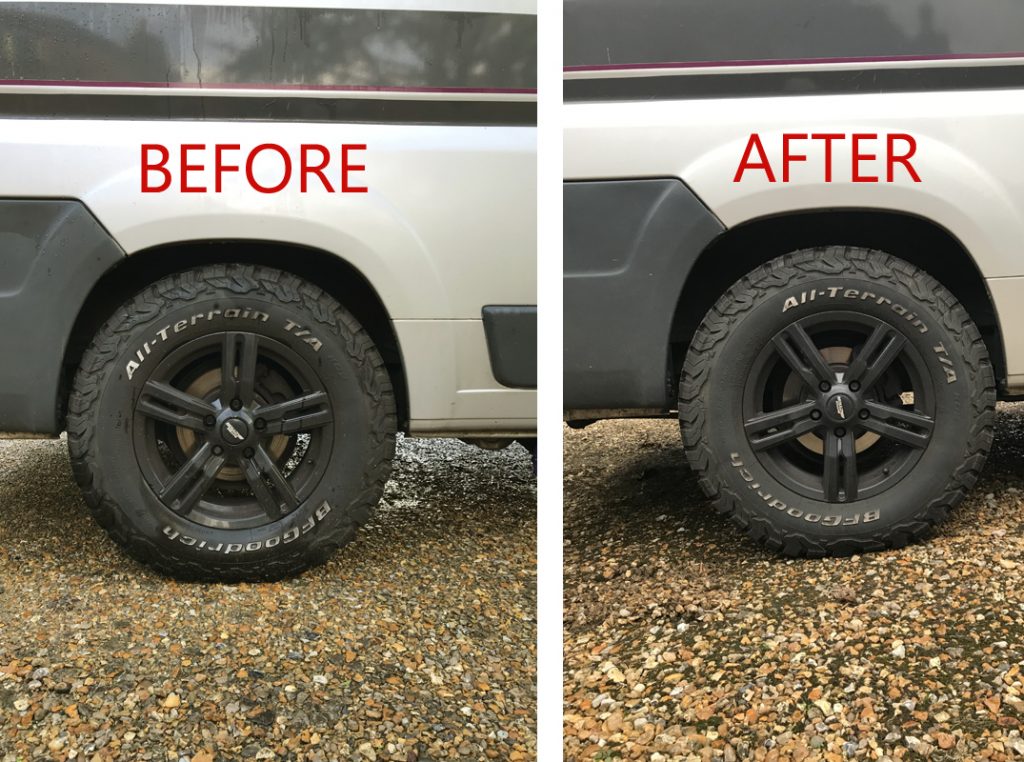
I decided to install Sumo Springs. They are fast and easy to install (about 20 – 30 minutes if no problems). Sumo Springs are often less expensive than an air suspension installation and never need maintenance, they offer a “fixed ride height or firmness” and cannot damage the vehicle chassis.
How to fit Sumo Springs
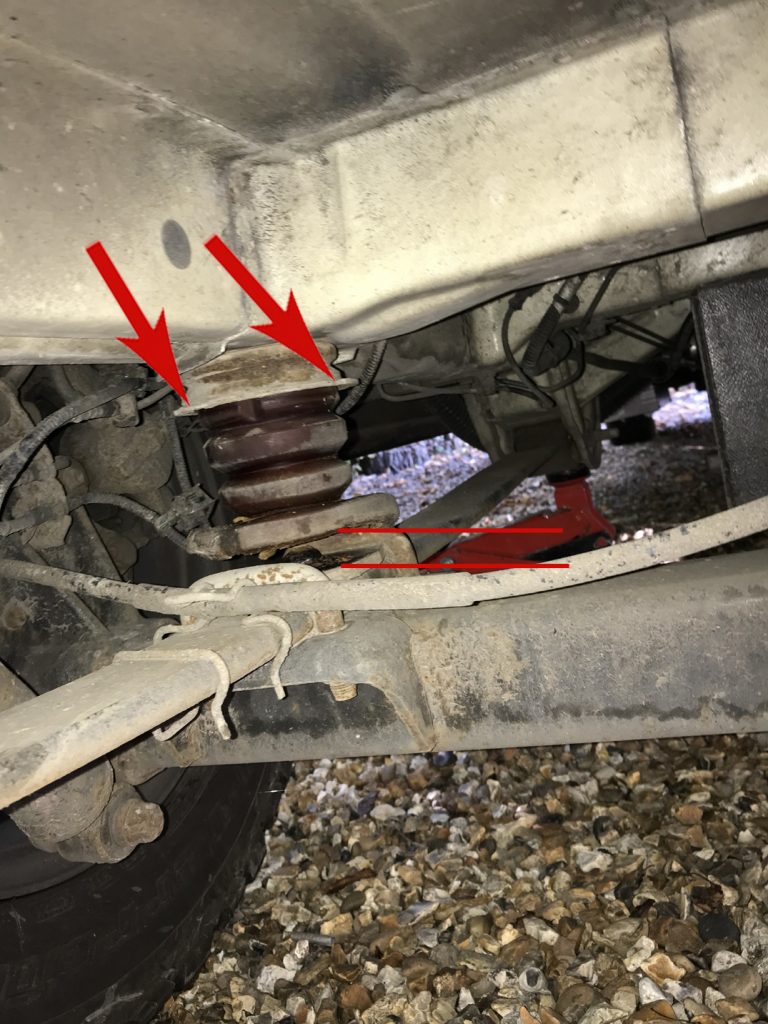
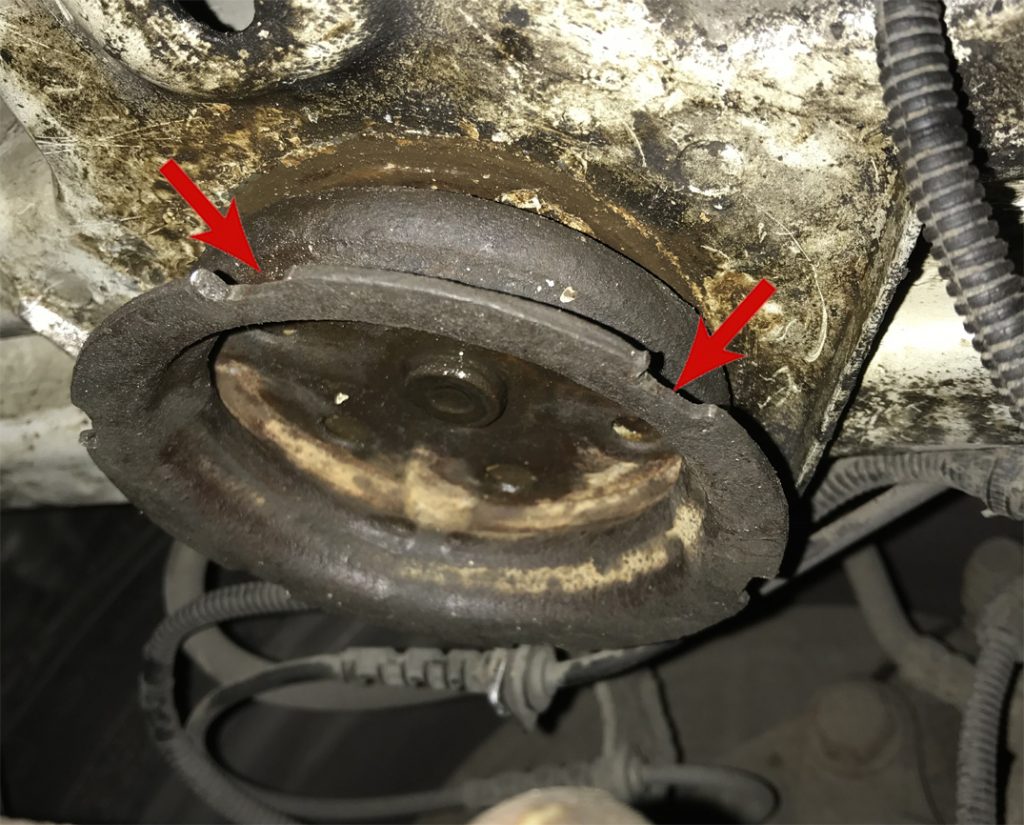
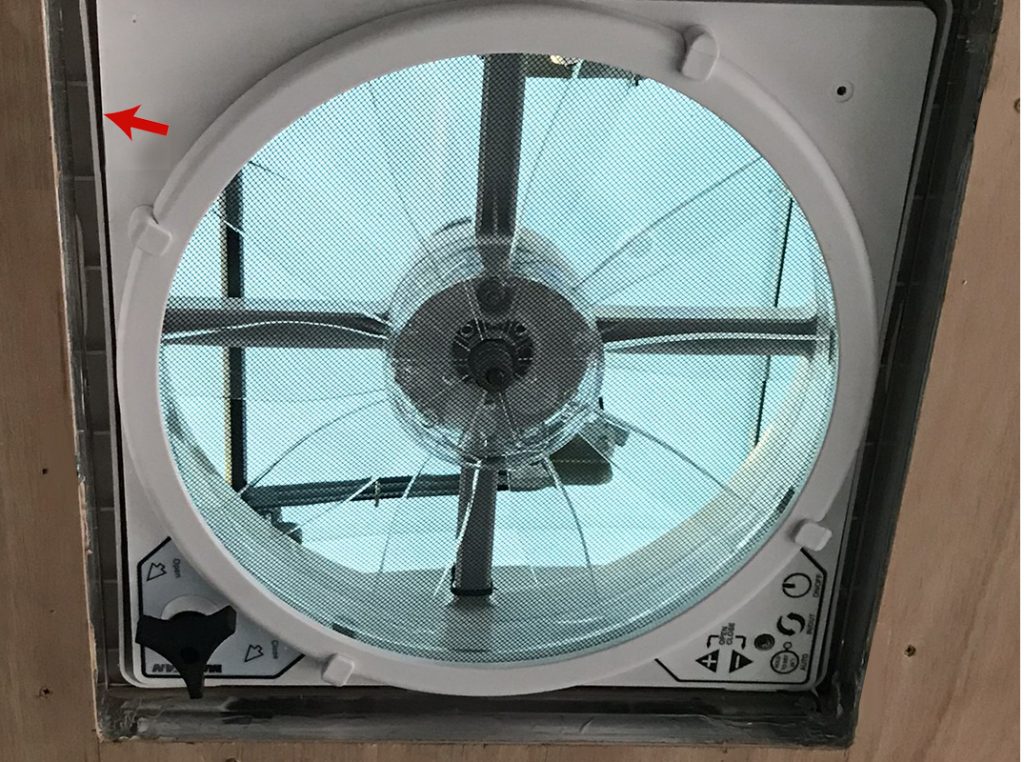
Image Above: Look for the recesses (see red arrows) place a screwdriver into the recess and strike with a hammer to turn the Bump Stop. Check which way they rotate (some have left-hand threads).
Its as easy as that.
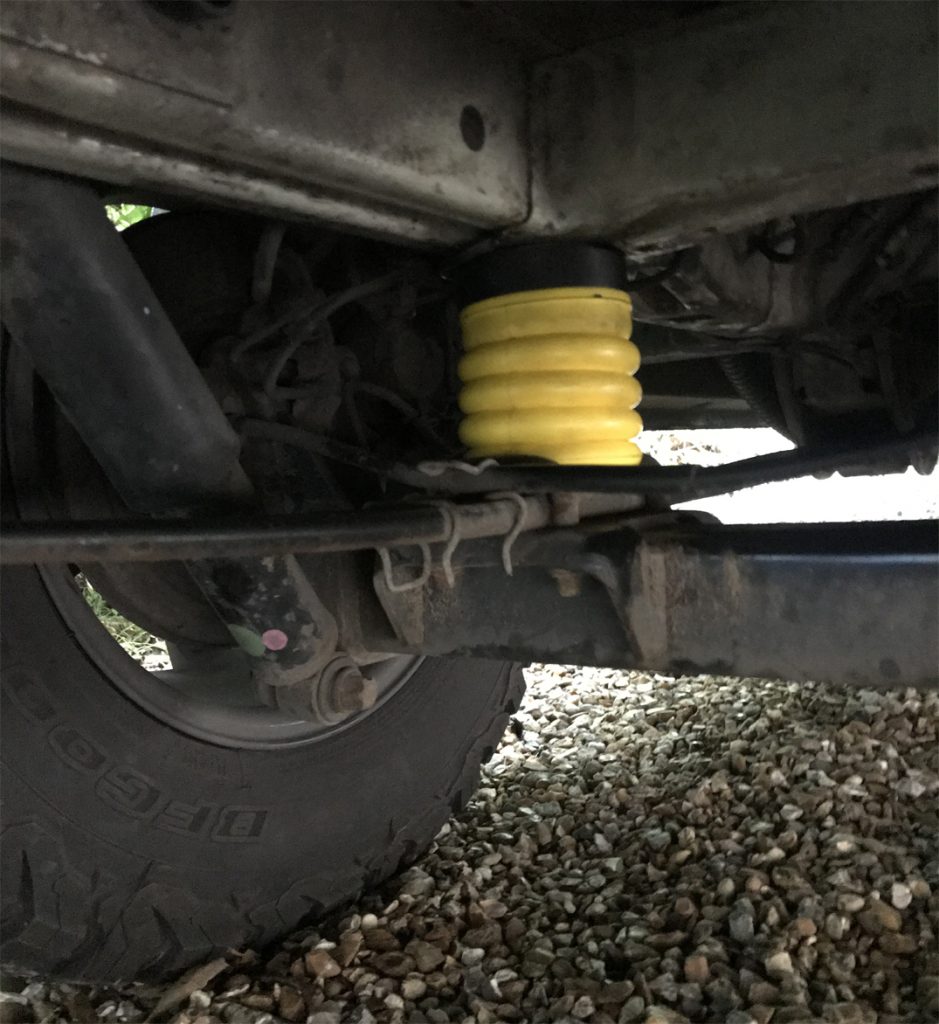
Lift up the van, unscrew and remove the old Bump Stop, then screw in the Sumo Springs and lower the van, thats all there is to do.
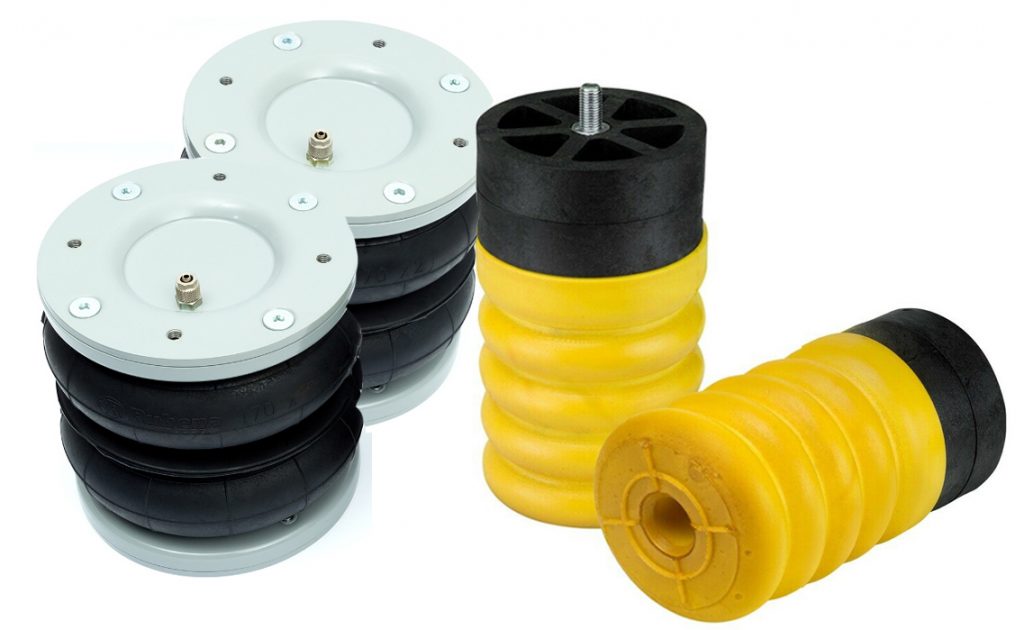
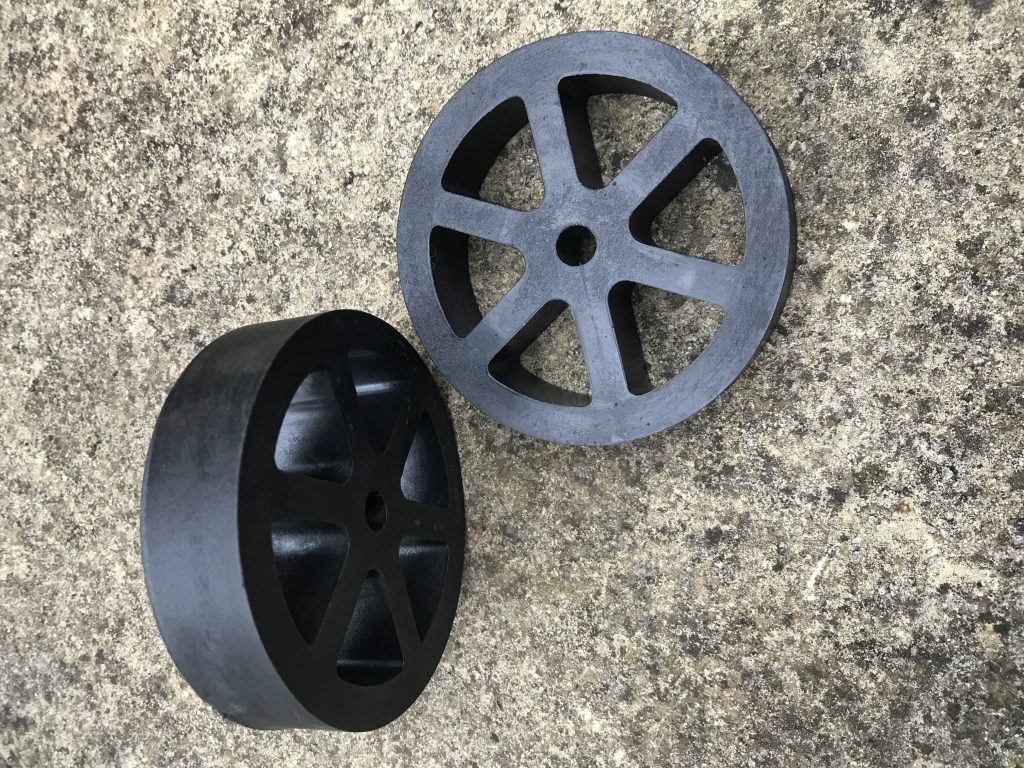
The Sumo Spring Kit
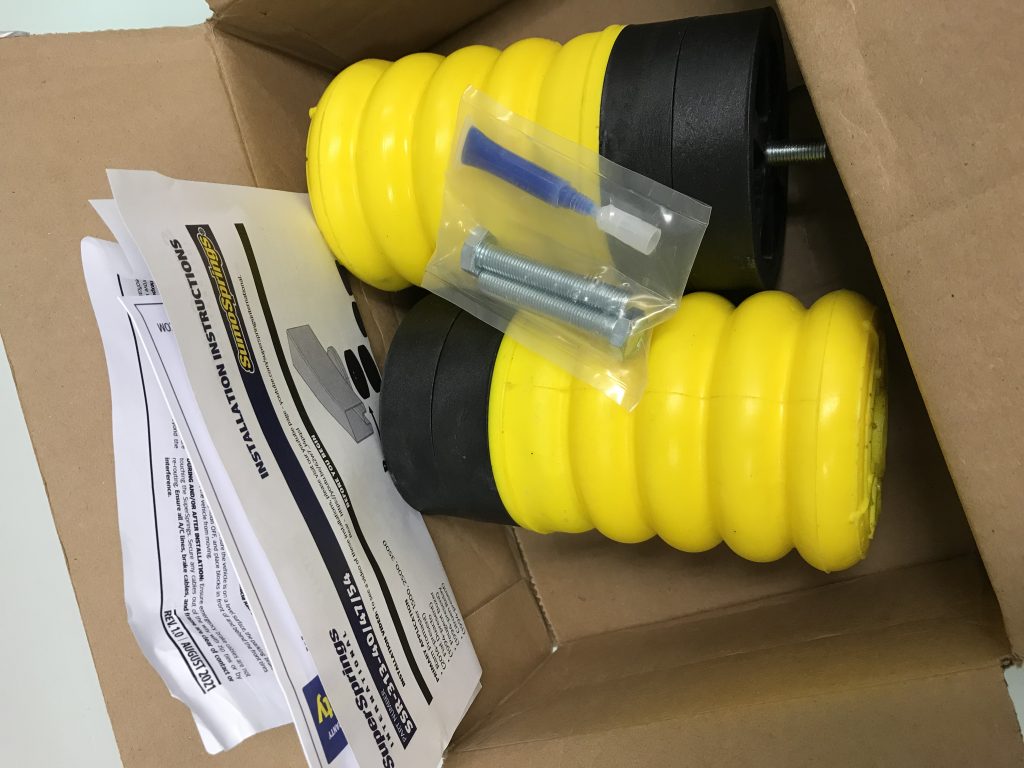
Using both Spacers was not necessary (see image below). The height was sufficient using one spacer (two are supplied) and the vehicle would have been too high had I fitted them both.
Where to buy (UK)
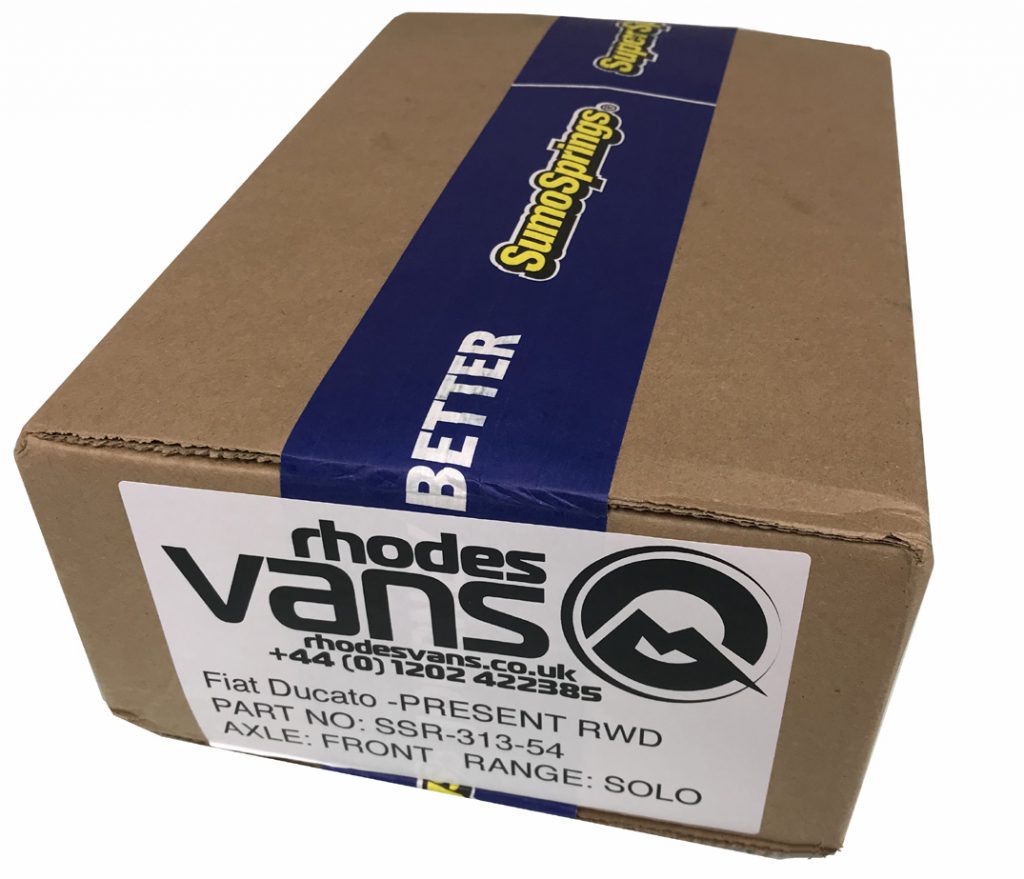
Rhodes Vans LTD
Land Line: +44 1202 422385
Facebook: facebook.com/rhodesvans
Web shop: http://rhodesvans.co.uk
Instagram: @rhodesvans
Lots of YouTube Stuff on how to fit
https://www.youtube.com/watch?v=-U1Ta8C5V5Q