
Where to fit: I decided to fit my Maxxfan in an area at the front of the van, a raised section in the roof panel, it was ideal for fitting a vent or fan and probably designed with this in mind. This same area is on the Peugeot Boxer, Fiat Ducato and Citroen Relay. The plan is to have a Maxxfan at the front, which is away from the bed so its silent at night and to have a second roof vent (no fan) over the bed. This is so fresh air can circulate throughout the van, especially important when the weather is hot. Another reason to fit at the front of the van is because this fan is fairly close to the cooking area.
Roof Hole Sizes: The cut-out hole is 356mm X 356mm (14″ X 14″) or 400mm x 400mm. See your instructions or Maxxfan type.
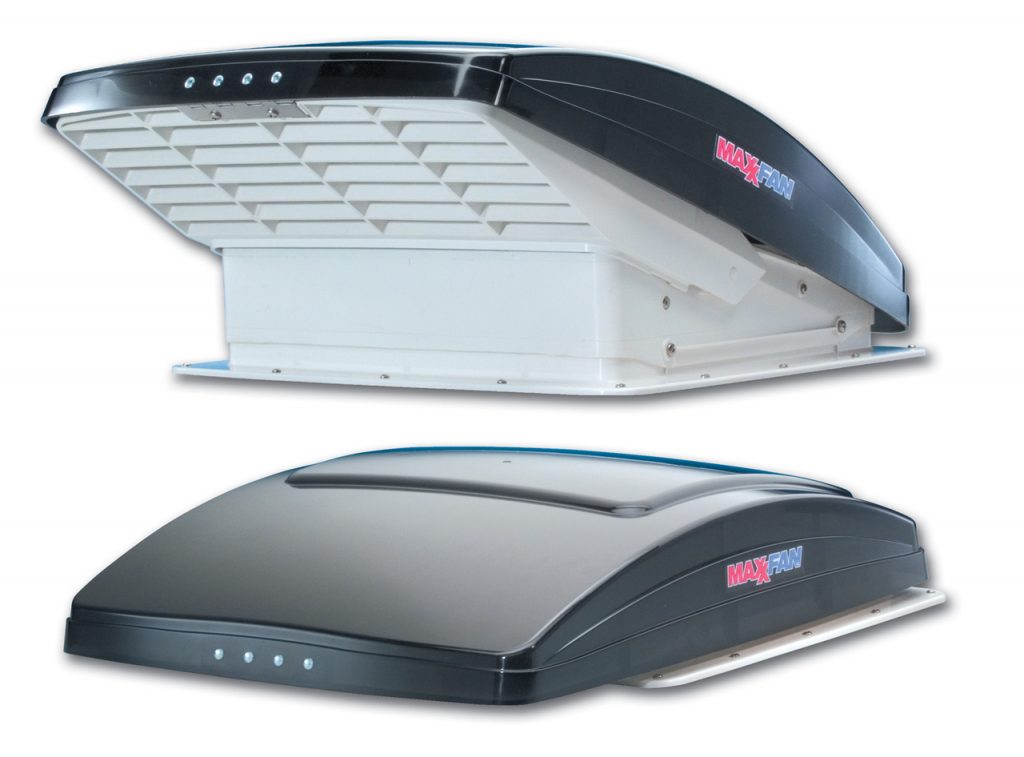
Maxxfan Deluxe Roof Hole 356mm X 356mm
Maxxfan Deluxe Roof Hole 400 X 400mm
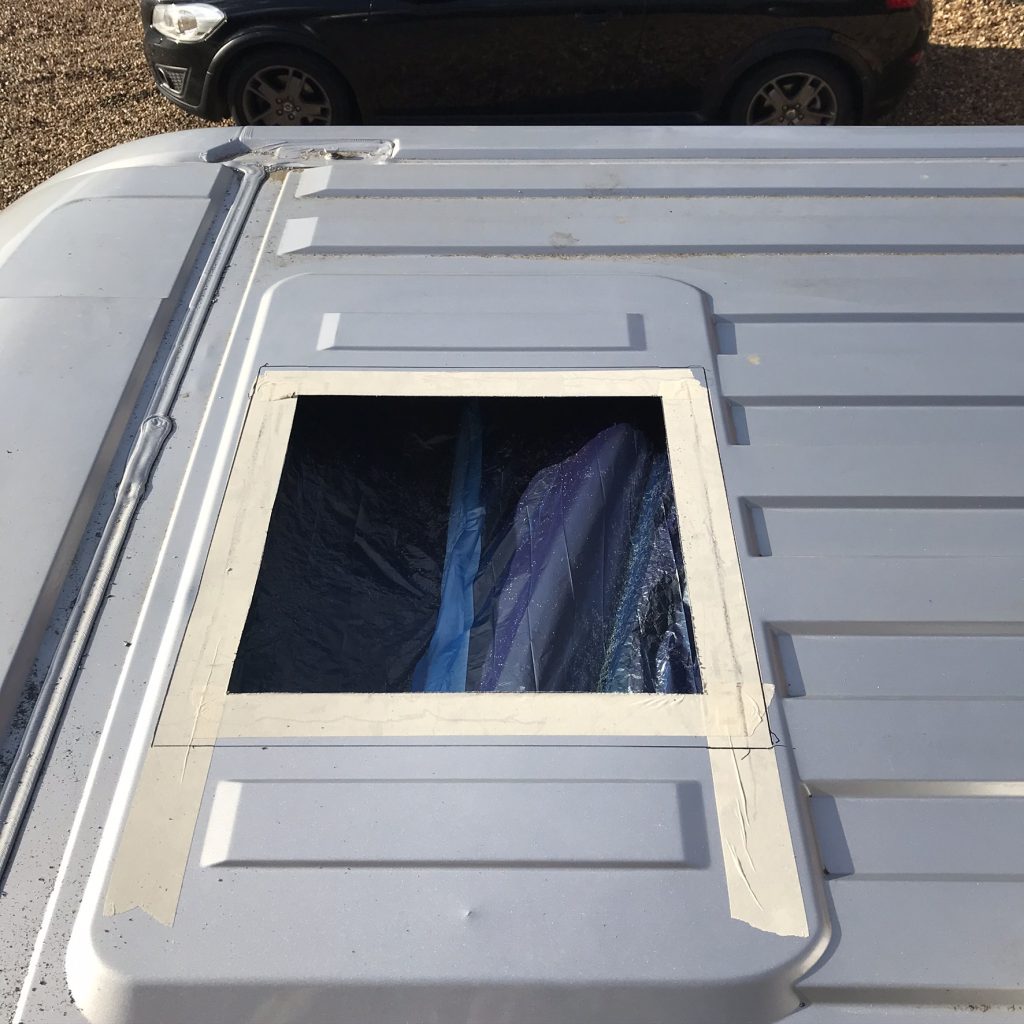
Which size roof hole? I have the larger Maxxfan but instead of cutting the 400 X 400mm roof hole as the manufacturer suggests I cut my roof hole to 360 X 360. See below.
Method A: If you are only using Sikafkex 522 to seal the base of the Maxxfan then it’s likely you will need to cut your roof hole to 400 X 400mm this is because the fan will need to sit fairly flush to the surface of the roof. This method is fine. Tip: Make sure you use plenty of Sixaflex if it’s too thin and the fan is screwed down firm then it could push out and leak over time (sunlight, vibration and too small amount of Sikaflex). A well known YouTube camper-van builder did just this and six months later his roof started to leak. He cured the problem by using Mastic see below.
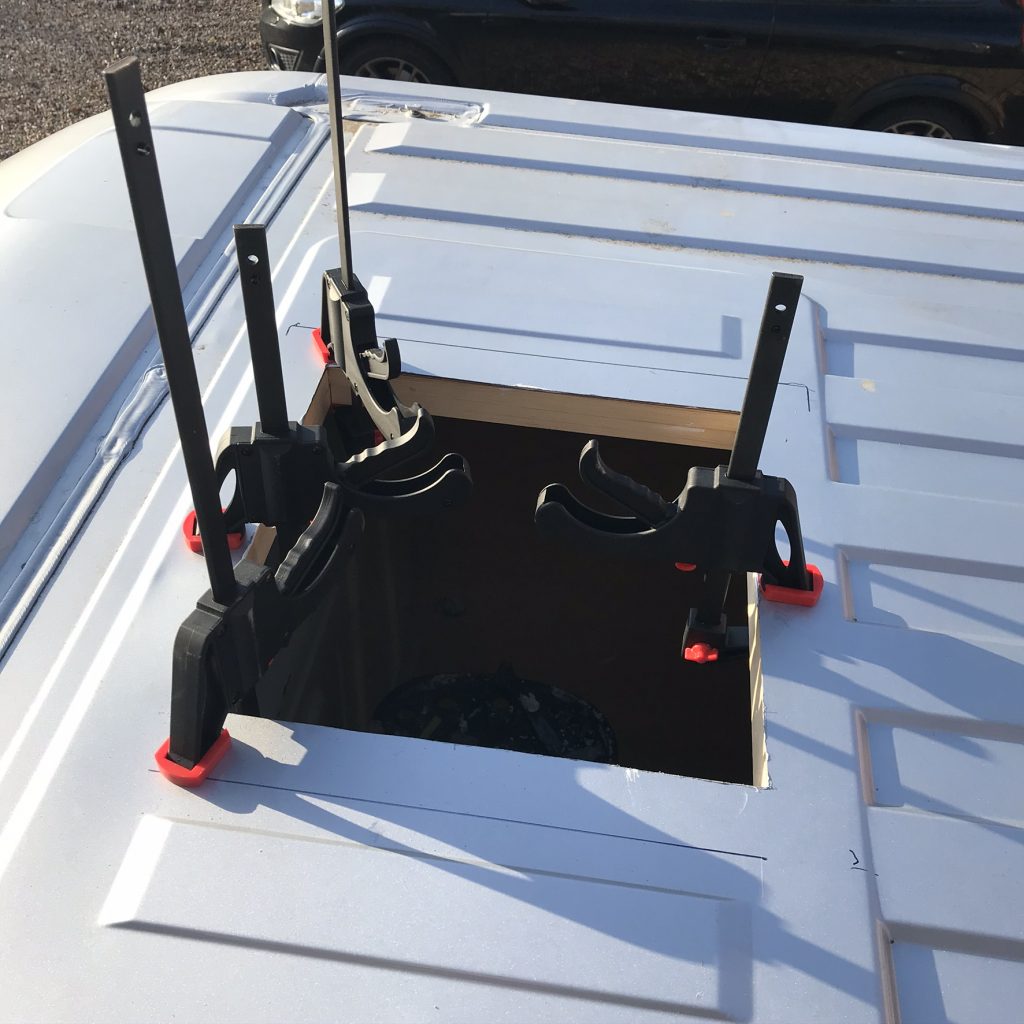
Method B: – The Submarine Method: Ideal if you plan to drive your van into a Lake. This is the method I decided to use. Instead of sealing the Maxxfan base with only Sikaflex I sat the Maxxfan on two layers of Mastic. This meant that when the Maxxfan was screwed down the mastic didn’t easily spread or go thin as can happen with using only Sikaflex. I am not saying using only Sikaflex 522 isn’t suitable, instead I am adding a little more protection against possible leaks. I still sealed the outer edges around the fan with Sikaflex 522. Because I used a Mastic base this raised the fan a little and thus I didn’t need to make the roof hole 400 X 400 instead 370 X 370mm was adequate. Did I need to cut to 370mm X 370mm? No, 400mm X 400mm would have also worked.
Before you start cutting always check the size of the hole you are about to cut and follow the manufacturers instructions (sizes). The instructions may vary or the manufacturer may have made changes since this article was published!
Start by making a Wooden Frame: You will need this later to fit on the inside of your van roof. Your Wood Frame needs to be square and have an inside hole of 360mm X 360mm (This size should work on both a 400 X 400mm roof hole as well as the 356mm X 356mm roof hole). The ideal thickness of your frame is 40mm deep. To do this I used 20mm X 45mm timber and doubled up ie placing the 20mm side on top of each other so its 40mm. (dont worry if you cant follow this there is an image below)
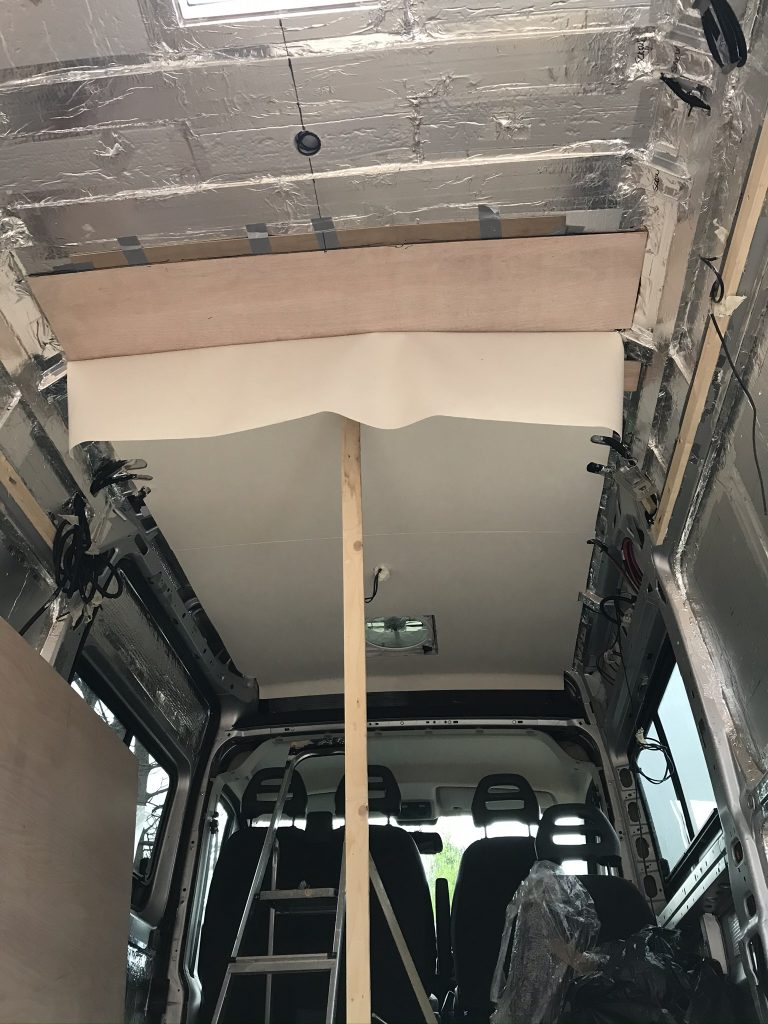
Prepare the underside (inside of your van). I used a bin liner which I cut open and taped to the inside of the van roof. This was to stop the metal filings going everywhere inside the van. TIP: Never leave filings either inside or outside your van, they will mark it when they rust.
Start by marking out your hole with masking tape. Draw your square on the masking tape and check the size in the instructions. ( I made my hole 360mm X 360mm to give me “wriggle room”). Place the Maxxfan Frame (not the whole fan) on the line that you have drawn on the masking tape, does it look correct? Its better to cut the hole size too small than too large so check that the fan has enough room around its plastic base so that it can be screwed down onto the roof , and wood frame below the roof.
Below: Just being extra careful…look carefully and you will see an outside line drawn by pencil onto the van roof. I placed the fan on the rood and drew a line around it. Its tells me that I have ample metal to work with and it makes sure that I dont cut a hole too large by mistake. Dont forget to paint the edges with Hammerite.
Wood support frame: Once you have cut your hole you will need to attach the wooden support frame on the underside of your roof. Again the internal size of the hole is 360mm X 360mm and its depth is 40mm (2 pieces of wood bonded together to equal 40mm). Note how the inside of the wood frame is identical to the hole cut in the van roof (360X360).
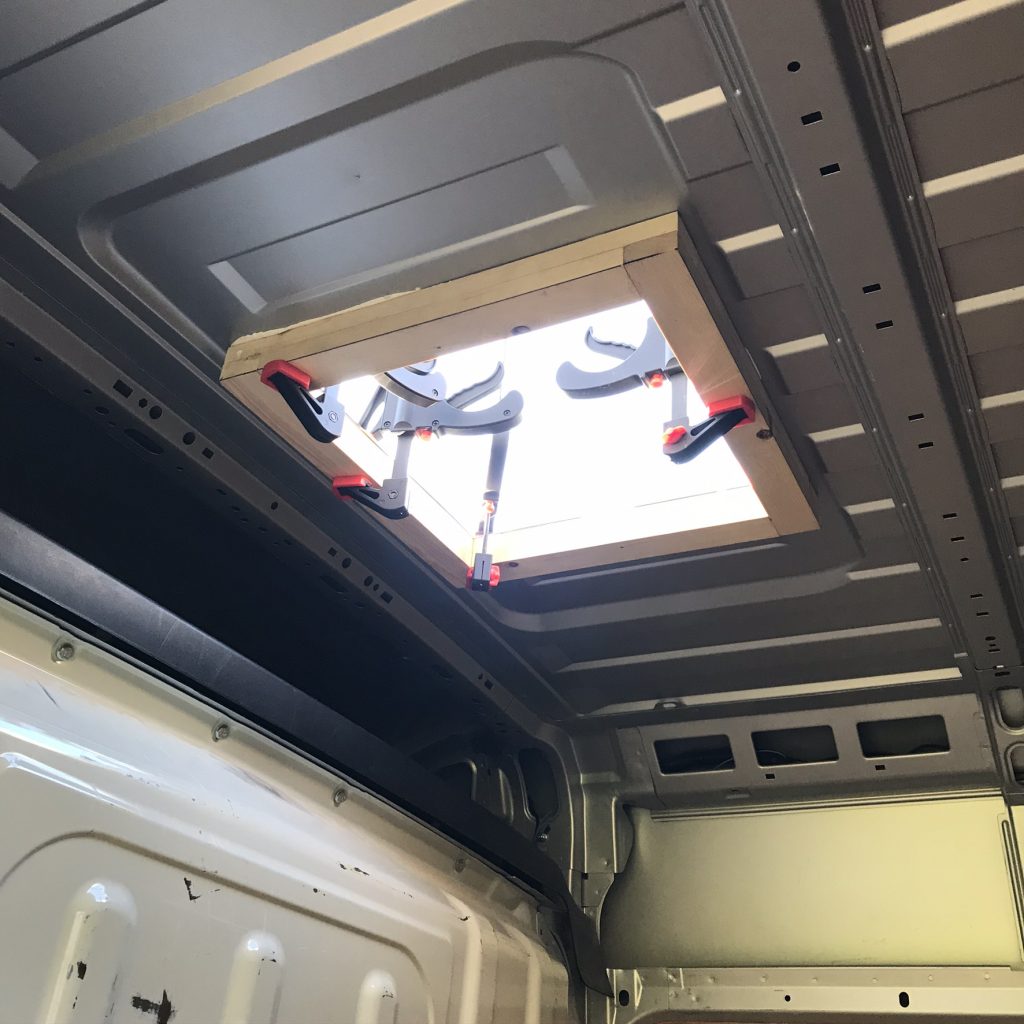
Below: The Woodframe is bonded to the roof using Sikaflex 522 and clamped firm. (It will also be screwed once the Fan is fitted so its never going to come off.) Now you can see that the Internal Woodframe is exactly the same size as the hole I have cut (360mm X 360mm)
White Mastic Strip/Tape: I forgot to take an image of this stage, but apply a “double” layer of White Mastic Strip (one layer on top of the other) to give a really nice seat (and seal) for your Maxxfan to sit on. If you look under the Maxxfan you will see ridges molded into the plastic, this is so that the mastic forms a very good grip and seal.
Once you have applied the Mastic now place the Maxxfan Frame into the hole. Press it down into the mastic and then drill and screw so that the screws go through the metal roof and into your woodframe below, thus clamping everything together. (The mastic has not yet been added to the frame below)
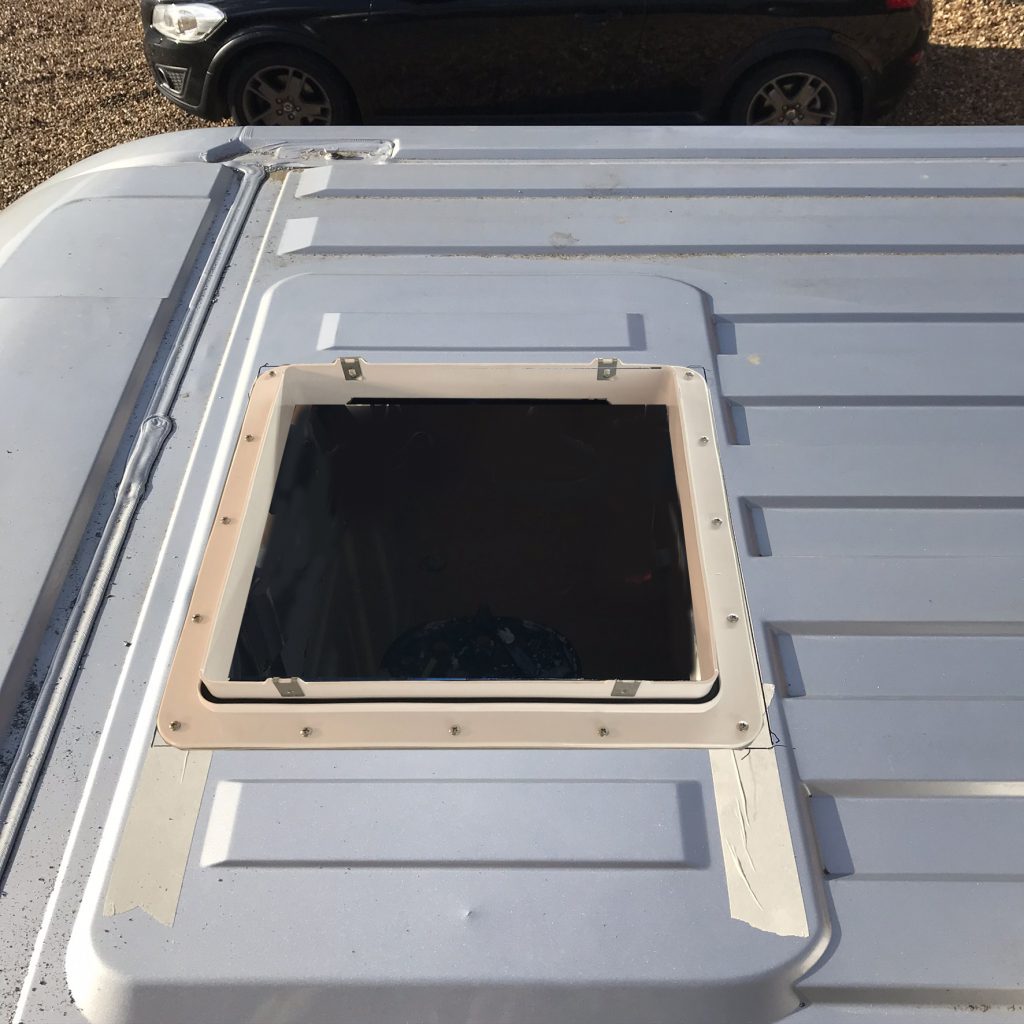
Now its time to fit and screw the Maxxfan into its base. Dont forget to seal all the edges with plenty of Sikaflex 522

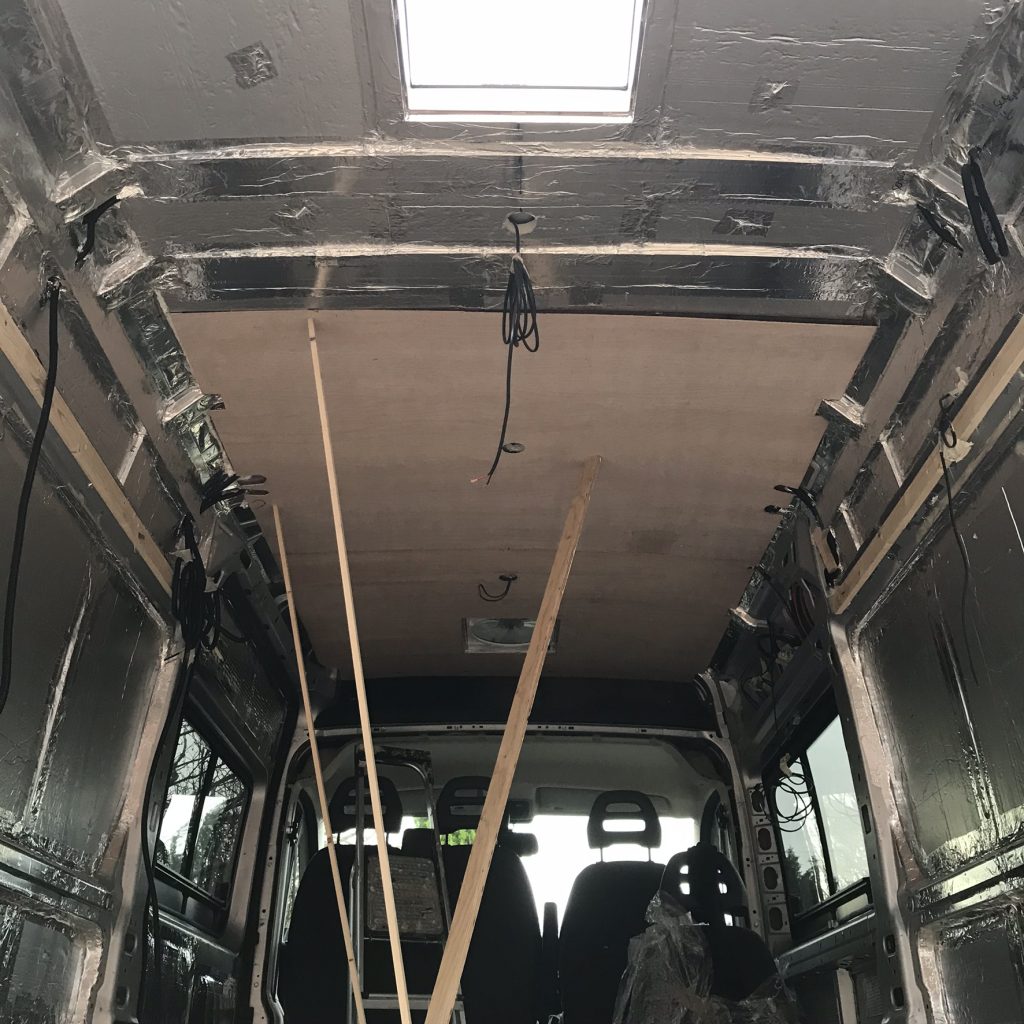
How to cut the roof lining hole perfectly (inside the van): Place the roof board onto your van roof and secure. Dont worry about covering or hiding the fan, just remember approximately where the fan is located. Then drill a hole and insert a bearing router cutter as below. These are fairly cheap to buy. Then run the bearing against the wooden frame, the cutter will automatically cut the hole, its super easy to do and it takes less than a minute before your roof hole is cut. The hole will be perfectly aligned with your Maxxfan.
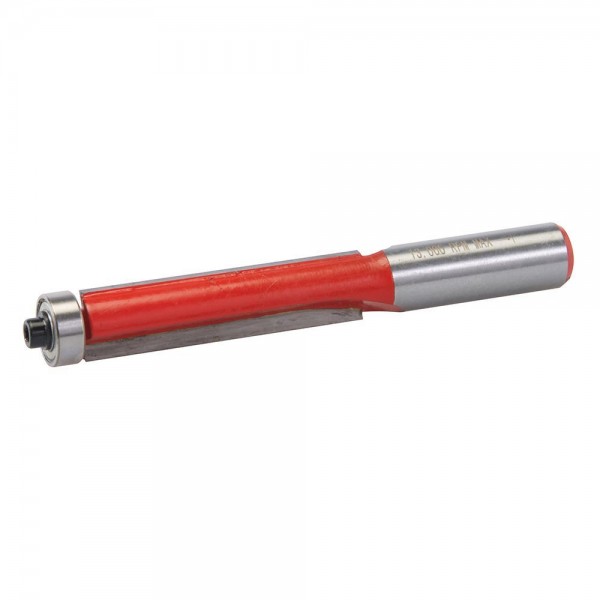
The ply below is 3.5mm thick, easy to bend and lightweight.
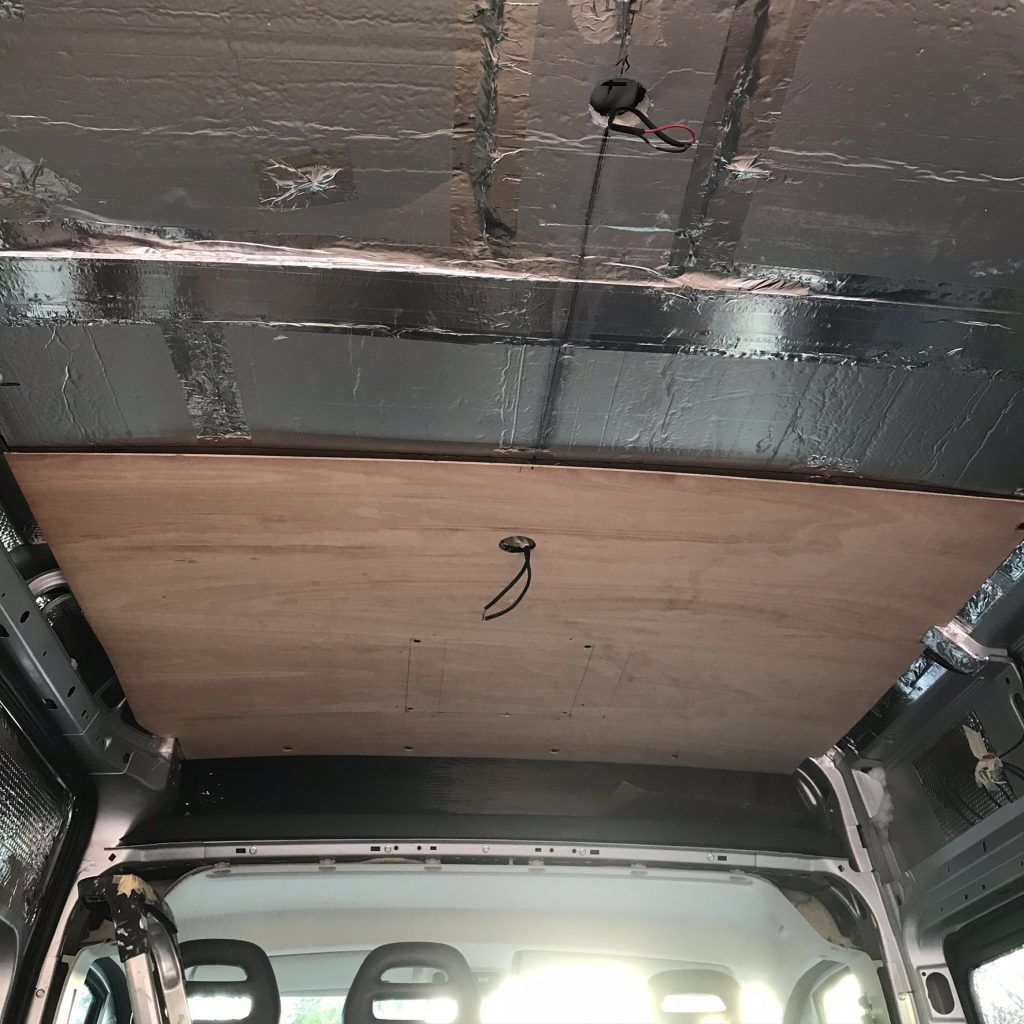
Dont forget now is the time to bring your wires through and wire up the fan
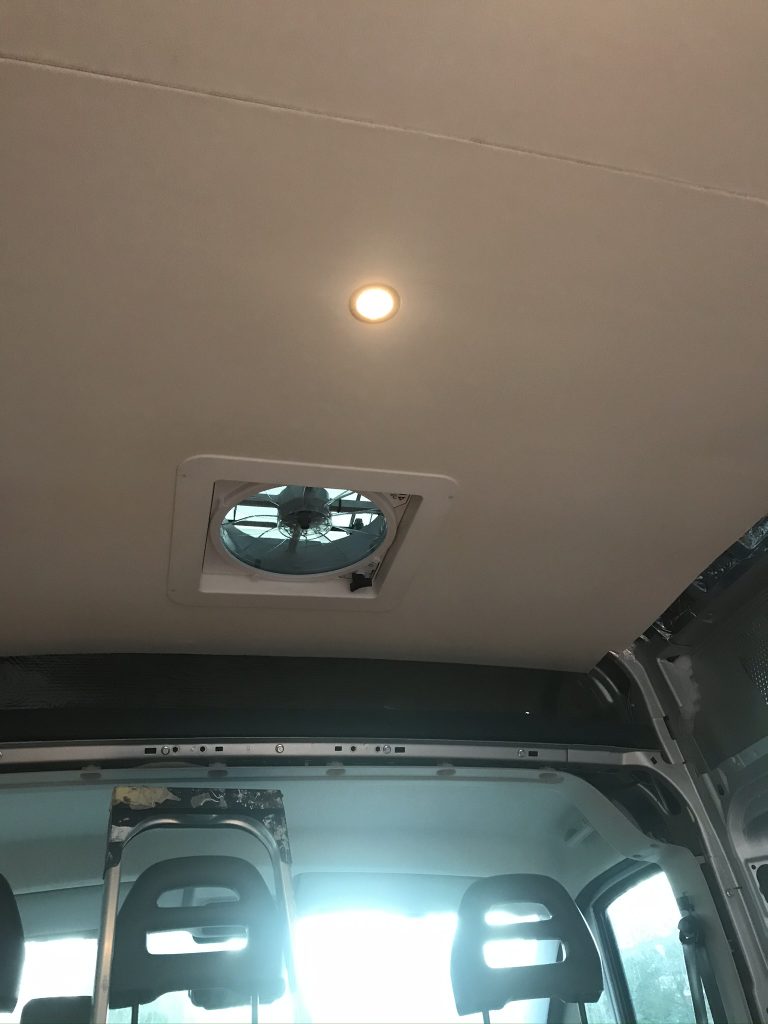
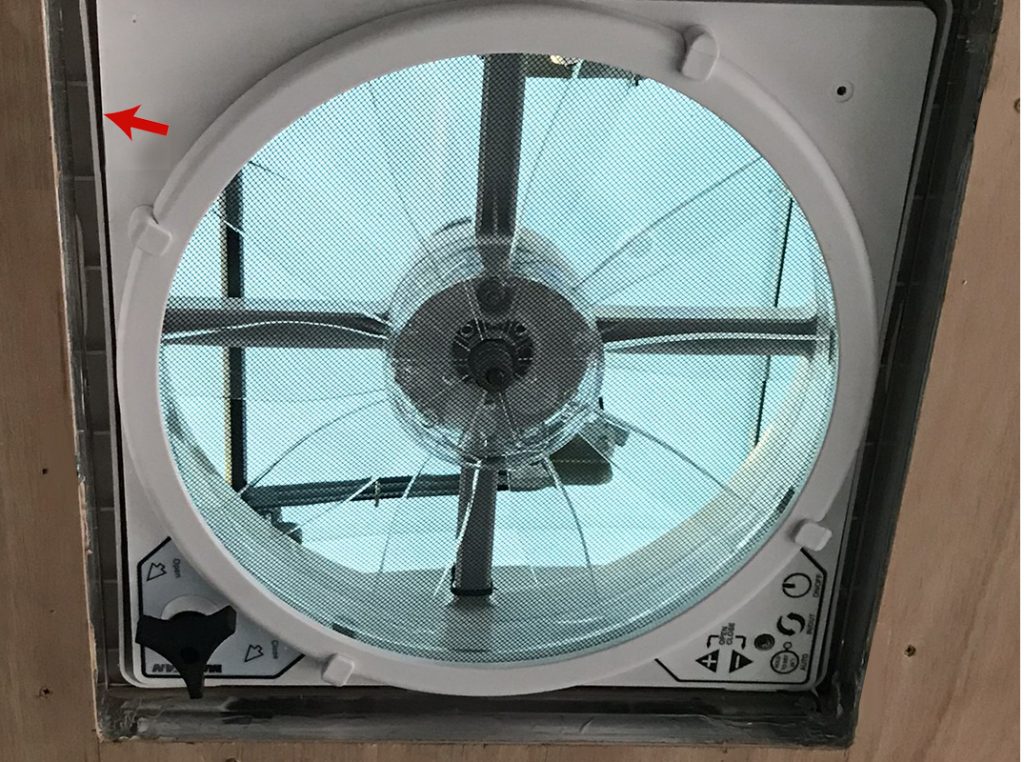
Inside the Van: If you look carefully you can see a nice gap around the fan, this is were the internal cover sits. (You can also see some of the mastic if you look very carefully. Those plastic ridges have help form a good seal).
What did I line the roof with? I covered my roof with a nice simulated leather thats easy to wipe down. Its bonded with spray glue. Its supplied by “I Want Fabric” in Manchester UK. They have every type of fabric even vehicle fabrics and fire retardant fabrics. Prices are good it cost me about £20 to complete this roof and it has a lovely affect.
https://www.iwantfabric.com/vehicle-upholstery/automotive-leather
Finish off by adding the Maxxfan cover. The roof isn’t fully finished, I later added an edging strip to the roof joints.