I prefer bonded glass over plastic windows, glass is usually flush mounted and has a neat appearance, it doesn’t age or scratch the same way as plexi-glass (plastic). That’s not to say I won’t be adding a couple of plexi-glass windows as well. The drawback to glass is that bonded windows dont offer the same thermal values as doubled glazed plexi-glass windows and may not be able to open in the same way (limited range of opening space). There is no winner, no type is better than the other, its a matter of preference.
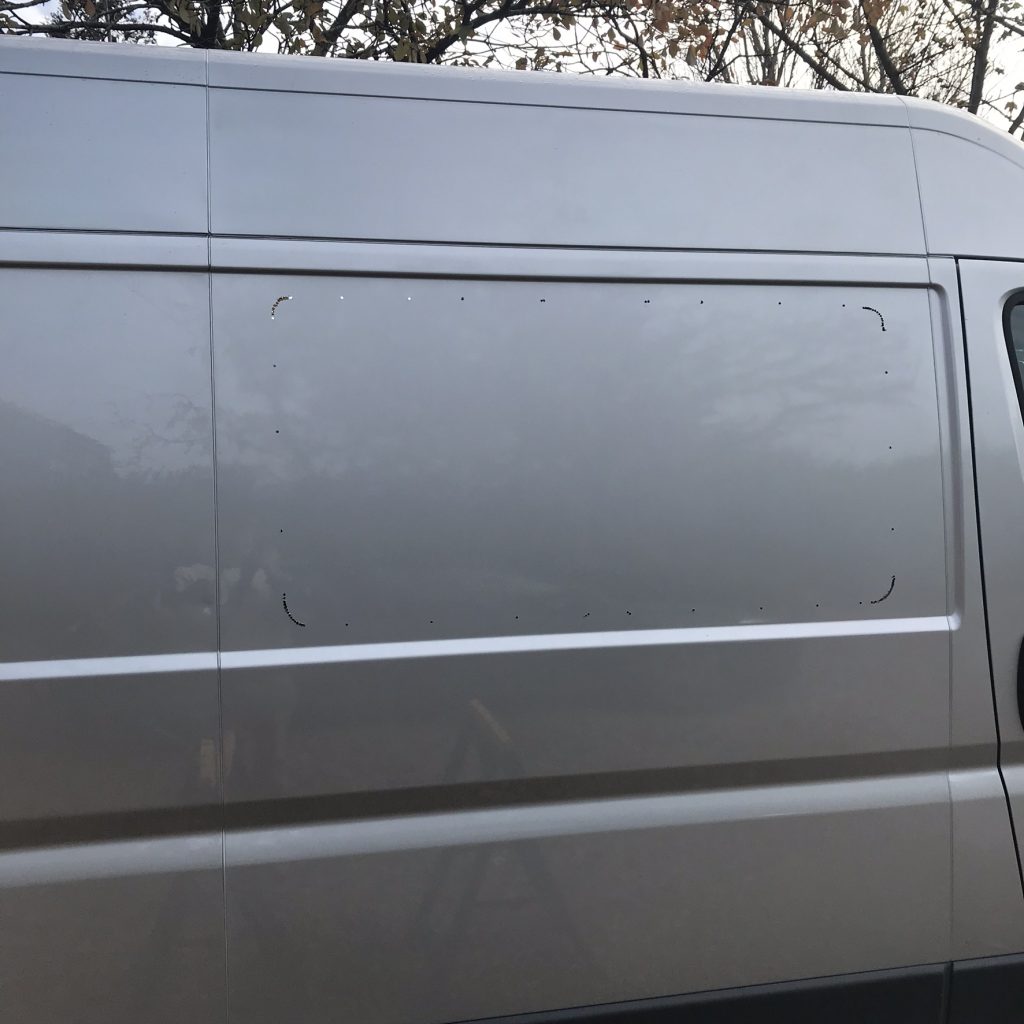
The Fear Factor: Drilling holes in your van for the first time is not something you want to get wrong. I found the best way was to drill from the inside out and follow the structure of the vehicle framework. This method meant I couldn’t get it wrong, so long I followed the contours of the panel I should have perfect alignment. I started by drilling a series of holes.
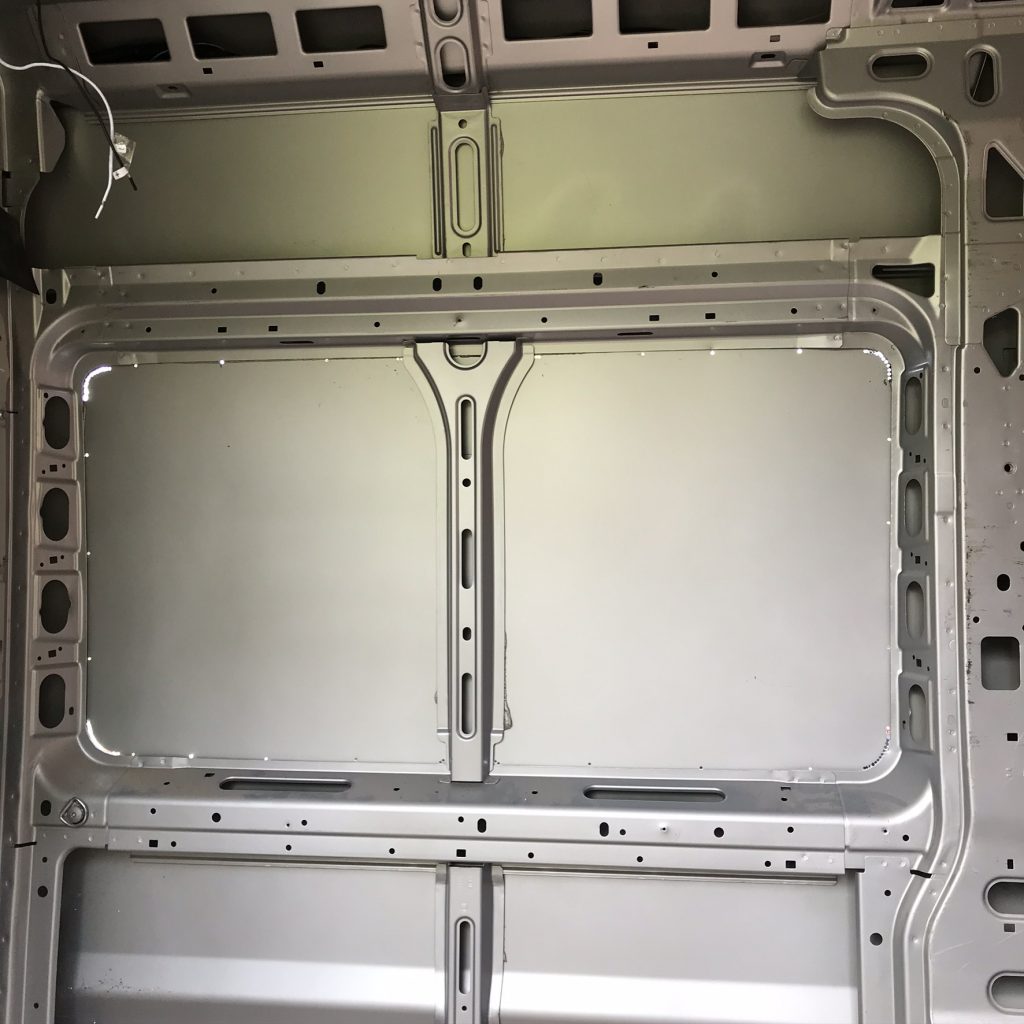
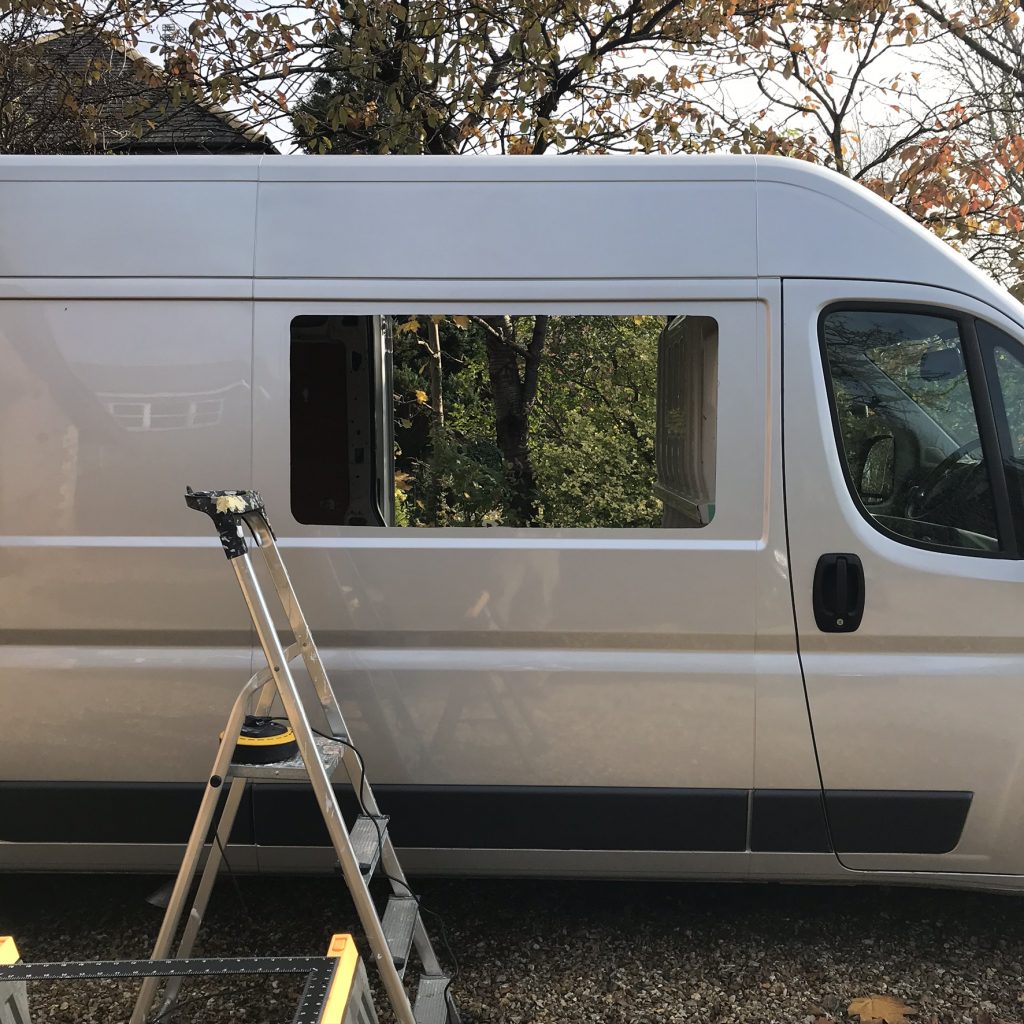
Below: Scary stuff, imagine getting this wrong. Fortunately its spot-on or accurate. Its not neat at this stage but that will come later.
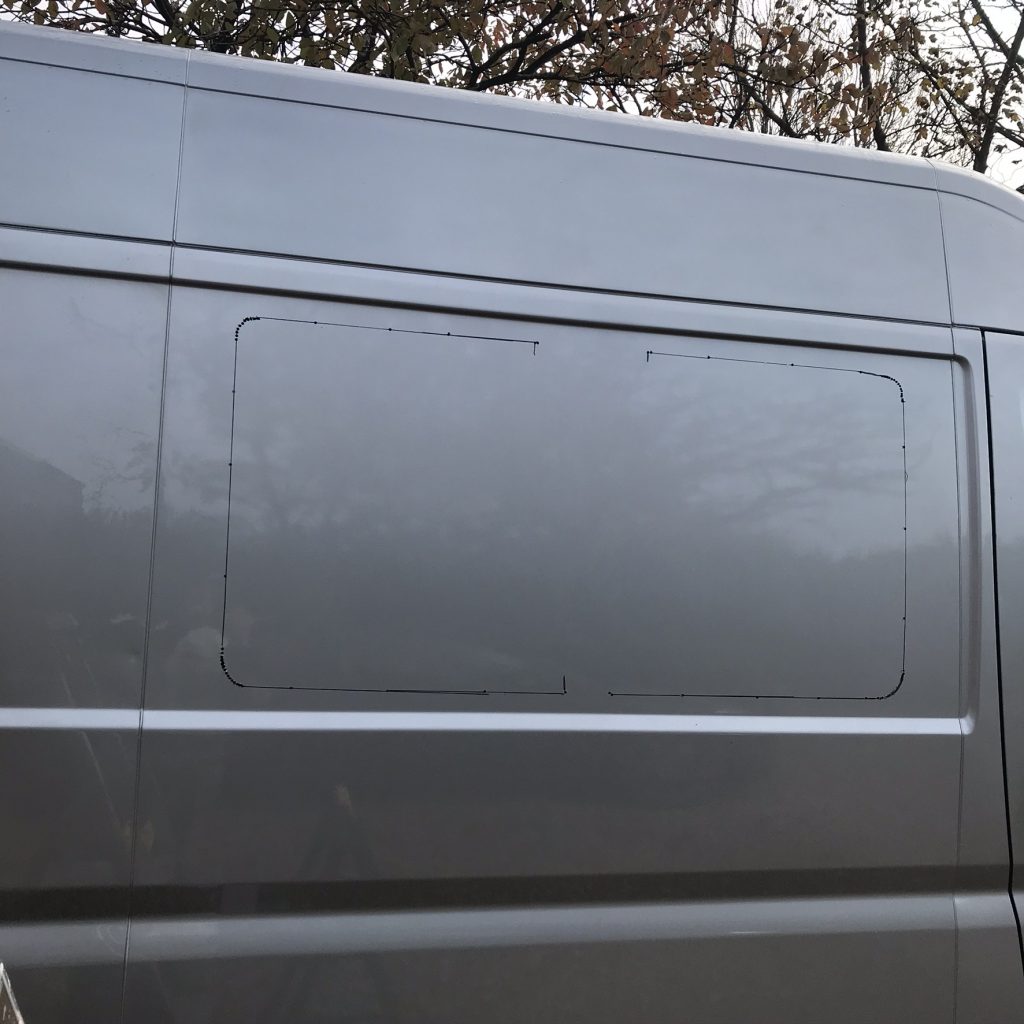
Below: Now I have enough information in front of me to be able to connect the dots (holes) and draw a shape that is correctly located. Theres also plenty of metal remaining for the window to bond to.
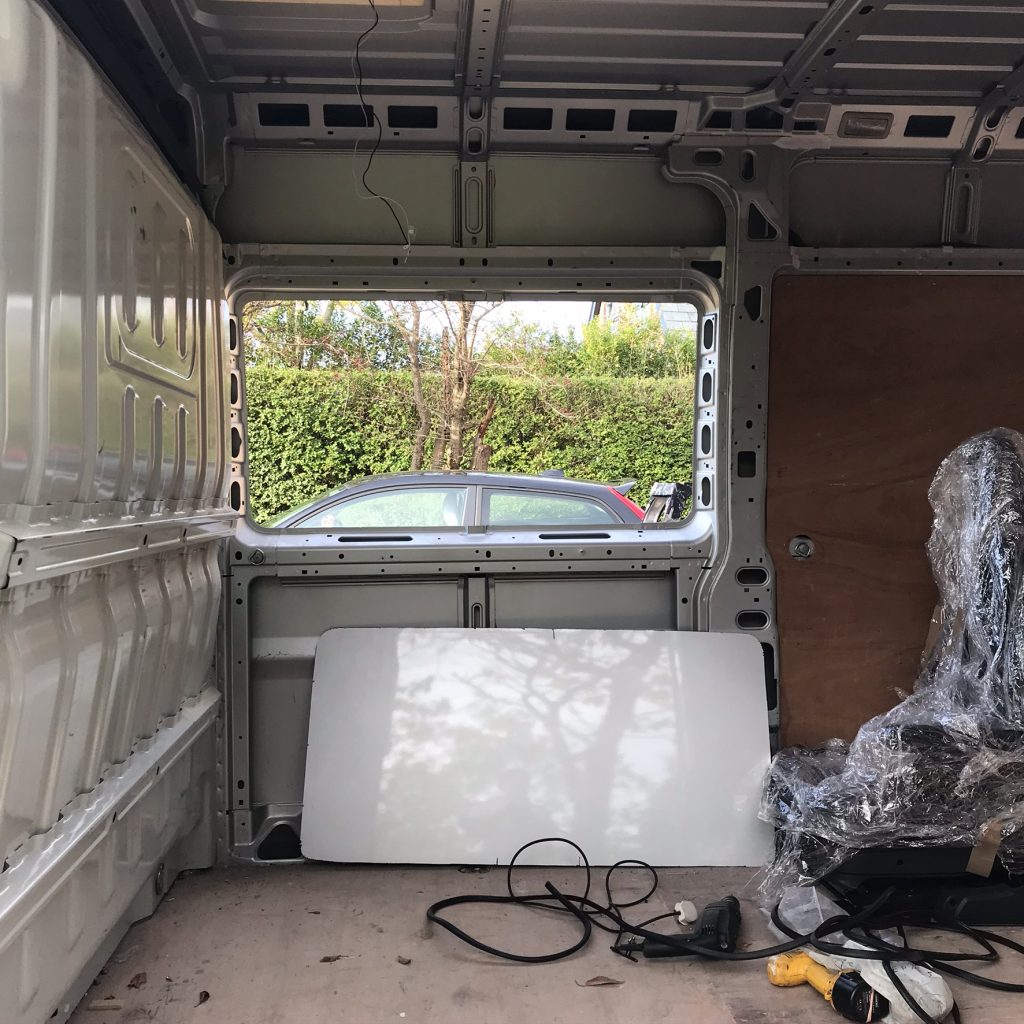
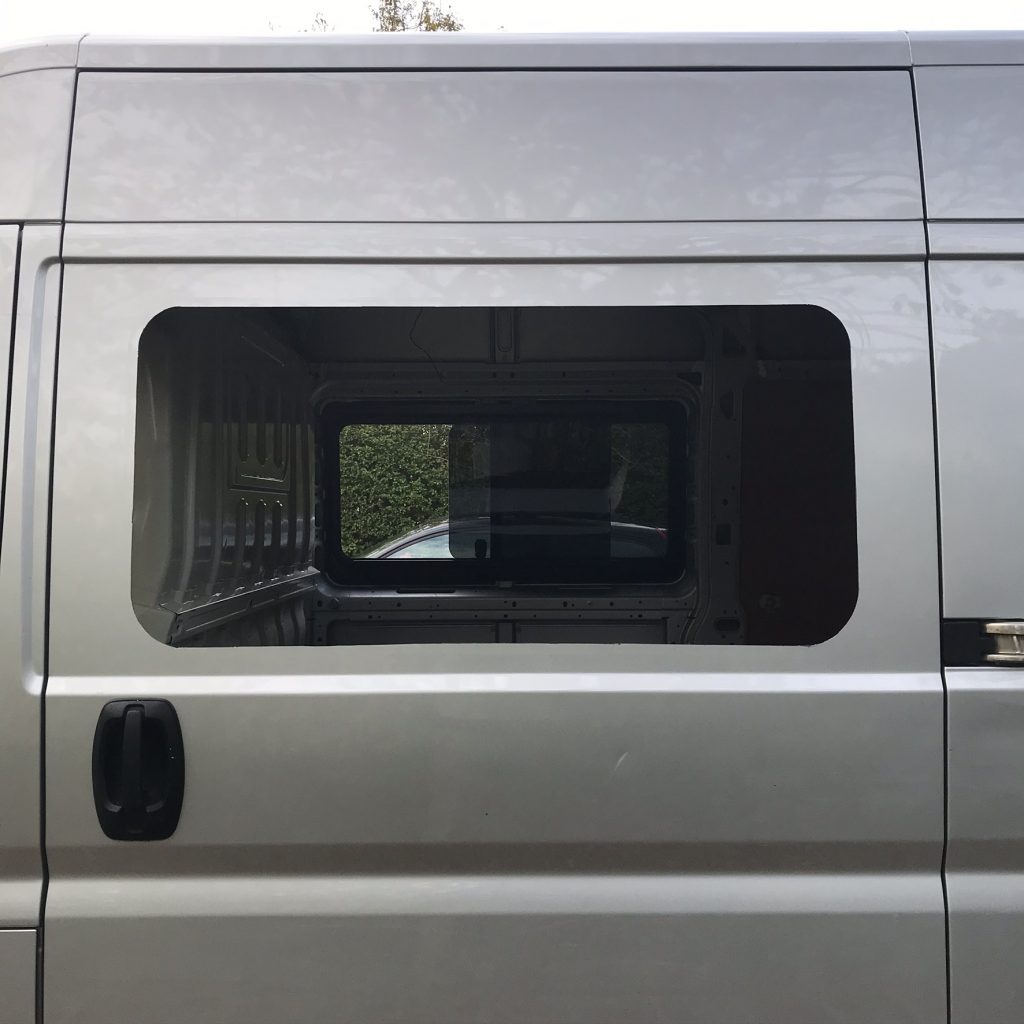
Point of no return: Too late to change your mind at this stage. Its out and its left quite a big hole. Fortunately I picked a good day and its not raining.
Below: Try and let the metal panel fall inwards so it doesn’t scratch the outside of the vehicle. Save the metal, it will be useful later as I will use it to make an external cover for the mains hook-up, it’s shown on this website.
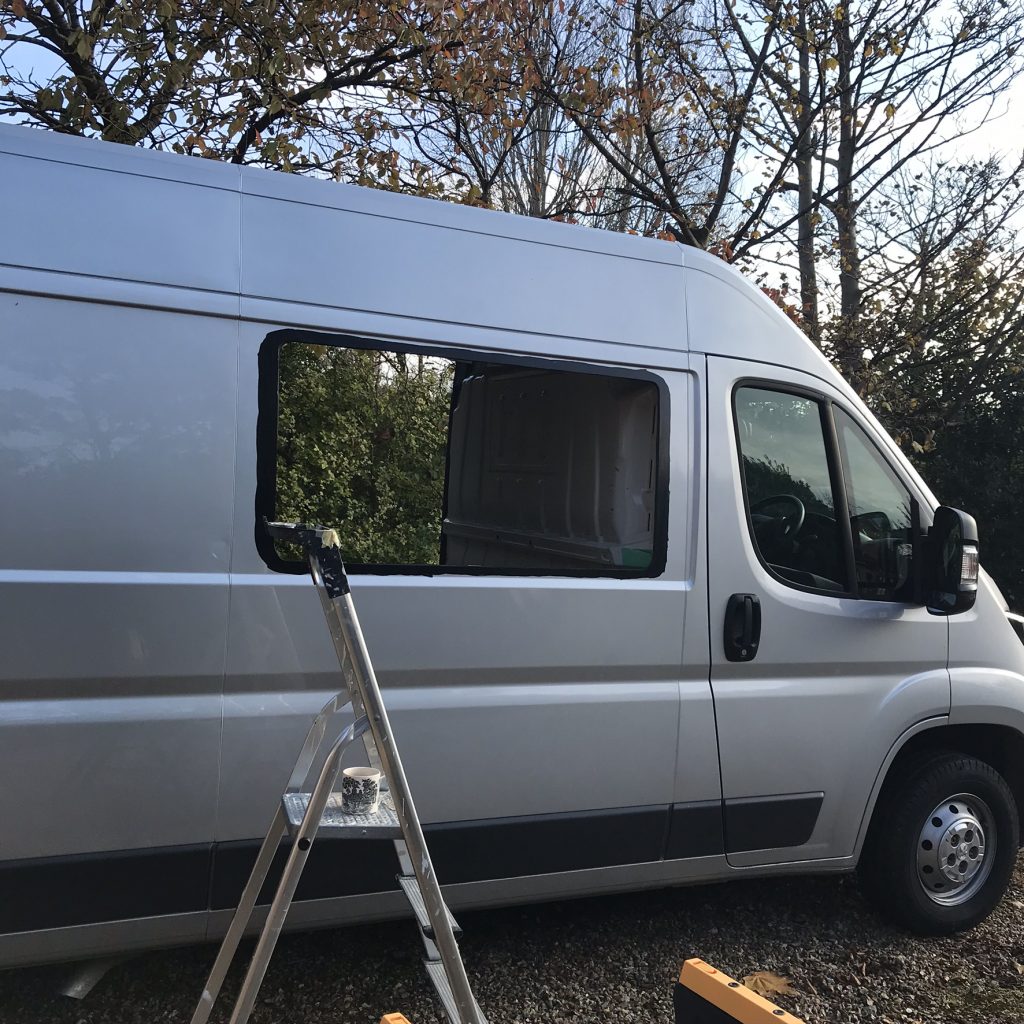
The Black Stuff: This is so that the silicone sealer will adhere to the surface of the van. It doesnt look neat but that doesnt matter as it is not visible when the window is fitted.
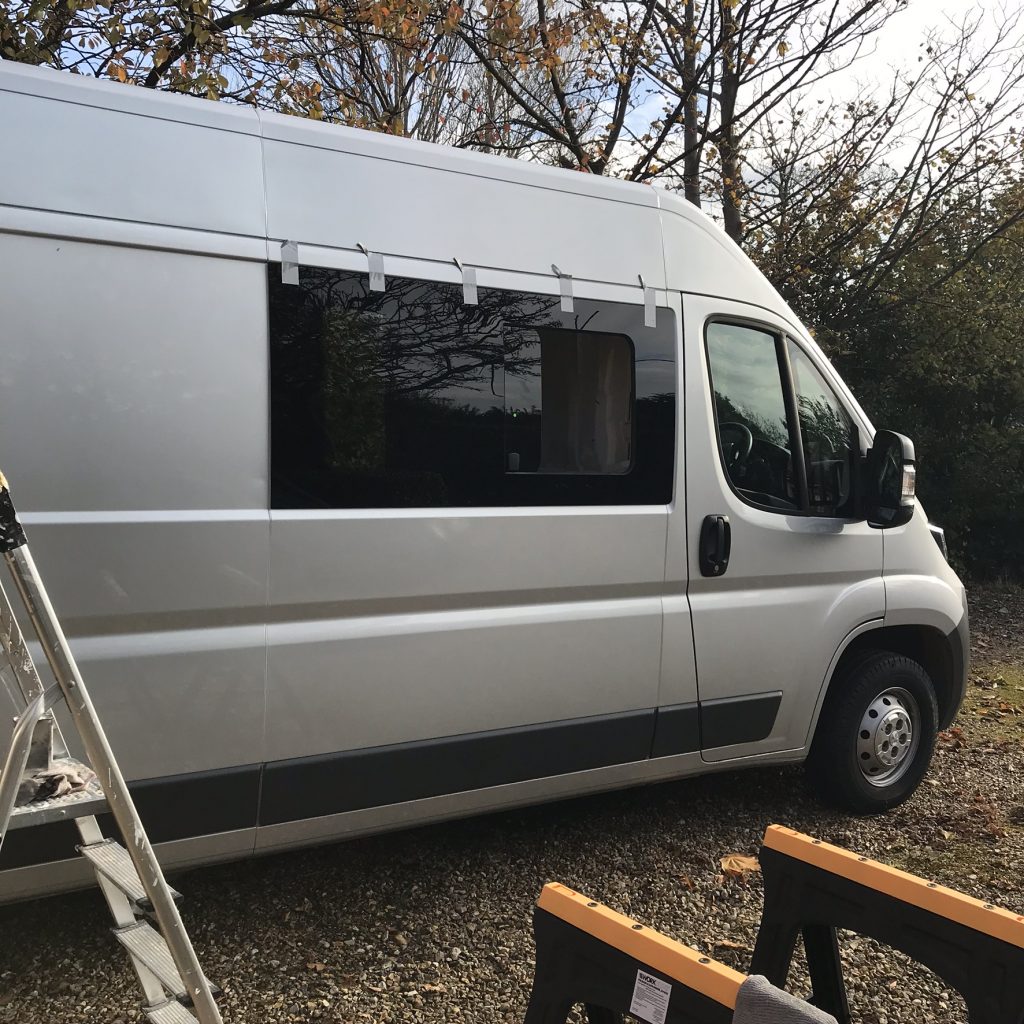
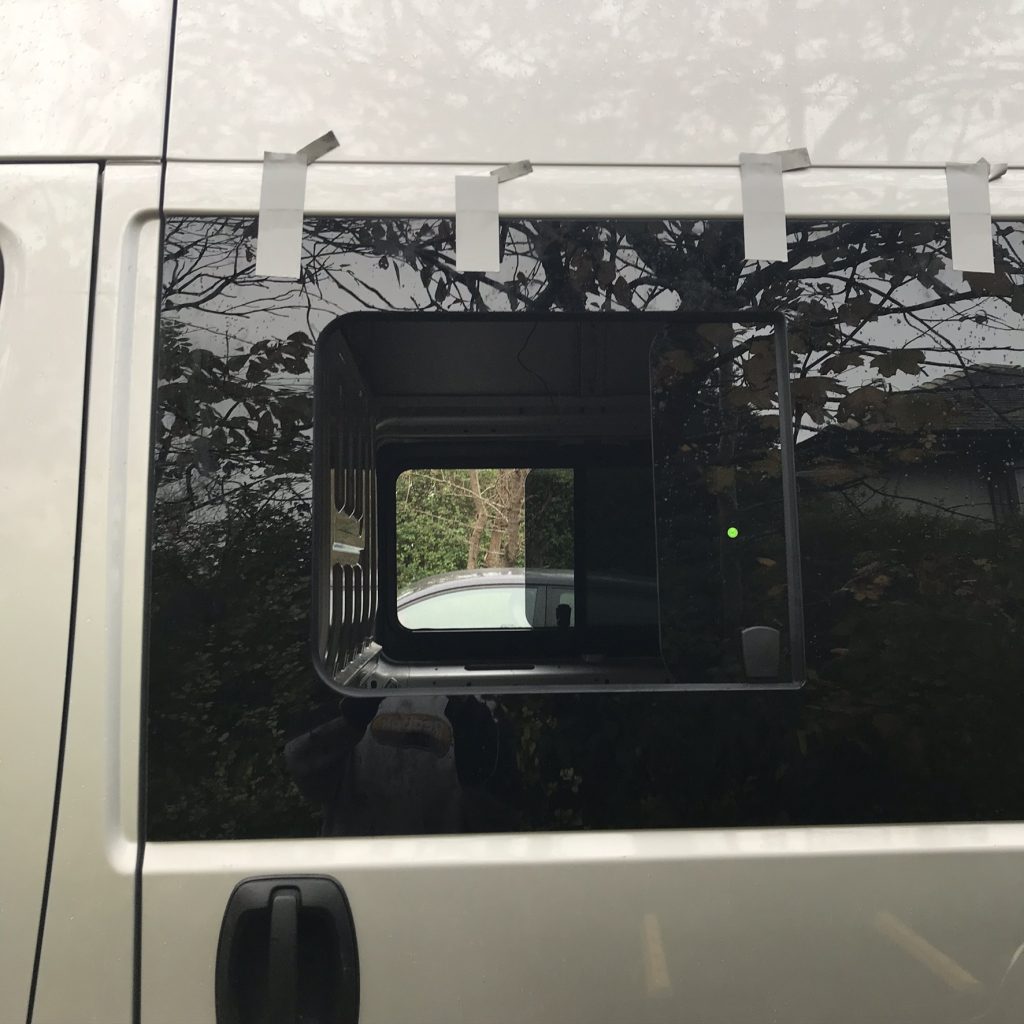
Dont Drop it: An expensive mistake if you drop it or it falls out. The area has been filled with black glass bonding silicone and the glass pressed in place. The tape is to stop the window sliding down. The silicone cures fairly fast (about 20 mins). Once its on, its on, you cant move it, its solid as a rock.
Below: I will add two more windows down this side later. This procedure will be shown in another category. If you want to know why I didn’t do it at this stage, its because the next two windows need to align correctly with internal panels, none of which have been fitted at this stage.

Below: Now repeat the procedure for the opposite side of the van.
Below: Because this windows is fitted to the door then there isn’t as much room to fit the trim so I decided to fit it before the window was installed. The trim and glass never touch each other, its just a little easier to do it this way but not essential.
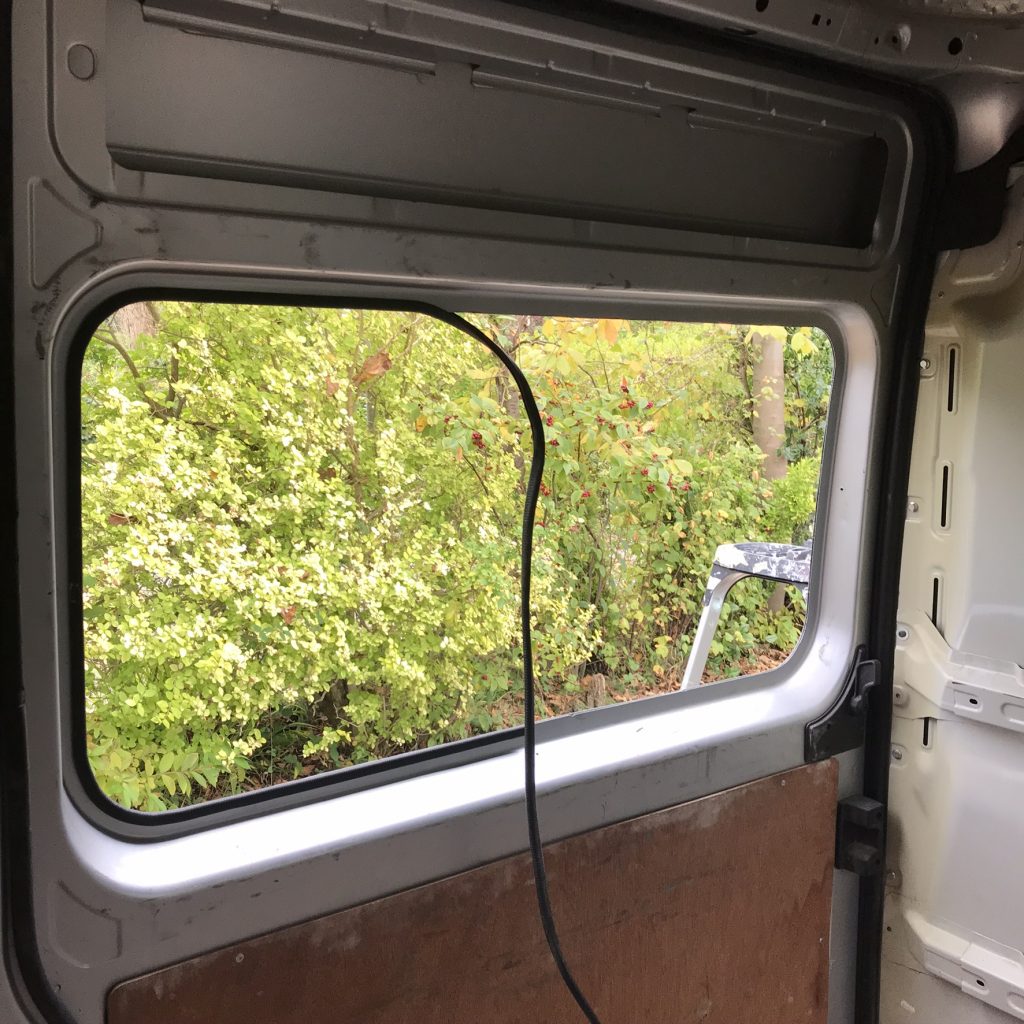
Below: Finally both glass panels are in place and both align as they should, perfectly. No complaints and time for a pot of tea.
Van Demon: At the time of writing I could not find any address on their website. The Van Demon “contact us” page contained a phone number but no address. I am always a little cautious of websites without addresses. Whilst I had no problems with their product and service I would still take care when dealing online with companies that omit to include their full address (accurate as of the 7th Sept 2020). Try their support line before buying to check the response.
https://www.vandemon.co.uk/product/side-windows/twin-opening-side-windows-kit-in-dark-tint-vy24469/
01270 667423
care@vandemon.co.uk