Nobody likes sitting on a cold floor and a cold floor will make your van more difficult to heat thus consuming more power. I mention this because I have seen factory built conversions with zero floor insulation, other than a wood sheet, wood panels or lino. I dont agree with this, I believe the floor needs to be properly insulated like the rest of the van.
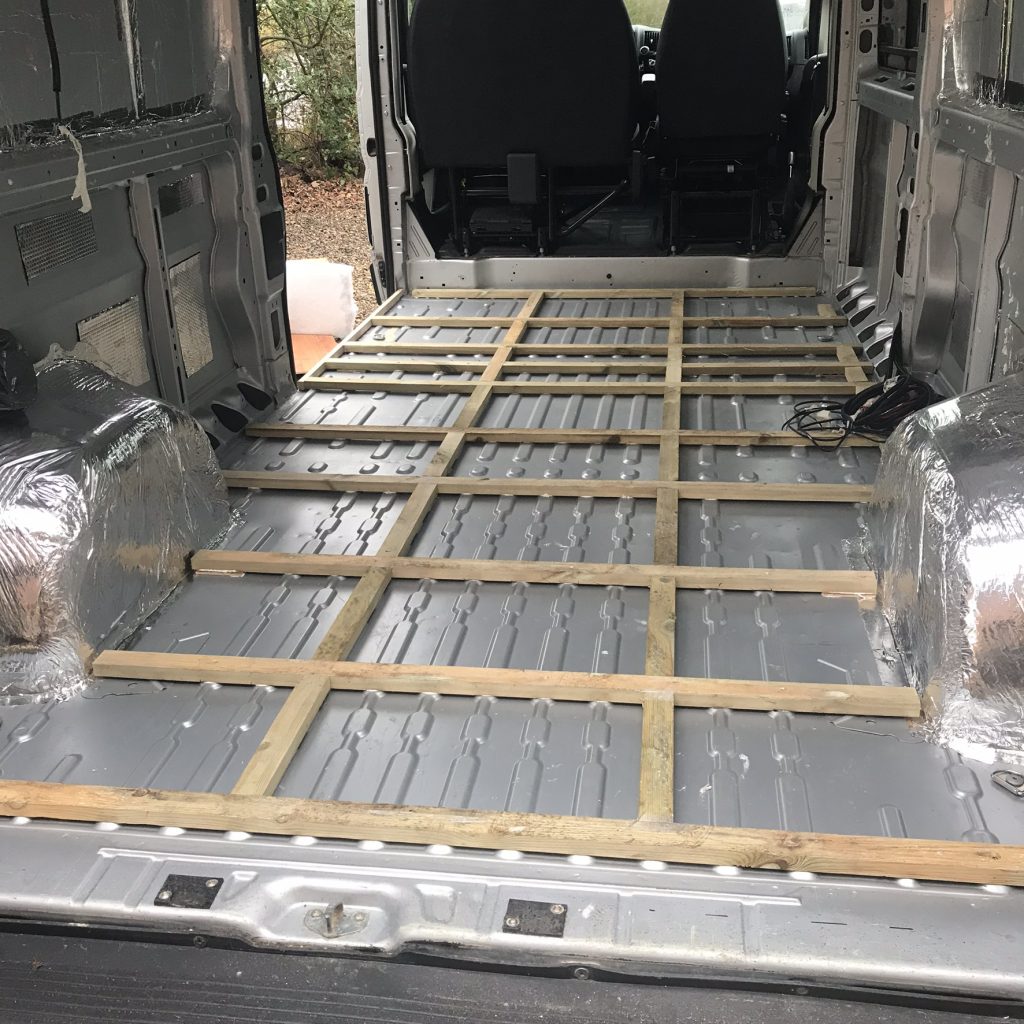
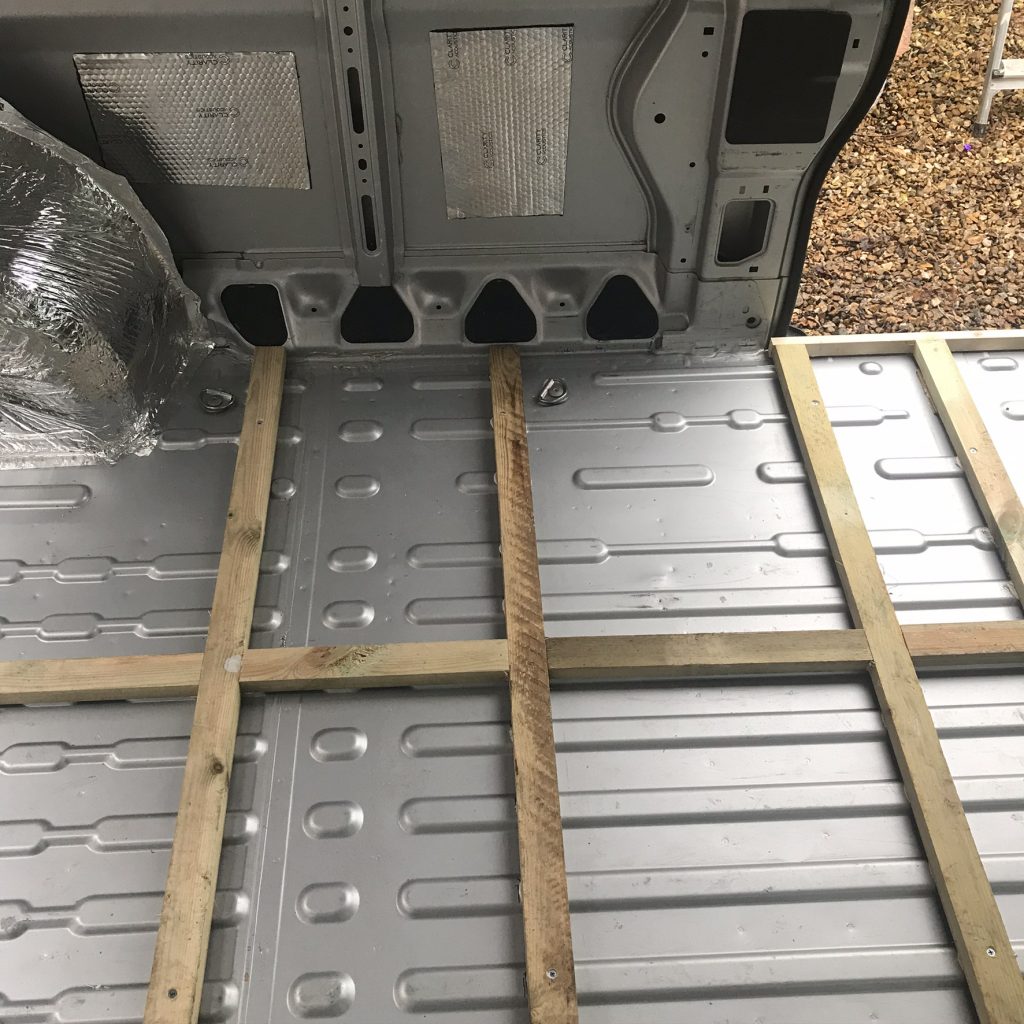
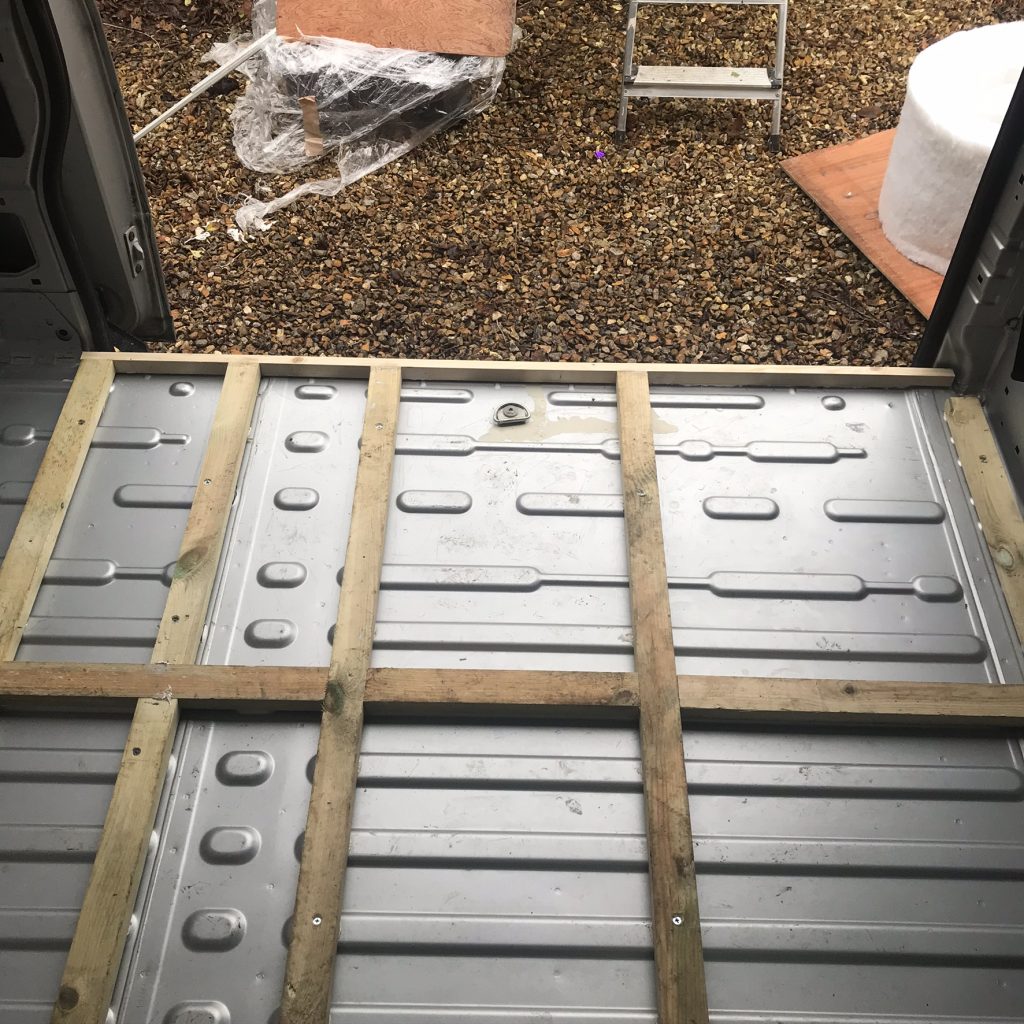
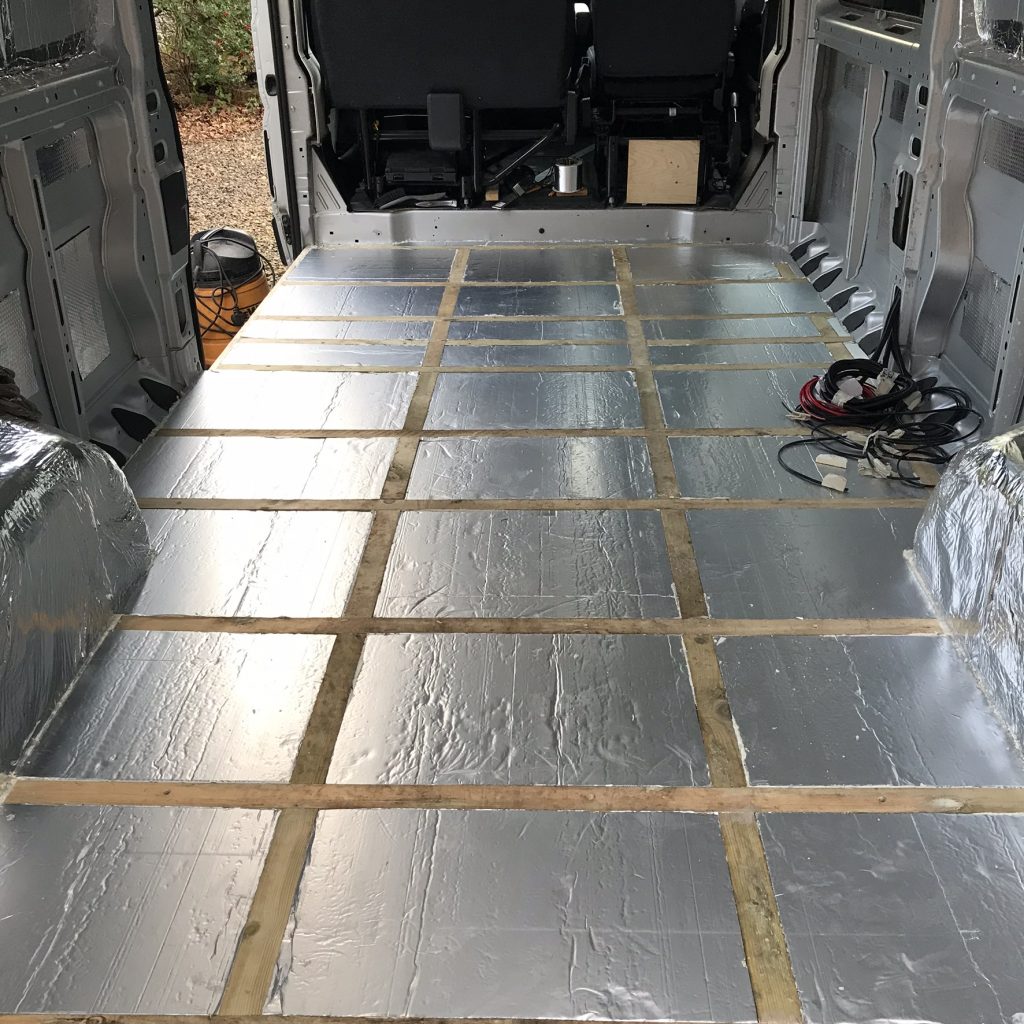
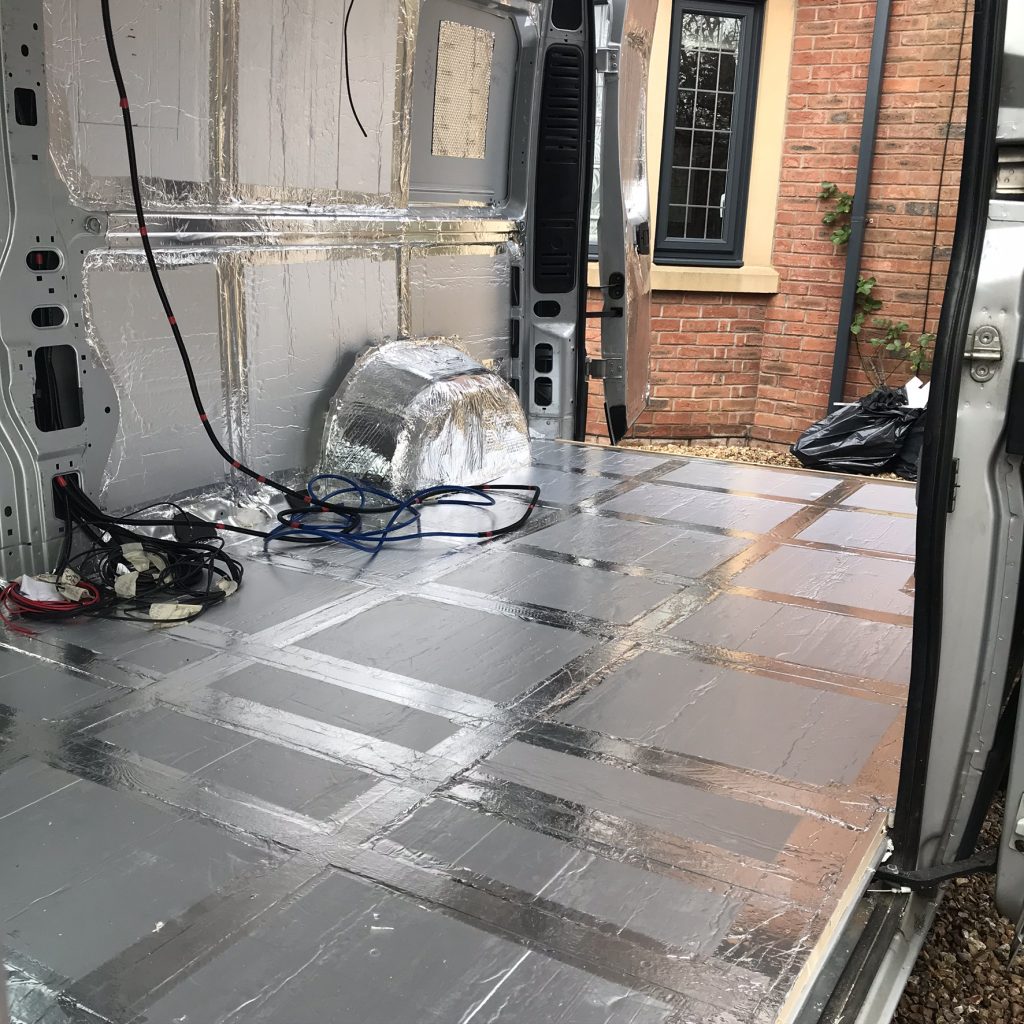
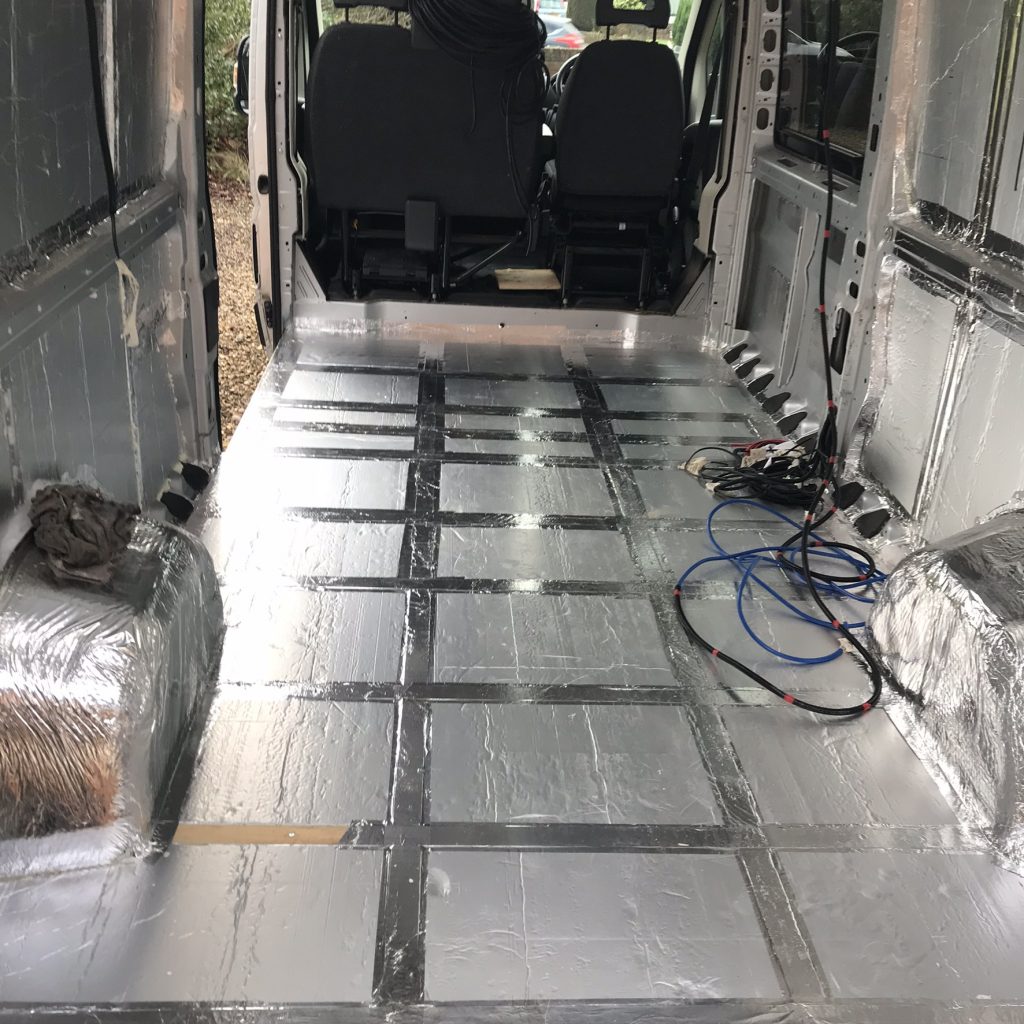
Below: I have fitted a 25mm wood sections to the floor. I have also bonded them as well as screwed them down with self taping screws. I also under-sealed each screw under the van to prevent them rusting. The reason I bonded the wood shown below is so that if any sections did come a little loose then they wouldn’t “flap” when walked on. It helps keep the floor quiet.
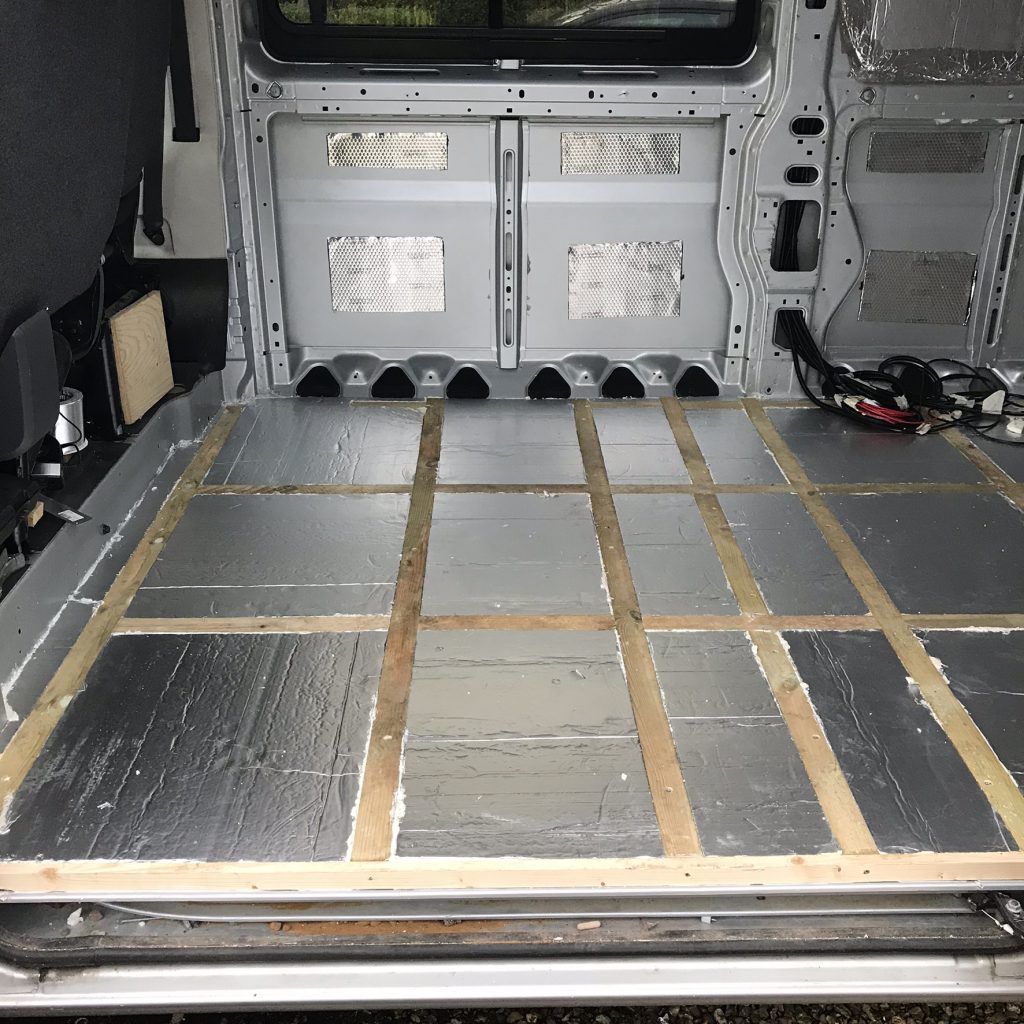
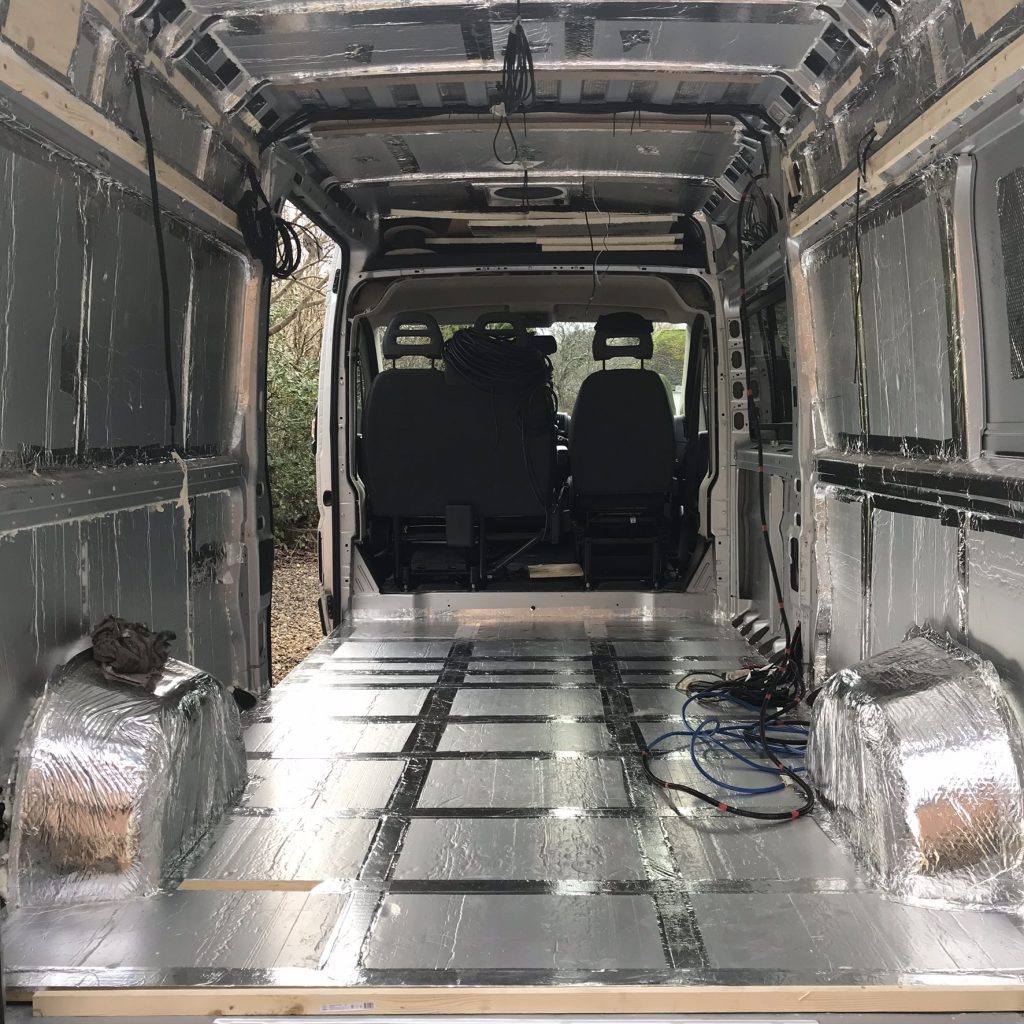
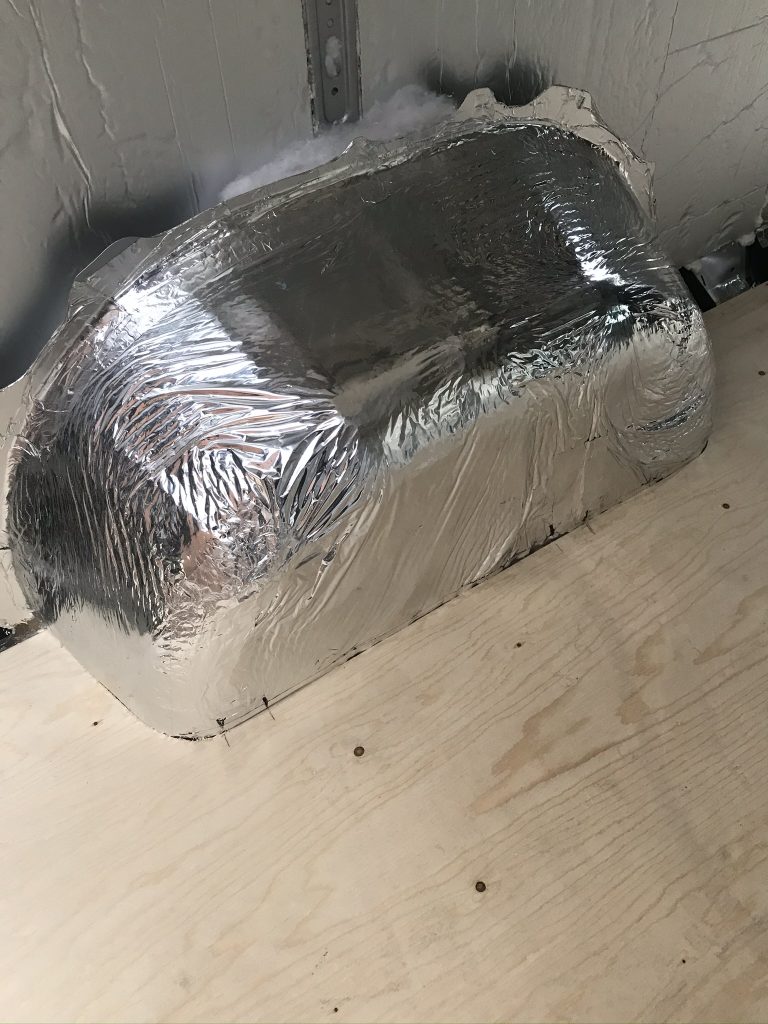
Below: I have added 25mm foam panels inside each of the wooden sections. Each panel is a tight fit and any small gaps were sealed with spray foam.
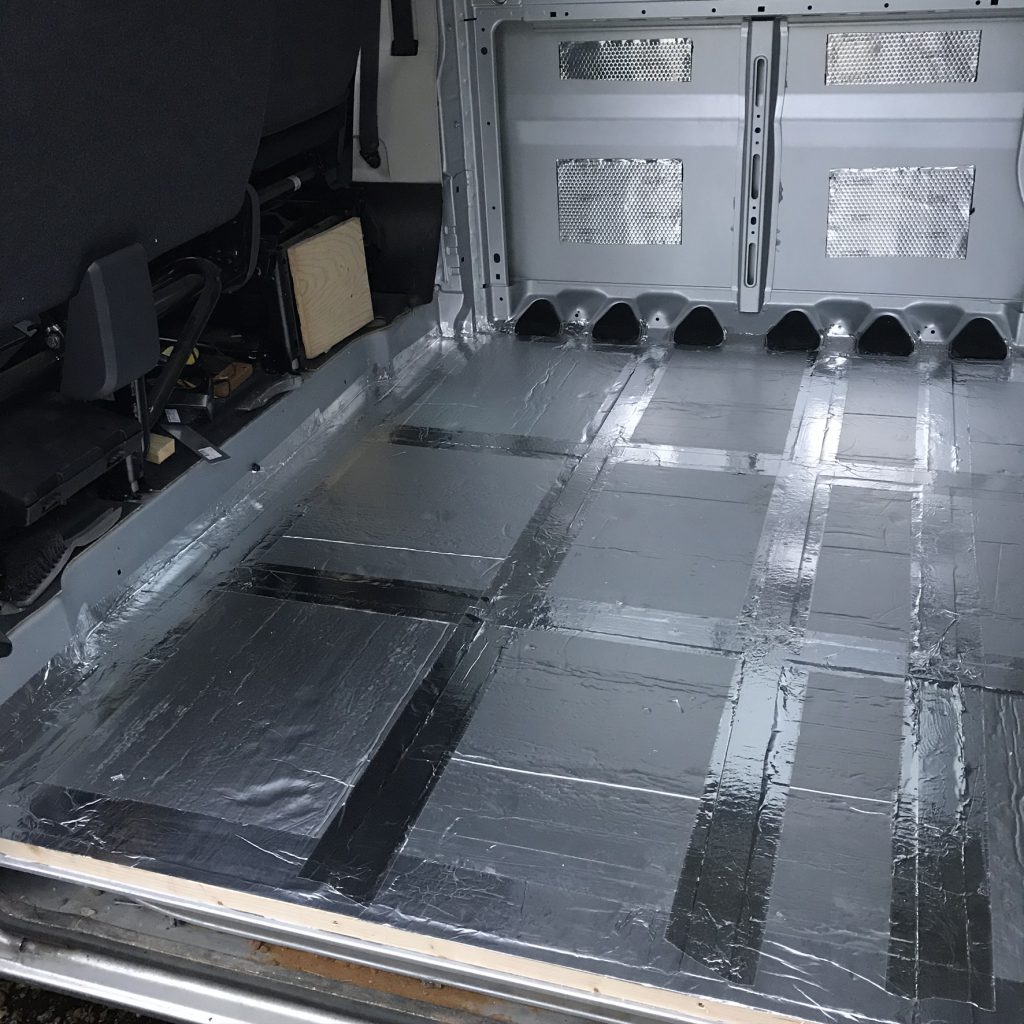
Below: The next stage is to seal all the edges with aluminium tape and make sure you have a tight seal everywhere.
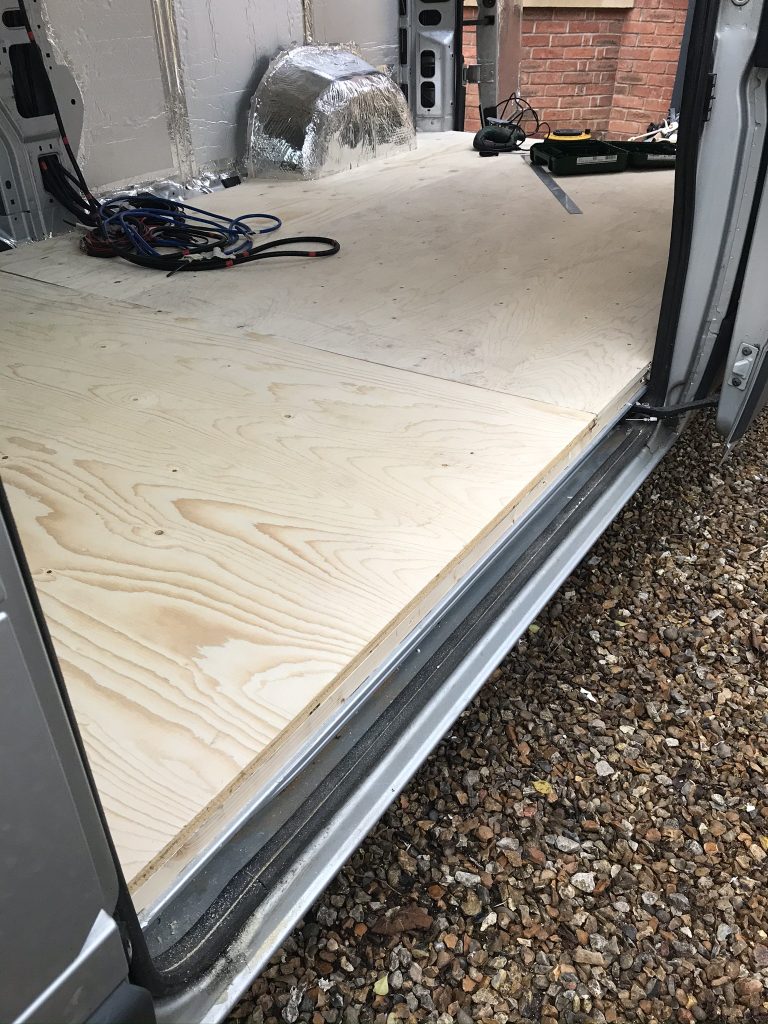
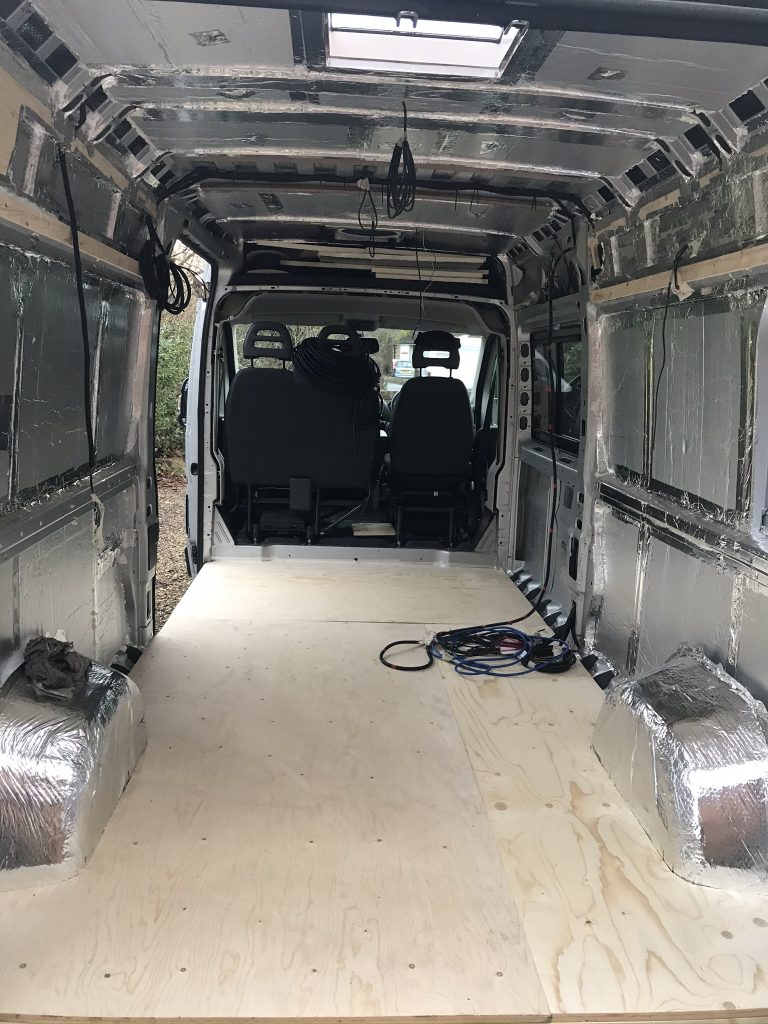
Below: Once sealed I have added 15mm of ply on top to form a good base.
Insulation is not an area to neglect, its important for many reasons. Try and get it right first time because you often cannot go back and add more. Dont cut corners, you need to apply insulation everywhere, that means the sides, doors, roof, floor and all the areas you can access inside the van. Some vans, even factory vans have poor insulation. I have seen factory vans with wall insulation but no floor insulation, why any company would miss this area is strange to me. Floors can get cold in winter and that means additional heating costs.
Why a Vapour Barrier? lets assume the outside of the van is cold and you sleep in it one night, thus its a little warmer inside than out. The air thats inside the vehicle would condense on the cold vehicle surface if it wasn’t insulated, this then leads to the formation of water droplets or vapour. You could wake up to find you have been sleeping in a Rain Forrest, in other words water is lightly dripping from the inside of the vehicle. If you insulate but dont seal the joints then water will form and sit between the van metal wall and insulation thus corrosion, its not a good idea. When I started this build I started in winter and I had many a day were there was condensation inside the vehicle, before the insulation was completed.
Types of insulation.
Celotex 25mm Foam Panels the brand is not so important as they are thermally rated (check the panel labels for the best thermal values).
100 mm thickInsulation on a roll: This is similar to loft insulation except the one I used is made from recycle plastic bottles, its eco friendly, doesn’t make the skin itch in any way. However most importantly IT Does Not Absorb Water, this is important inside a van.
Foam Spray Gun: This is used in the difficult places to reach. Dont use too much as it can push the panels outwards.
Foil Vapour Barrier Tape: All edges and joints must be sealed
Insulation Roll: Made from 1 x layer of bubbled polyethylene faced with 2 x layers of aluminium. Used were 25mm Panels are too thick.
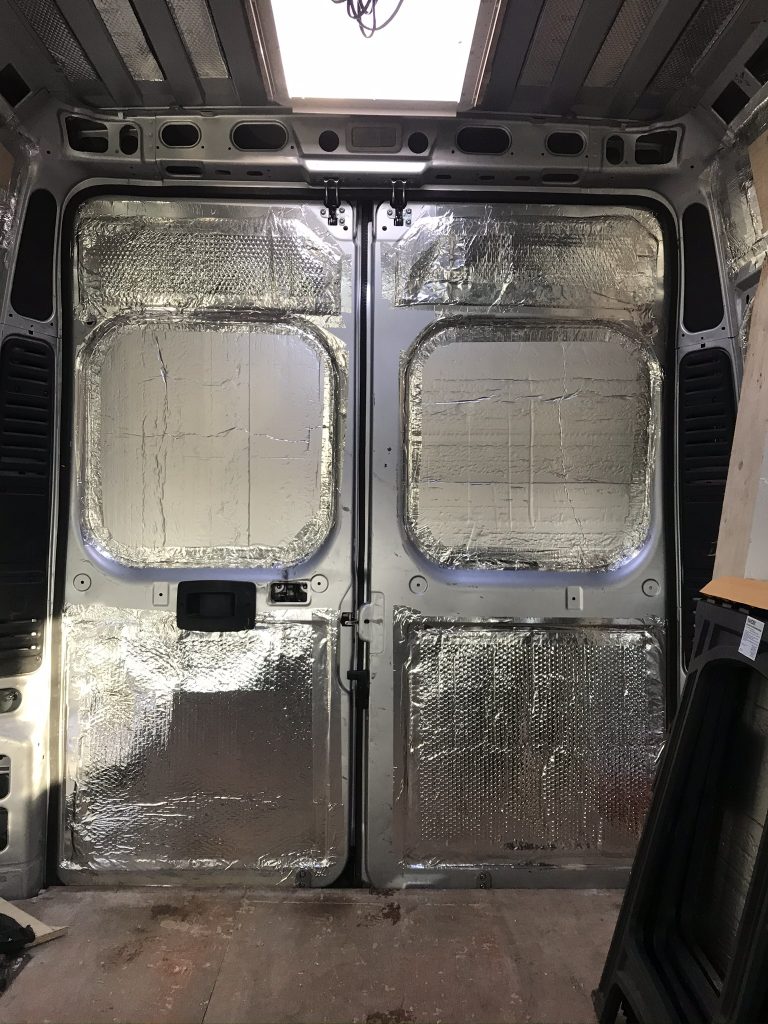
Below: Dont forget to seal all the edges with aluminum foil tape.
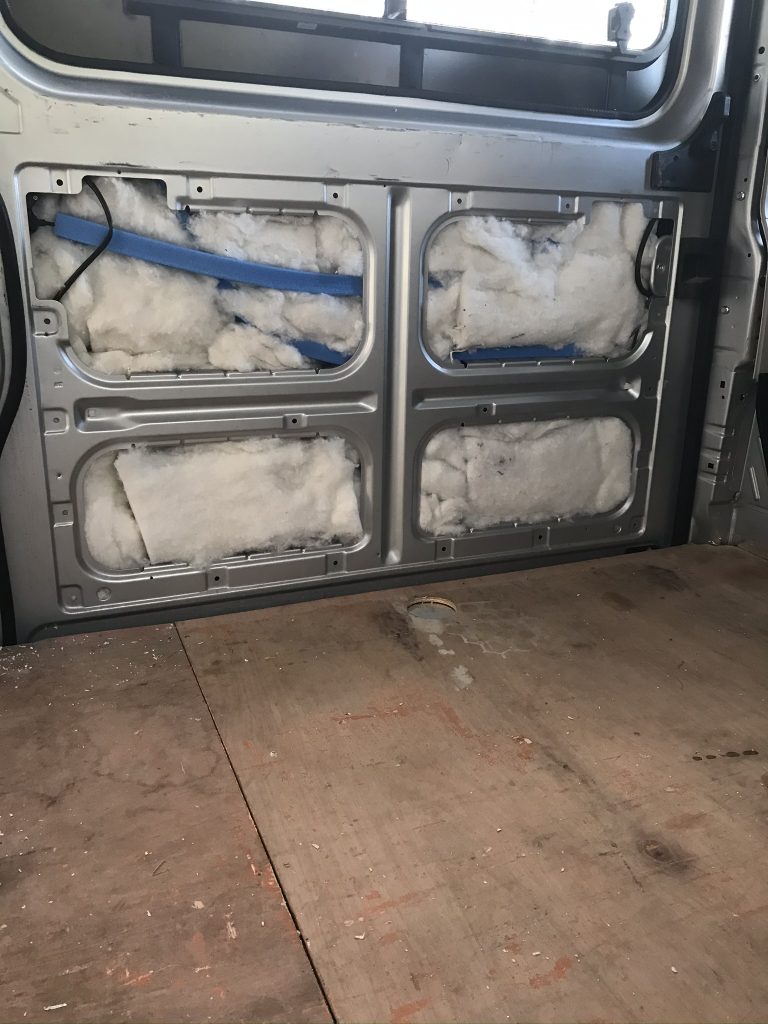
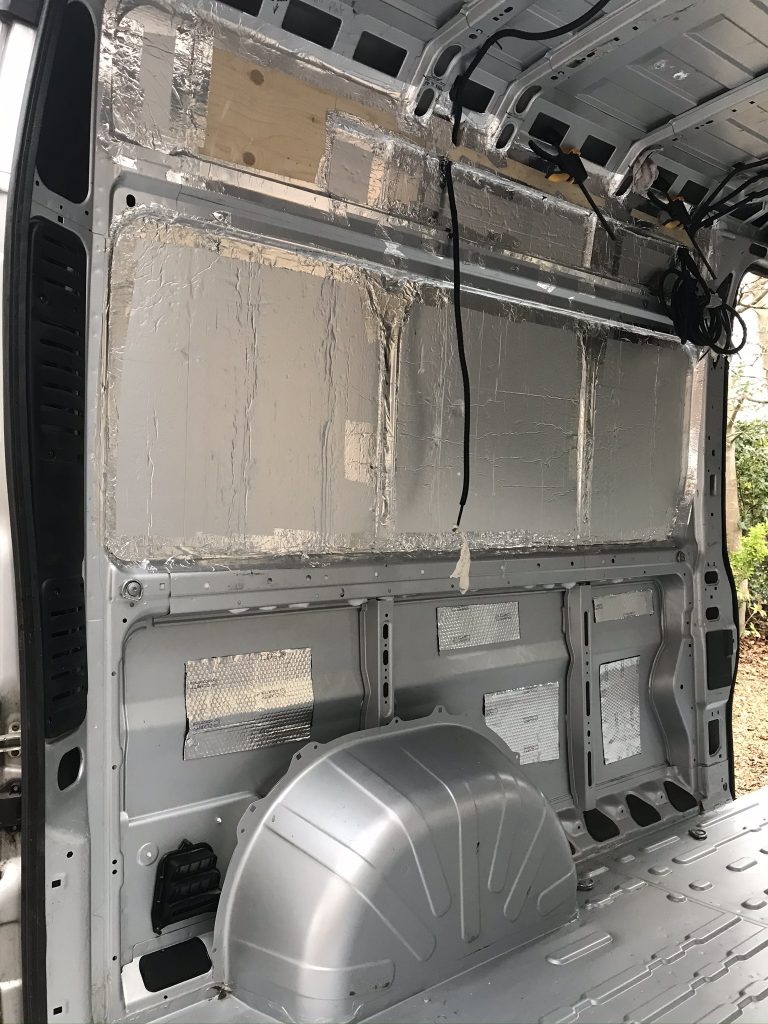
Below shows the insulation on a roll thats made from recycle plastic bottles and doesn’t absorb any water.
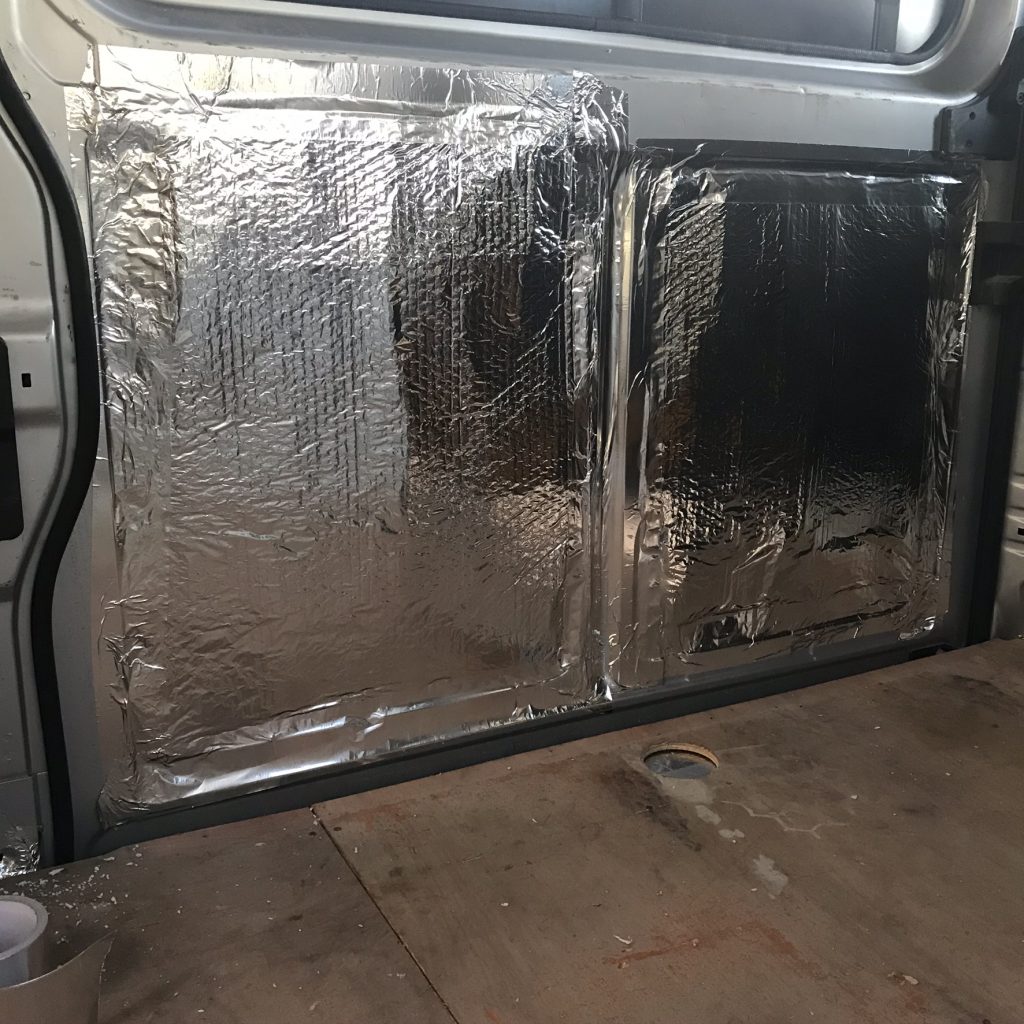
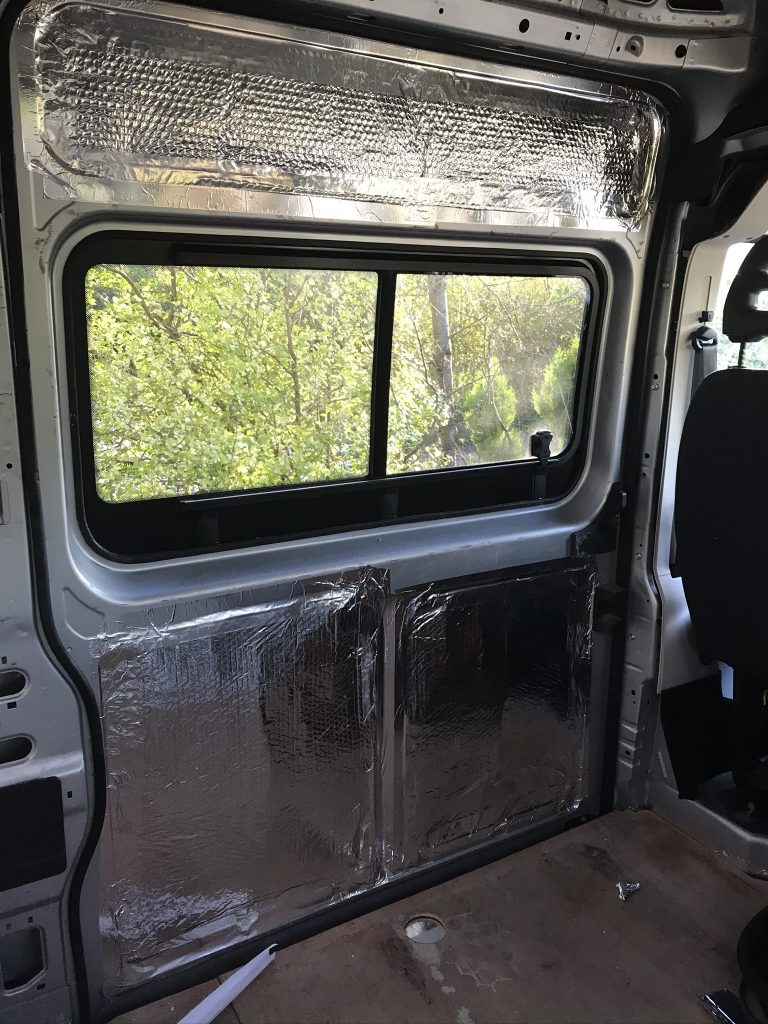
The same panel has been finished with a foil roll and sealed with aluminium tape
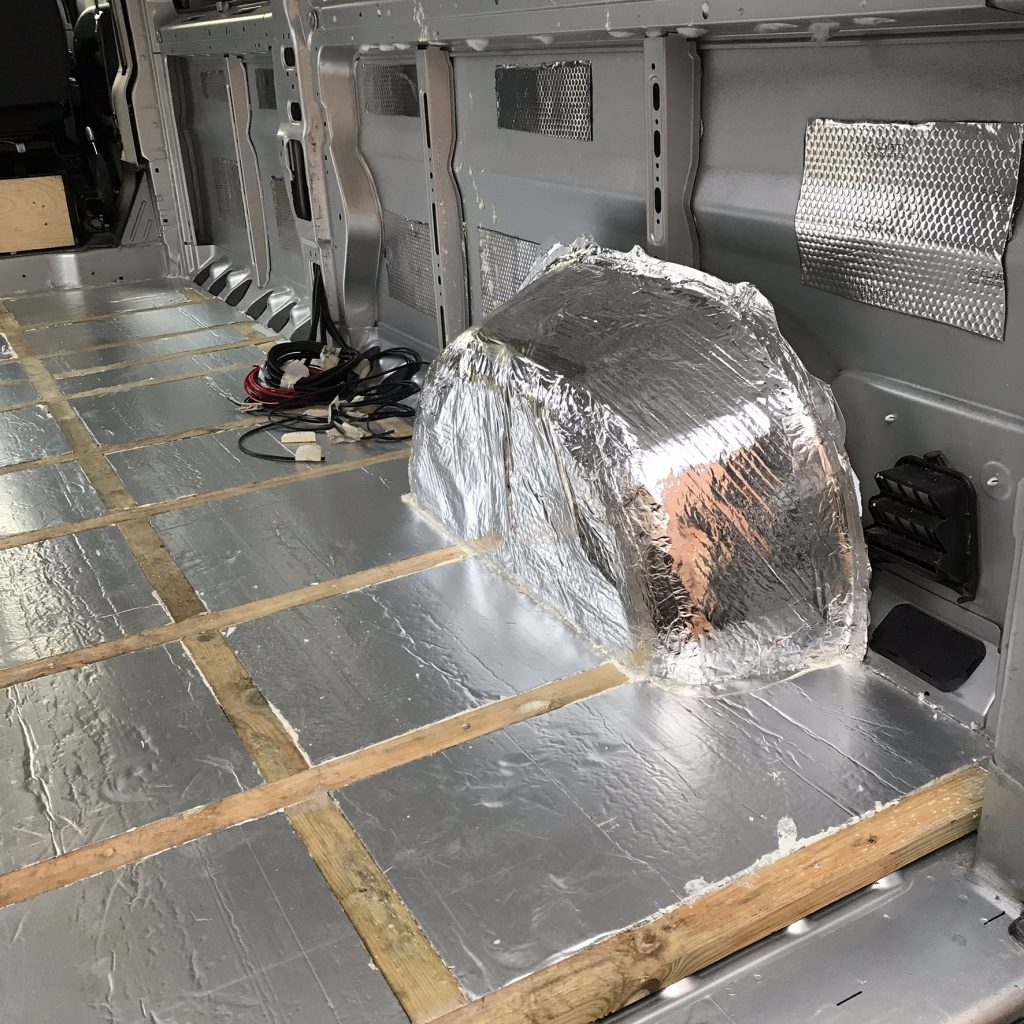
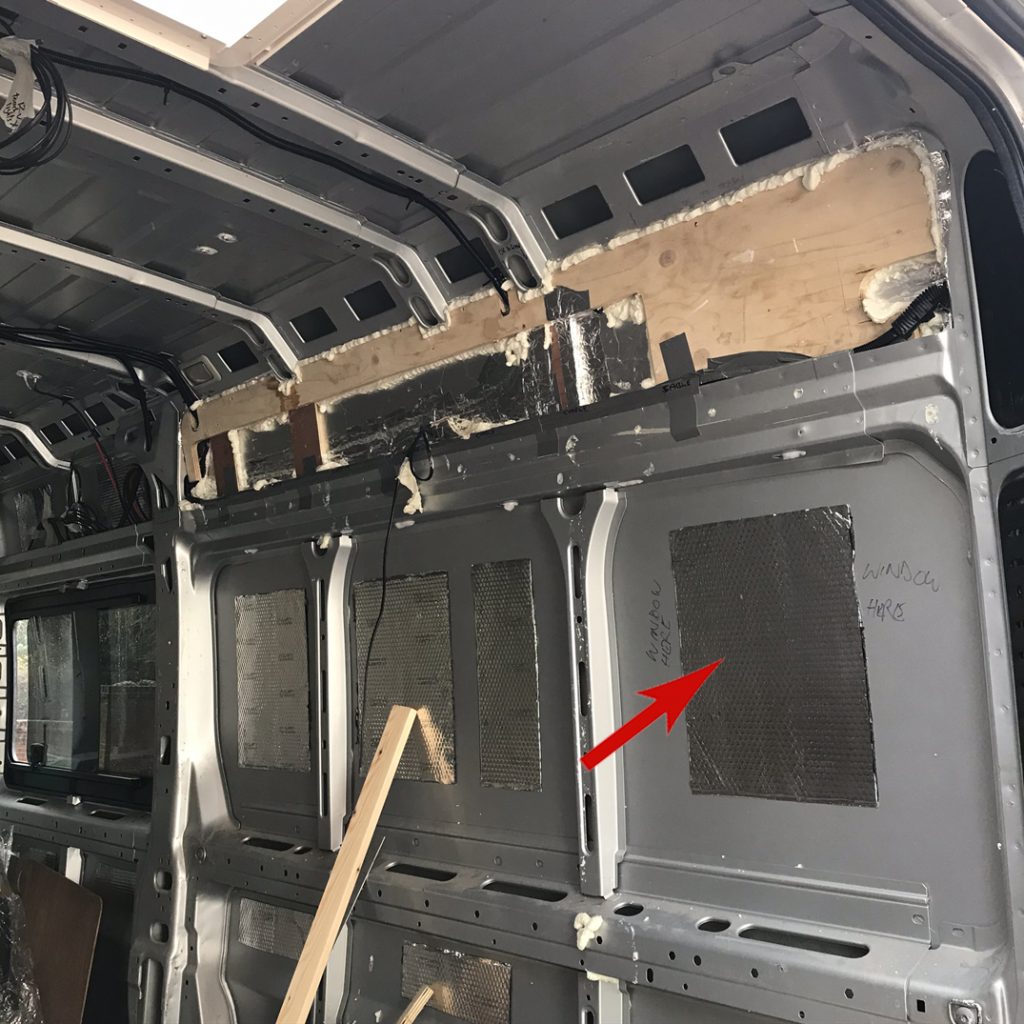
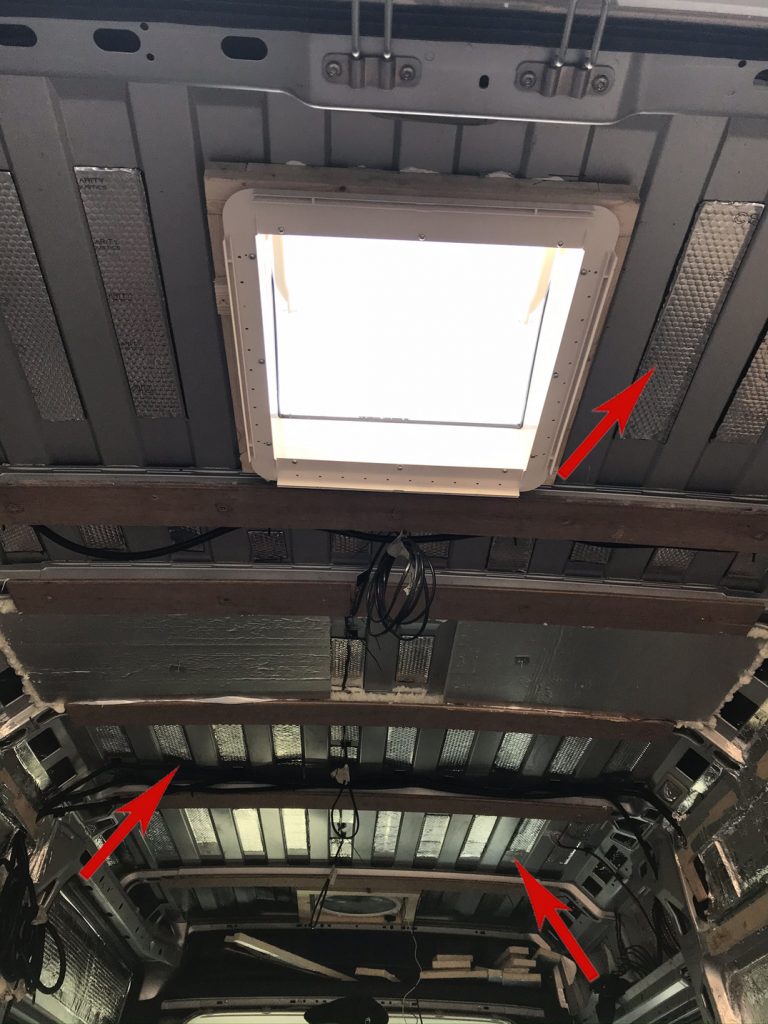
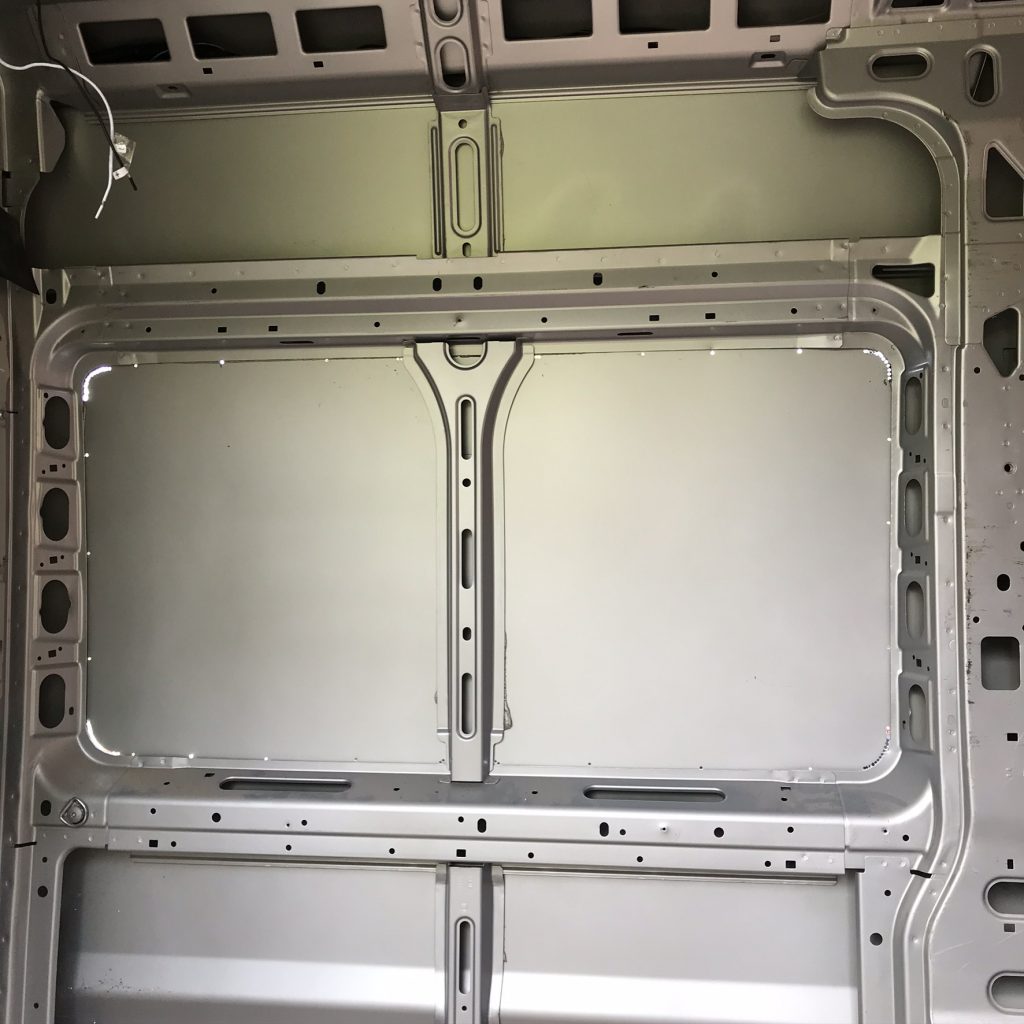
Below: Note the side struts, these have no insulation yet. They will need to be insulated and sealed, dont forget these areas. Everywhere should be insulated and sealed. I needed to run a few cables along these areas and later I added the insulation.
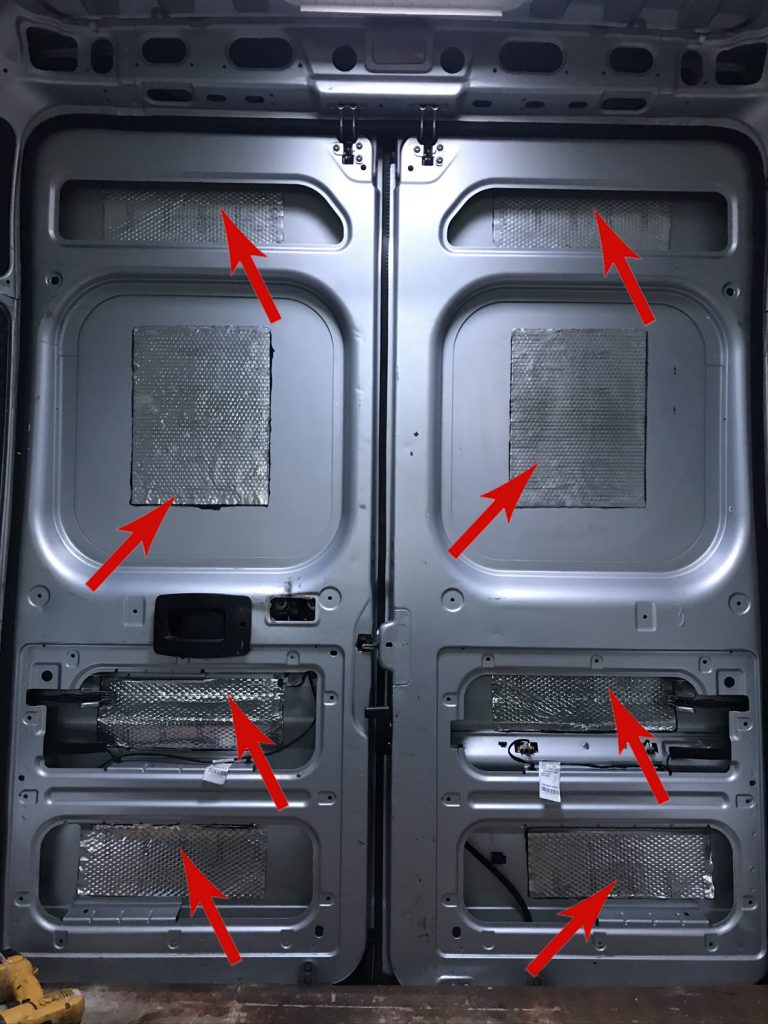
Before you start to add an insulation, its a good idea to add some sound proof sheets. These sheets are quite heavy and consist of a tar like substance with an outer foil layer. They are self adhesive and once applied to the walls of the vehicle they are not easy to remove so make sure you know where you want to place them.
Sound proof panels need to be added to the walls, roof, doors in fact anywhere were there is a panel.
The panels are very affective, simply knock or tap on a panel without the sound proofing then do the same after the pad has been applied and notice the difference.
Adding these panels will make the vehicle less noisy on the road, its well worth doing and very affective.
Heavy Duty Premium Butyl Clarity Acoustics Sound Deadening – Silver – Pack of 10 Sheets – Size: 300mm x 400mm – Thickness: 2.5mm
I prefer bonded glass over plastic windows, glass is usually flush mounted and has a neat appearance, it doesn’t age or scratch the same way as plexi-glass (plastic). That’s not to say I won’t be adding a couple of plexi-glass windows as well. The drawback to glass is that bonded windows dont offer the same thermal values as doubled glazed plexi-glass windows and may not be able to open in the same way (limited range of opening space). There is no winner, no type is better than the other, its a matter of preference.
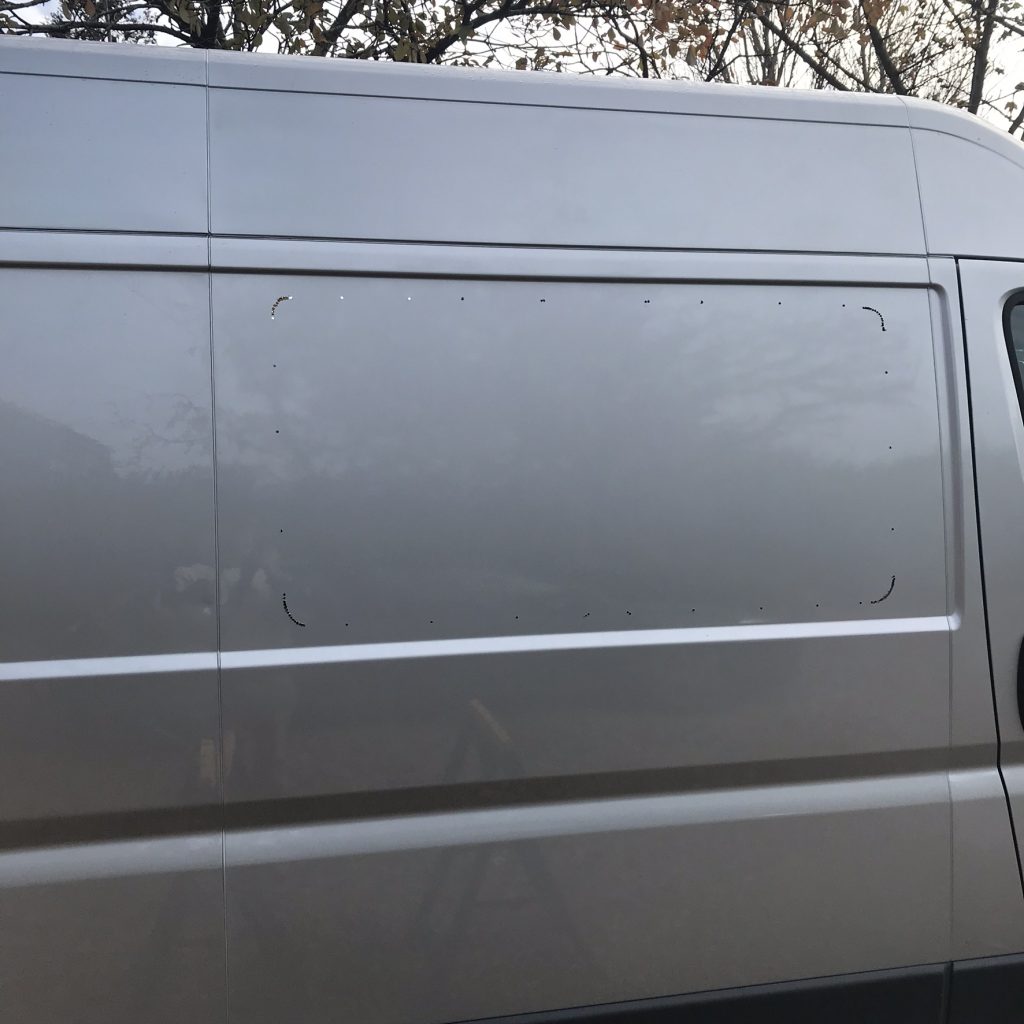
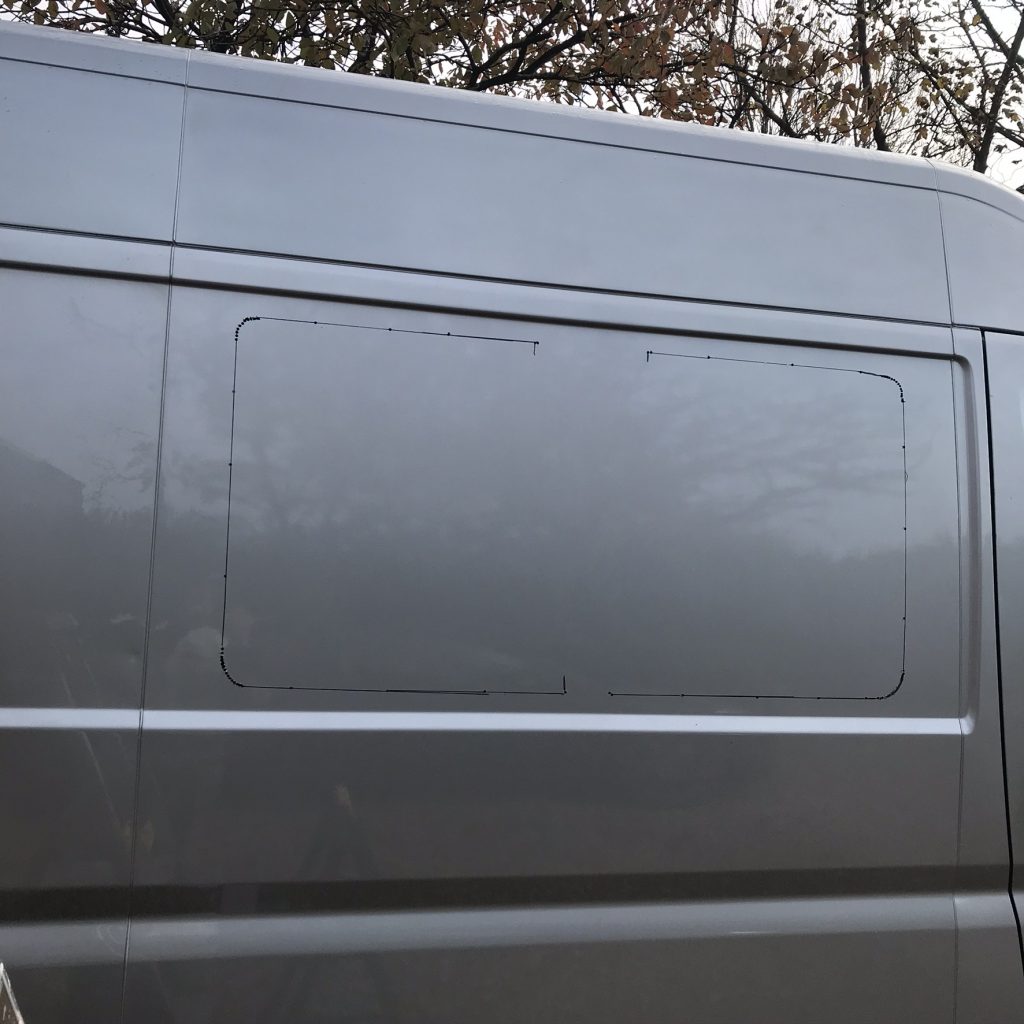
The Fear Factor: Drilling holes in your van for the first time is not something you want to get wrong. I found the best way was to drill from the inside out and follow the structure of the vehicle framework. This method meant I couldn’t get it wrong, so long I followed the contours of the panel I should have perfect alignment. I started by drilling a series of holes.
Below: Scary stuff, imagine getting this wrong. Fortunately its spot-on or accurate. Its not neat at this stage but that will come later.
Below: Now I have enough information in front of me to be able to connect the dots (holes) and draw a shape that is correctly located. Theres also plenty of metal remaining for the window to bond to.
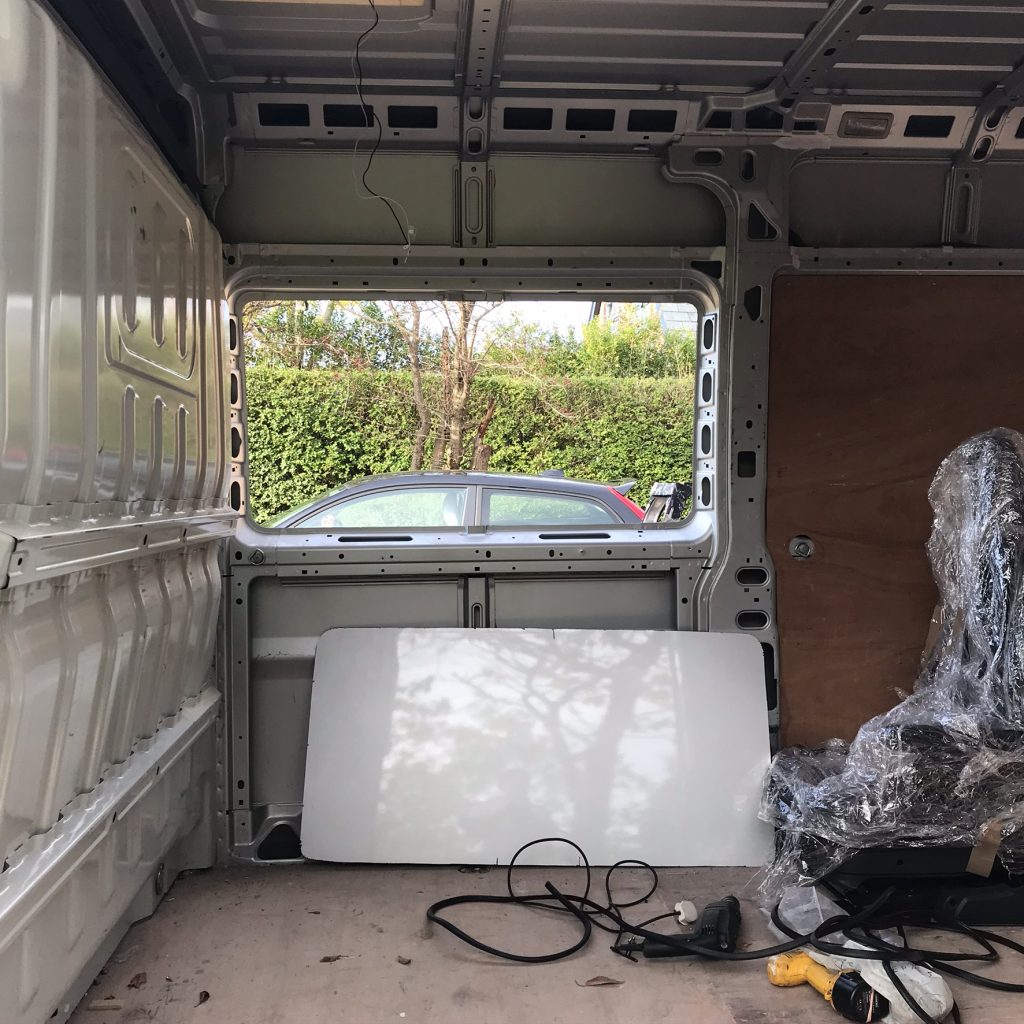
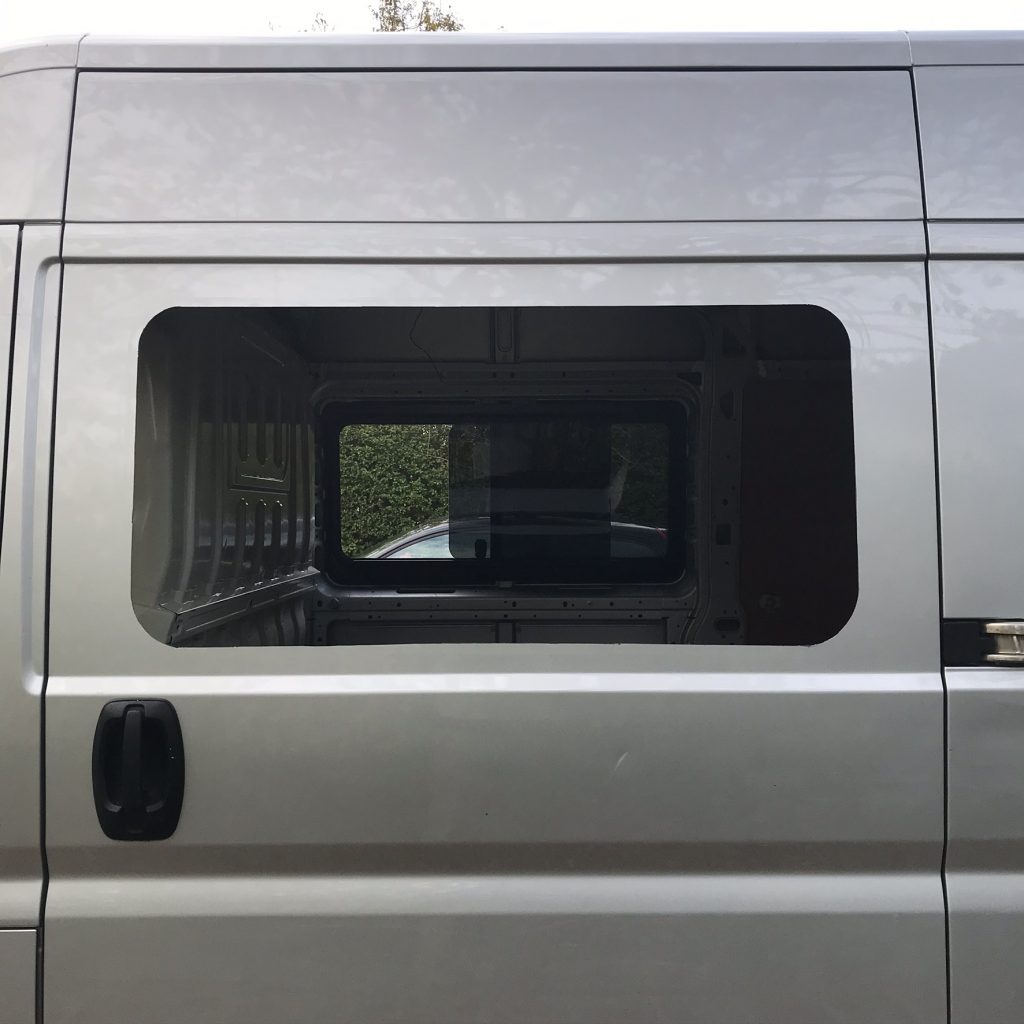
Point of no return: Too late to change your mind at this stage. Its out and its left quite a big hole. Fortunately I picked a good day and its not raining.
Below: Try and let the metal panel fall inwards so it doesn’t scratch the outside of the vehicle. Save the metal, it will be useful later as I will use it to make an external cover for the mains hook-up, it’s shown on this website.
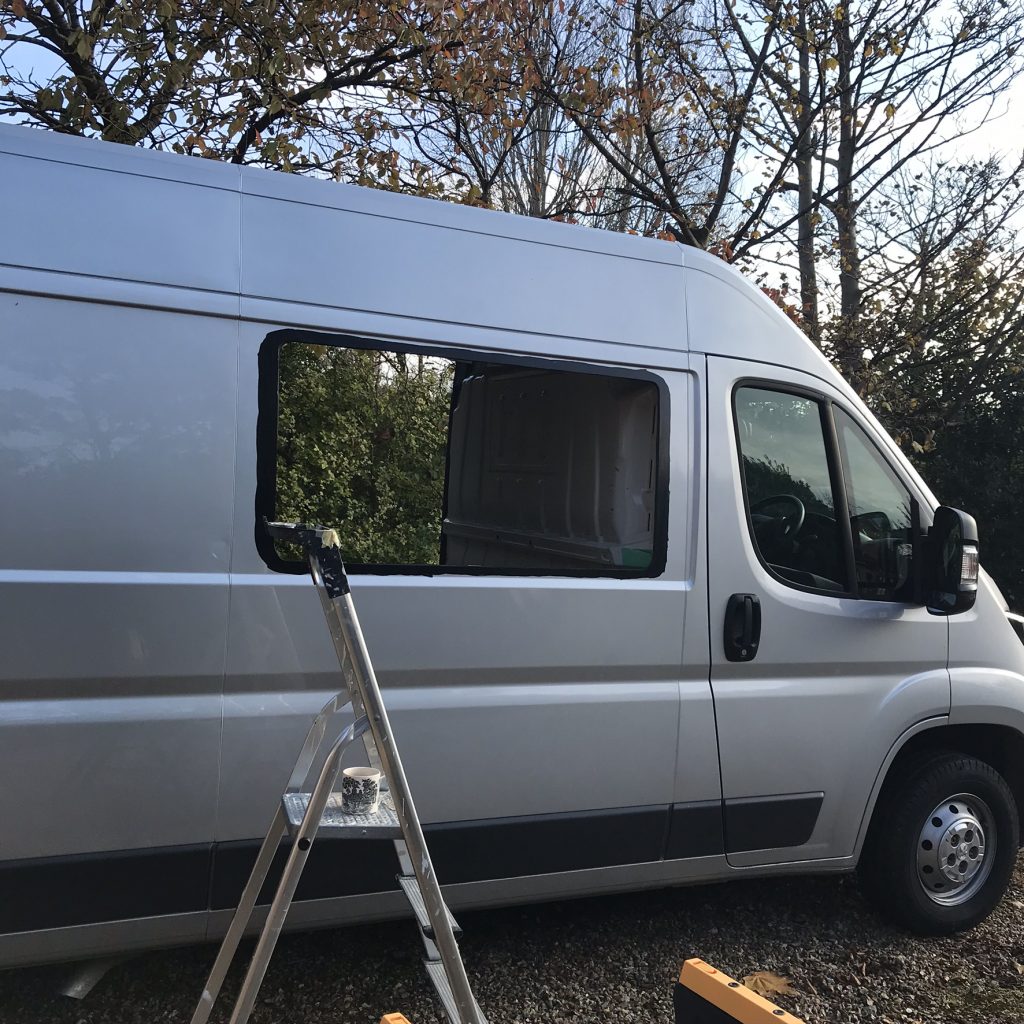
The Black Stuff: This is so that the silicone sealer will adhere to the surface of the van. It doesnt look neat but that doesnt matter as it is not visible when the window is fitted.
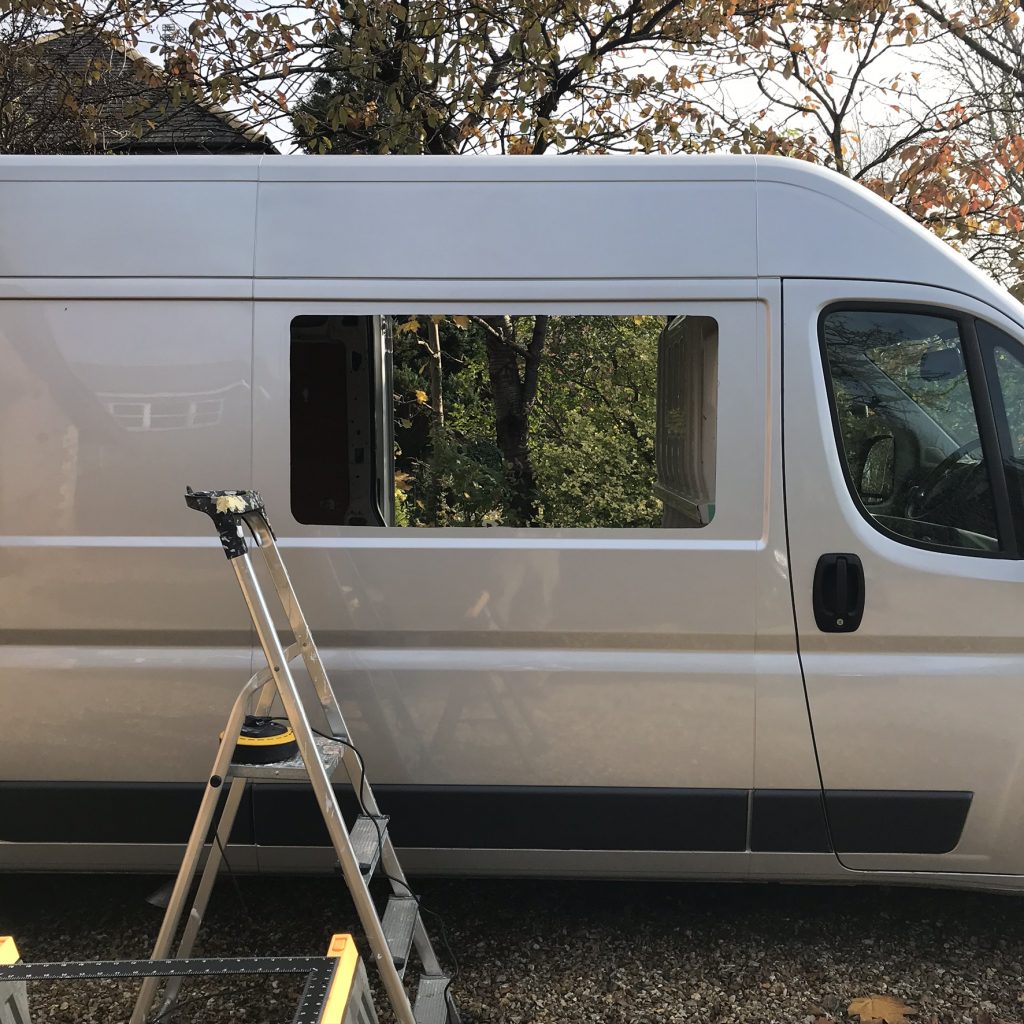
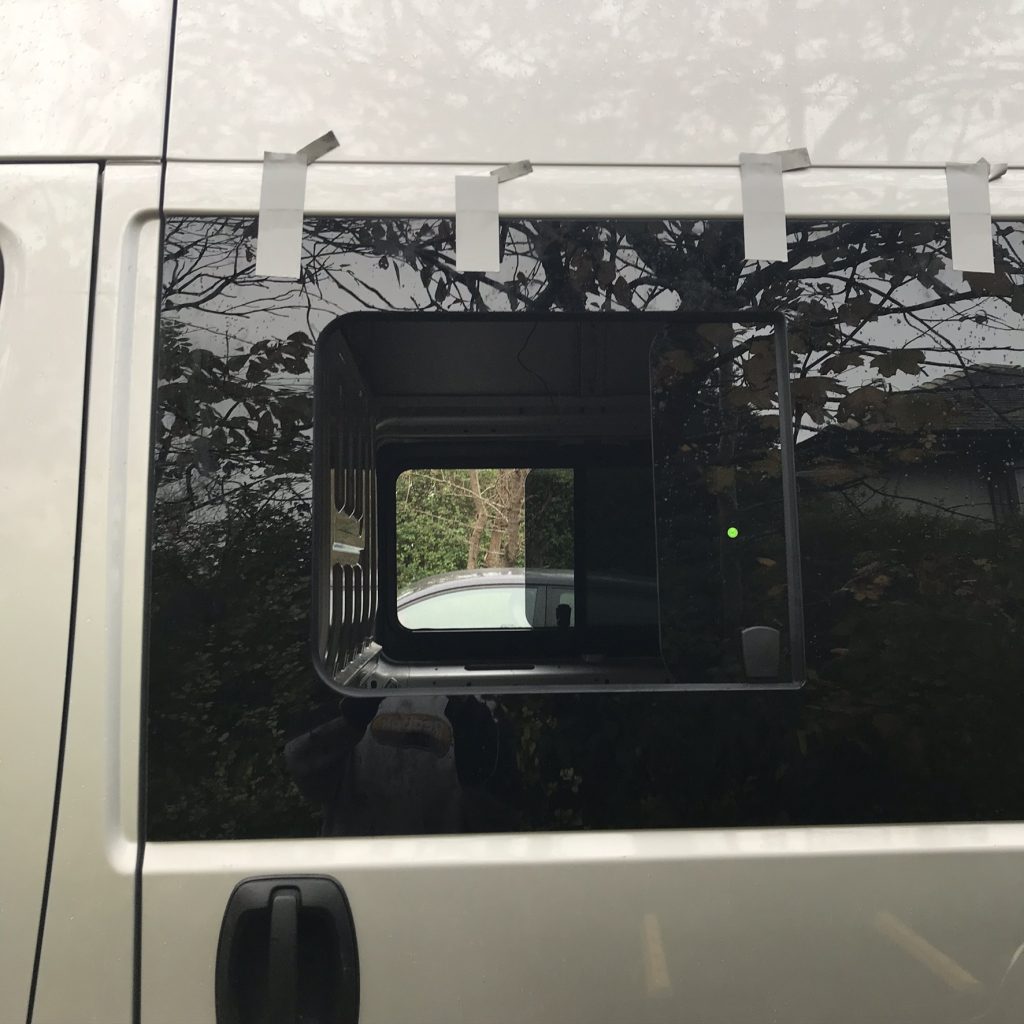
Dont Drop it: An expensive mistake if you drop it or it falls out. The area has been filled with black glass bonding silicone and the glass pressed in place. The tape is to stop the window sliding down. The silicone cures fairly fast (about 20 mins). Once its on, its on, you cant move it, its solid as a rock.
Below: I will add two more windows down this side later. This procedure will be shown in another category. If you want to know why I didn’t do it at this stage, its because the next two windows need to align correctly with internal panels, none of which have been fitted at this stage.
Below: Now repeat the procedure for the opposite side of the van.
Below: Because this windows is fitted to the door then there isn’t as much room to fit the trim so I decided to fit it before the window was installed. The trim and glass never touch each other, its just a little easier to do it this way but not essential.
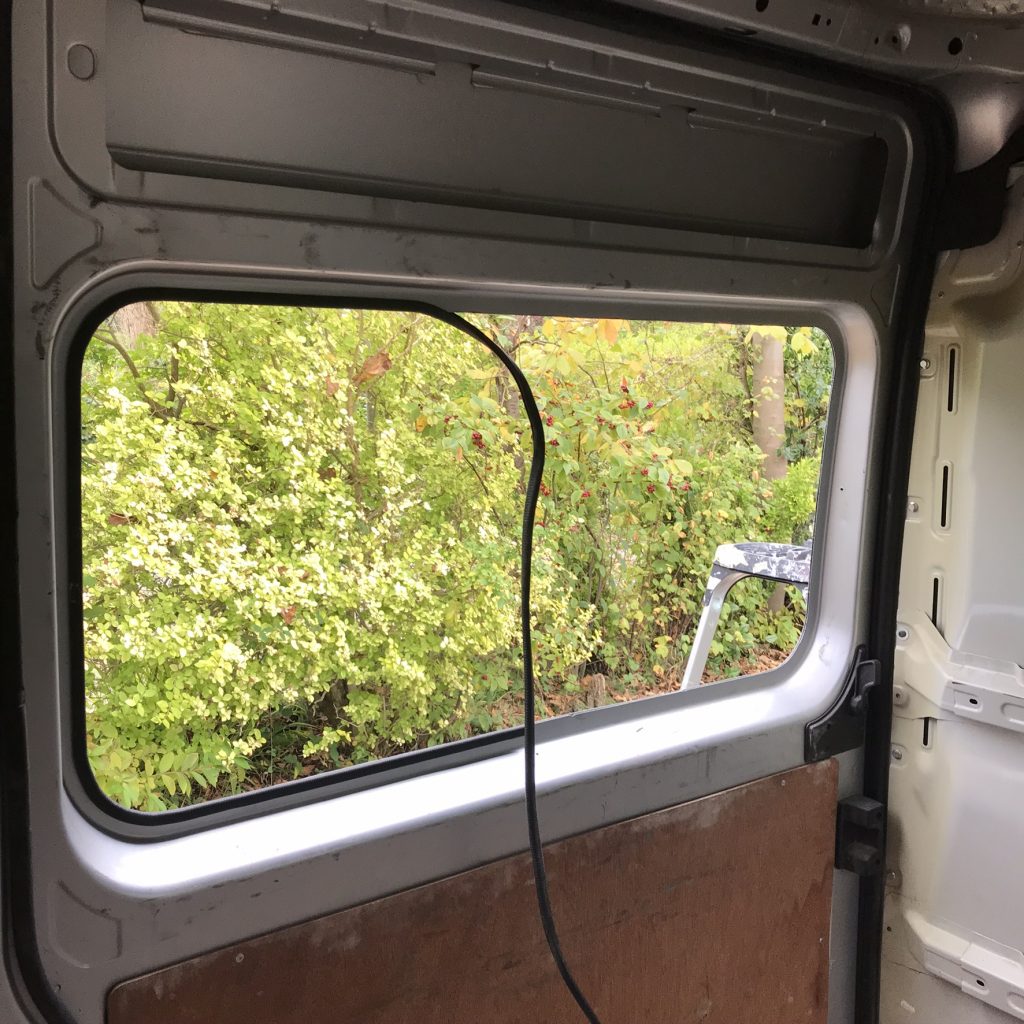
Below: Finally both glass panels are in place and both align as they should, perfectly. No complaints and time for a pot of tea.
Van Demon: At the time of writing I could not find any address on their website. The Van Demon “contact us” page contained a phone number but no address. I am always a little cautious of websites without addresses. Whilst I had no problems with their product and service I would still take care when dealing online with companies that omit to include their full address (accurate as of the 7th Sept 2020). Try their support line before buying to check the response.
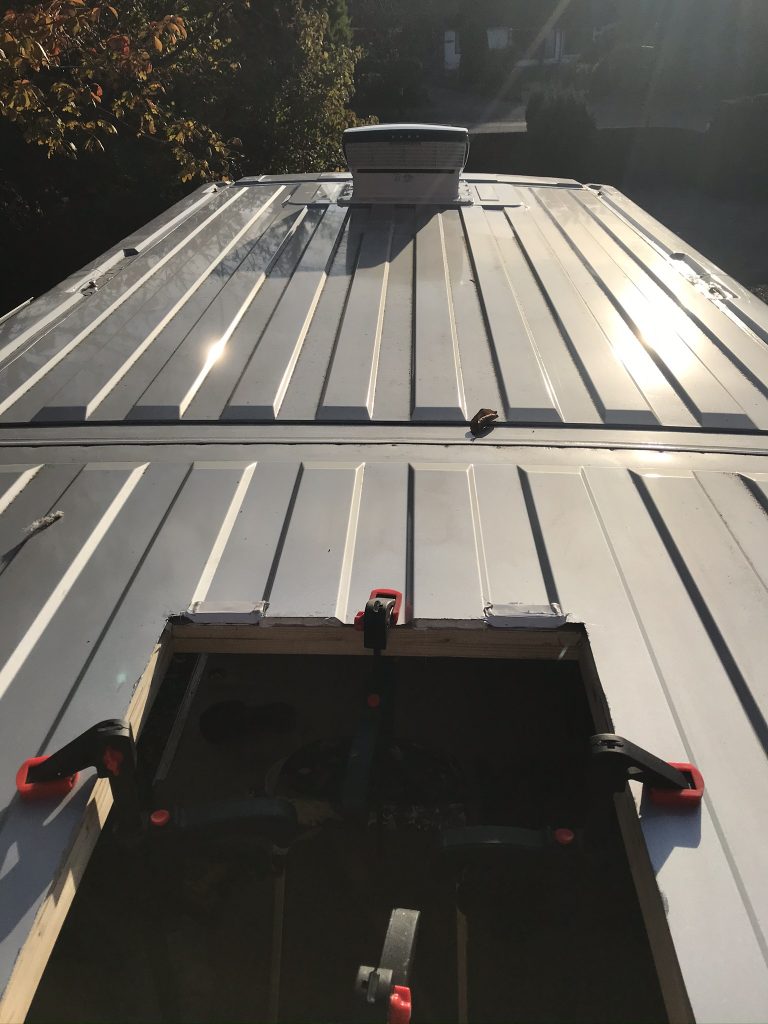
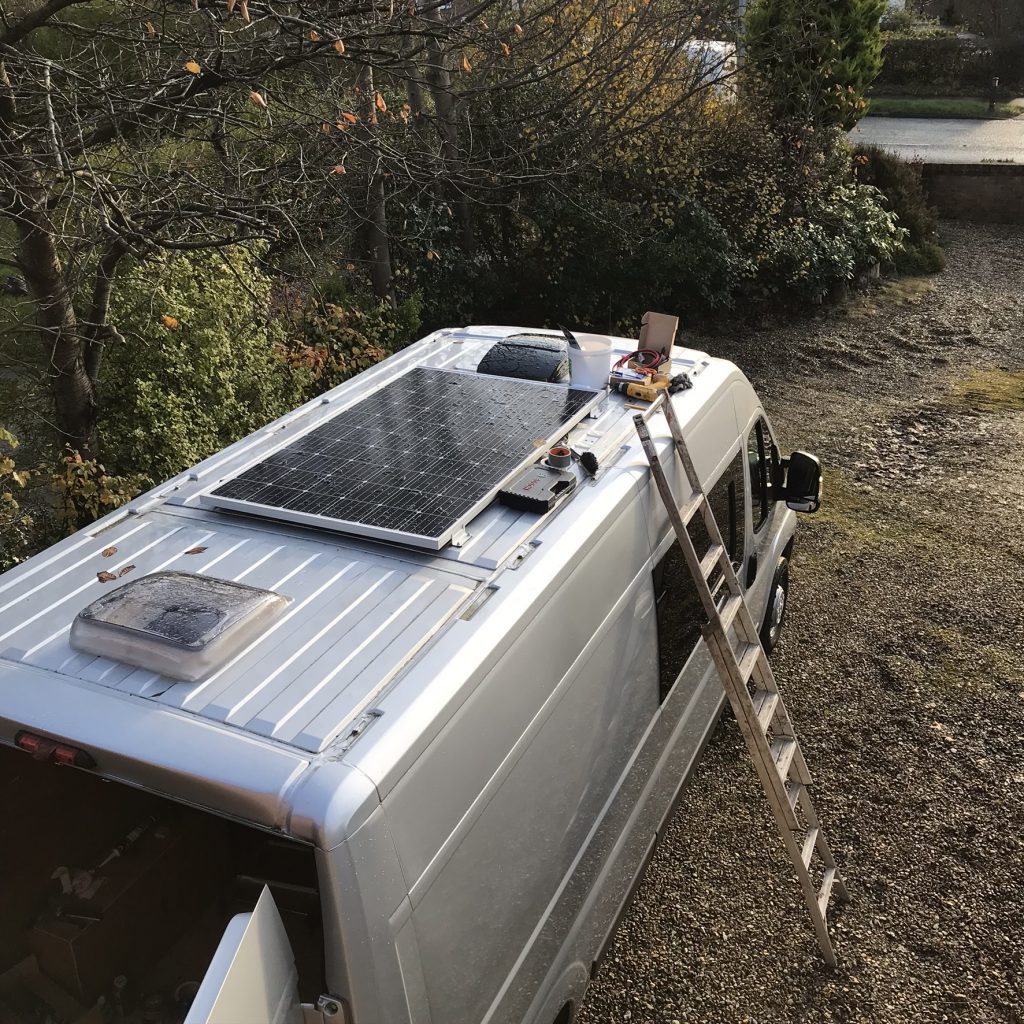
The first task was to add the Maxxair Fan (an automated electric roof fan), a second roof vent and finally a Solar Panel.
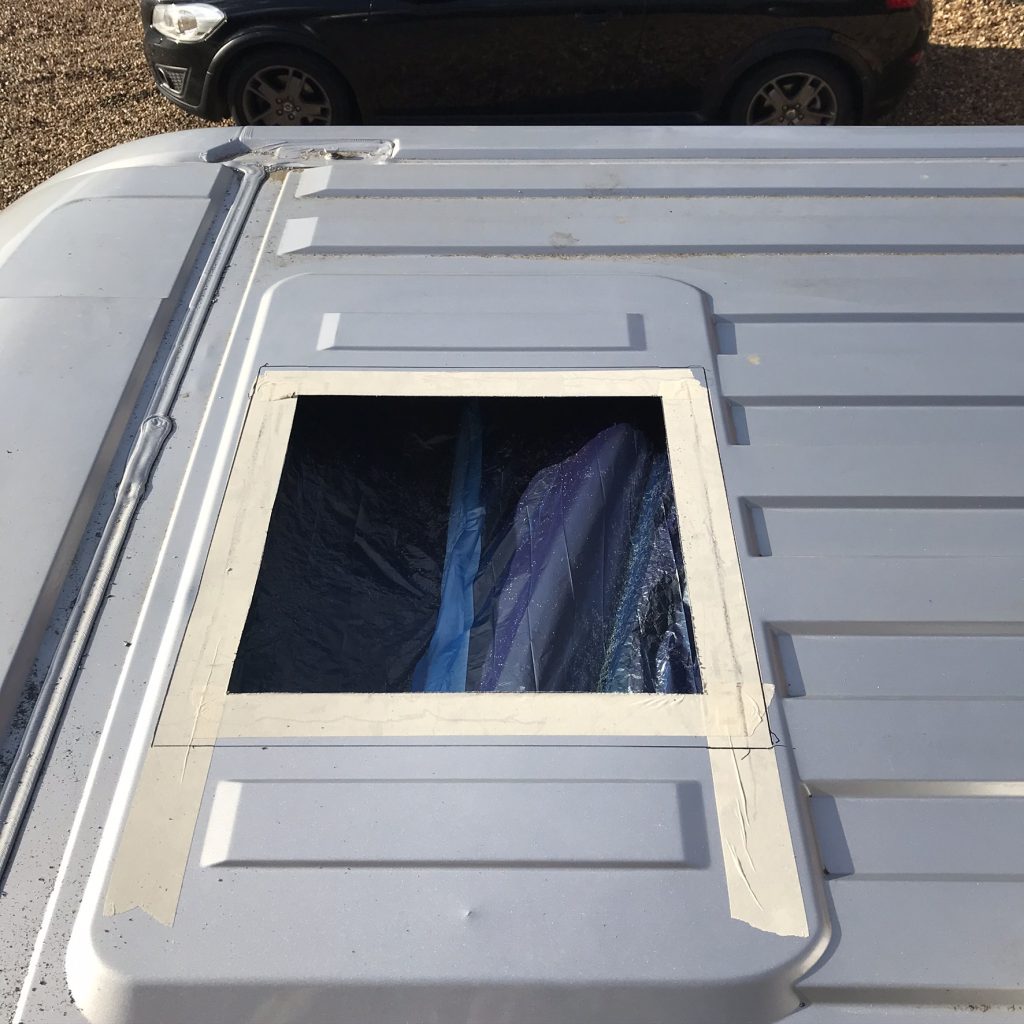
Start by marking the area to cut and protect the inside of the vehicle from the metal filings. The hole was cut using a jigsaw, its fairly easy and quick to do.
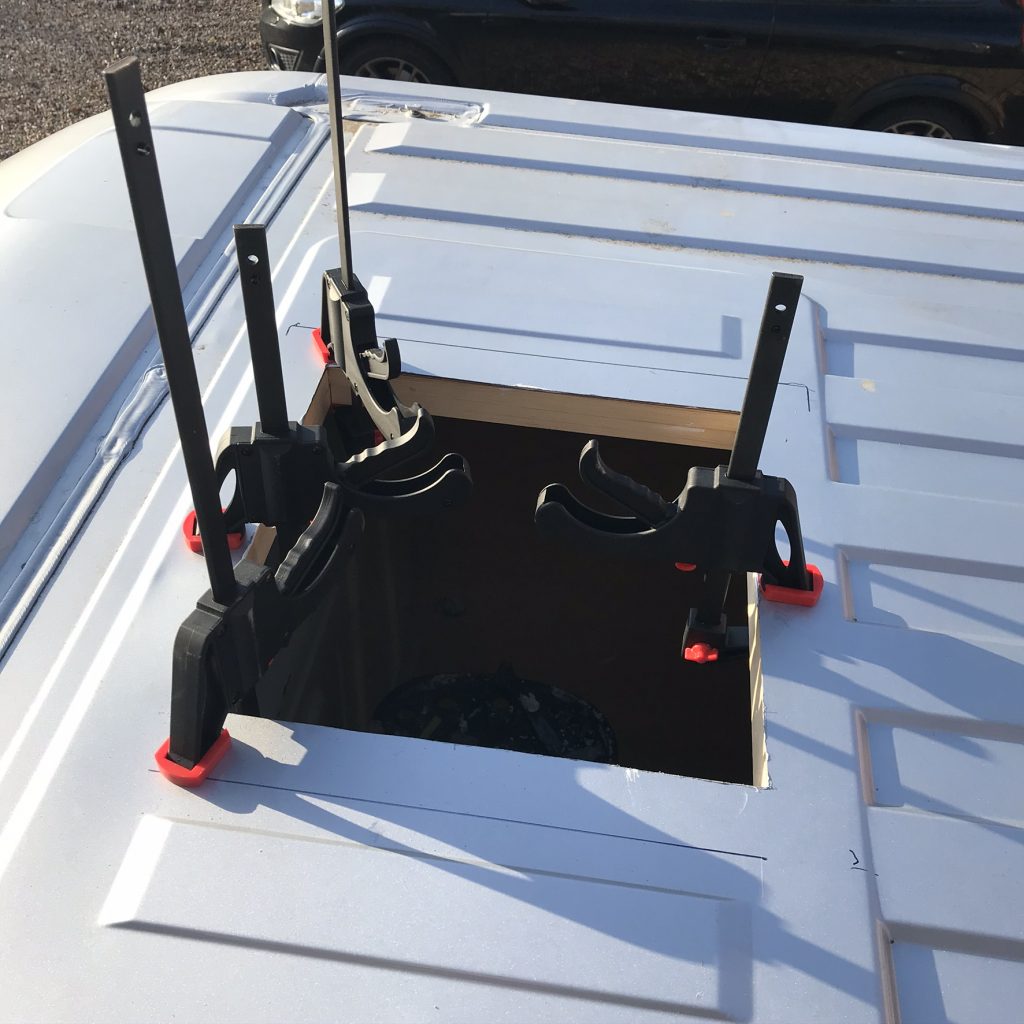
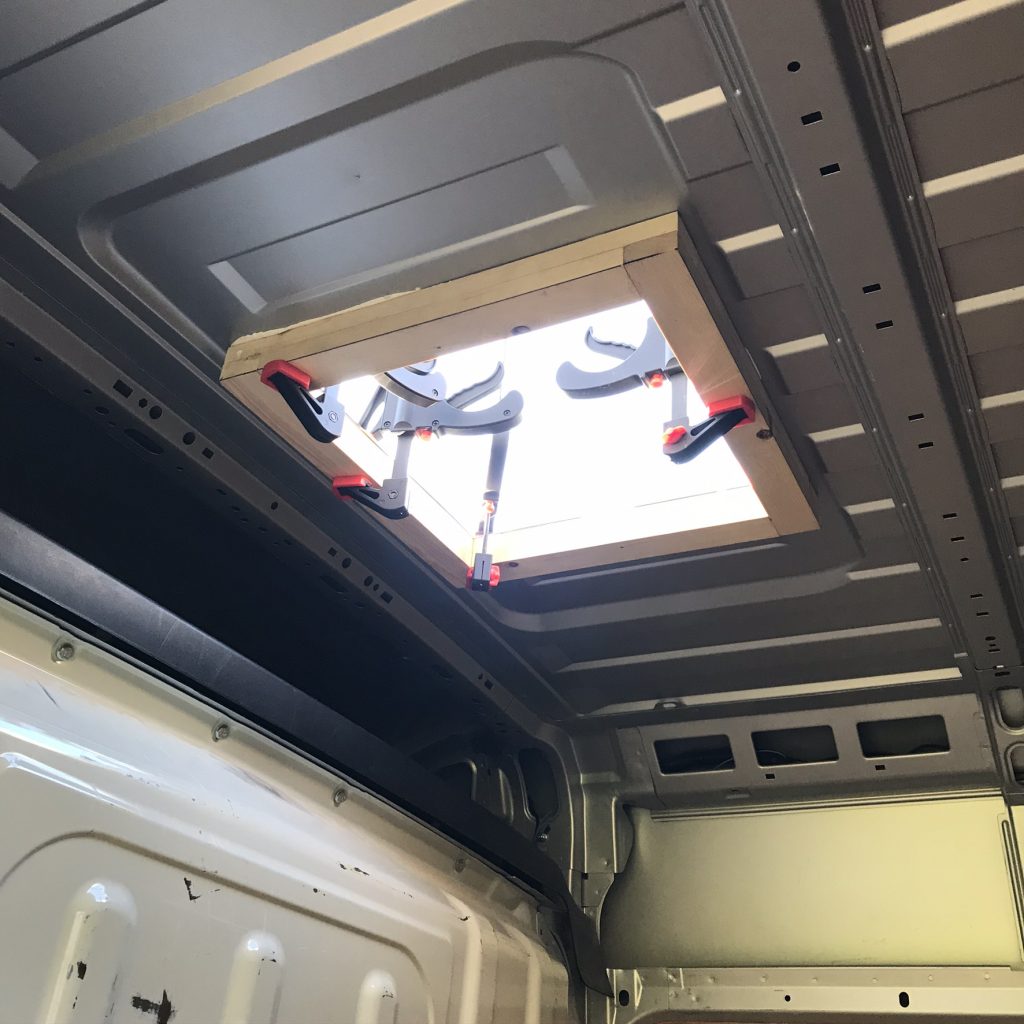
Below: A wood frame was made, this was so the vent had somewhere it could be secured to, it also allows for a gap between the metal roof, insulation and internal roof lining.
The underside wood frame was bonded to the roof using Sikaflex 512
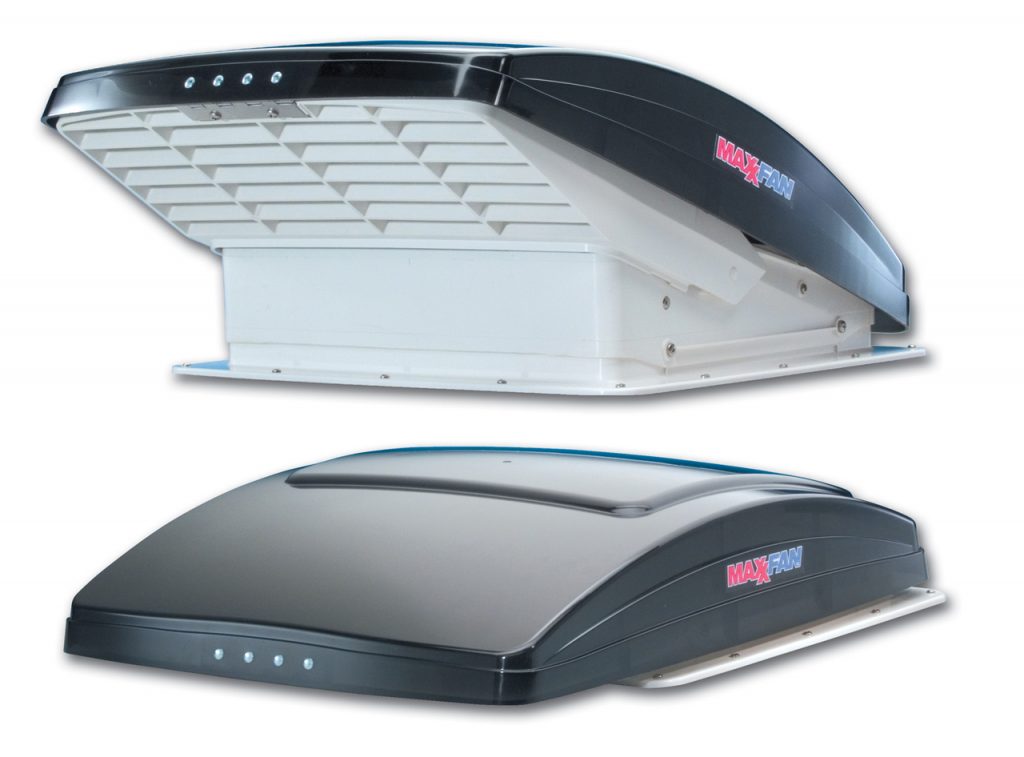
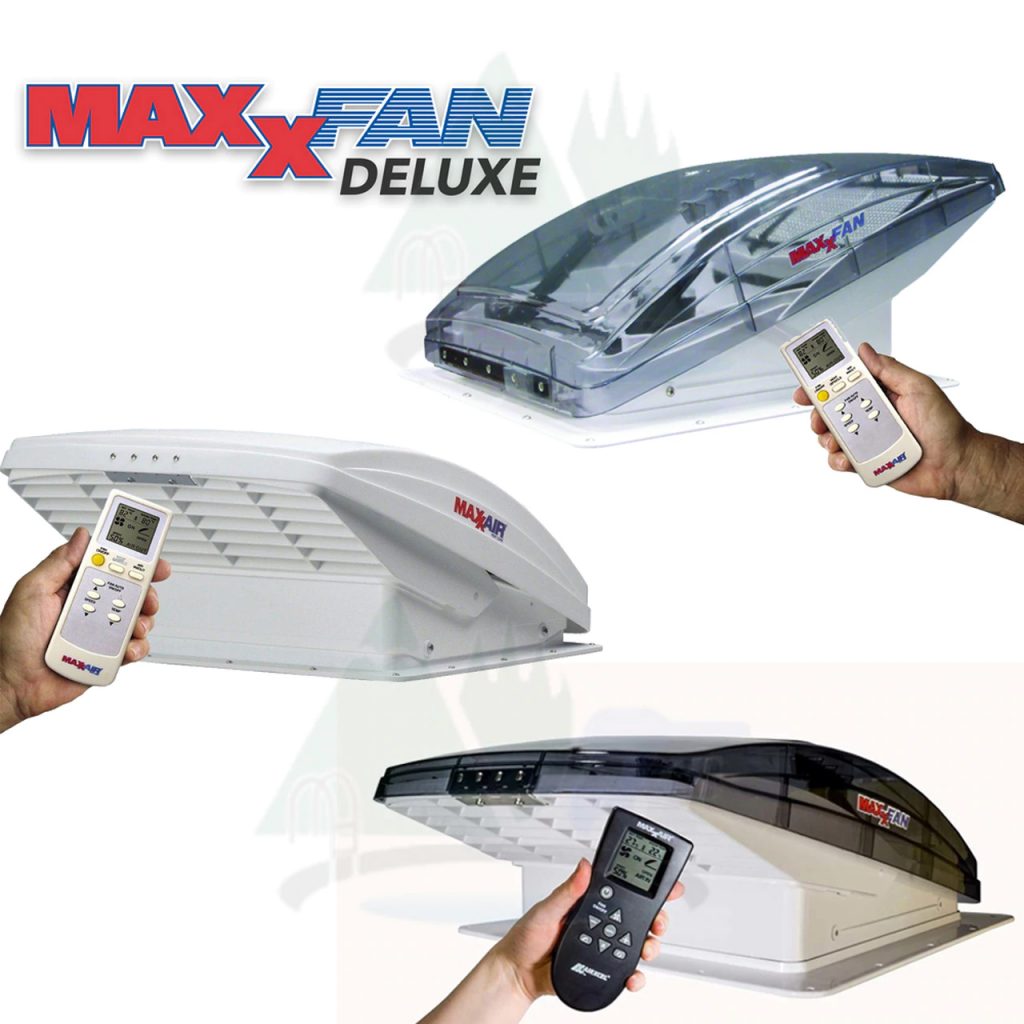
Maxxair Fan: High powered ceiling fans are easy to operate with convenient controls at the ceiling or by remote control. When the lid is closed, the MAXXFAN will still operate to circulate air inside the vehicle. The MAXXFAN Deluxe features a built-in rain shield eliminating the need for any additional covers.
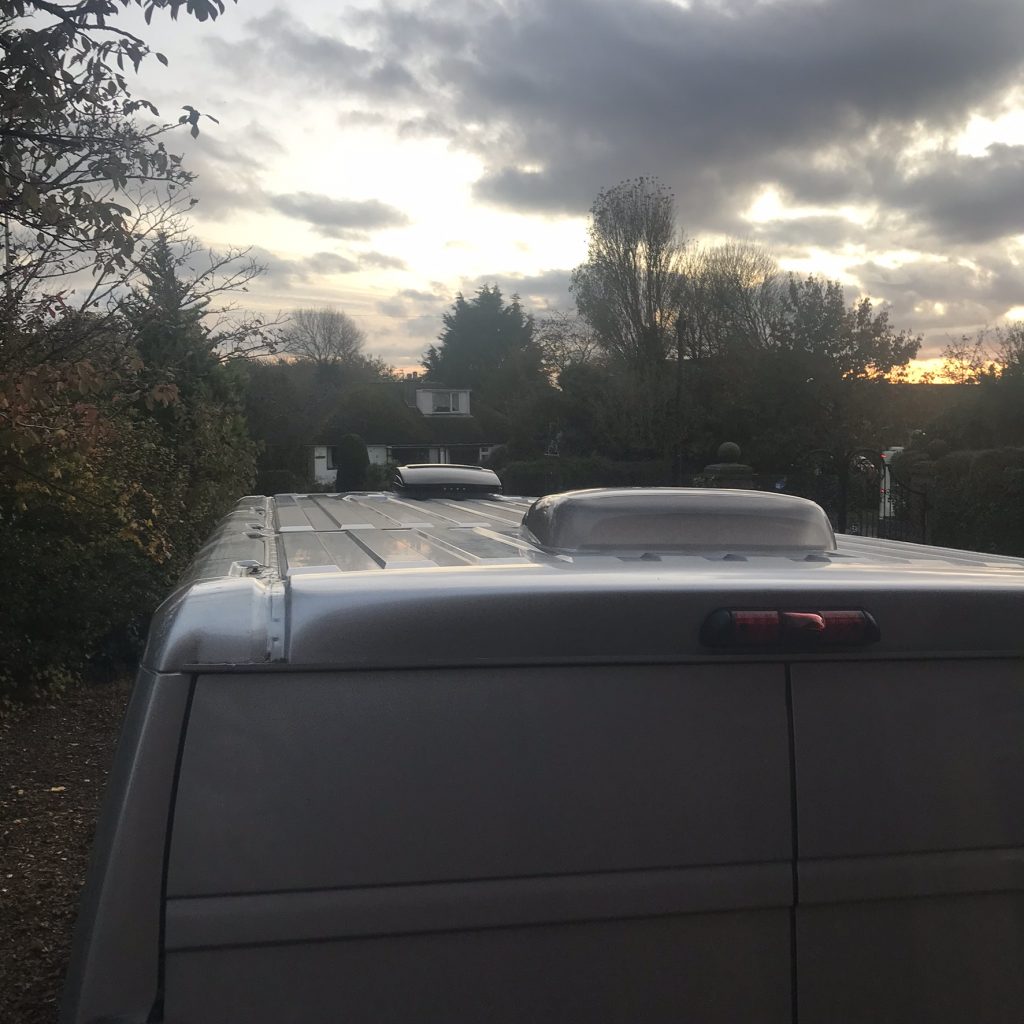
Below: The Maxxair fan is installed and the rear vent has been cut. The twin vents allows air flow through the vehicle. The Maxxair fan can be reversed so that it draws air inside the vehicle or sucks air out by changing the direction of the fan blades (switch). The fan is controlled by a remote or manual button switch. The location of the Maxxair fan at the front of the vehicle is so that it is not directly above the bed and thus is quieter when sleeping. The fan is already fairly quiet so hopefully I can increase the speed and still get a good nights sleep. The Maxxair has numerous speed settings and the maximum setting is pretty powerful.
Below: Early evening on a winters day, but at least it stayed dry. Both vents are heavily sealed with Sikaflex 512. Tomorrow I will add the Solar Panel.
Below: The SHARP 300 Watt Monocrystalline Solar Panel is bolted to the roof using aluminium brackets. Some people bond the brackets using sikaflex 512 with success. However, for piece of mind I feel a lot more comfortable knowing the panel is bolted in place. The cables are fed into the roof and will later connect to a Victron MPPT 100 – 30 (30 amp) Charge controller.
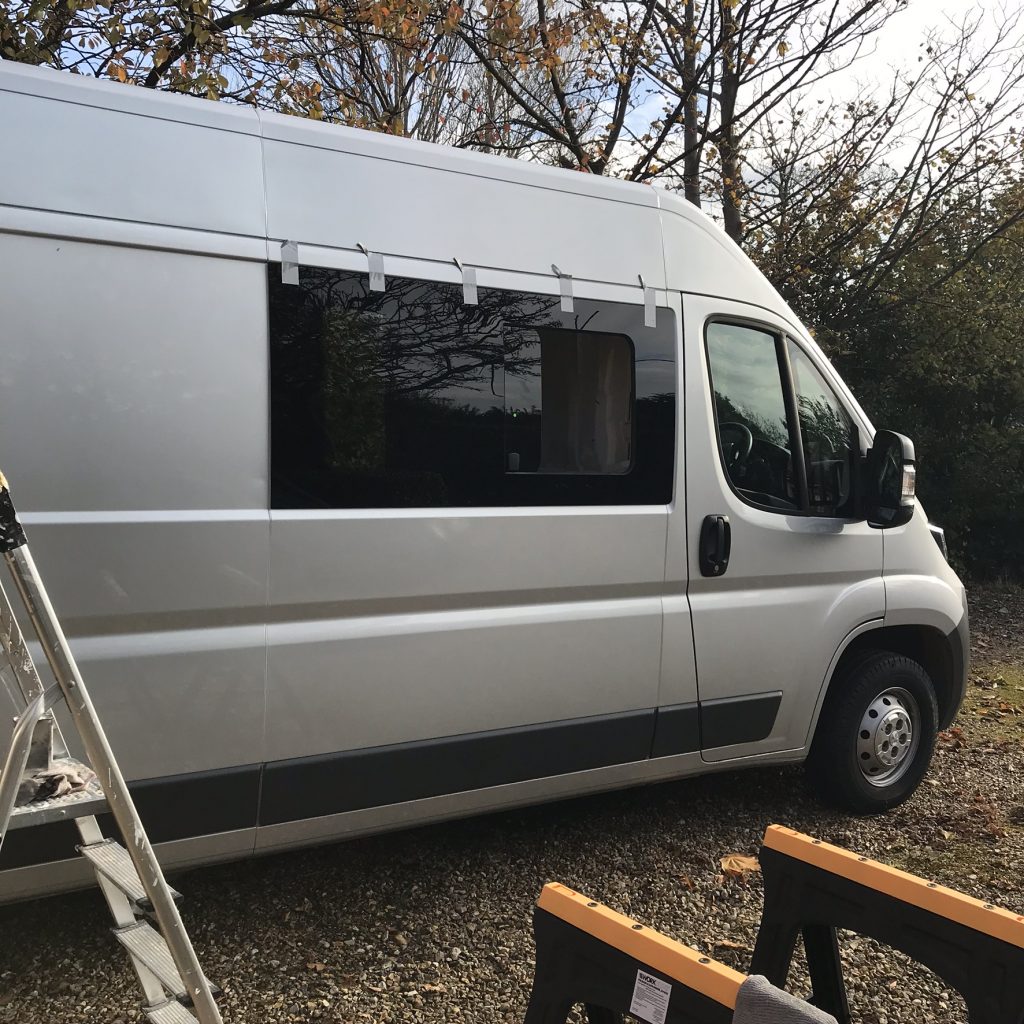
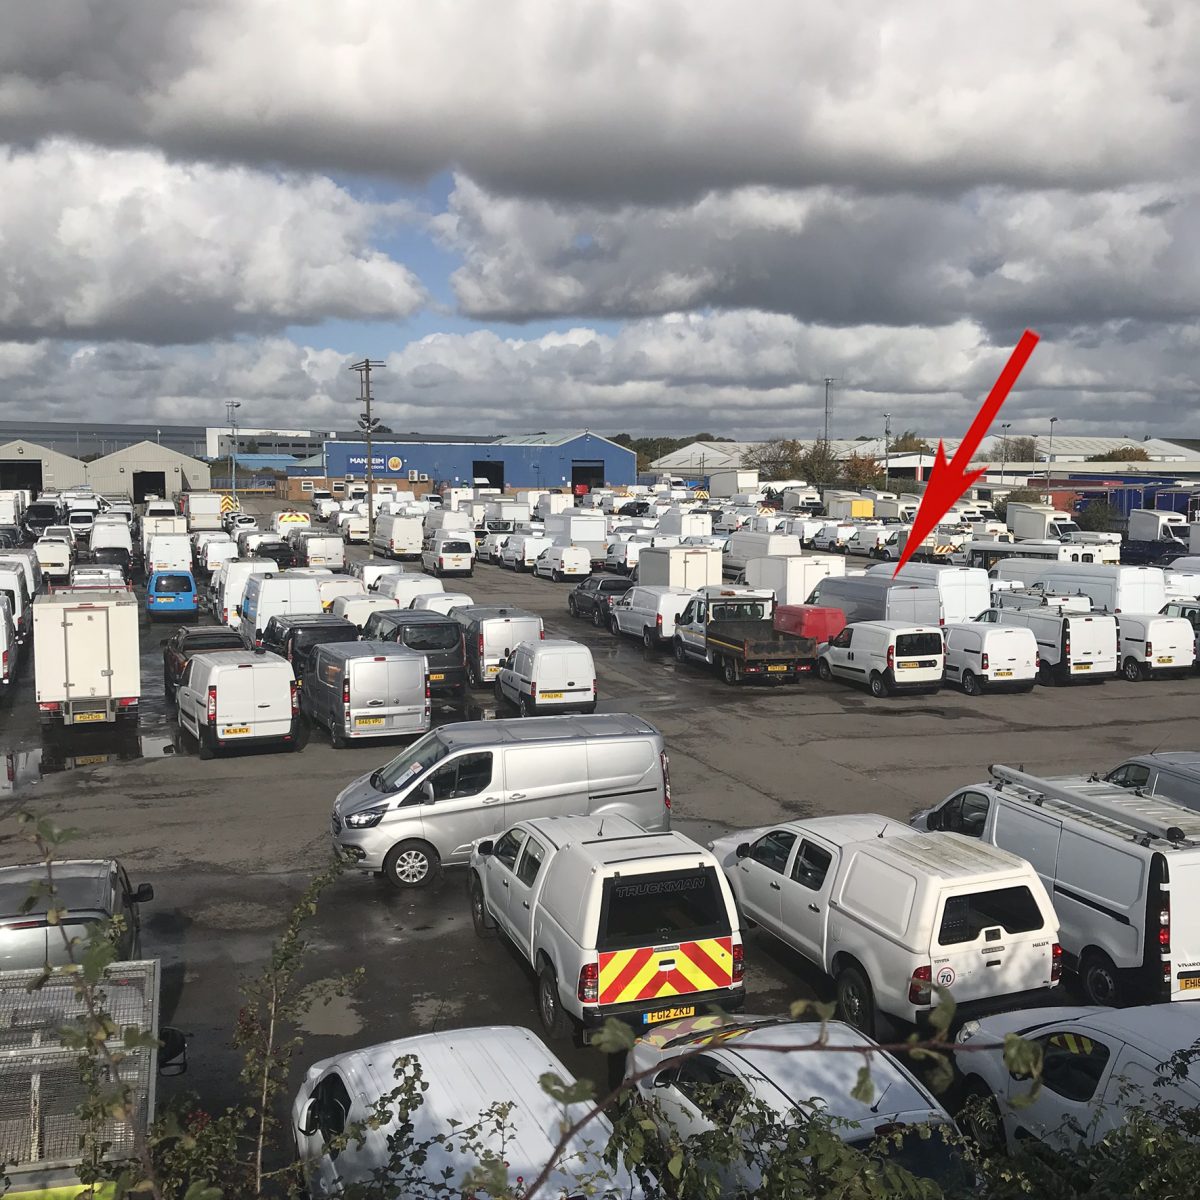
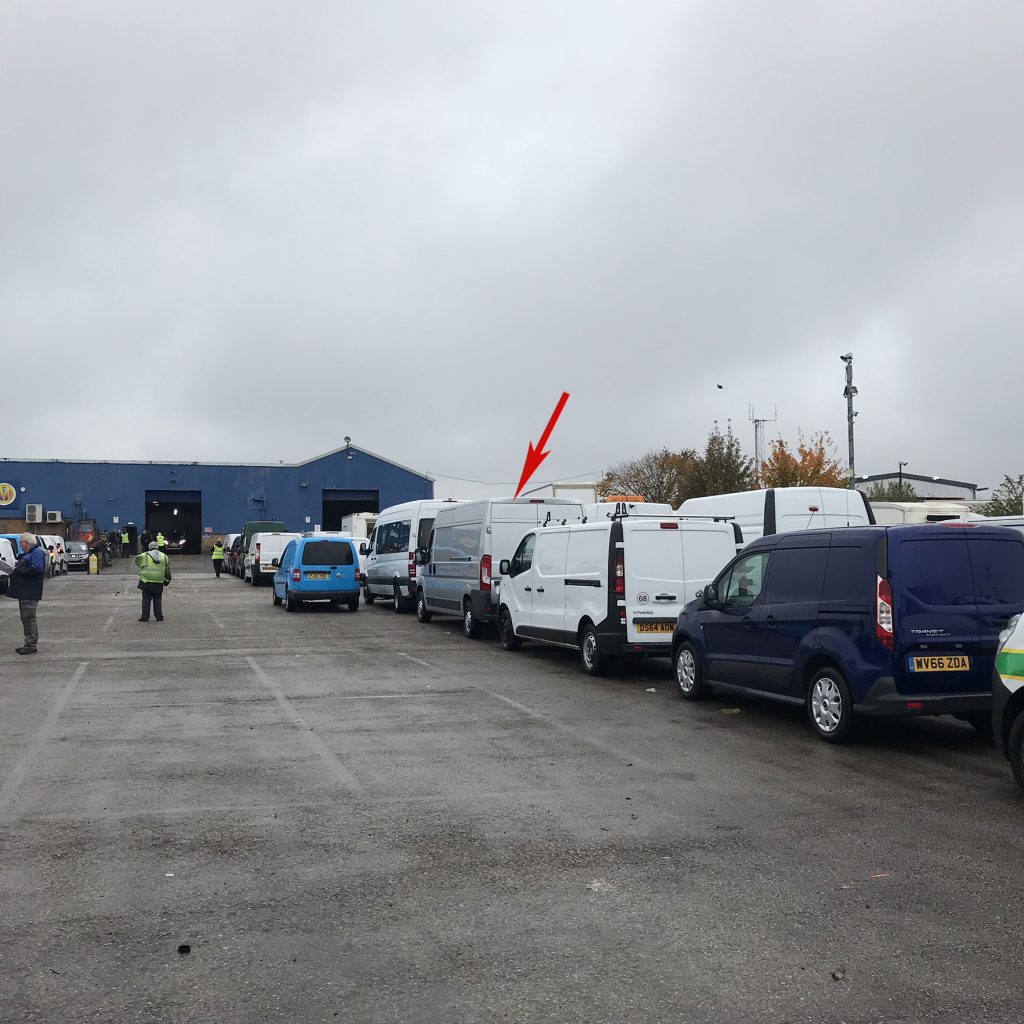
The red arrow in the image above shows our van surrounded by white vans that have been driven by, would you believe it, by white van drivers. Nothing wrong with white vans or their driver’s its just I wanted a less popular colour, something that doesn’t look too commercial. Ruby Red would have been my first colour choice (they are as common as chicken teeth) and silver my second choice.
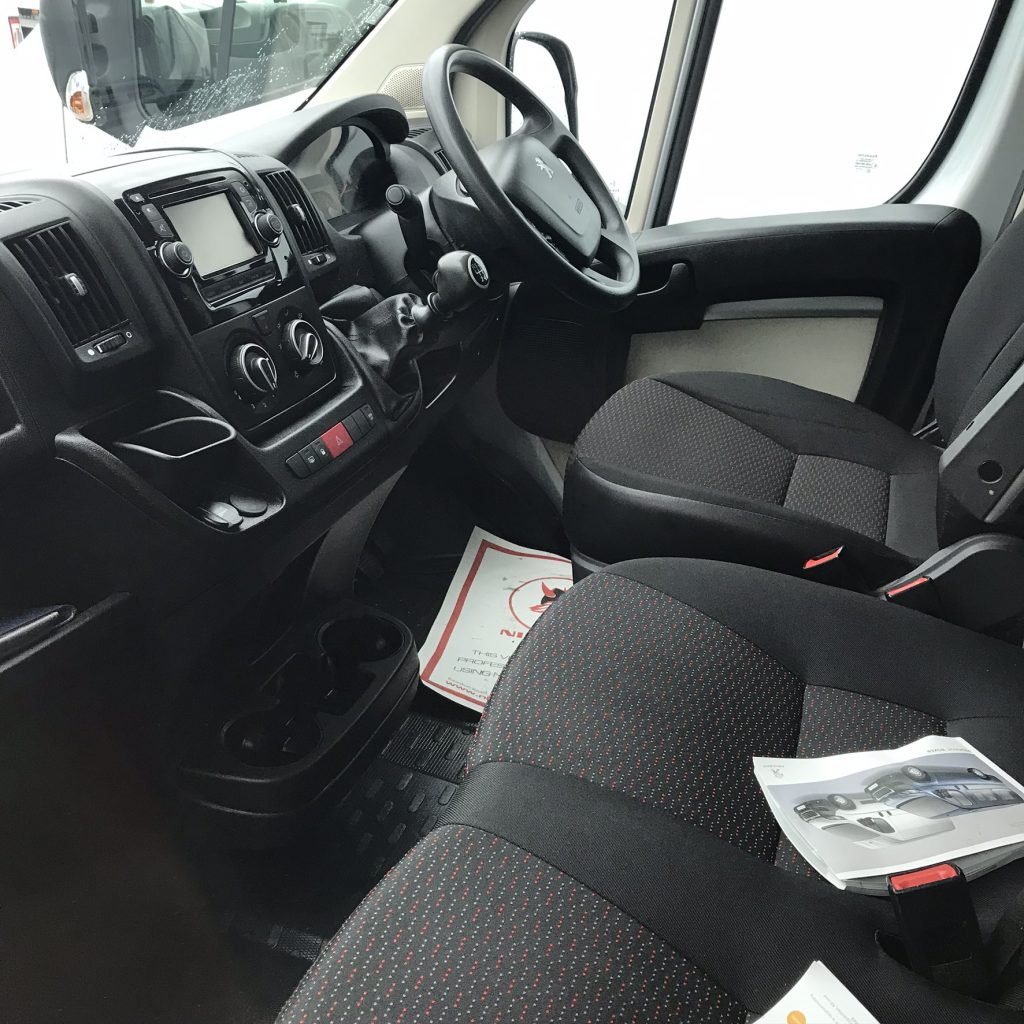
New or Used? There are a few factors to consider. Firstly do I buy a brand new van and convert or do I buy a used van and convert? A brand new van would be great but my budget dictated that I buy a used van instead. My decision was to buy a fairly young van in good condition with under 50K on the clock. Eventually I bought a Peugeot Boxer, 3 years old at the time of purchase with just over 30,000 on the clock. The vehicle was previously used by a joiner and in reasonable condition considering this was a lease-hire vehicle.
Where to buy? I took the plunge and decided to try my luck at the auctions. Dont always expect a bargain, others are also looking for a good buy and a lot depends on the day and whos bidding. Vehicles will have a decent report but look carefully at each vehicle that interests you, make a note of a few vehicles because the more you view the easier it is to walk away if the price gets too high.
How to get a good price on an auction? Pay attention to the number on the vehicle thats in the catalogue (available online), it’s a good indicator to the order in which it will go through the auction. Auctions start early and the first vehicles that pass through the auction can sell for good money. This is because there are plenty of buyers and most haven’t spent their money. Sometimes its better to wait until midday or even late in the afternoon if you can take a risk of going home empty handed. The bidding on my vehicle started at around 12:30 pm, the bidding was light, fewer people were there, maybe they had gone for lunch, maybe they had seen enough. Whatever happened only one person was bidding until I made one final bid seconds before the hammer went down. To my amazement the single bid I placed was not challenged and I acquired my first ever Peugeot Boxer, faster than I expected.
Costs: Always remember that auction prices will have VAT added and the auction fees, these are published in advance. Whatever you decide to bid, stick to it, its easy to get carried away (many people do!).
Campervan Build Costs – The Golden Rule: Building a Camper-van is like building your own home. Whatever you think its going to cost, double it. Unless you have built a camper-van before then you are unlikely to come in on budget. Trust me on this point.
Know your budget – Know your Van: Depending on the quality and the amount of money you plan to spend on your conversion pay attention to the vehicle you buy. You may end up spending a lot on the interior, perhaps more than you planned. This may not always be economical in an older van. For example you could buy a cheap van, spend a small fortune internally and end up with “dead money” in other words a vehicle that has cost more to build than its worth.