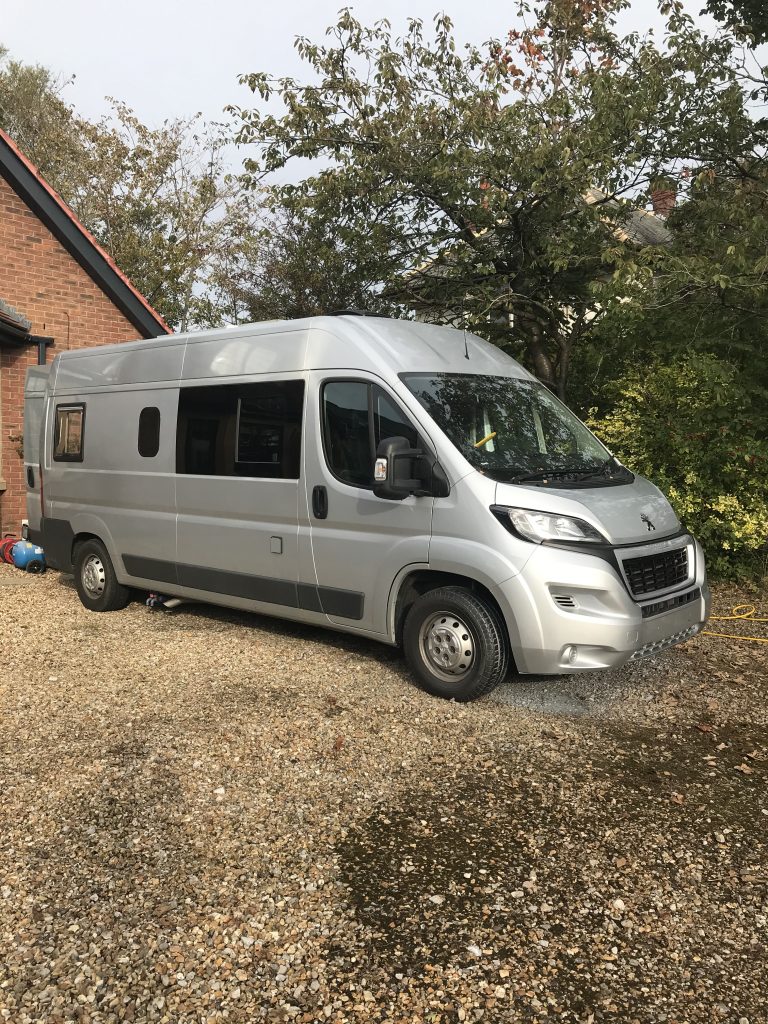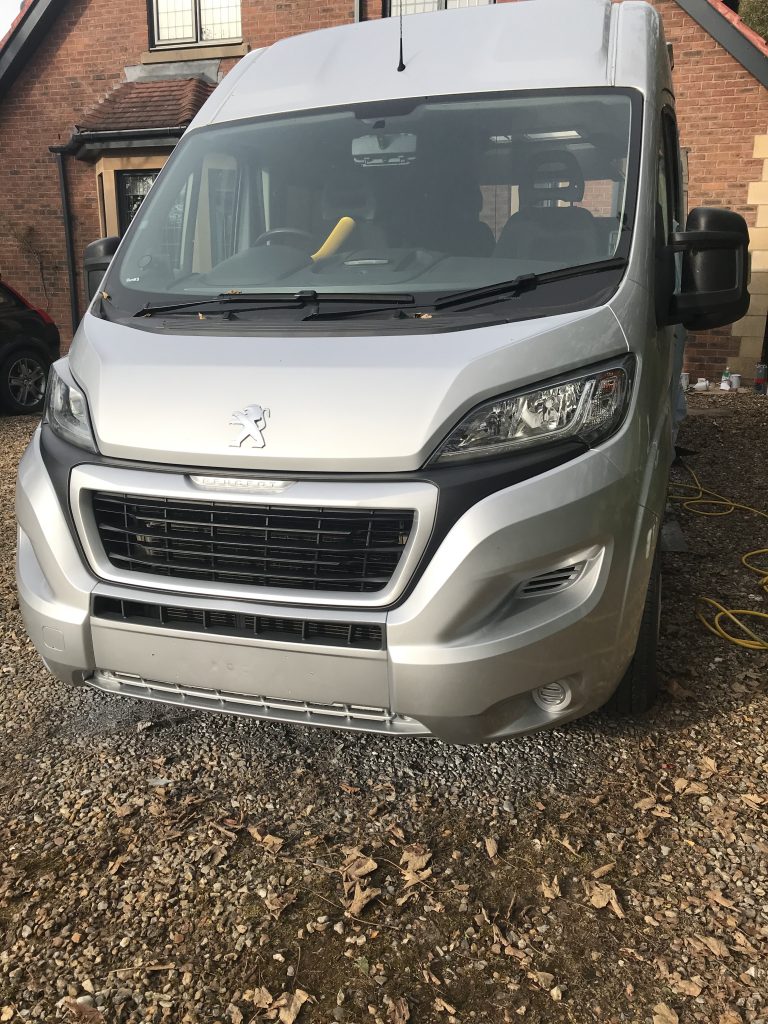
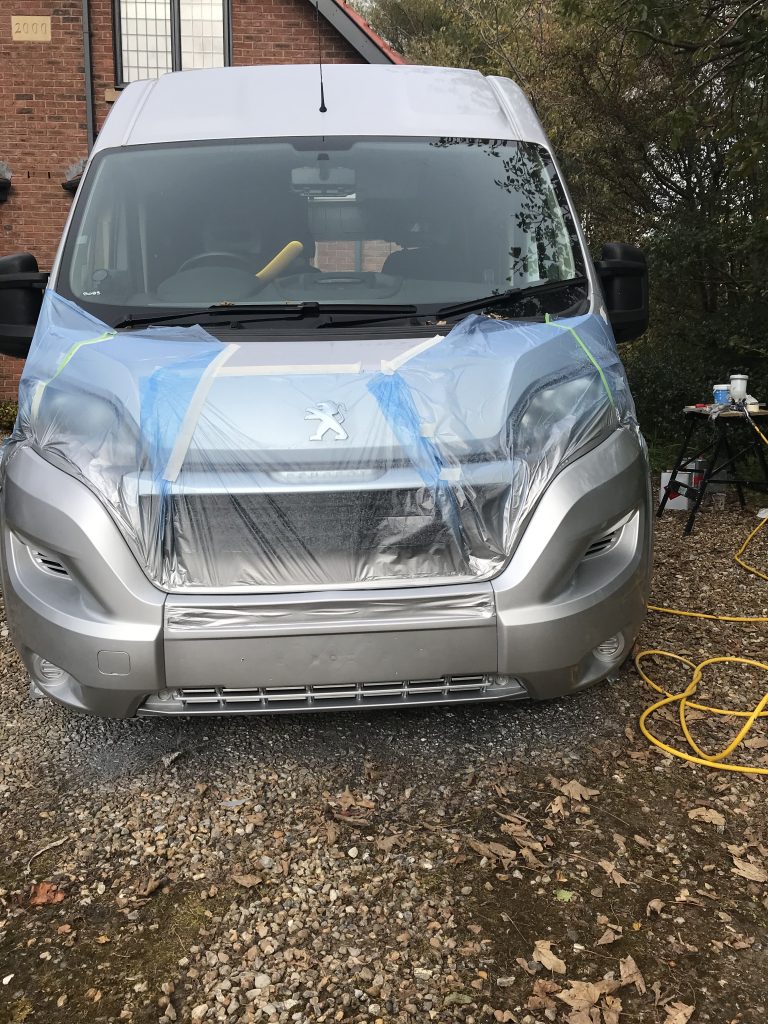
How to make your own: One of the things I notice about a home made camper-van conversion and a factory version is that the front bumpers on the factory version are always colour coded, meaning painted the same colour as the vehicle.
For some people this addition may seem OTT and I would agree its unnecessary. However, I wanted to touch up some areas inside the back doors that had a few scratches and decided rather than buy an aerosol that I would instead spent a bit more and spray the front bumpers as well. As it turned out I ended up spending a lot more. The paint and materials came to around £140 ($180).
Materials Required: You can simply prime and paint the front bumper but I would advise using a plastic adhesion promoter. This is a product that you spray onto the plastic, it acts like a primer and creates a strong bond between plastic and paint. I used a product call Octoral PA65 PLASTIC PRIMER. Unlike grey primer which is often thick this is a fairly thin clear liquid. I also used a Primer with Hardener, a Base Coat and a Clear Top Coat with Hardener.
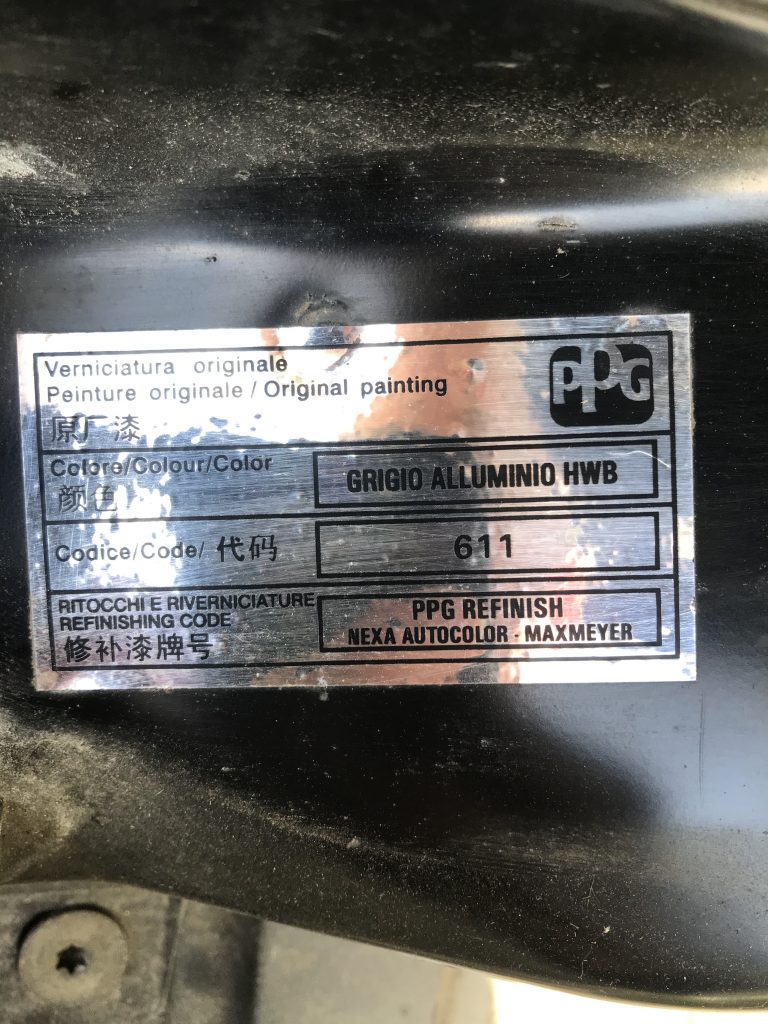
How to locate your vehicle paint code number: Before I start, I need to know the colour code number of the vehicle in order to have the paint mixed. On the Peugeot Boxer, Fiat Ducato and Citroen Relay this is located under the bonnet (hood).
Stage One: The first stage is to give the bumper a good clean.
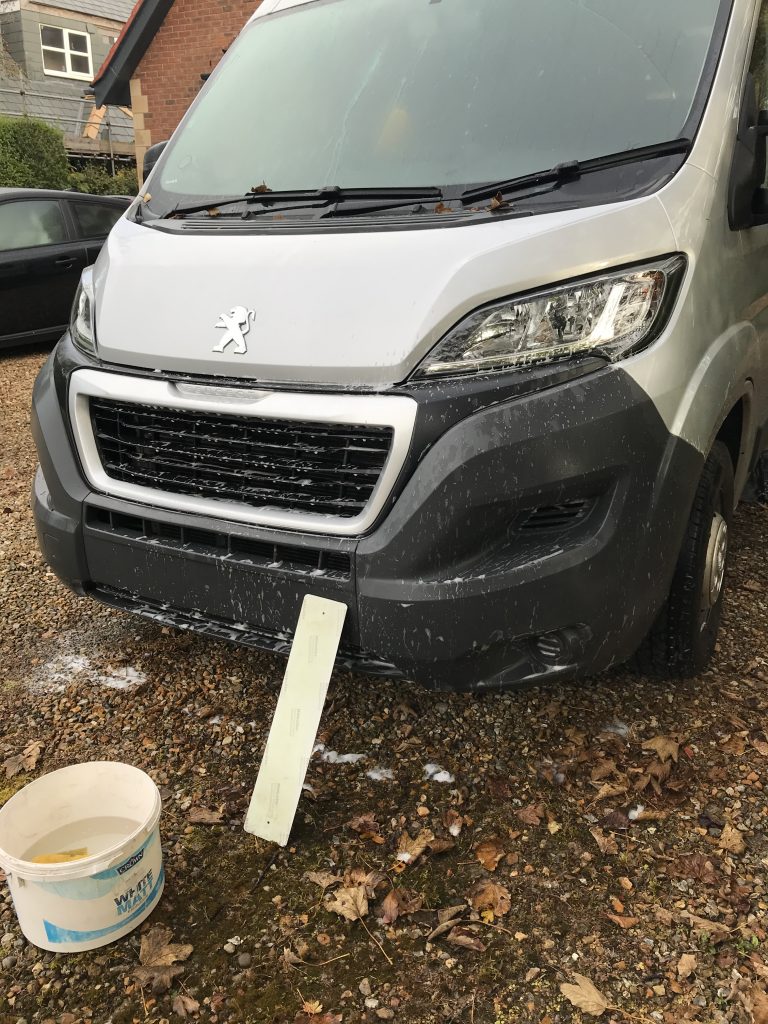
Stage Two: I made sure the surface was free of any oil or grease by wiping with isopropyl.
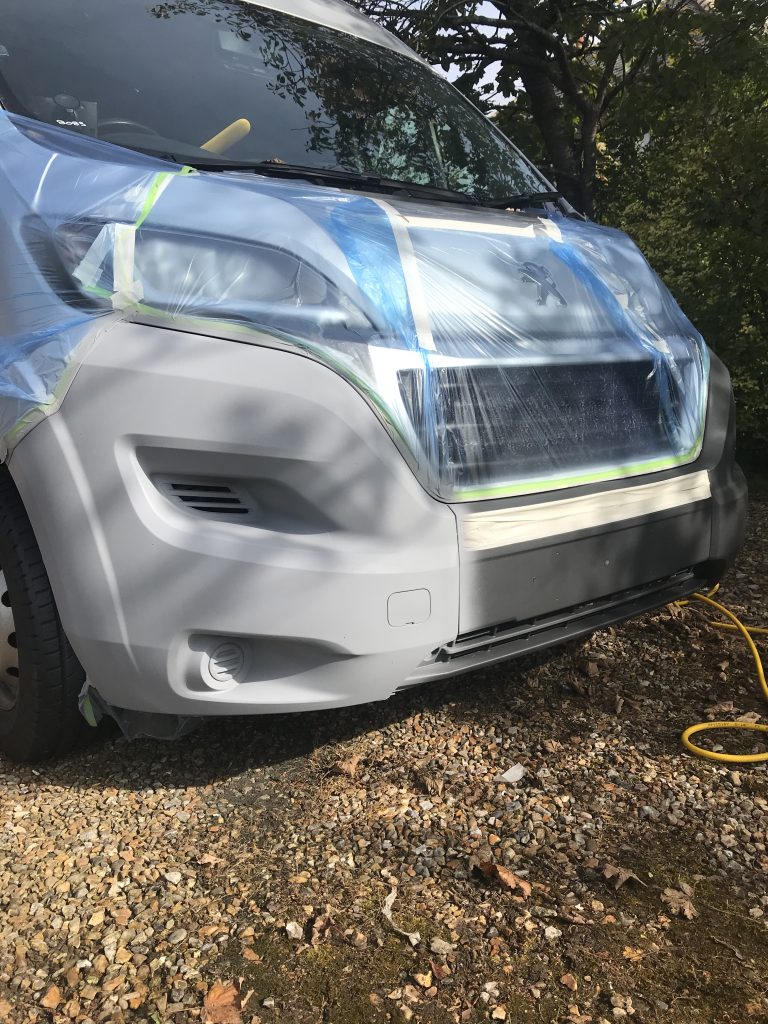
Stage Three: The next stage is to apply the Plastic Adhesion Promoter, these are available online in aerosol format. However, I bought a trade version (Octoral PA65) to use with my own compressor spray equipment. No mixing is required, simply pour into the gun and spray. Take care as its fairly thin so easy to run.
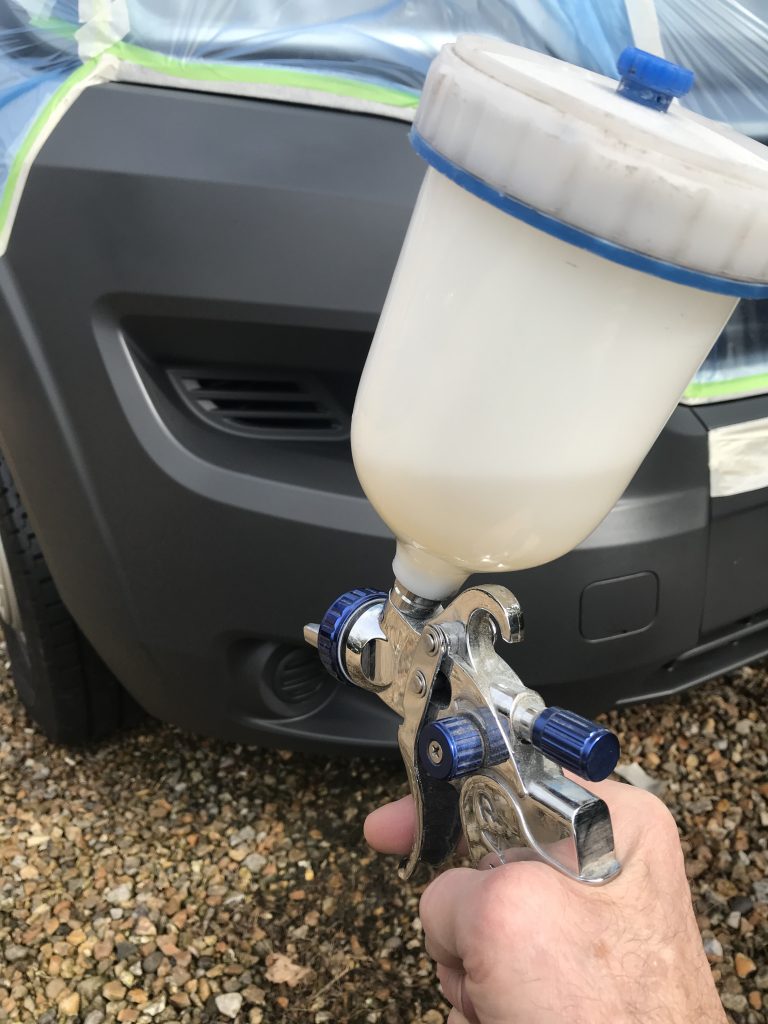
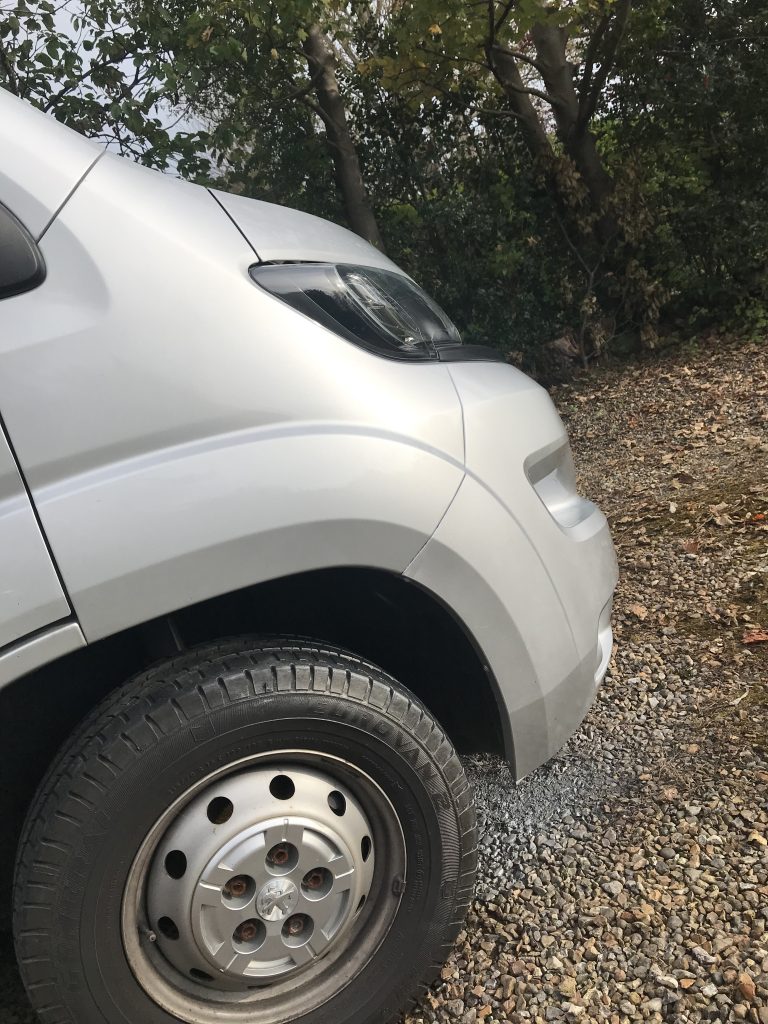
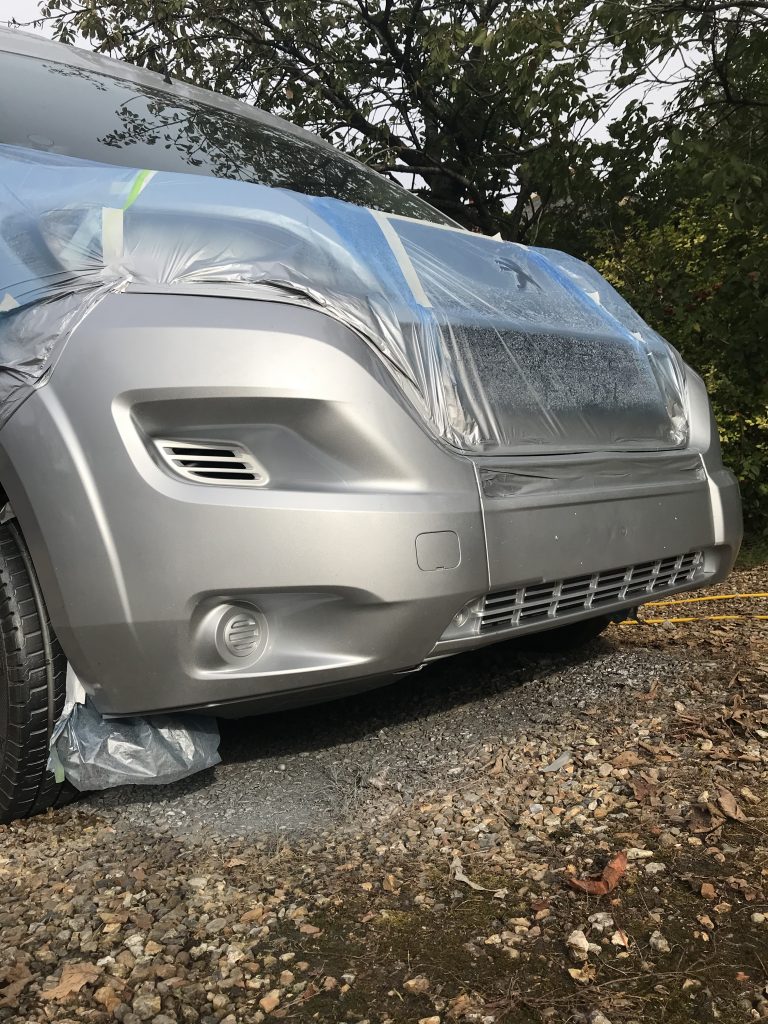
Below: No real difference as the Plastic Adhesion Promoter is like spraying thick water. The image below is after spraying Octoral PA65.
Stage Four: Now its time to add the primer. You could use an aerosol spray, if so I would recommend UPol as this is a good quality primer (some I have tried are not too good – get a good one). I mixed my own grey primer with hardener, this type of paint requires a spray gun. The primer paint system had a 4:1 ratio. 4 parts primer and 1 part hardener.
Stage Five: After the primer has hardened (not long 20 mins or so). Give it a light sand using P400 wet and dry.
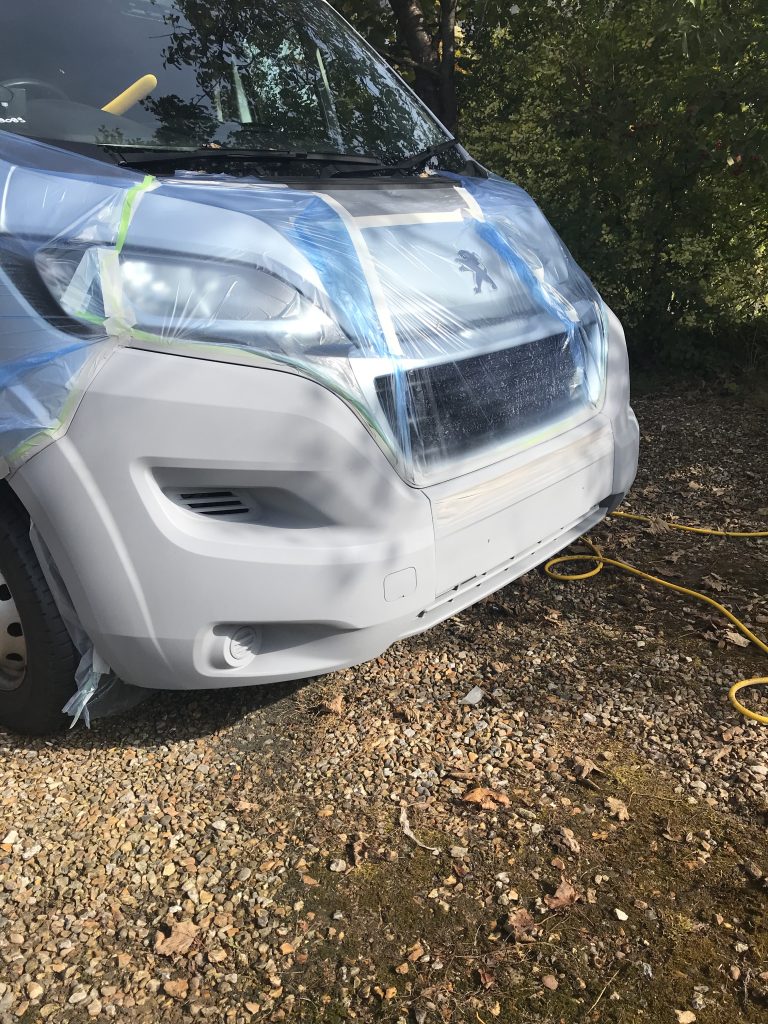
Stage Six: Now its time to add the Base Coat. I sprayed this coat using compressor spray equipment. I have my own but if you dont then you can usually hire this equipment for the day. I found it almost as cheap to buy the equipment. Although my equipment cost more than the basic set-up you could buy an air compressor for around £120 and it would be adequate (see Clarke Tools/ Online and shops). You will require something that will spray at 45 psi (more is better but not a necessity).
Below: Applying another coat of Base Coat
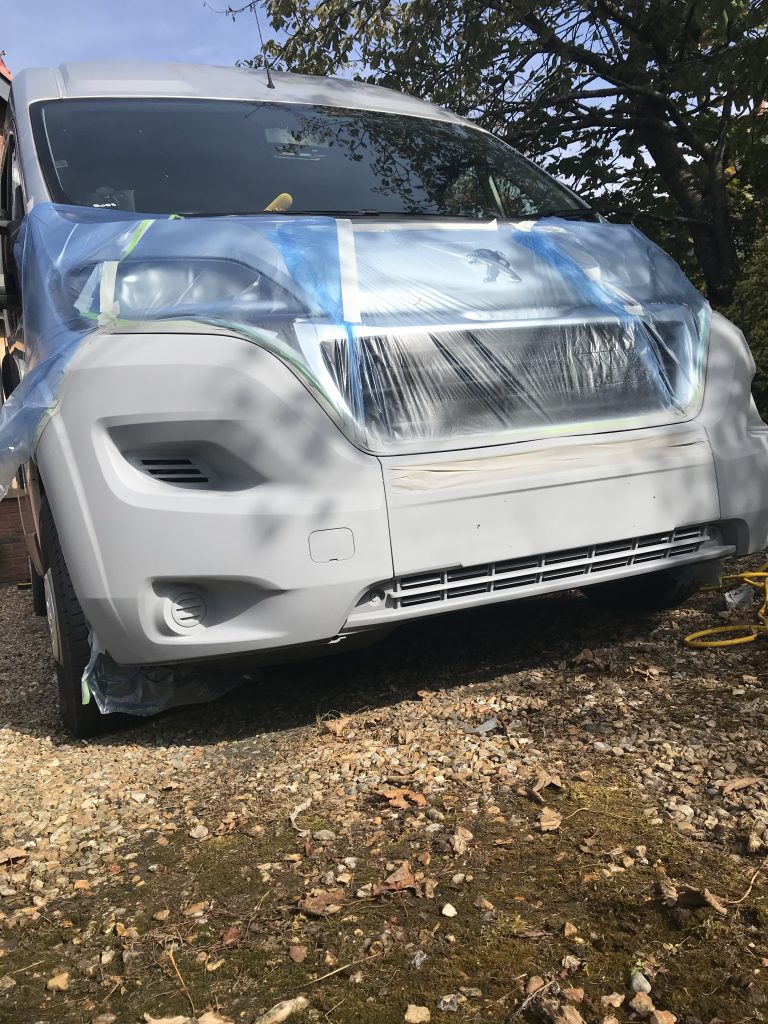
Stage Seven: Now its time to apply the clear Top Coat. This is a two part paint system consisting of a Clear Coat and Hardener with a 2:1 ratio (2 Clear Coat and 1 Hardener). Thinners should not be required but if you need it then my system allowed for a maximum of 10% (dont exceed). Below, the shine appears for the first time
Below: The first layer of Clear Coat has been applied
Below: Another coat added
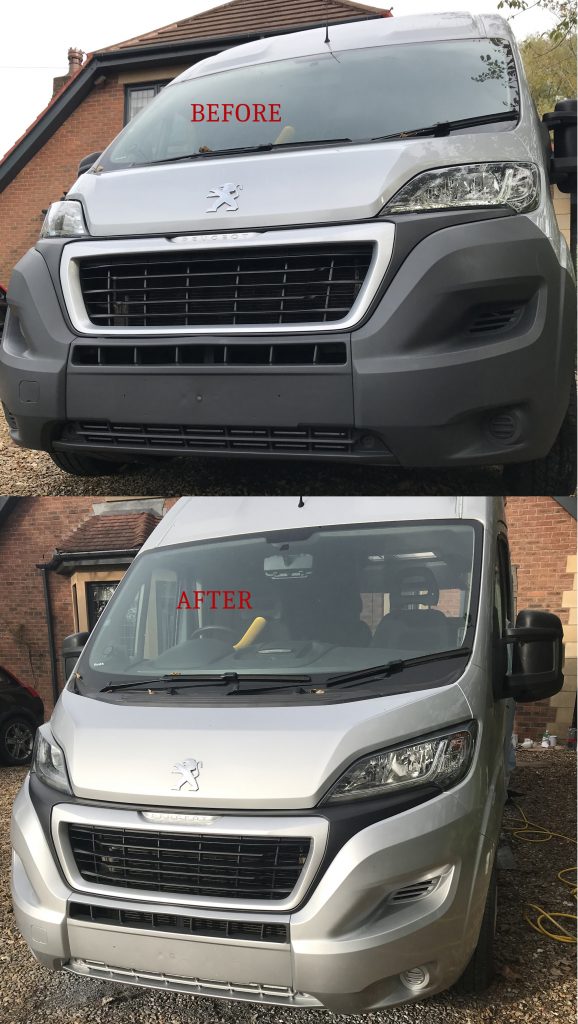
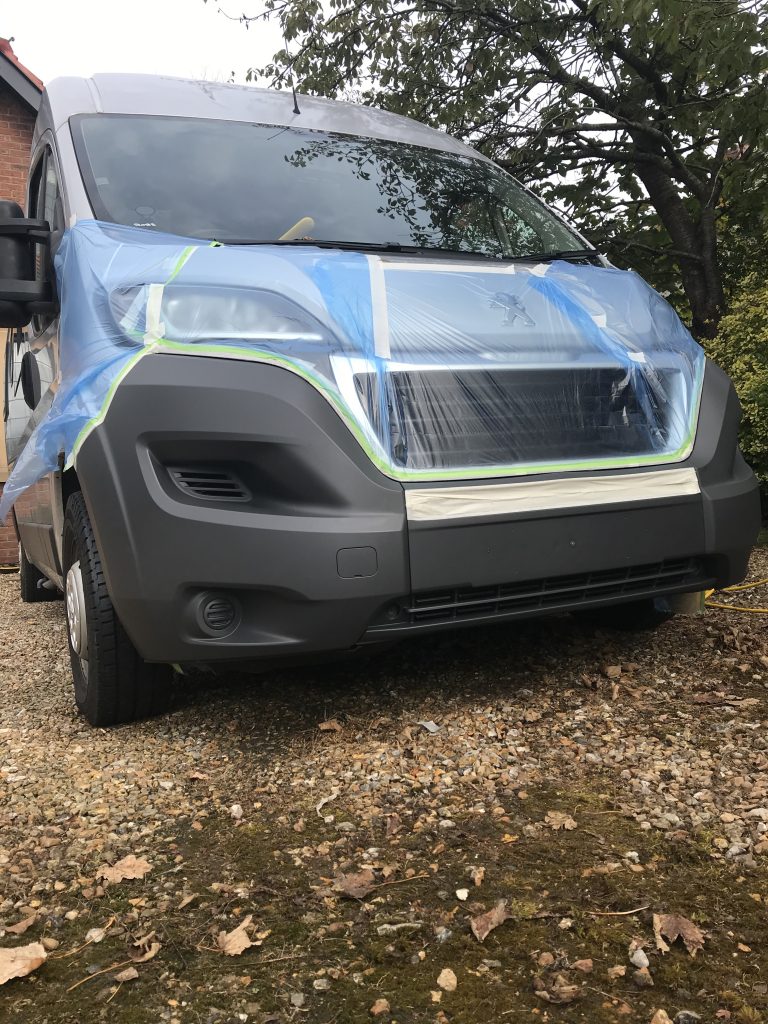
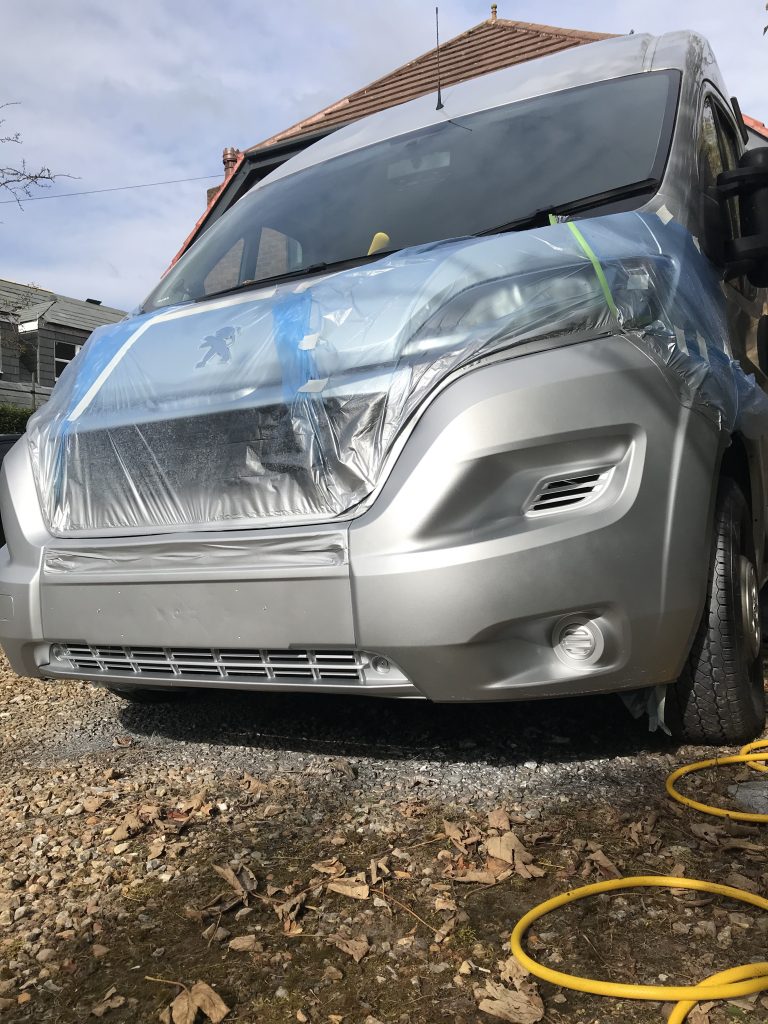
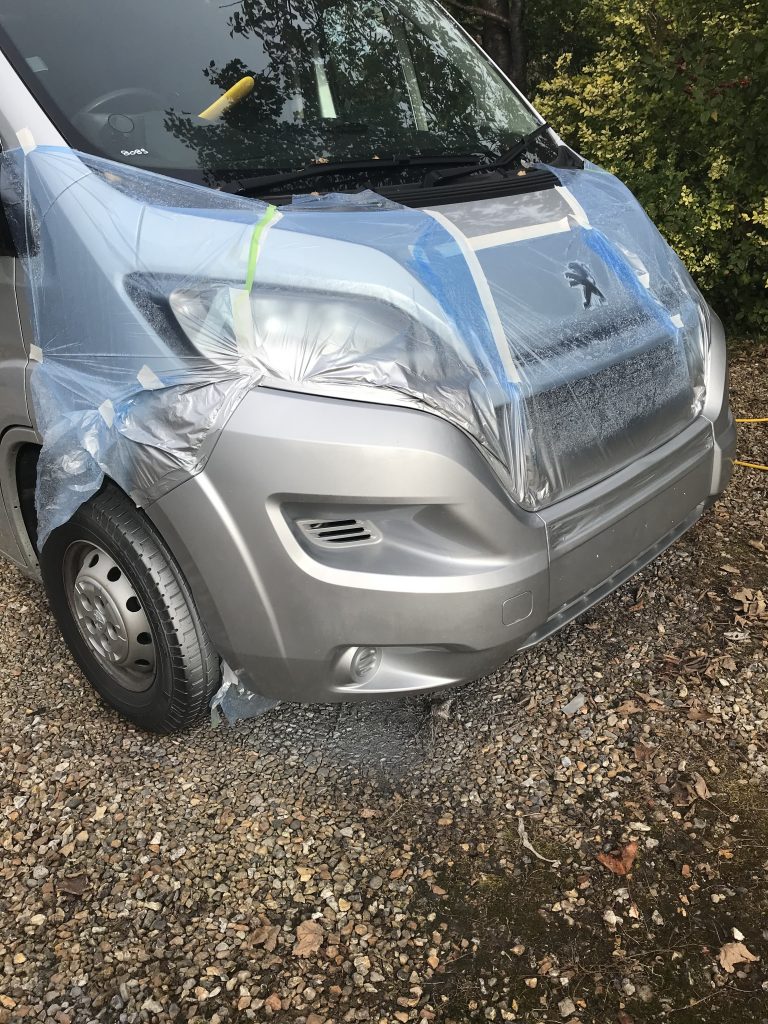
Below: Paintwork is dry so now is the time to remove the masking tape. Be careful removing the masking tape as the paint wont have fully hardened.

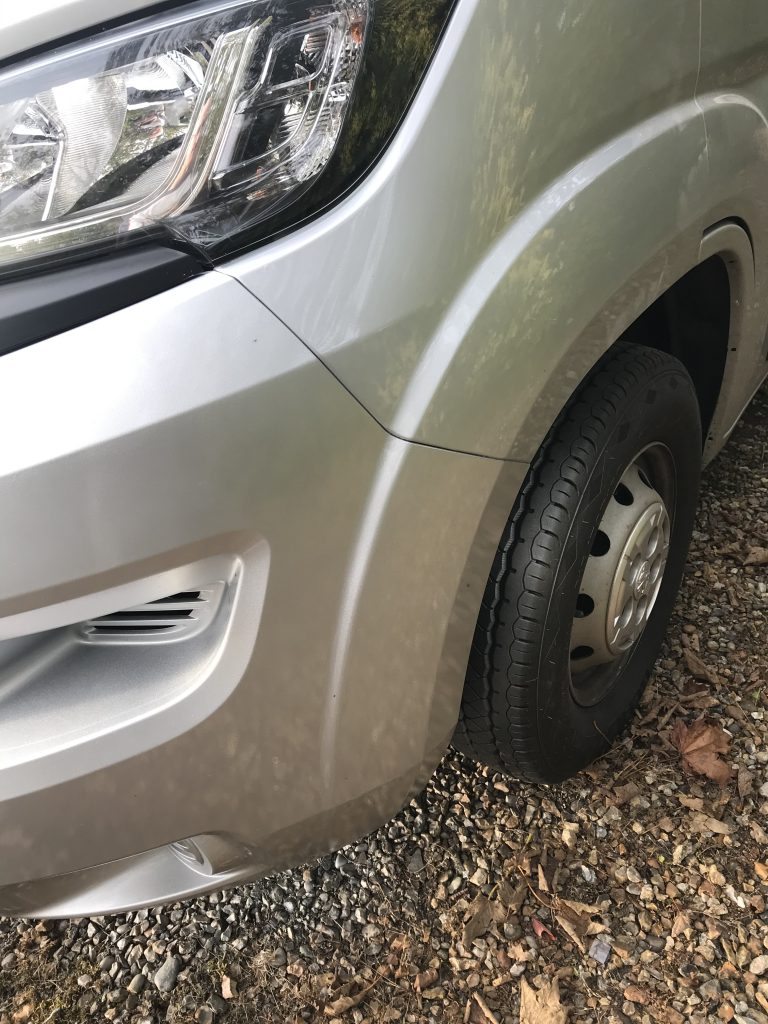
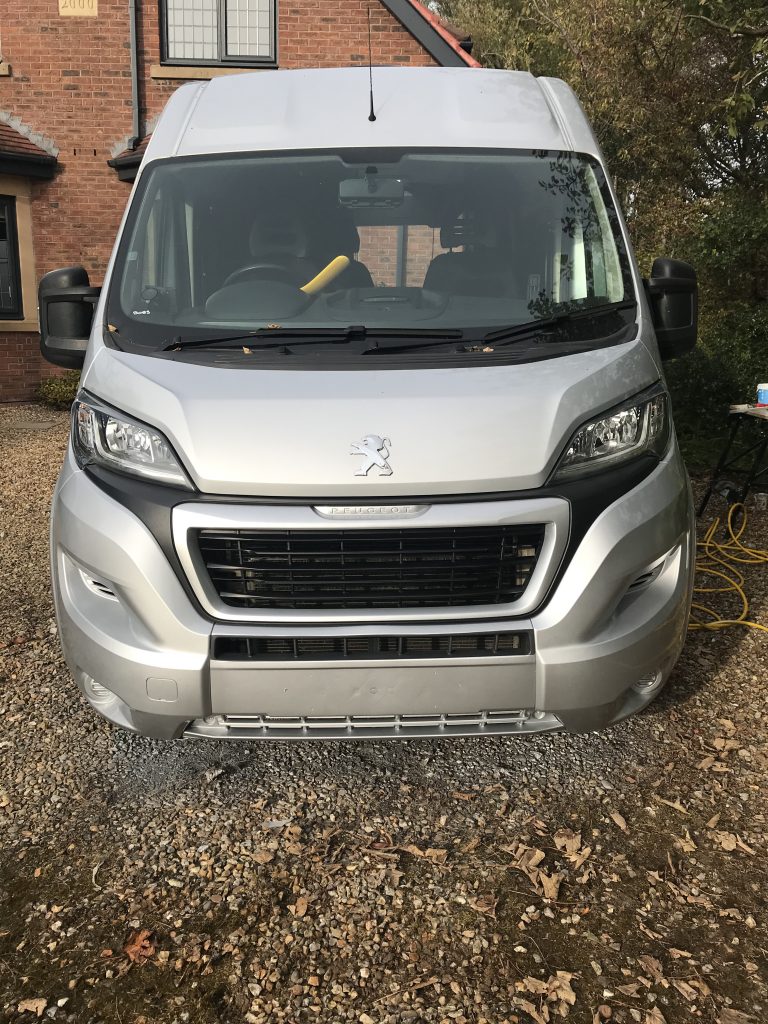
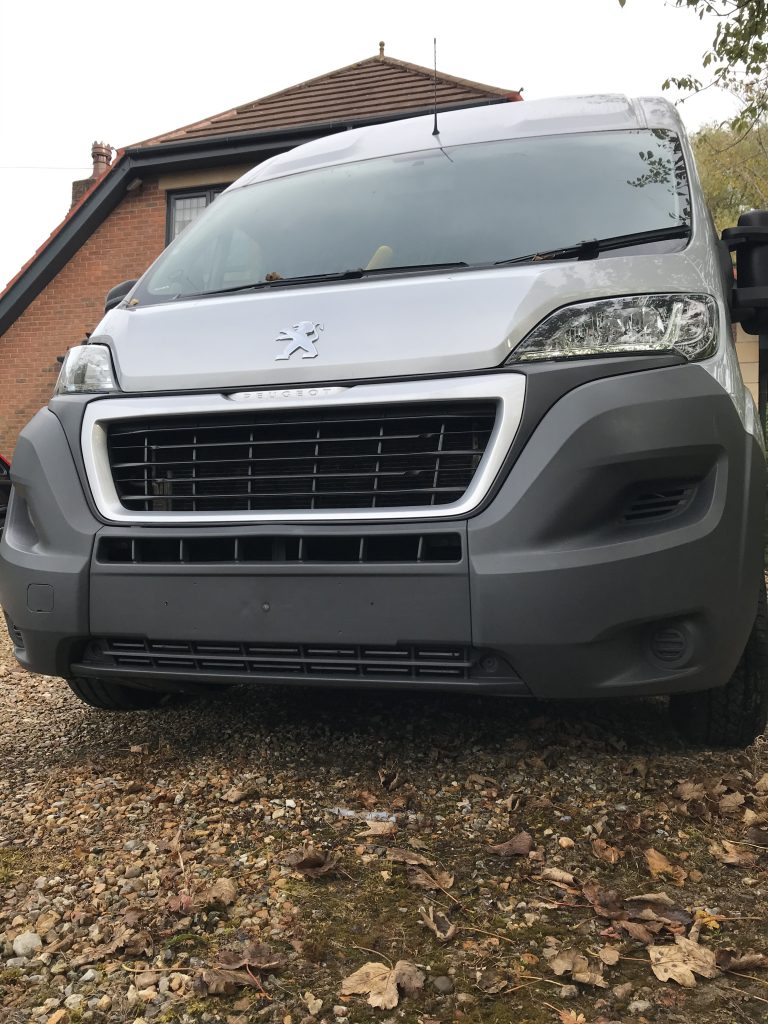
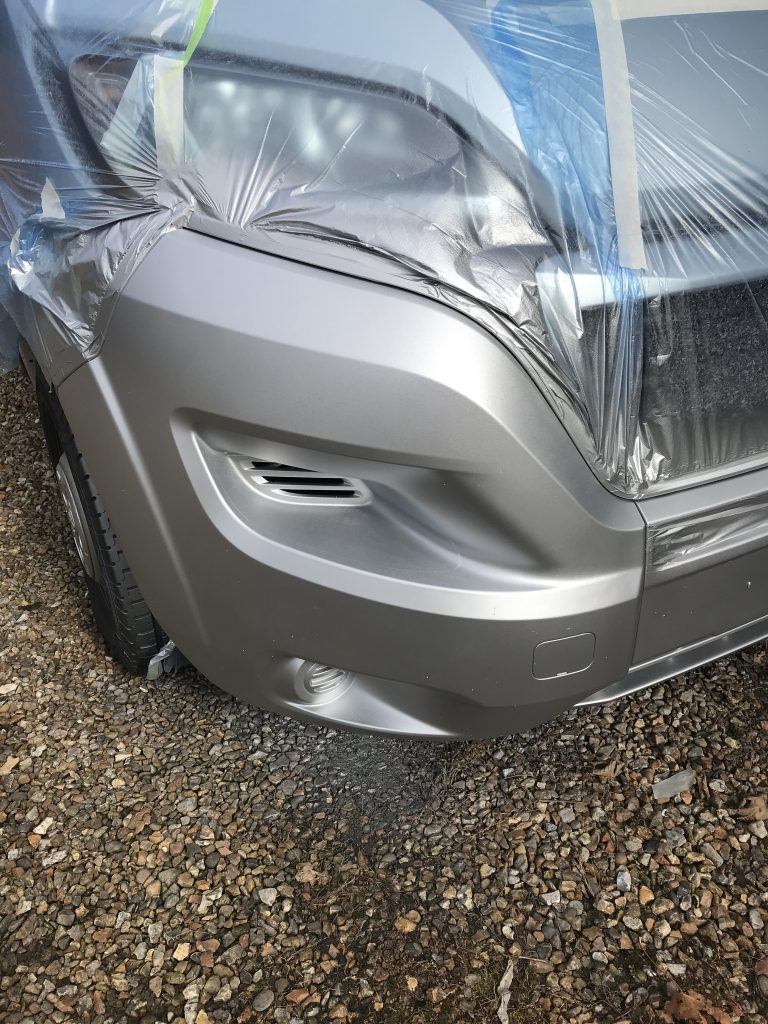
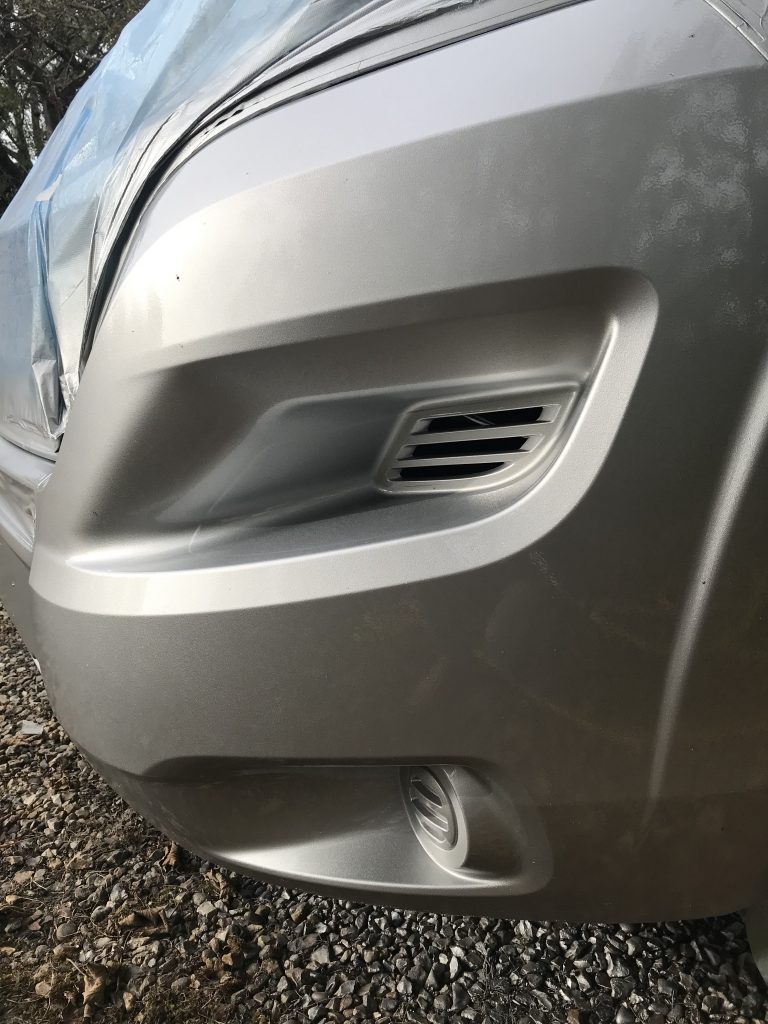
Below: I am satisfied with the colour match, there is no obvious difference between the vehicle and bumper