Adding the awning is supposed to be a two man job. However, as I fitted this during Covid19 lockdown I wasnt supposed to mix with anyone. This meant fitting it on my own (or waiting for some weeks).
Weight: The F80 S weights 51kg which is heavy enough, however, its also 4 meters long so its awkward to maneuver.
Kit Type and Size: The kit I used was for the Peugeot/Fiat/Citroen Model (After 06-2006) With a Roof height – H2 (2,524 mm) Length – L4 (6,363 mm) Kit Type F80S 400 and the fitting kit number was 98655-904.
How to fit yourself (as a one-man job). With a 4 meter long awning weighing 51kg then walking this up a ladder may be difficult. The way I was able to get the kit onto the roof was fairly simple and not difficult at all. I left the kit inside its packing box and decided only to unpack once it was on the roof of the van this prevented it scratching the vehicle during the lift. I reversed my vehicle so that it was about 8 foot from a tall wall (my house) I placed a ladder against the wall and stood the kit upright against the back of the vehicle (opp the rear doors). I took the end of the kit (box) that was on the floor and walked it up the ladder with the box resting on the edge of the roof, then sliding it fully onto the roof. Its not as difficult as it sounds. It took me less than 2 minutes to get it onto the roof and about half the weight was supported by the van. Once the kit is on the roof you can remove the cardboard packaging. Support the awning on some of the packaging material or it will scratch your van roof.
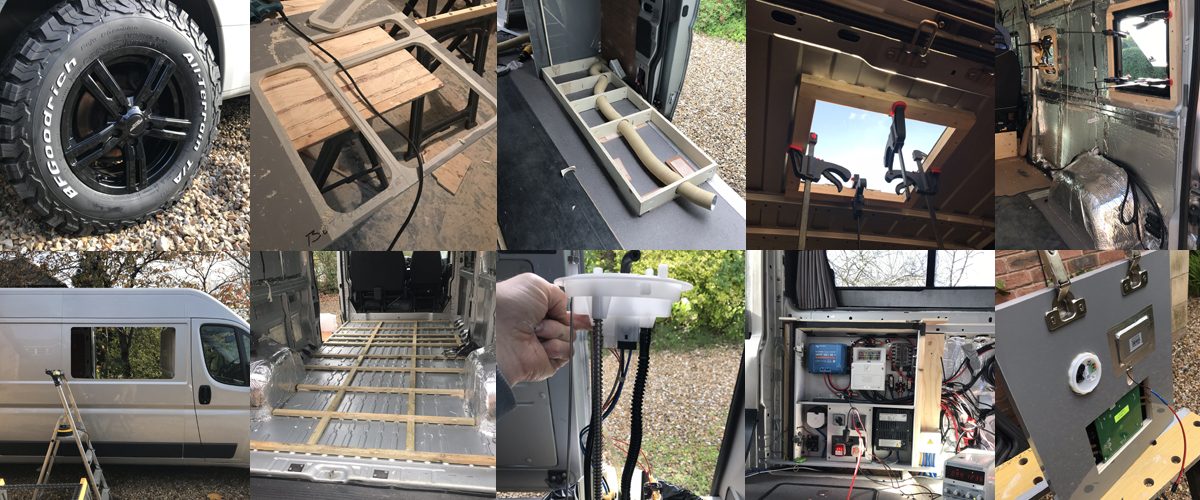
Below: The awning is on the roof for the first time now its time to add the brackets.
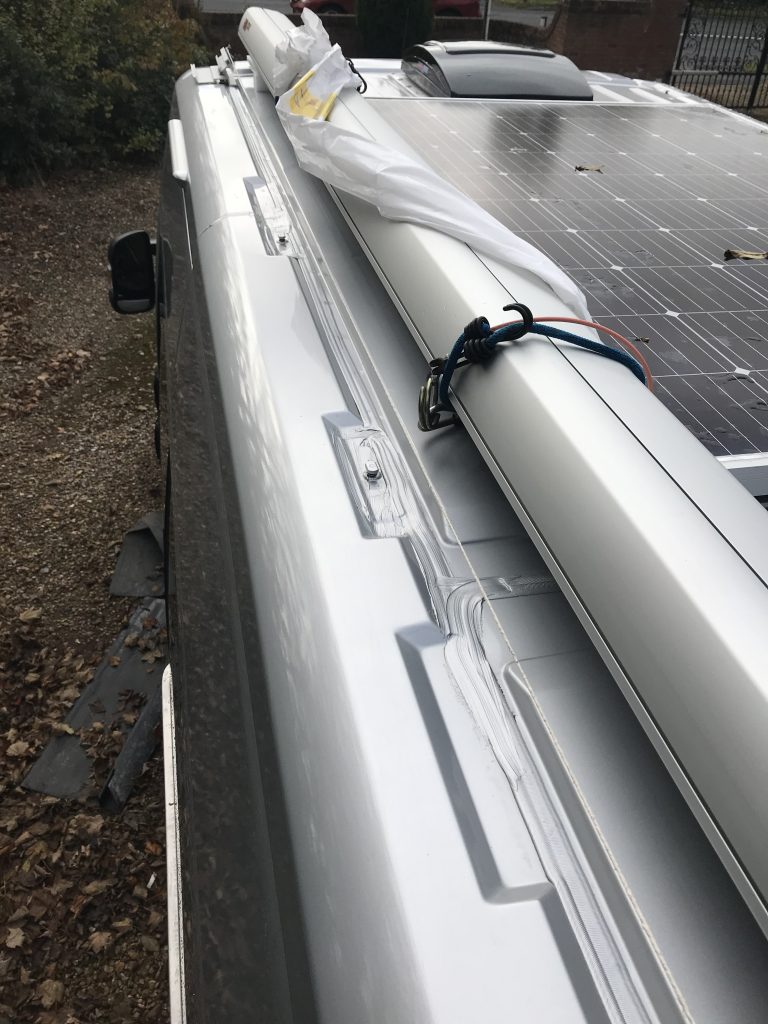
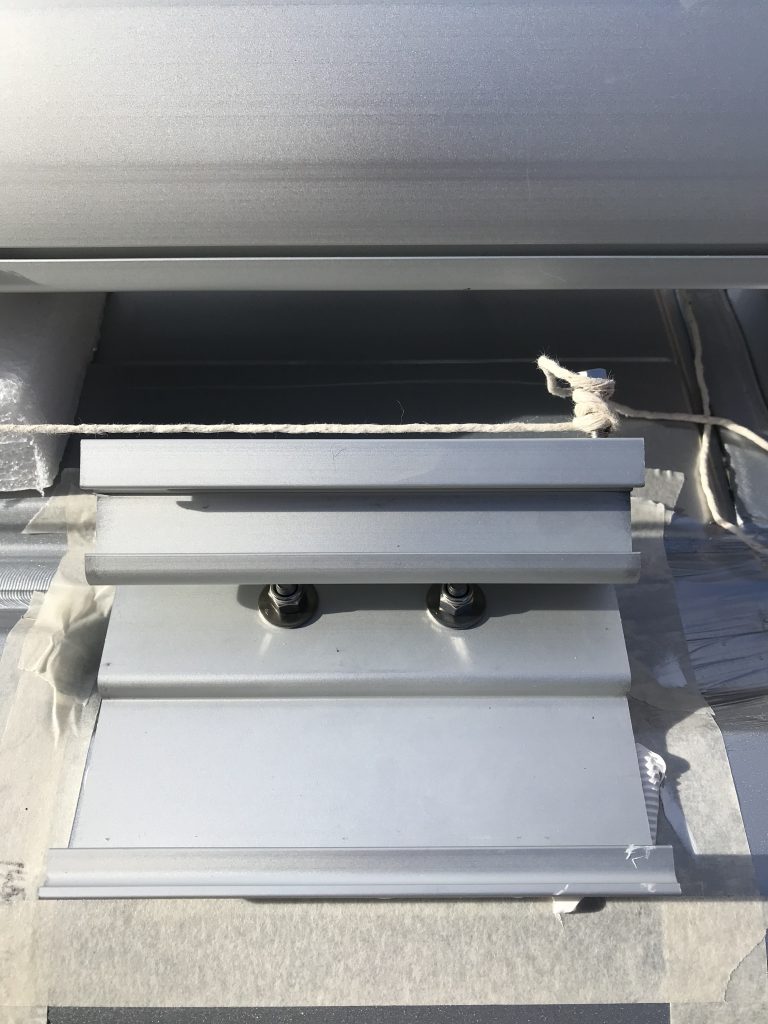
Below: I decided to fit the first bracket and add a plumb line. Pay attention as each bracket (there are 3) goes in its own place, you cannot mix them. I haven’t added any Sikaflex at this stage because I dont know whether these brackets will need adjustment. Its very important that the brackets are aligned and also important that they are at the same height.
Start by adding the Front and Rear Bracket first then add the centre bracket.
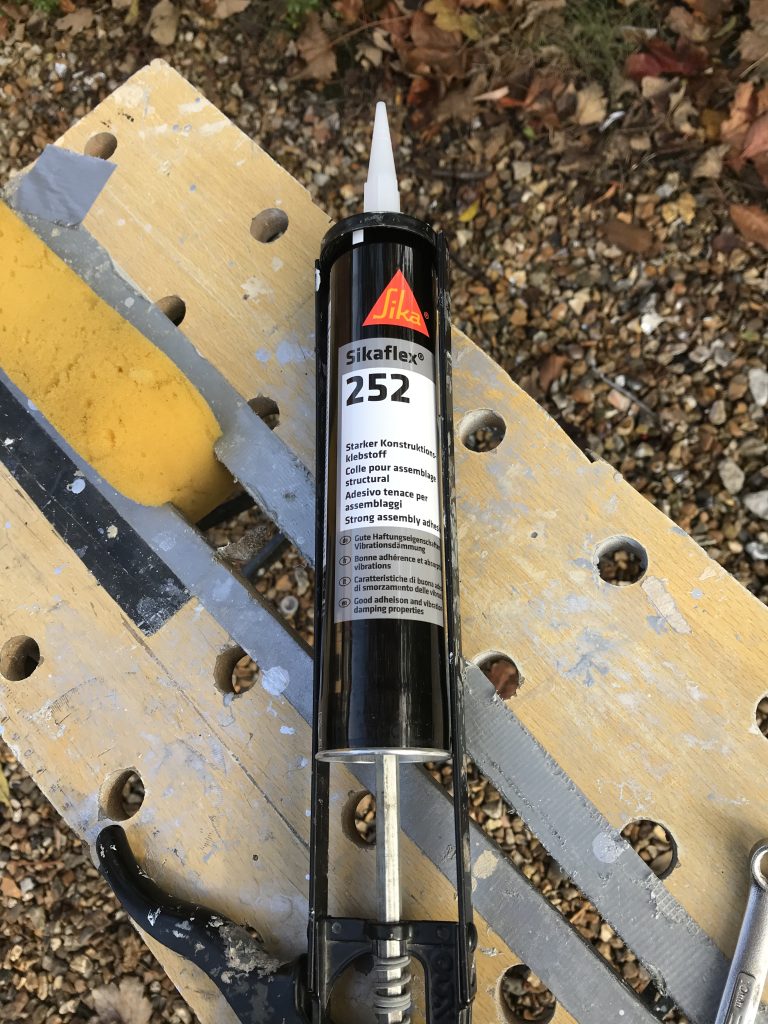
Below: Make sure you use SikaFlex 252 (not 512)
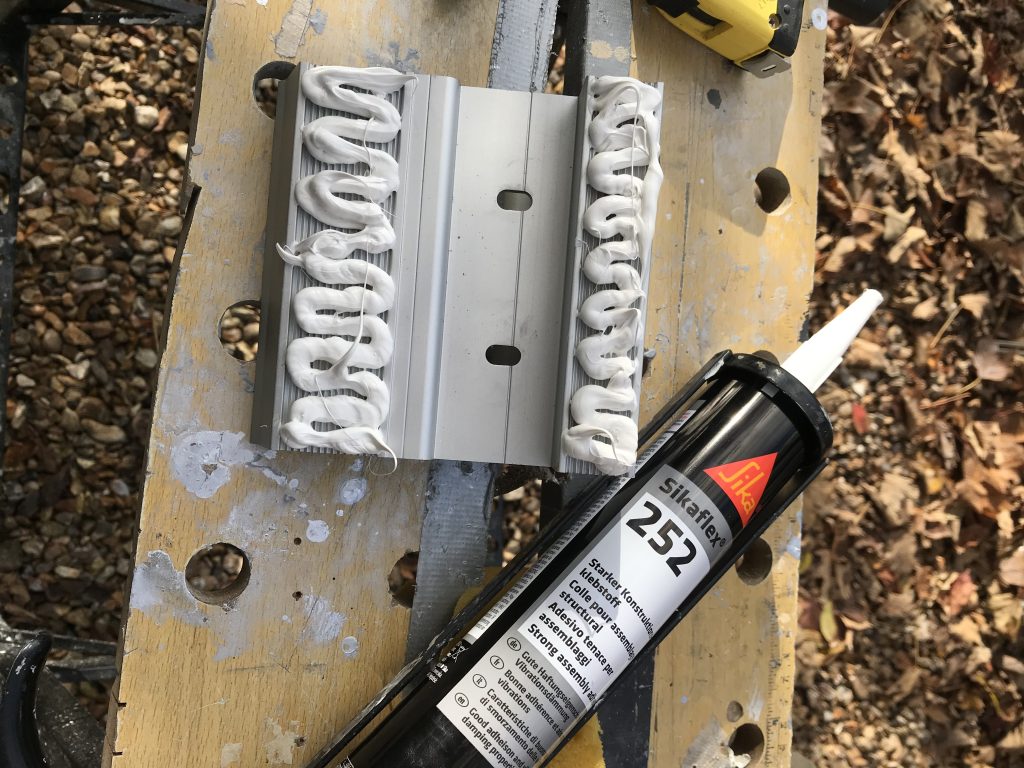
Below: Apply plenty so that the bracket can bed-down onto the Sikaflex
Below Make sure the surface is clean but also completely dry and not damp: I added masking tape to keep the area neat before adding Sikaflex but also because I was working in October and I was just around the minimum recommended temperature for using Sikaflex. There had been rain earlier in the day and I had an opportunity were the weather changed and the sun came out. I made sure the surface was completely dry. A good way to check is to use masking tape. Masking tape hates the damp, it easily comes off on damp surfaces. By using this tape I could see it stuck well and that suggested the surface was bone dry (fully dry).
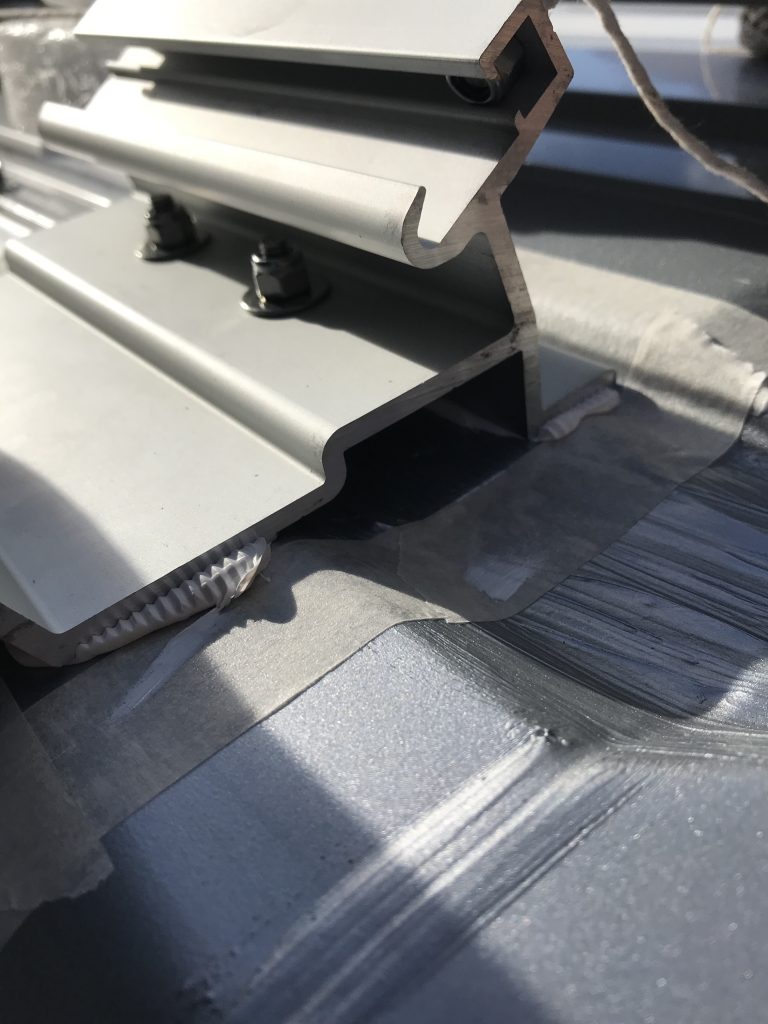
Should I wait for the Sikaflex to become firm? I didn’t want to add the Sikaflex then tighten the brackets down hard only to find that the Sikaflex squirted out at the sides leaving a very thin layer. I was unsure whether to leave the Sikaflex to stiffen and to tighten the brackets later. When I applied the Sikaflex to the brackets I noticed it was very dense (thick), perhaps this was because the weather was cold so I decided to tighten the brackets to see how well it “stayed-put” (stayed in place) under the brackets or whether most of it would be pushed out under pressure. What I found was that the majority of the Sikaflex stayed in place, even under high pressure. This gave me confidence to tighten the bolts. I prefer this method because if left too long then the Sikaflex could become “rubber like” and make the brackets too high thus making the awning not level and possibly unstable.

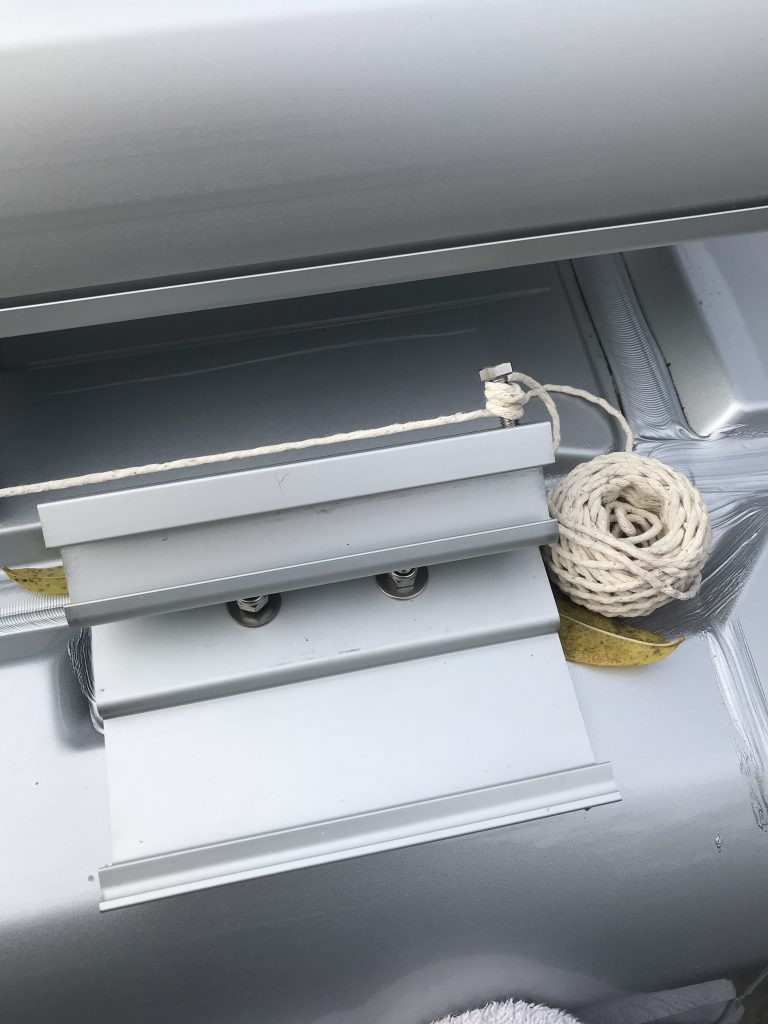
Below: Now that the Brackets are fitted and the Sikaflex added its time to check that each bracket is aligned correctly using the plumb-line.
Below: I wasn’t planning to fit the awning until the Sikaflex had fully cured (dried). But it didn’t make any difference because the brackets had been fully bolted down and were not going to move any further. I did see someone on Youtube that hadn’t aligned one of the brackets correctly and he had an awful time trying to remove the bracket. So much so that he damaged a bracket and van roof removing it (not something I wanted to do). This shows just how strong Sikaflex 252 is. Once its on, it isn’t coming off.
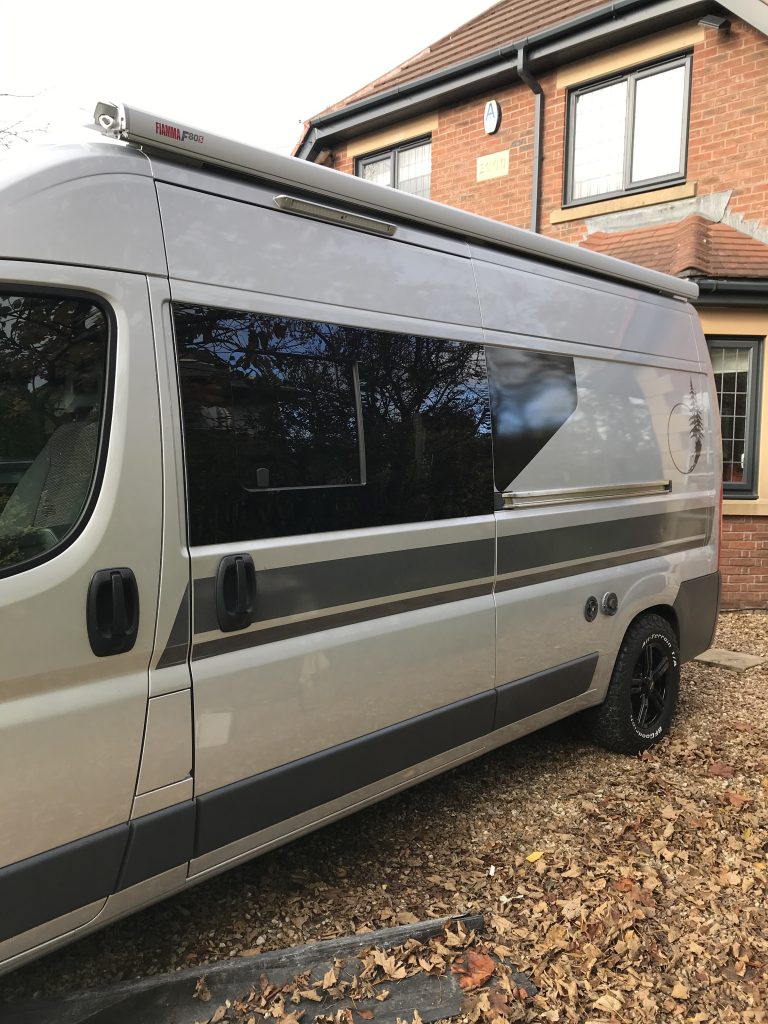
Below: I am glad I fitted the awning when I did rather than leaving the Sikaflex to fully dry overnight and fitting the awning the next day. In fact I dont plan to use the vehicle for two days so that I can be 100% sure everything is fine (some recommend you dont use the vehicle for 24 hours). By fitting the awning whilst the Sikaflex wasn’t fully dry gave me the satisfaction of knowing that if I had made an error I could correct it and remove. Some people have fitted the brackets then tried to fit the awning the following day only to find they didn’t align the brackets correctly. I felt it better to avoid this mistake.

