6152 How to build stage 19
It doesn’t take long and with a little filing the area is soon flat.
6152 How to build stage 20
Dont forget to finish smoothing the area using P400 wet and dry paper (or grit paper).
6152 How to build stage 21
This area has not been polished on a polishing machine. Instead you can get great results just by using P1200 wet and dry paper. This gives more of an aged finish and not the super bright finish that the polishing machine gives.
6152 How to build stage 22
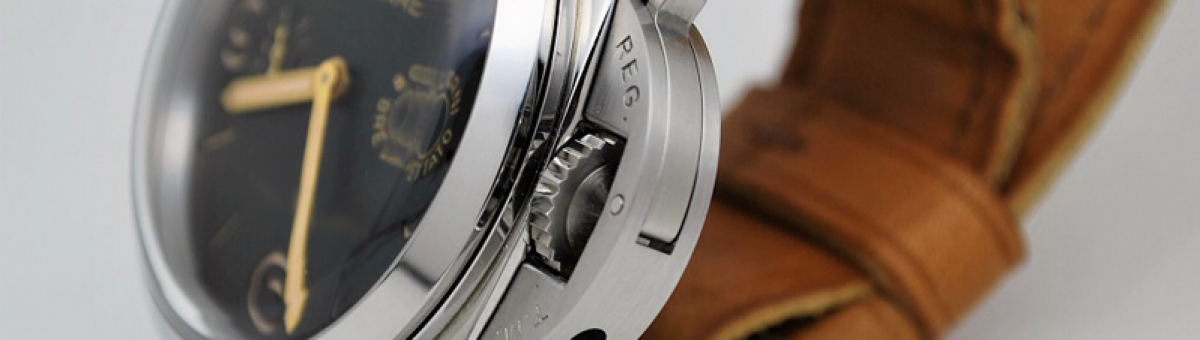
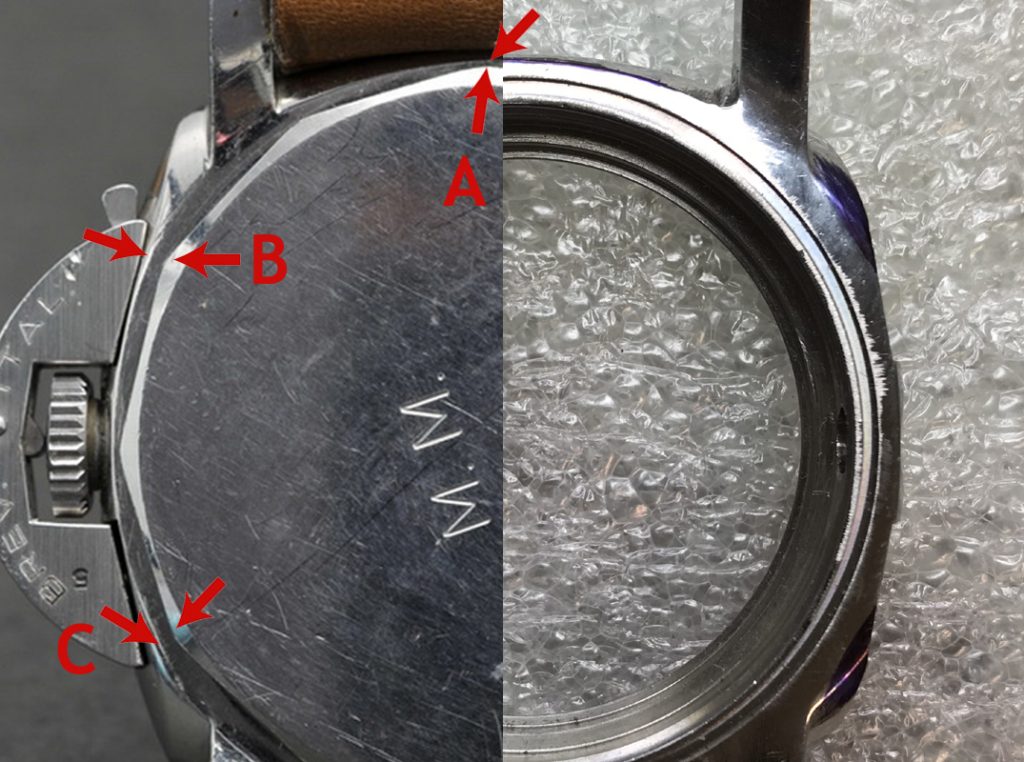
Important: Try not to get the shape around the edge perfectly round. If you look at the image below you can see that the Case Edge on the authentic case doesn’t follow the exact curve of the Case-Back Edge.
6152 How to build stage 23
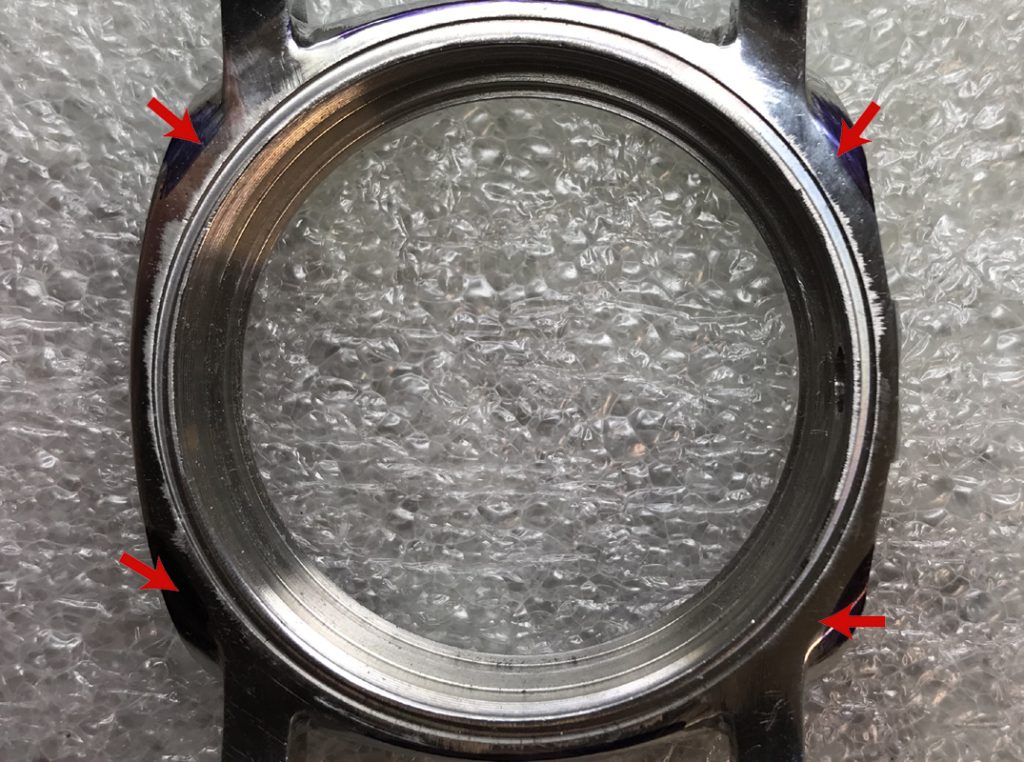
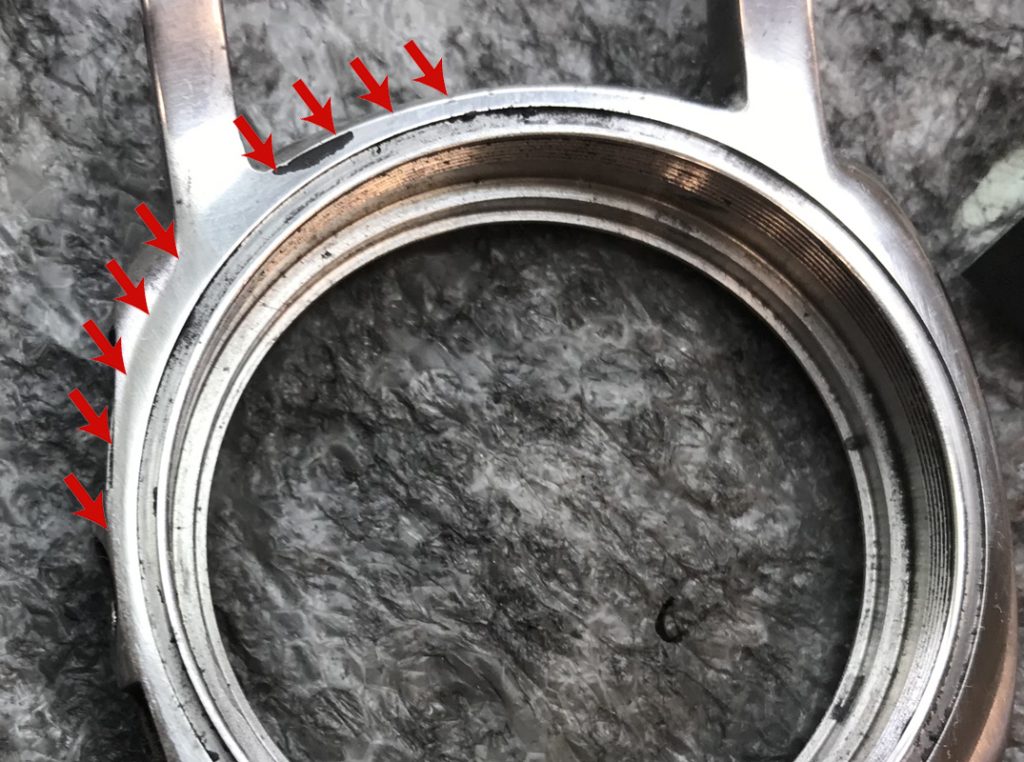
The red arrows show the areas to be filed.

6152 How to build stage 24
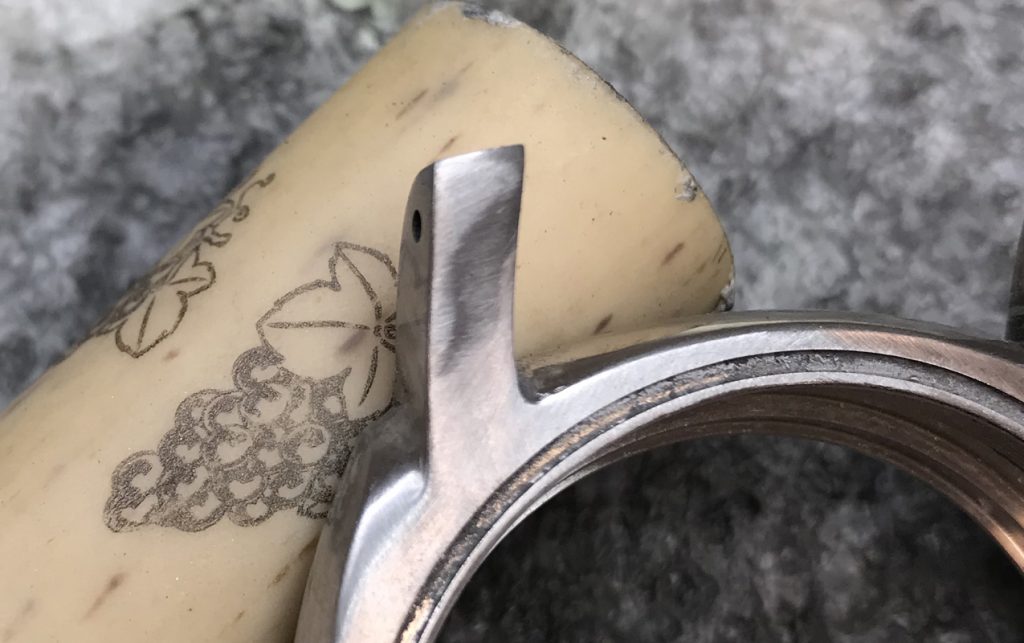
Use a small flat file to do this work
6152 How to build stage 25
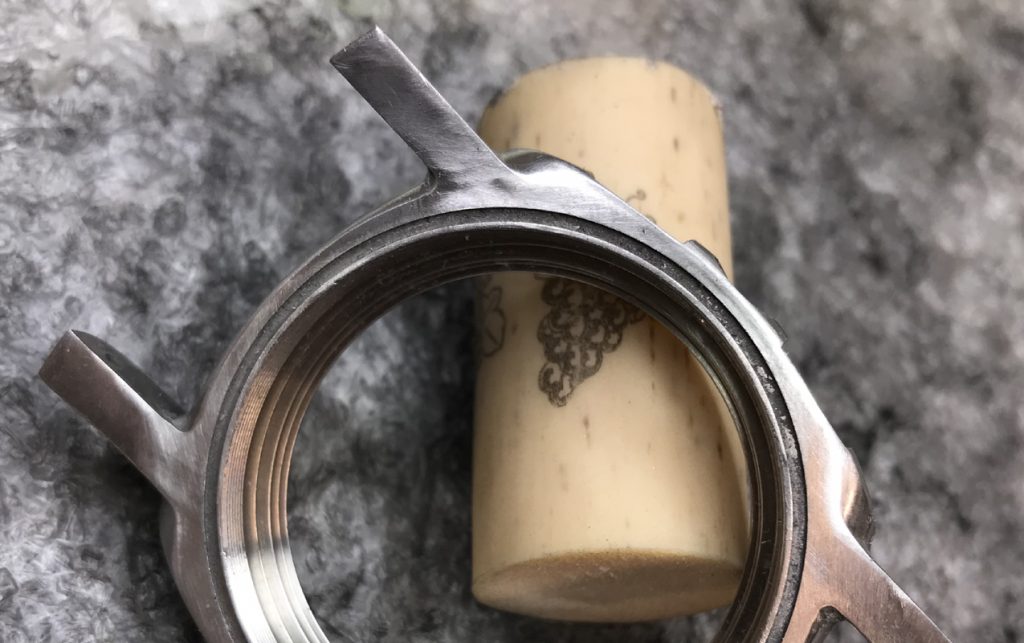
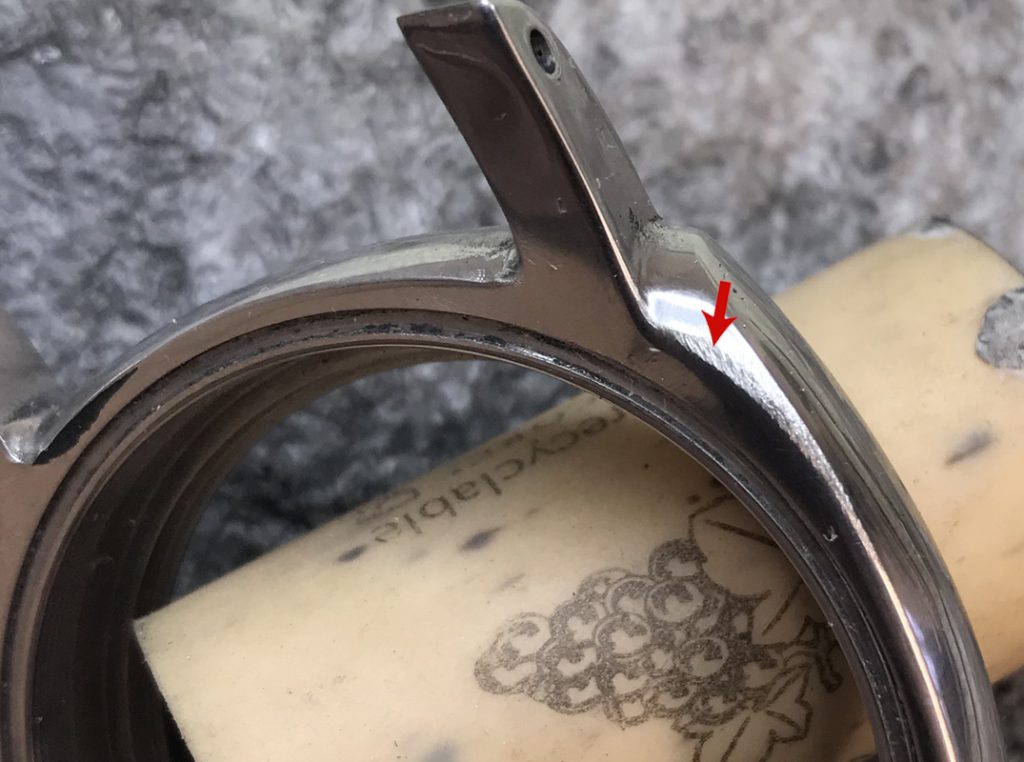
Start by working the curve with your file this will shape the following
- The outer back edge of the case
- The bottom curvature of the case
6152 How to build stage 26
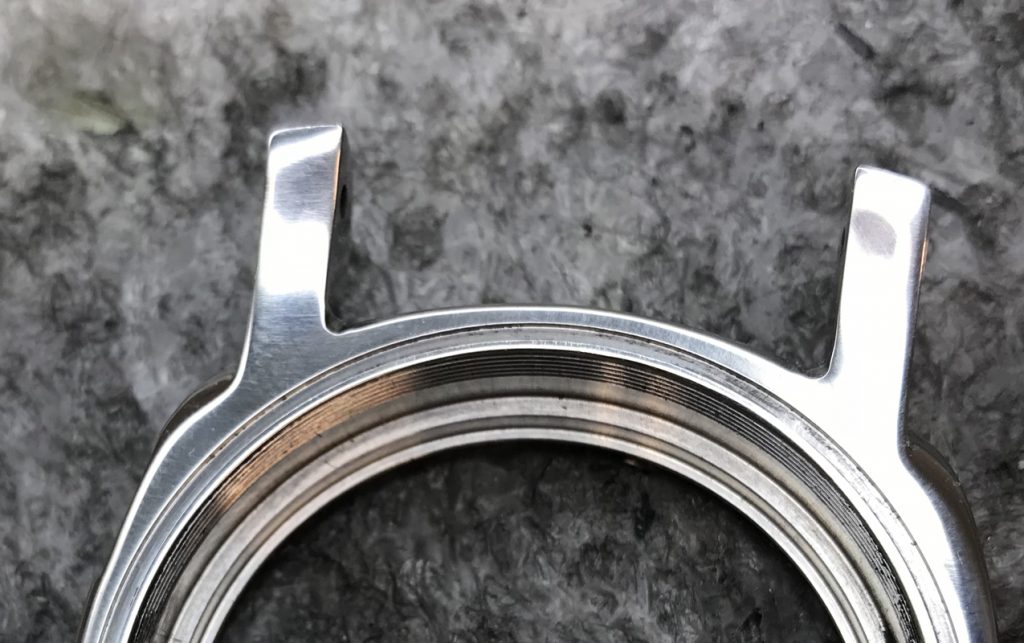
Note how its even and smooth, remove the file marks with P400 wet and dry paper.
6152 How to build stage 27
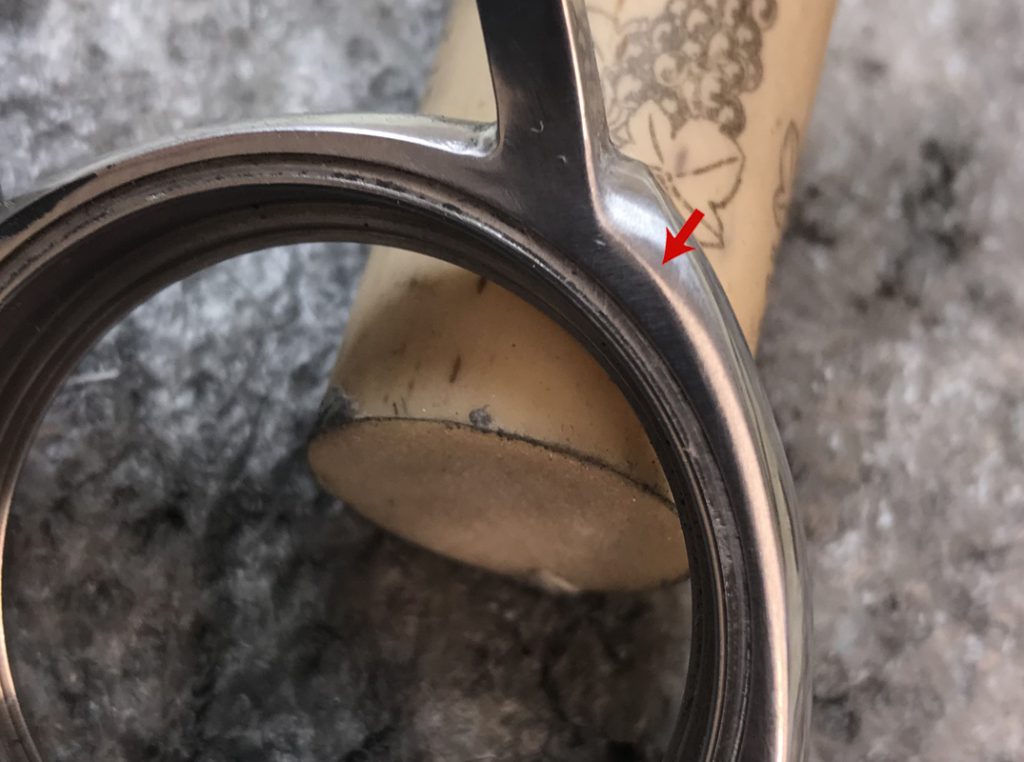
This is an important image because it shows the curvature of the rear of the case. The case is already shaped well so all you are doing is adjusting it a little to get the same curve as shown in the image below.