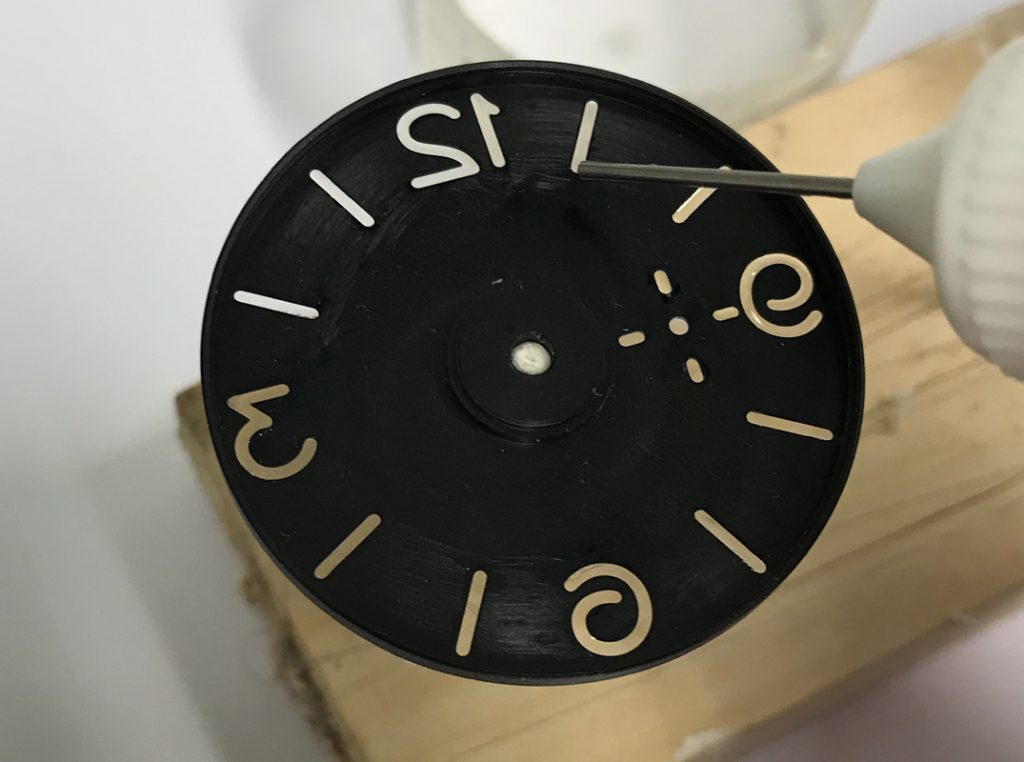
Step-by-Step Instructions: The following information will show step-by-step images and instructions on how to successfully add resin to a dial. Some people have had difficulty doing this type of work so I will show how easy it can be whilst avoiding mistakes.
History (Why Add Resin?): Its believed that when the Italian Navy ordered watches from Panerai they insisted that the Lume be encased or sealed inside the Dial. The Lume they used in those days was Radium (which of course is radioactive). Panerai achieved this by applying Resin to the dial numbers (to seal the dial front), then they added the Lume to a Plexi Holder that was inserted into the center of the dial and finally they sealed the dial with a Backing Plate. Thus the Lume was completed sealed inside the dial.
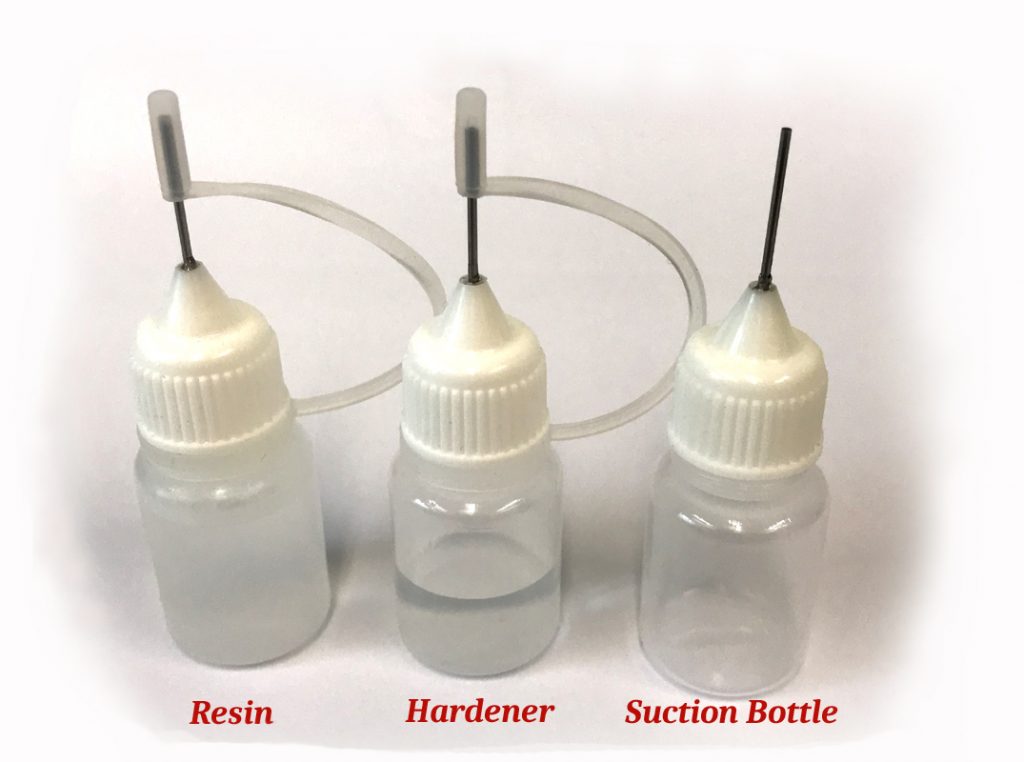
Which Resin is Best? First decide which resin you want, Clear or Amber. Use clear if you want a super clear glass-like finish. The correct type of resin is IMPORTANT. The type I will use above has a “working time” of about 3 hours, it takes 24 hours to dry and 36 hours to become fully hard (very hard). The finish is superb and a lot better than the standard resins normally used in the glass-fiber industry (I do not use this type they can be too dense). Use the very best resin you can, this is important when working is very small areas.
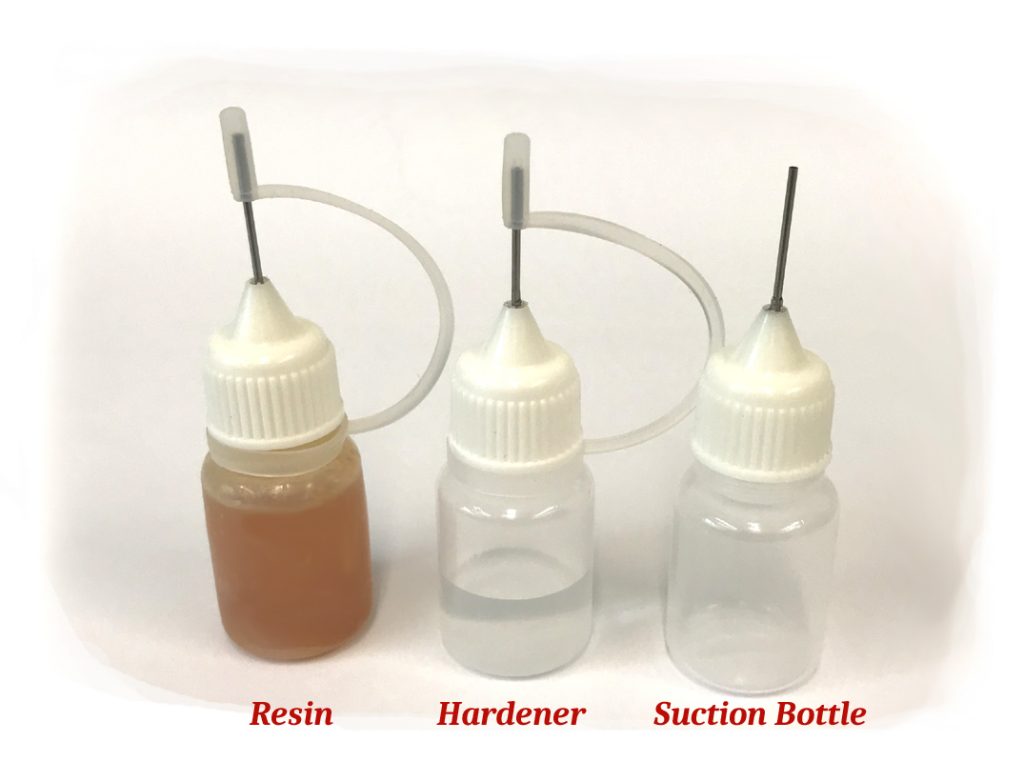
Amber Resin: The image above shows the Amber version. You would expect the resin when applied to make the Dial Indices (numbers) really amber, even on a white background. This is NOT true. The Amber will add a small “amber tint” and will not be very visible. This is why its often used on the 6152 Dial that normally has very white indices (numbers). It will “not” make a white dial numbers amber or yellow, it will only make them a little less white. It is perfect for the 6152 and will keep the numbers looking white with no signs of yellowing.
3646: Amber is used on the 3646 but to get the yellow or orange type indices (numbers) then the user must add colour to the Luminous pigment (Lume) that is applied behind the resin.
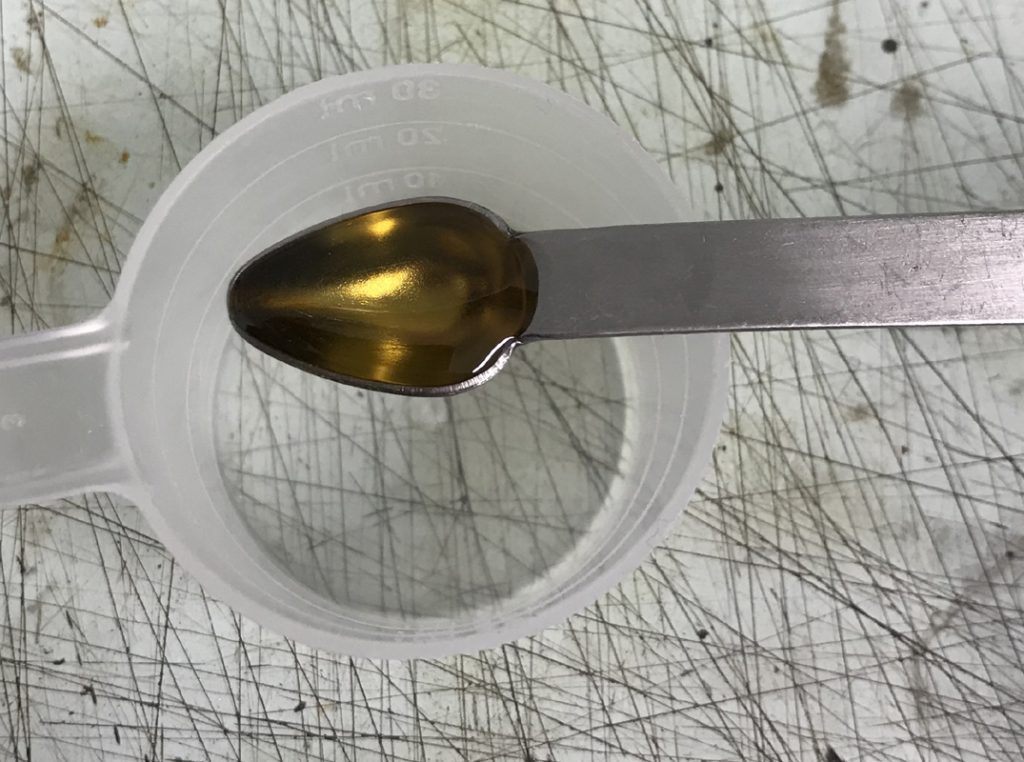
Getting Started: Measure out Two Parts of Resin to One Part Hardener
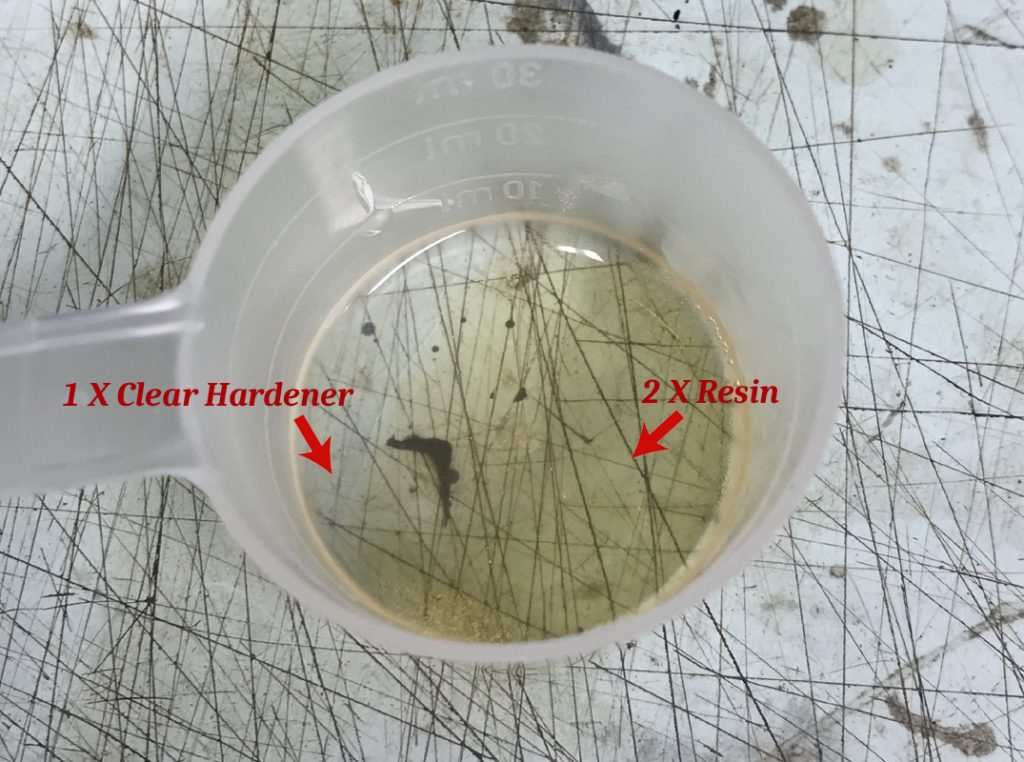
You only need a little: Above we can see 2 X Parts Resin and 1 X Part Hardener. Do NOT use too much (do not use all the bottle). A little Resin goes a Long Way! The cup above contains enough resin to make about 7 to 10 dials.
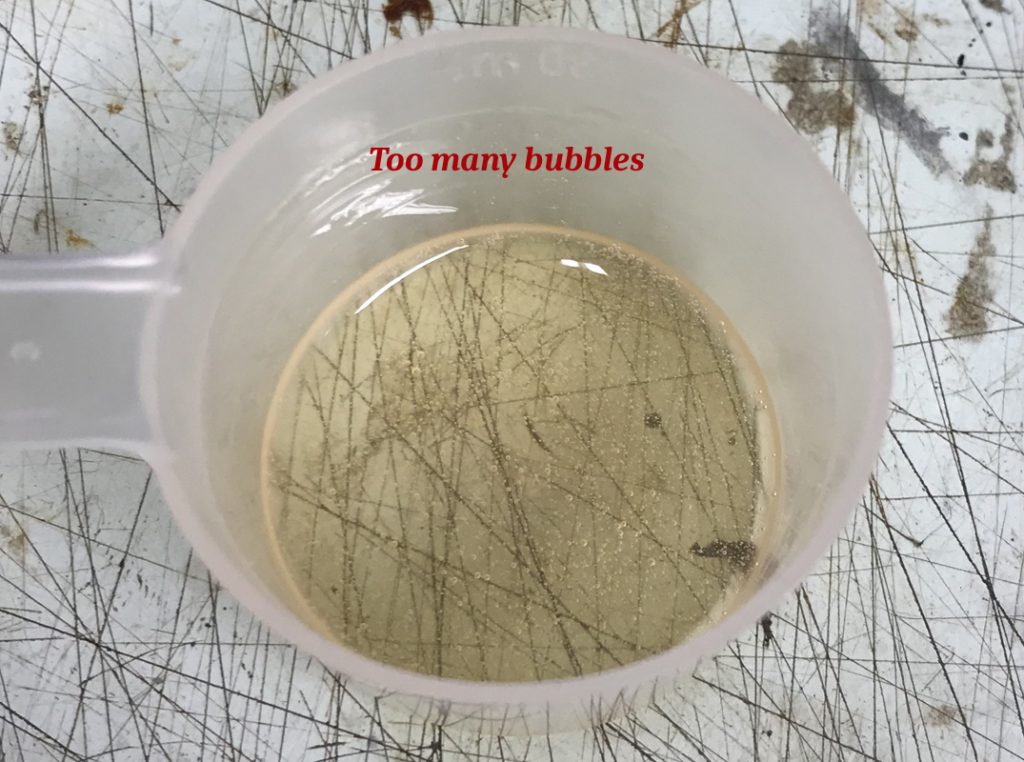
Oh Those Bubbles! Mix the resin well and then wait. Allow 30 minutes and the bubbles will clear on their own. The Resin has a “working-time”of 3 hours so there is no hurry.
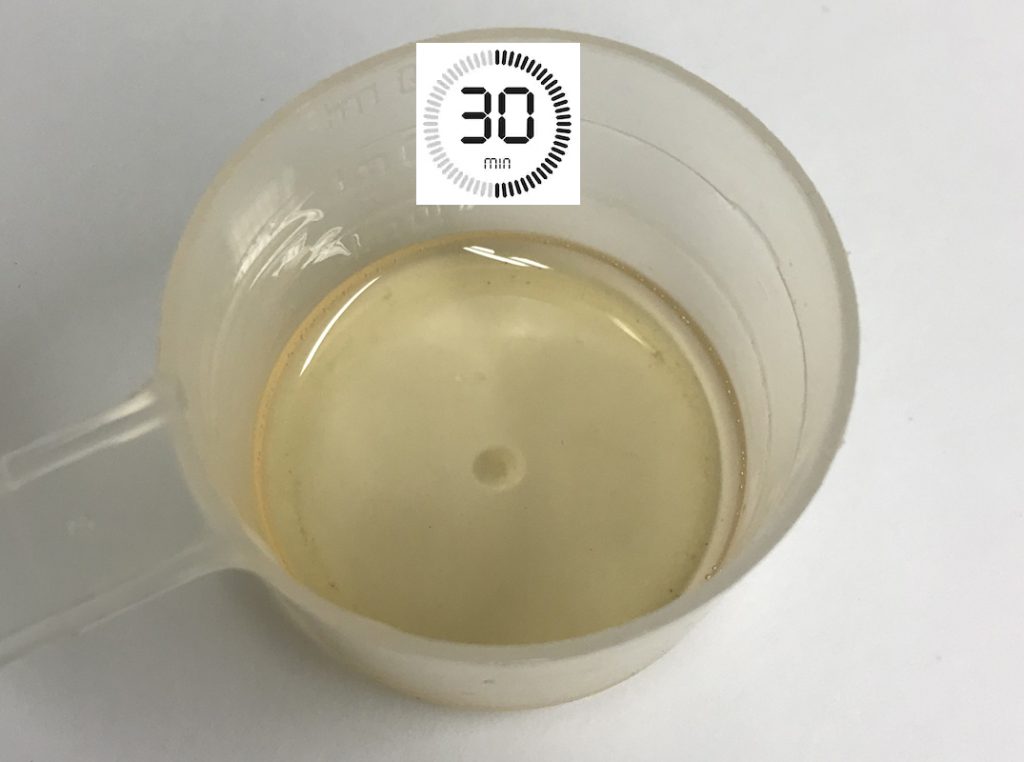
The 30 Minute Wait or Coffee time: After waiting only 30 minutes the Resin now has very few bubbles.
How Long Should I Wait Before I add Resin to the Dial? Its better if you can allow the resin to sit for 2 hours. Its tempting to start work right away but if you wait for a couple of hours the resin will thicken a little and also become tacky. This makes it easier to apply but also it makes the Resin Flow and LEVEL much better.
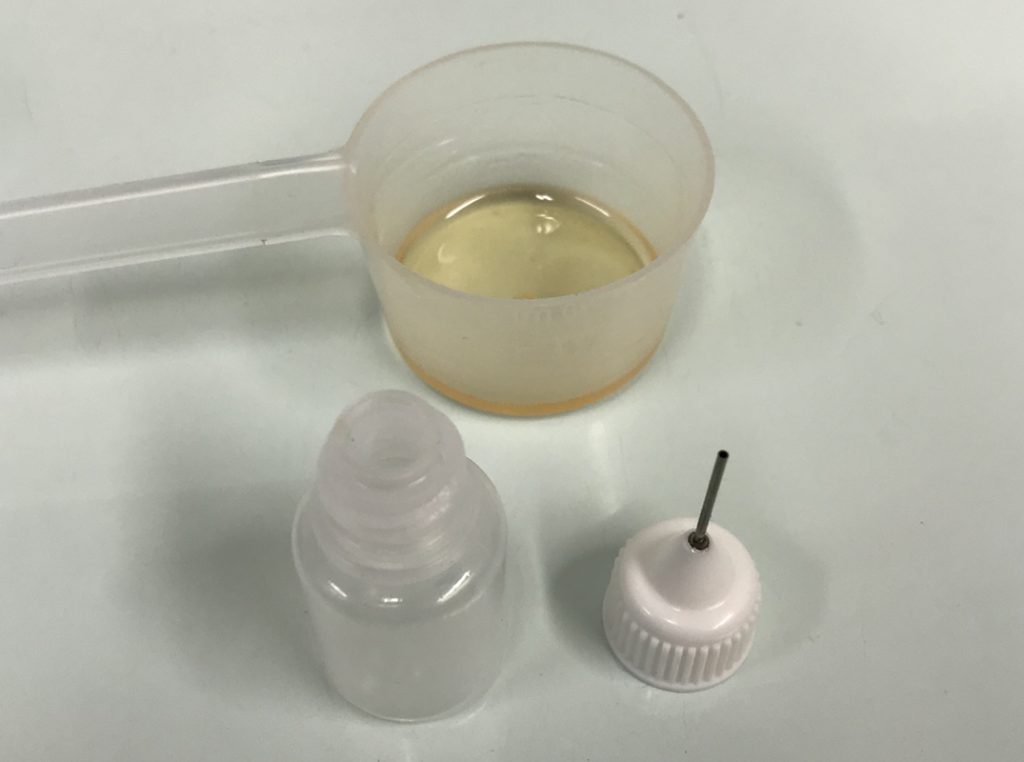
The Magic Applicator: Well its not magic but it will make a big difference in helping make the perfect resin dial. This applicator allows controlled amounts of resin to be applied to the dial. Its probably the secret to making a good resin dial. I have tried many various applicators, brushes, tools etc but none work as well as this applicator bottle.
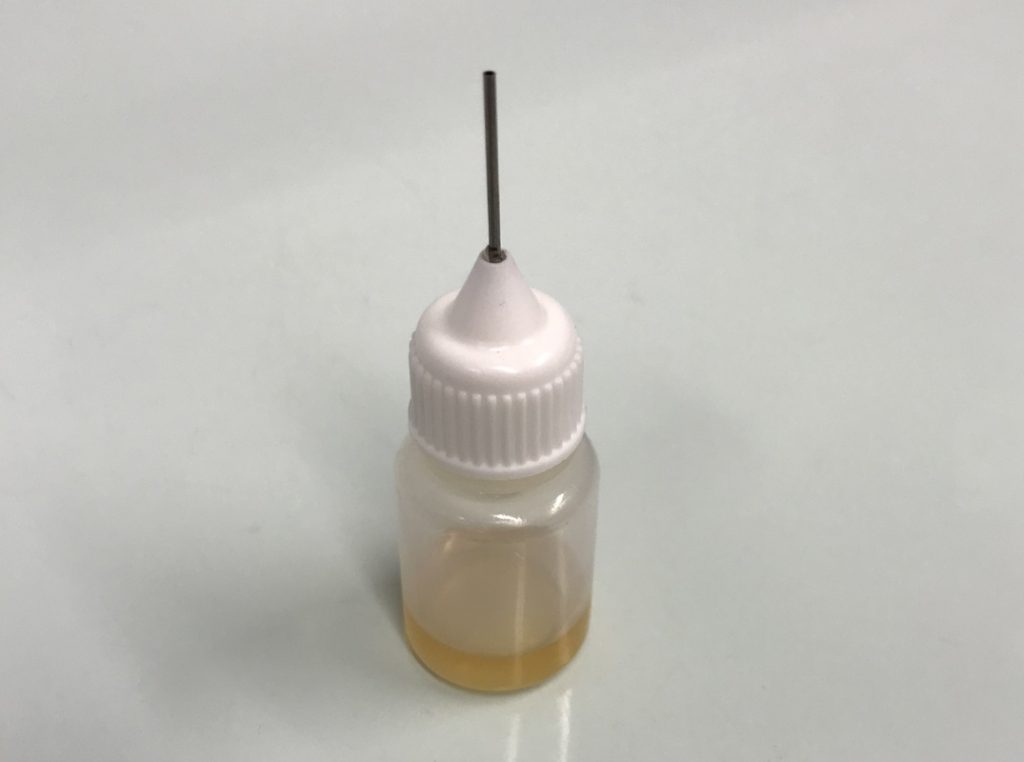
Remember not to use all your Resin: Only use some of your Resin, save the rest for later in case you want to make more dials or make a correction. There is enough in the bottle above to make about 5 dials.
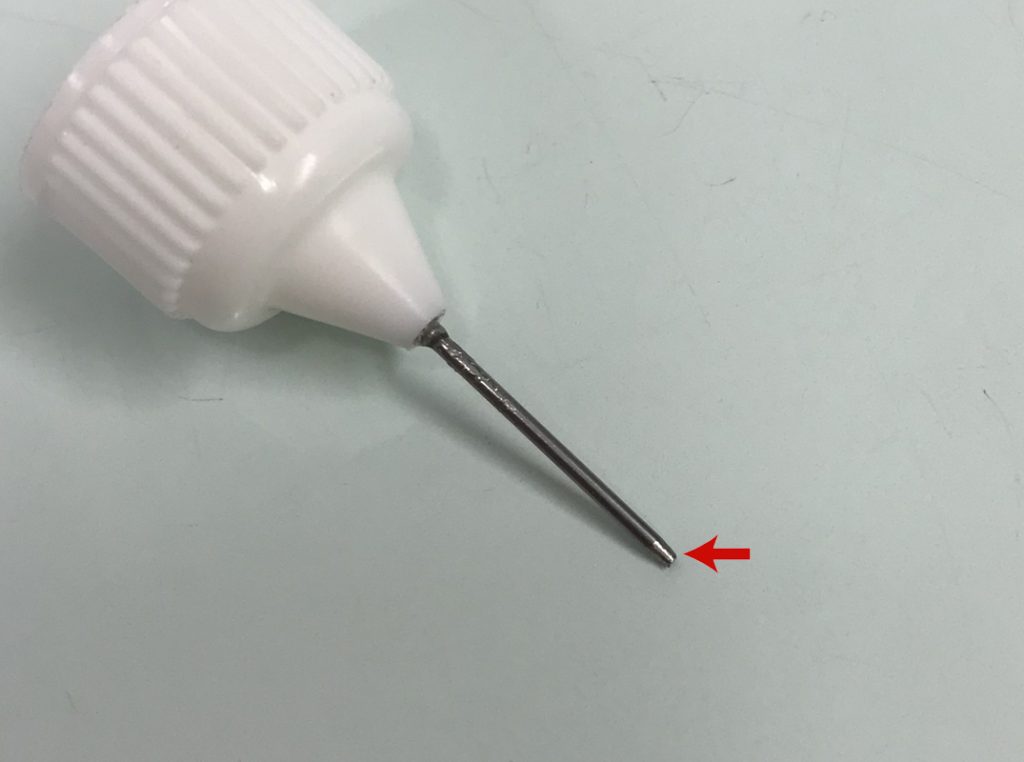
Hot Tip: I sometimes file the tip of the applicator tube, it just makes the application a little neater but you dont need to do this, the standard applicator works just fine.
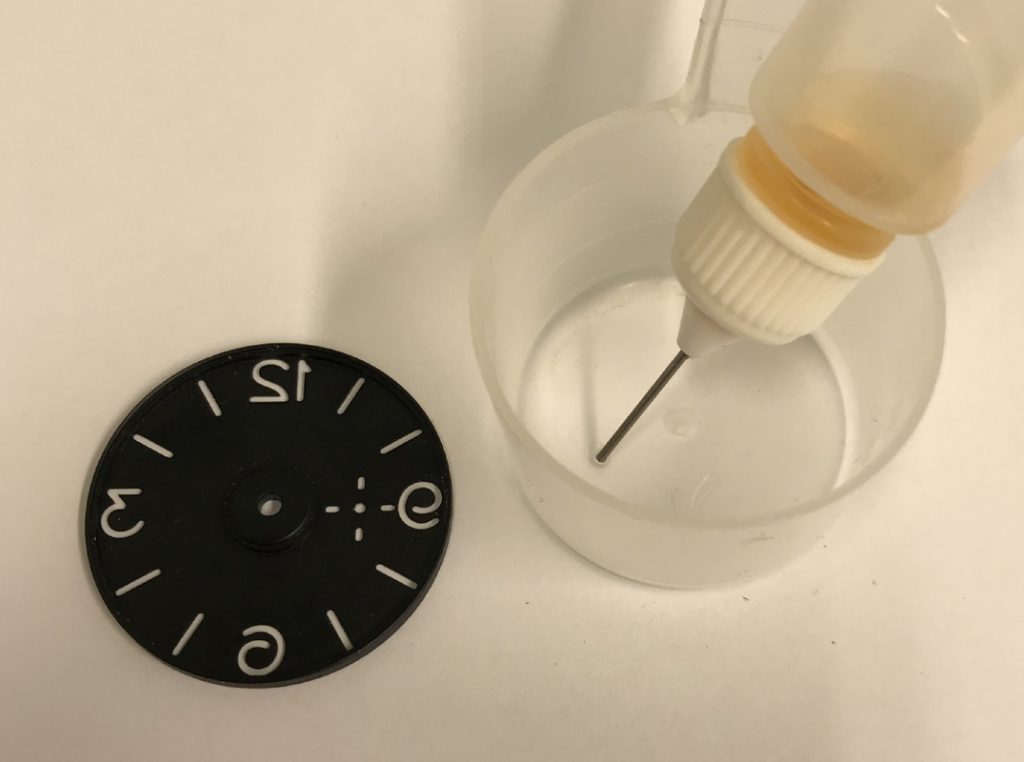
Keep it upside down: Standing the bottle upside down in a container will help prevent air mixing with the resin.
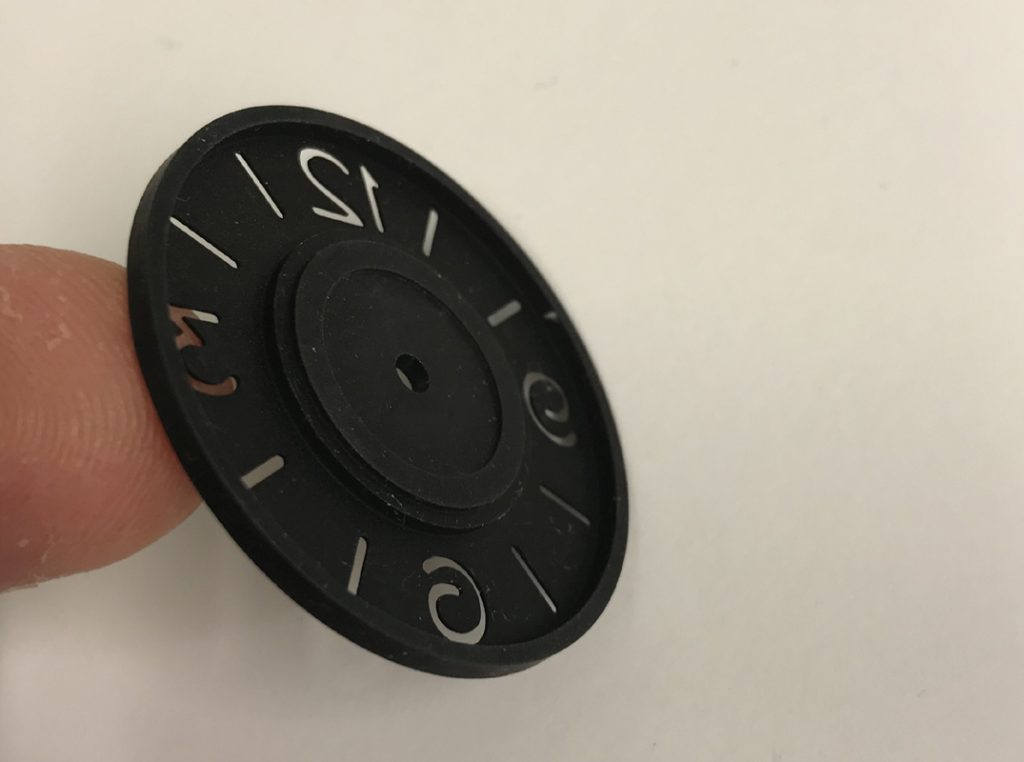
Lets get started: Above I will start with a 3646 Three Piece Dial (2mm thick). But you can use any type of dial, later in this article I will apply resin to a thin Two Piece Dial (about 0.8 thick).
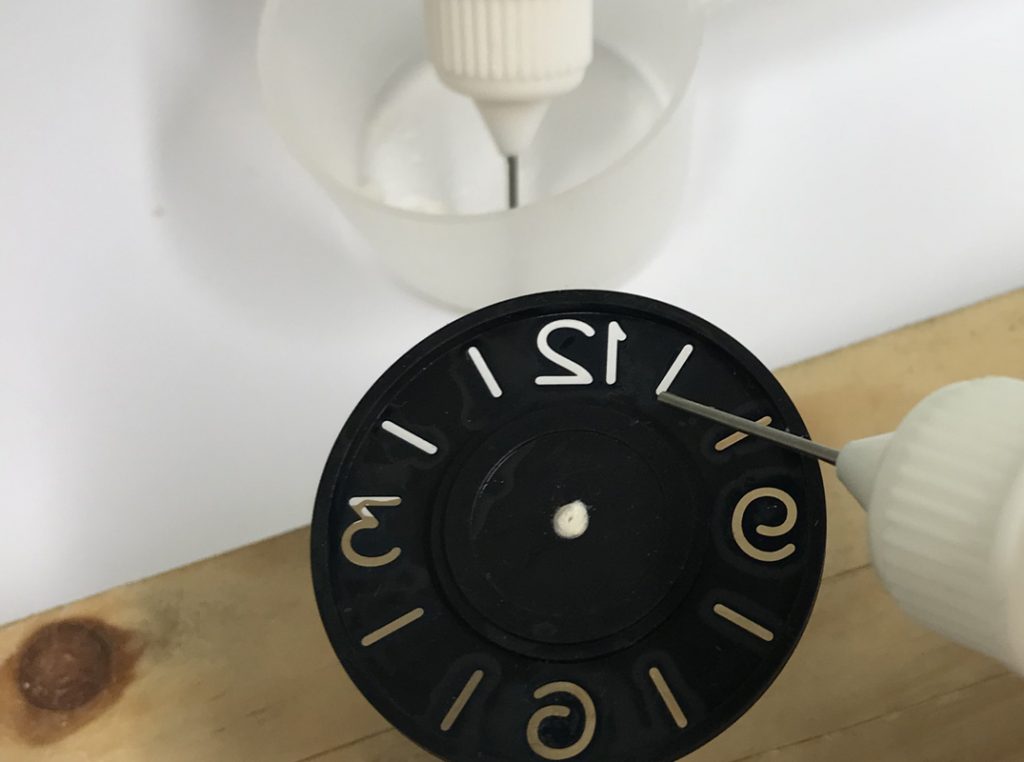
How to apply, this is the part you need to get right: First clean the tip of the metal applicator (you do NOT want any excess resin). Next start by squeezing the applicator bottle so that a tiny amount of resin becomes visible at the end of the tip. Apply a tiny amount of resin into the Number, the DRAG the resin back to the other side of the number so that the number is filled. You may need to practice this a few times so be prepared to clean off any errors and start again. (Use paint thinner to clean). DO NOT USE TOO MUCH RESIN….KEEP IT THIN. Numbers “3”, “6”, “9” and “2” are the most difficult so take your time. Dont expect it to be perfect first time, it may take a little practice but once you achieve good results then it becomes quite easy.
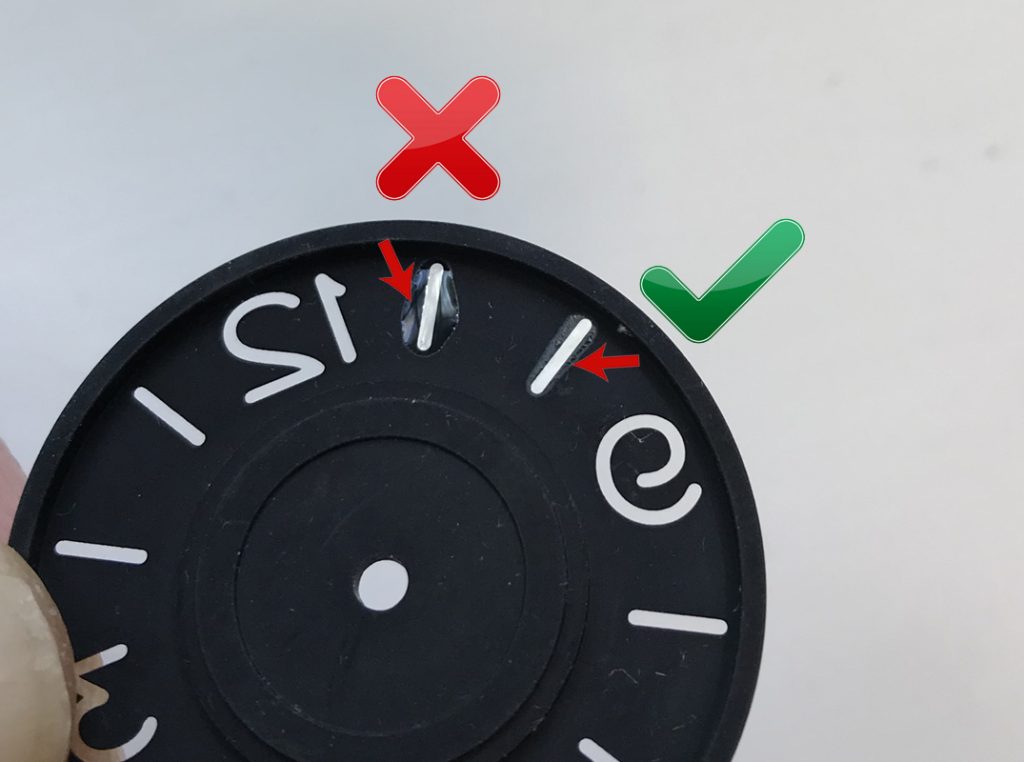
Disaster! Above you can see I have added too much resin to the dial. If you do this then the Plexi that holds the Lume may not fit. Also the resin will probably run to the edge of the dial and drain the number making the number look concave. (too little resin). Clean off any excess Resin with Paint thinners and start again. Dont waste time trying to correct it, its quicker to remove and start again.
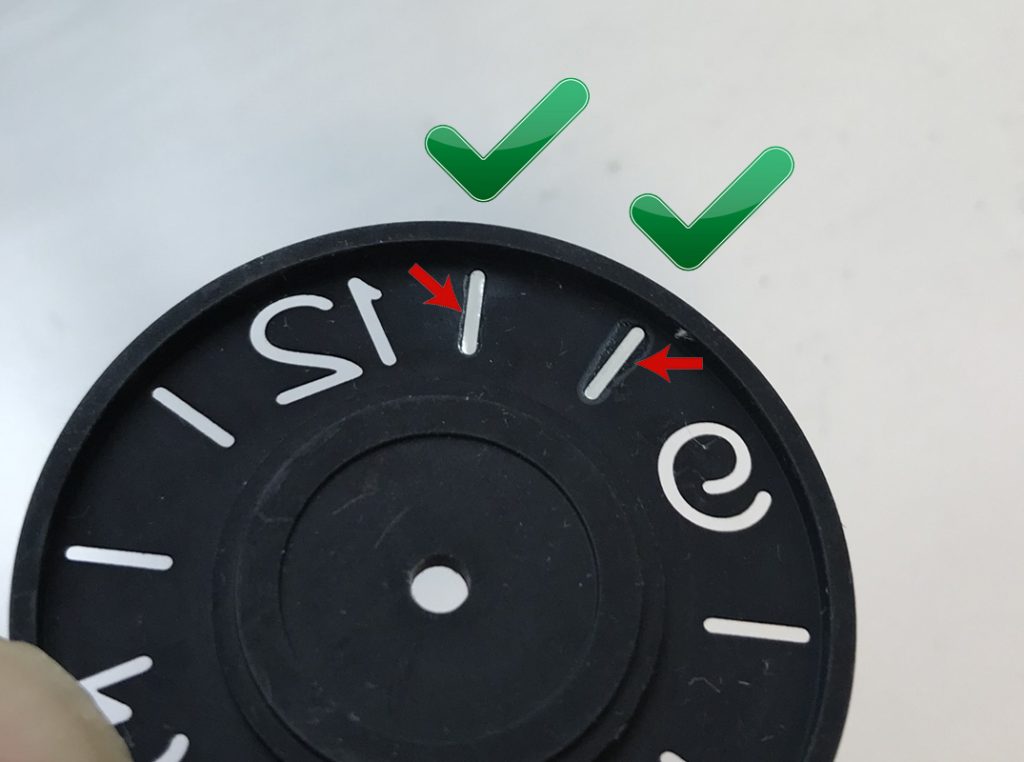
That looks better! Above the dial has had the excess resin removed (cleaned) and new resin applied.
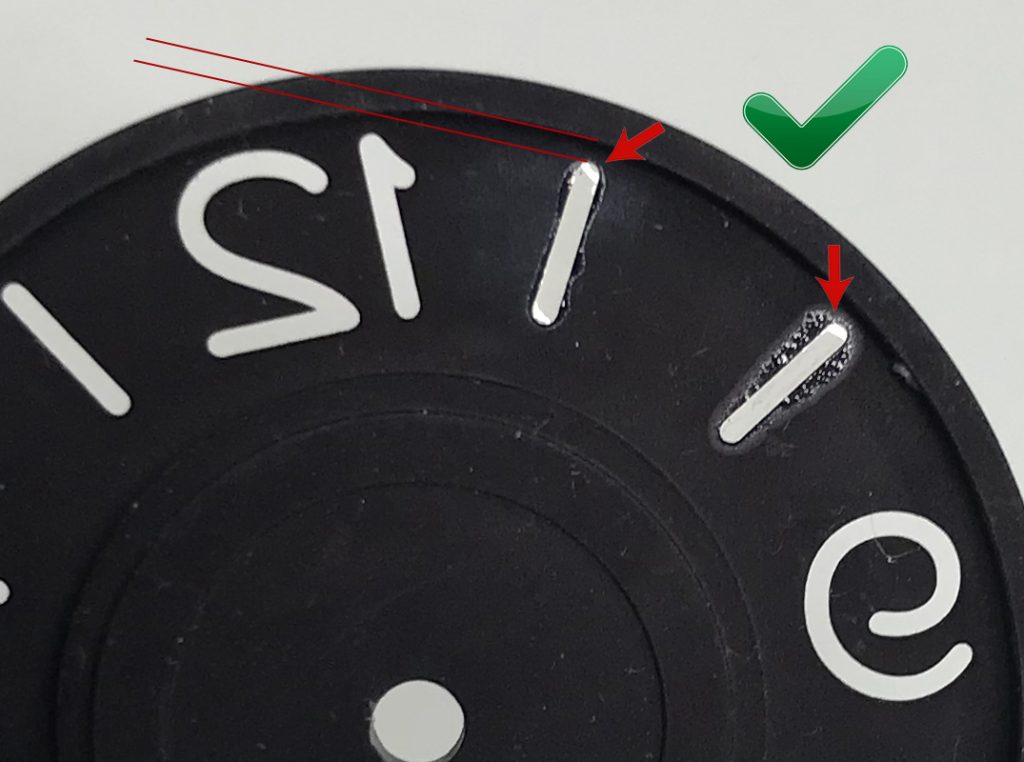
Do not fall into this trap! Note the two red lines. Never let your resin run into this area. If you do the resin will run around the inside edge of your dial and your number will end up almost empty of resin. Its ok to have a little excess on the sides of the number (but NOT too much).
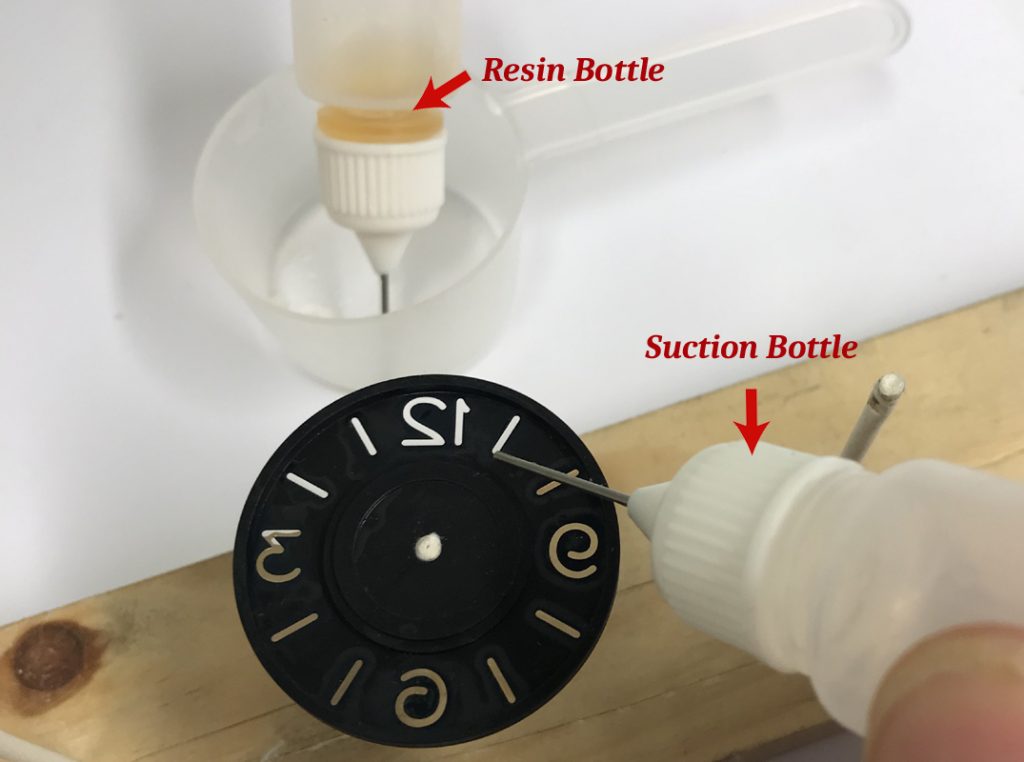
What is the suction bottle for? Sometimes you can add a little too much resin to the number and the resin will look convex. This suction bottle when squeezed will suck up small amounts of resin. However, its NOT suitable for cleaning up excess resin, if you have excess resin then use paint thinners, clean and start again.
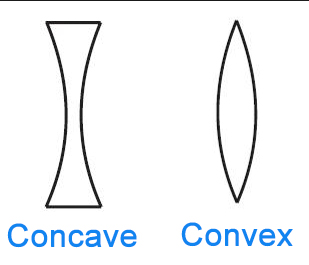
Less is best: It better to add too little resin rather than too much because you can always add a tiny drop more later. Allow the resin time to flow and settle. If you add too much then your numbers will be convex ie the resin will act like a “lens” (not good).

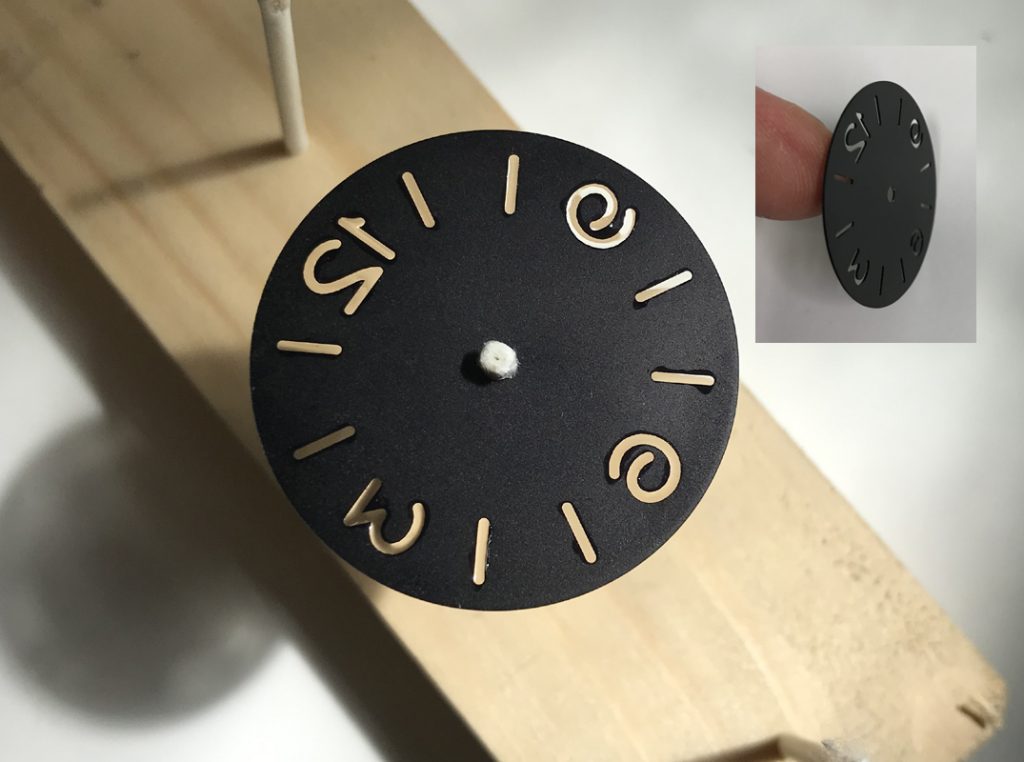
You can add resin to any type of dial: Above I am adding Resin to a 2mm thick Dial and also a 0.8mm thick Dial. Both dials will look better for the resin.
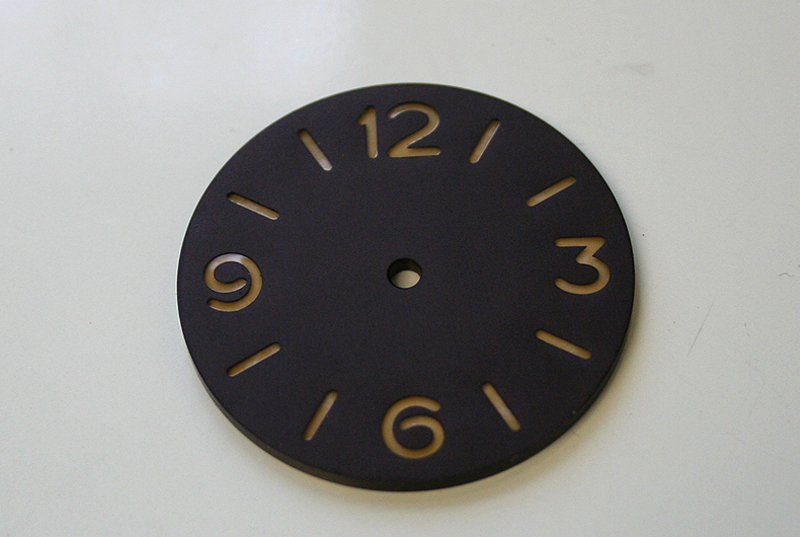
5 Minute Resin: After mixing etc it took probably less than 5 minutes to add the Resin. This was without making any mistakes. Dont expect to achieve this if this is your first attempt. I always suggest starting by practicing on an old dial.
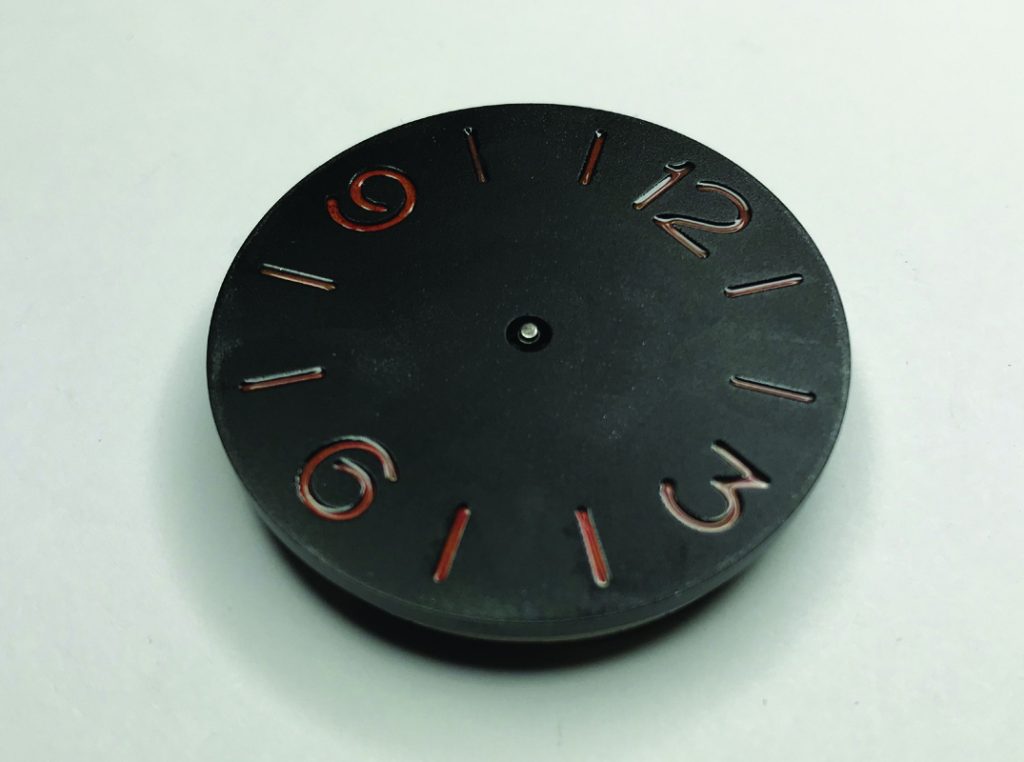
Surely the Dial above is an Error, theres NOT enough Resin! True, there isn’t enough Resin but Panerai did do this. I believe it was a factory error but quite a few dials were issued like this. The owner of this dial requested I make it with too little resin to form the “concave” resin indices you see above. However most Vintage Panerai Dials had resin that was flat.
