There also a great step-by-step tutorial just above this post. To find it, go to “6152 Project” at the top of this page and look for the drop-down box. There are over 80 images that take you through every stage.
Lets start building the 6152. You are going to need a movement and a 6152 Case. Decide carefully which movement to use as not all movements will fit the case or be compatible with the upgrade parts.
Here is a list of popular movements
- Unitas 6497
- Molinja 3601/2
- Cortebert 616
- Angelus 240 cal
- Rolex 618
6152 Case: You can buy a 6152 case ready completed (upgraded as a Vintage) or you can buy a basic case from a supplier which is usually a modern case that will need converting into a vintage. Again be careful which case manufacturer you use because not all cases manufacturers use the same sizes and threads. Many people have bought a case only to find that none of the parts available for upgrade will fit.
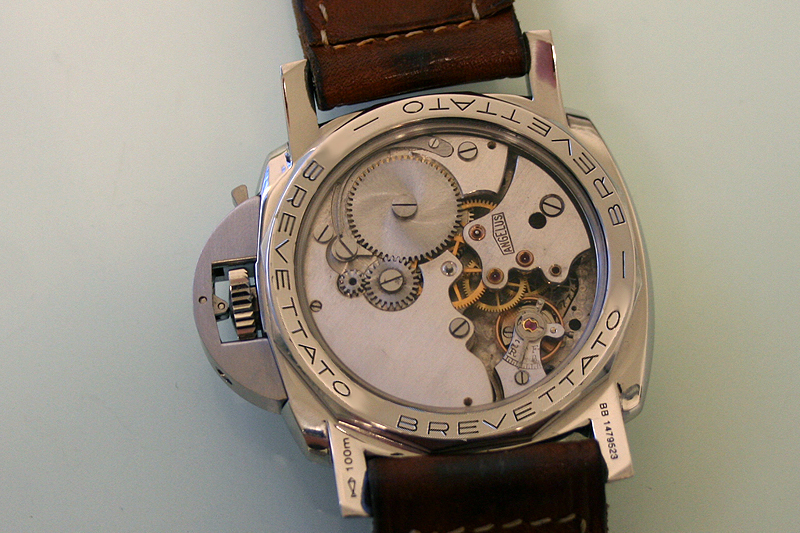
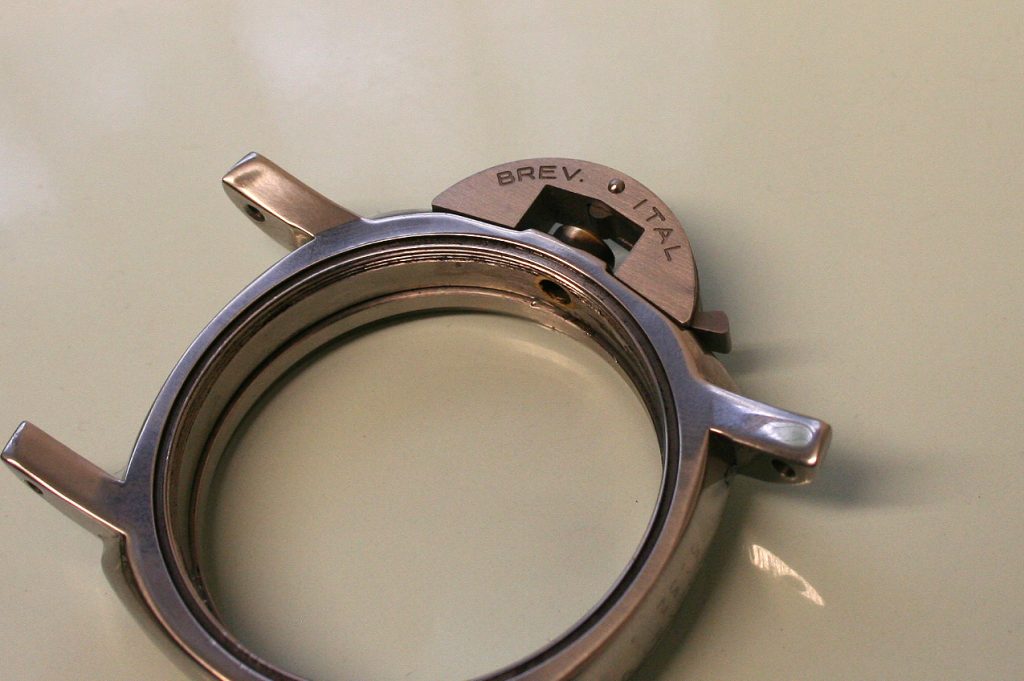
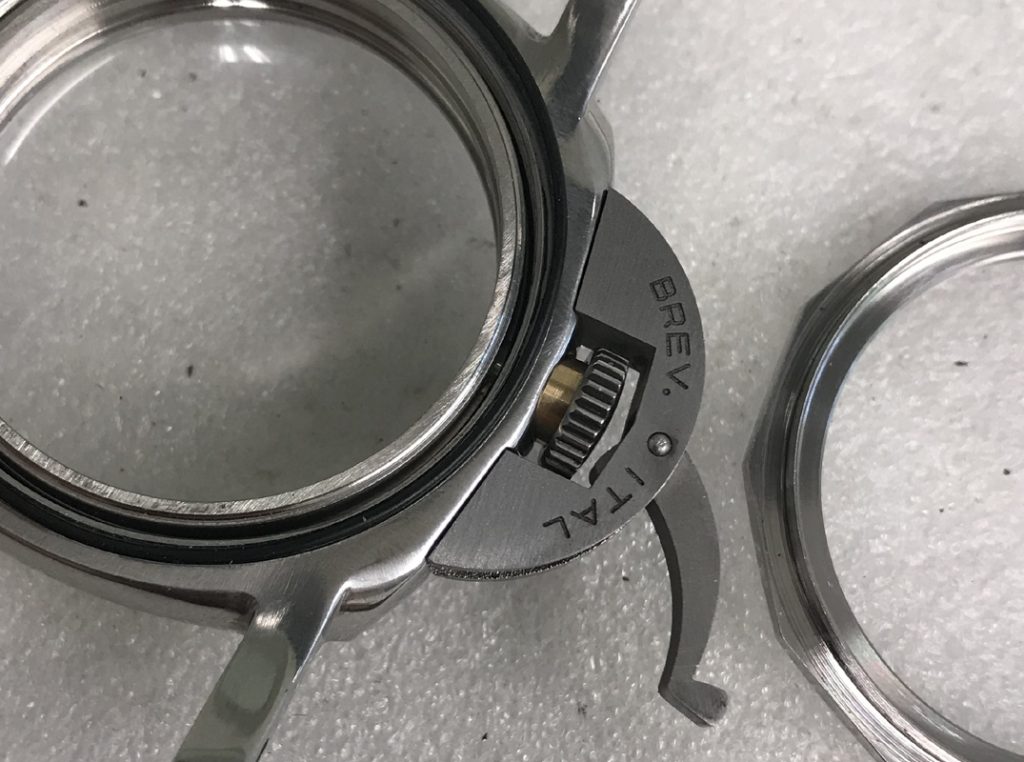
Below: You will see a 6152 Case that has been partially upgraded ready to be used in a project. Factory 6152 Cases do not come engraved between the lugs, this is an important detail. The correct way to engrave is to engrave by hand on a Pantograph Machine, this is how the Vintage Panerai 6152 cases was engraved. This is a traditional way of engraving, unlike CNC it relies on the skills of the operator. The 6152 is not an easy case to engrave as the area between the lugs curves in all directions. What this means is that the engraver is constantly controlling and adjusting the height of the cutting tool as it passes over the curved surface of the case. Its not easy, it takes a skilled engraver to cut the text you see below.
All serial numbers start with “124” and serial numbers are six numbers long, the opposite side of the case says the words “Brev Ital”
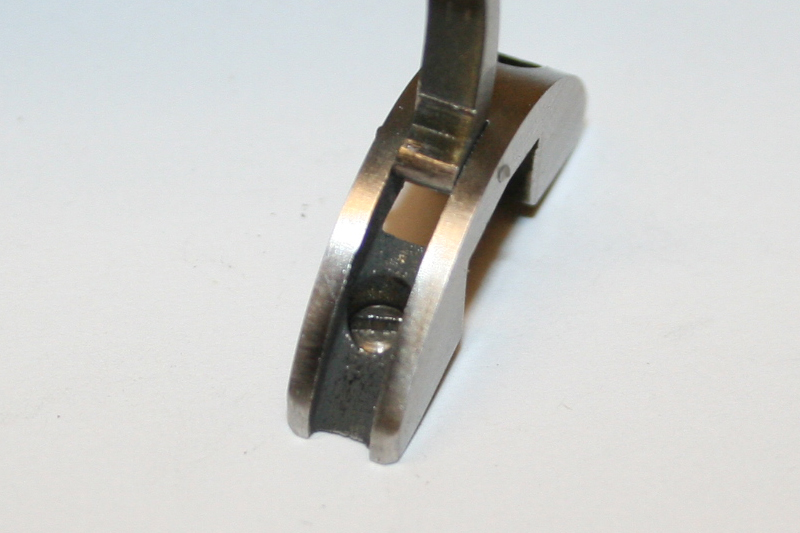
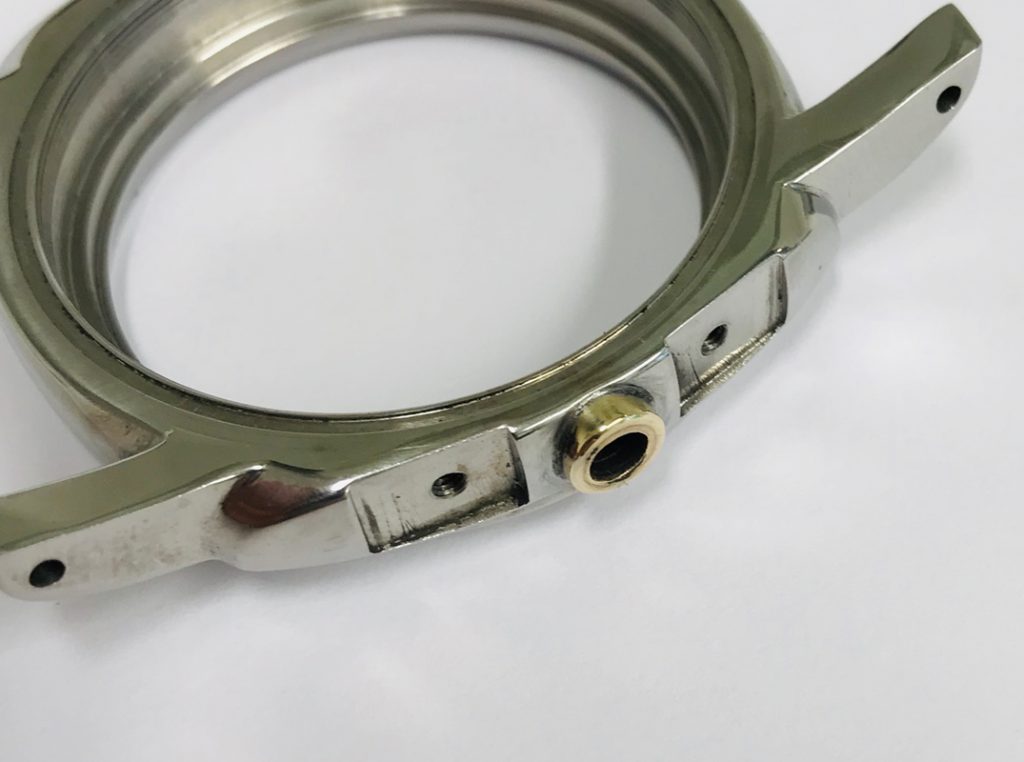
Lets look at the Crown Guard. Again this is an important feature, it will need to be filed and shaped on the outside (shown below) and also on the lever. Its important to file the lever to the exact size, so that when it closes it isn’t too loose or too tight. Also note how the lever almost touches the side of the case when closed.
Below: shows how the top of the Crown Guard has been filed and shaped by hand. The authentic Vintage Panerai Crown Guards were hand finished the same way.

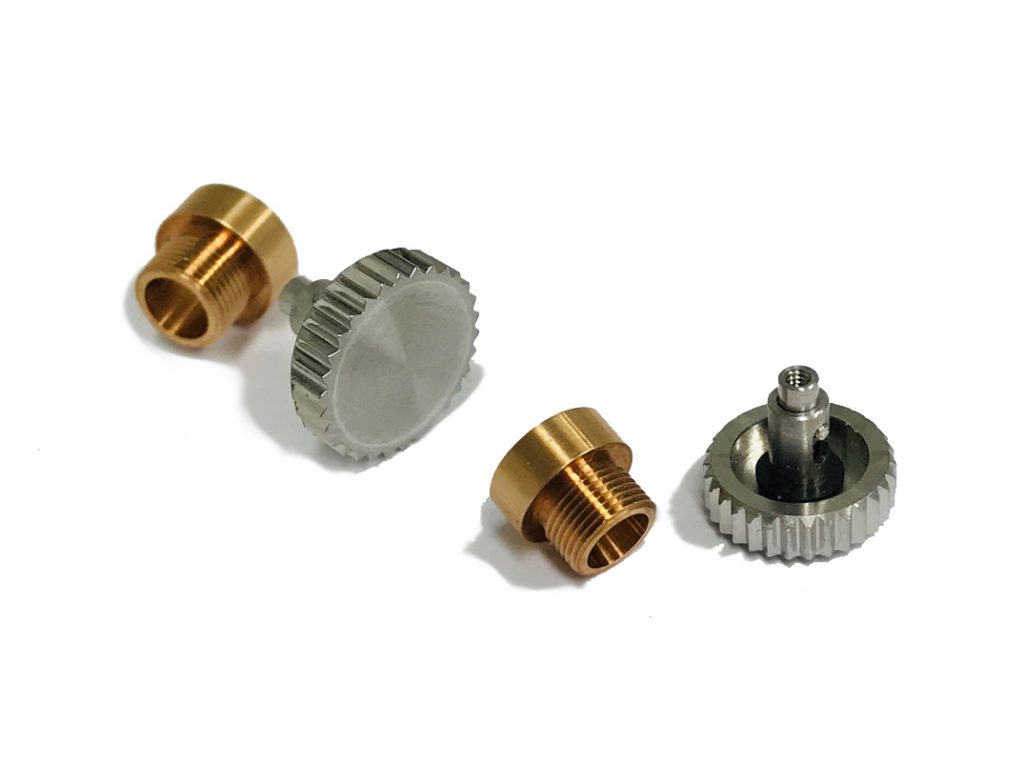
Below: This Crown Guard will be fitted to the 6152 Case with 2mm screws. Factory cases are usually around 1.4mm, the problem with screws as small as this is that the threads can easy break especially if the Crown Guard Lever applies too much pressure on the Crown. Genuine Vintage Panerai screws were 2mm.
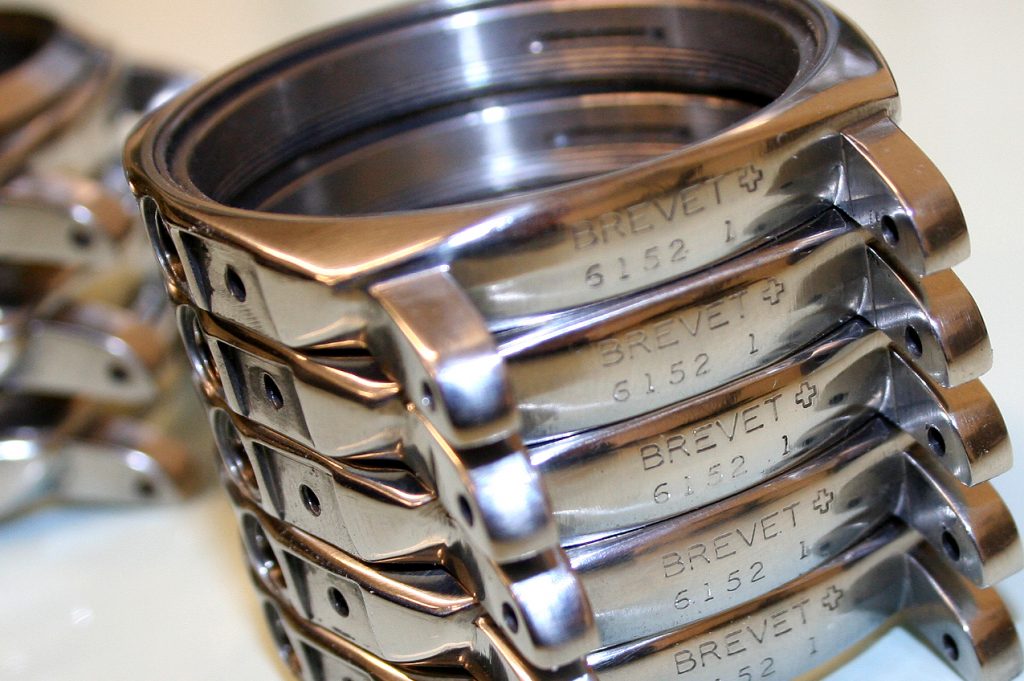
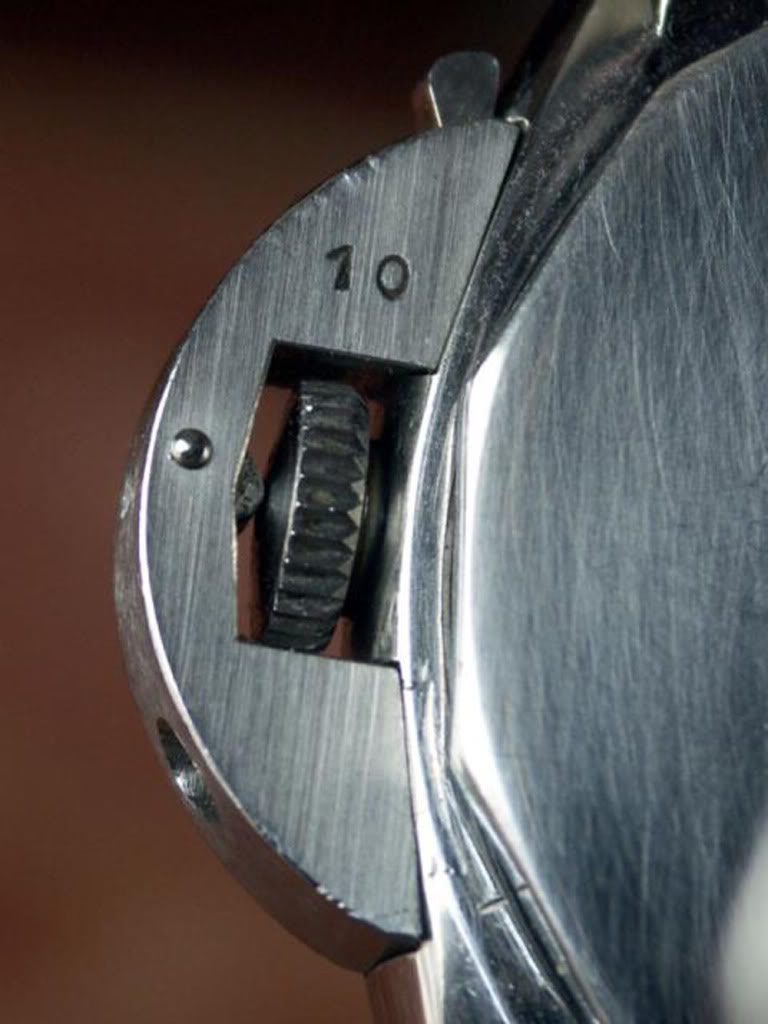
Below shows the most common Vintage 6152 Crown Guard note that is isn’t engraved with “Brev Ital”. The number 10 is shown below but other numbers were used like “7” “5” “3” etc. The number “10” is usually found at the Top Rear of the case (as shown in th image below). Numbers “7” “3” etc are usually found stamped on the Bottom Rear of the case. Which way round? Numbers were mainly stamped so that the font faces towards the Crown (as shown in the image below).
Below shows an engraved Crown Guard with the text “Brev Ital” this was only added to later Panerai 6152 Crown Guards and is less common.
The next stage is to decide what type of dial to use. You can either use a thin dial around 1.2mm thick or a more accurate dial of around 2mm thick. The true size (thickness of the authentic dial is shown in another article on this website, not all Vintage Panerai dials were 2mm thick).
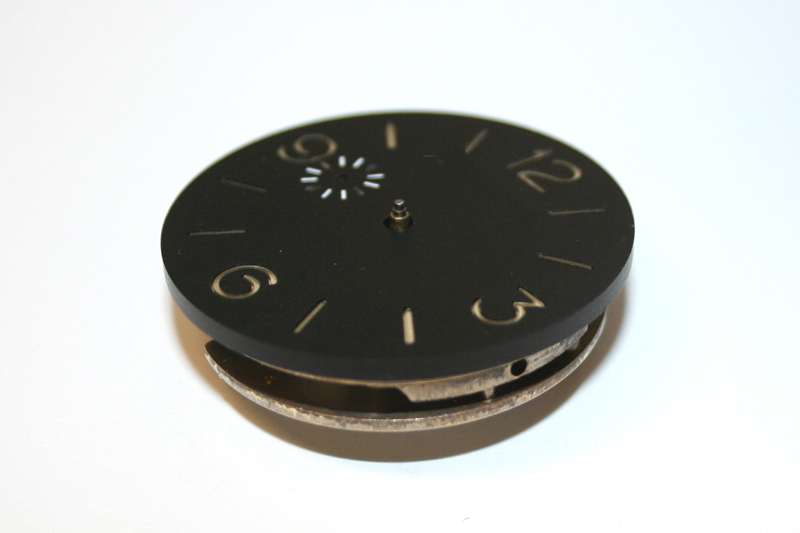
Thick Dial: If you plan to use a thicker 2mm dial then you may need to change the bezel to a 2 Piece Bezel. The alternative to this is to use one of the New 6152 Cases that is shown on this website, the New Case is available mid to late summer 2017. The accurate Dial Diameter should be 37mm.
Alternatively you could also use a thinner dial of around 1.2mm thick. They are not quite as accurate and you will not need to upgrade the bezel as they should fit inside most 6152 cases. The diameter of the thinner dials are usually 39mm.
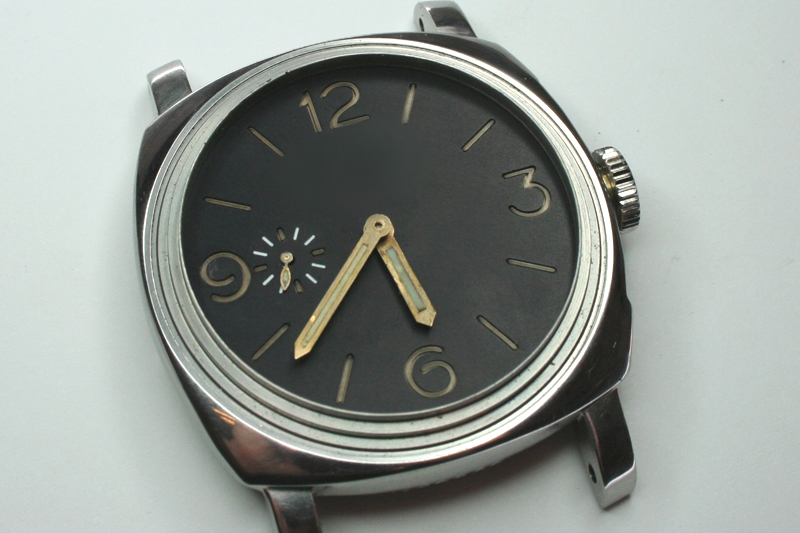
Below shows a 37mm / 2mm (thick) dial being fitted into a 6152 Case. The Case is shown without the Outer Bezel so that you can see the Inner Bezel which has been special made for this case.
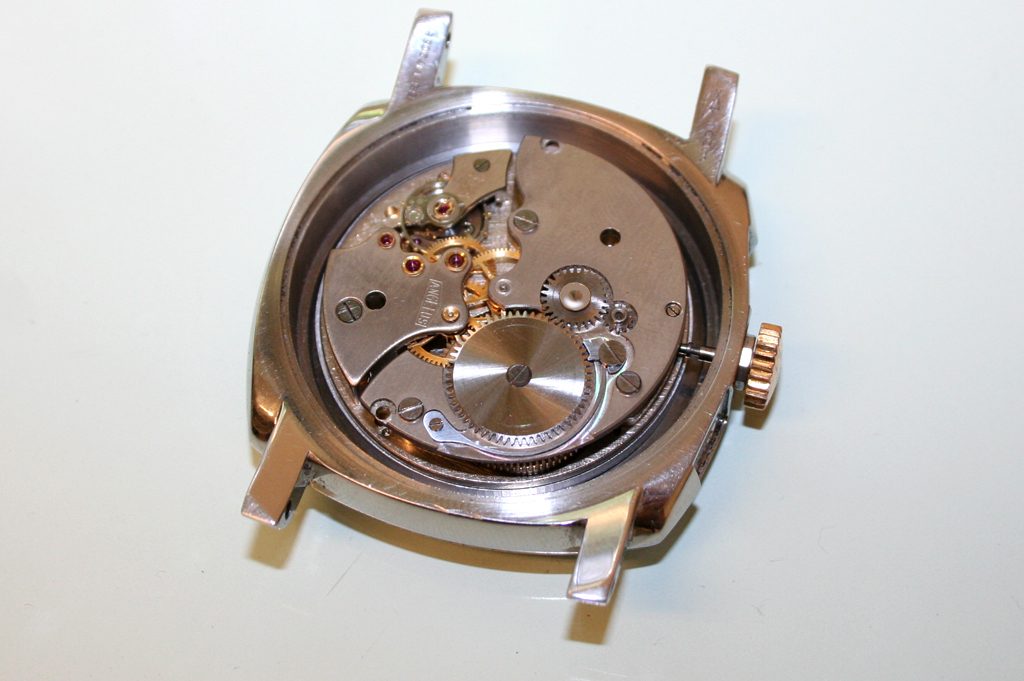
At some stage you will need to decide what Movement you plan to use. Below shows an Angelus 240 cal with Stainless Steel movement holder.

Before the movement can be inserted into the case and checked for alignment we need to fit the Stem Tube. Below a new Bronze Stem Tube is shown (authentic Panerai 6152’s used bronze not brass). The Stem Tube will be aged before fitted, if you dont know how to make this part look old then ask the supplier on this website as they will offer to age it for free.
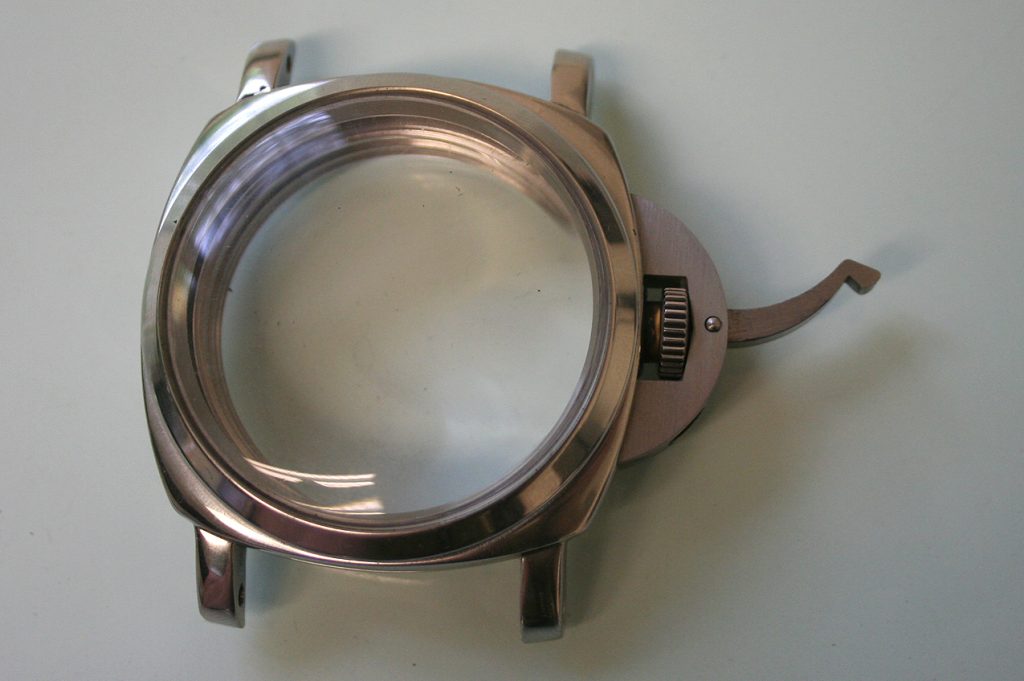
Below: The Stem Tube, Crown, Crown Guard and Plexi have all been fitted. Its now time to fit the movement.
Below: If you look at the movement inside the case you will see that the Movement Holder hasn’t been fitted yet. At this stage its a good idea to check to make sure that the stem aligns perfect in the stem tube.
If everything aligns and works well then its time to finish off the project and screw the Case Back on.