This topic will show you how to solder the Lugs on a 3646 Case. Before you start its worth making sure you have the correct equipment, below are the items that I will use to solder the lugs in the images below
- Gas powered torch
- Good quality fine grade solder
- Good quality liquid Flux (important)
Solder: Using a good quality solder and also a fine grade (small diameter 0.5 to 1.0mm) will make the soldering easier for you. We are about to solder a set of 1.8mm diameter lugs to a 3646 watch case, we do not need a lot of solder. Thick or wide diameter solder can be difficult to work with as its easy to add too much. Your work should be neat, the soldering should be fine and tidy (not thick and heavy).
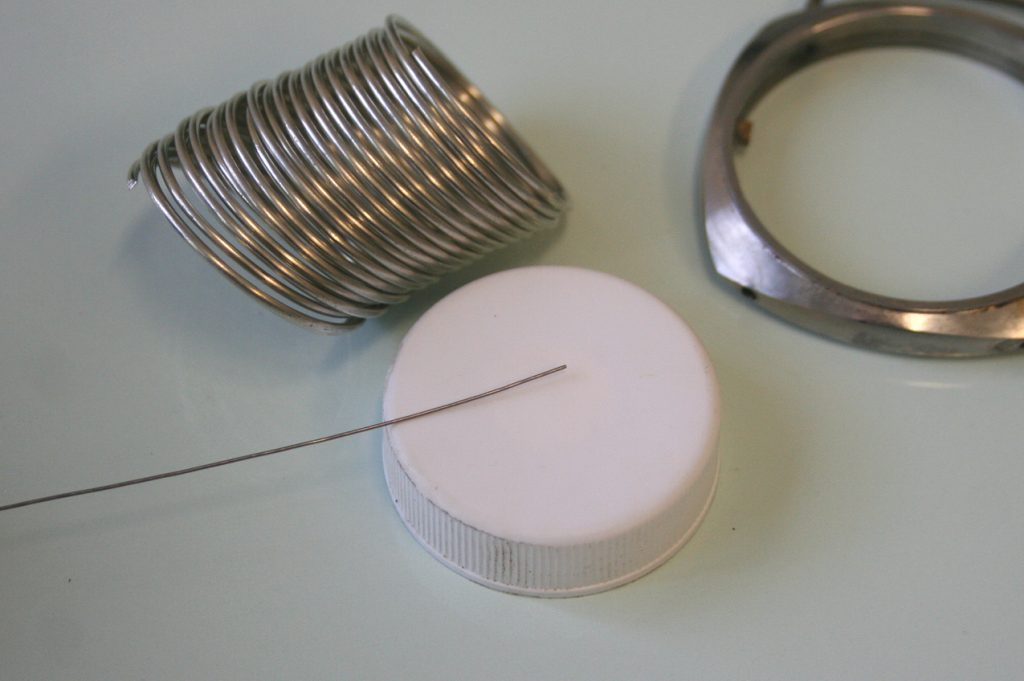
Above shows thick and fine solder, today we will use only the fine (thin) solder.
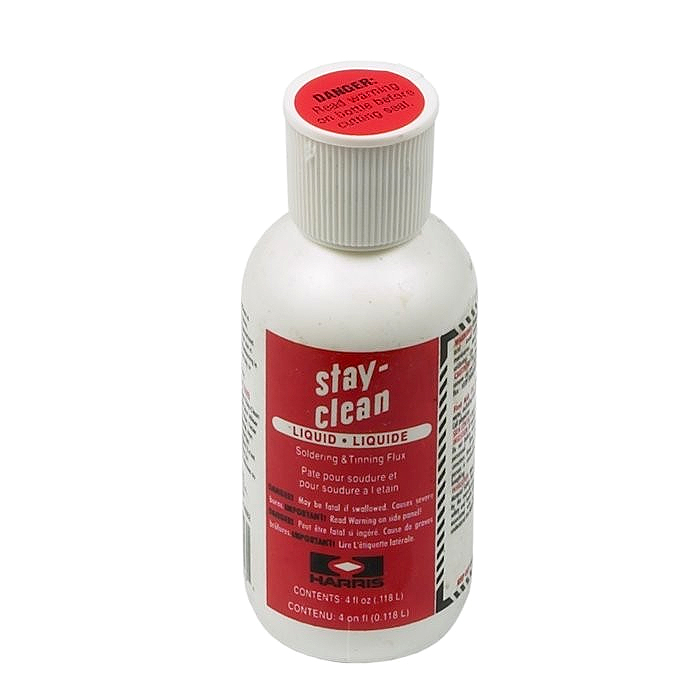
Flux: Using good flux makes a difference. Make sure you have the best quality Flux for Stainless Steel (not all flux’s are the same). Below I am using “Stay Clean” Flux.
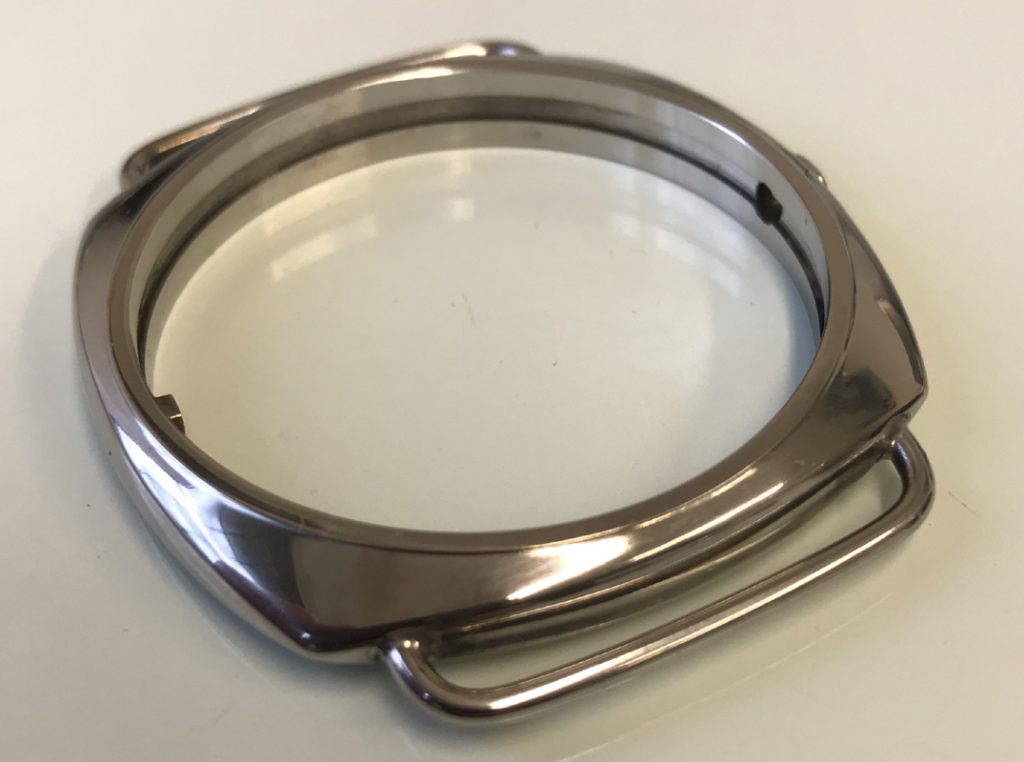
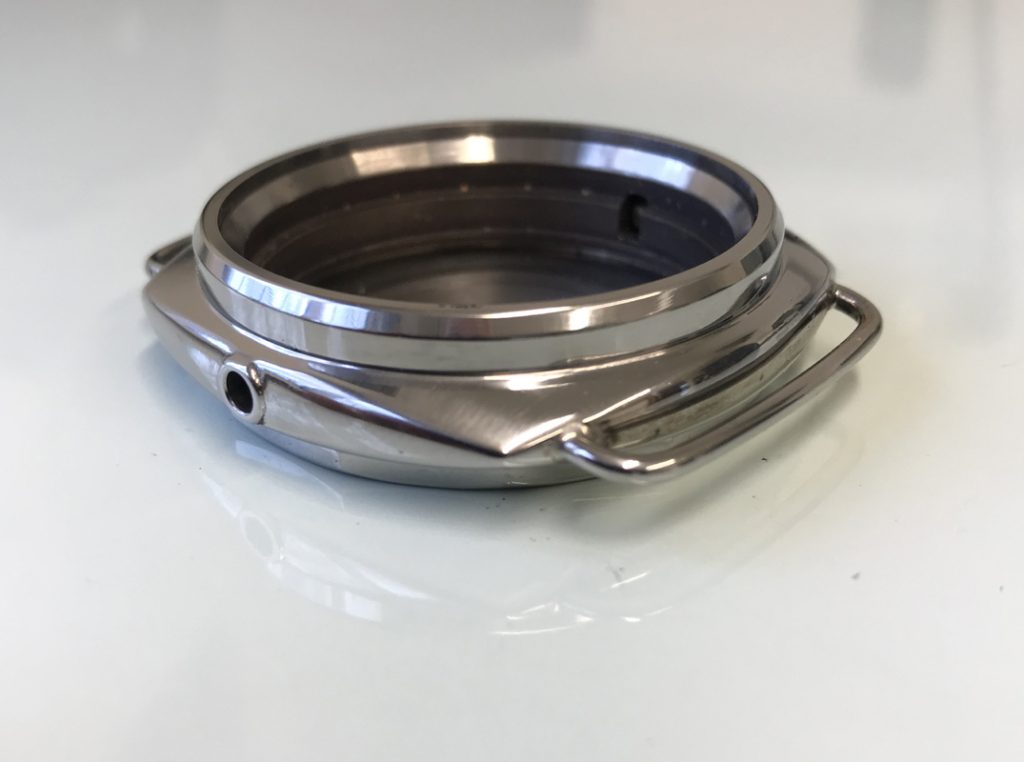
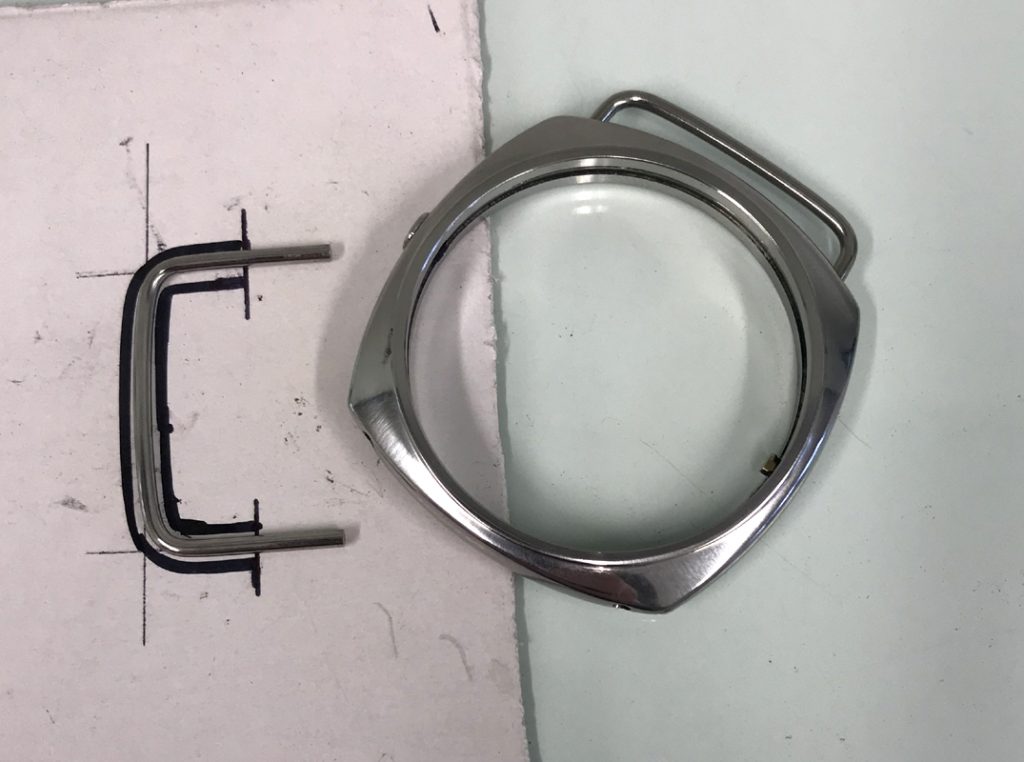
Step 1: Make sure all your parts are clean (its important). Before I start I have cleaned the Lug Bars with some wet and dry paper and also washed all the parts in warm soapy water, then allow to dry.
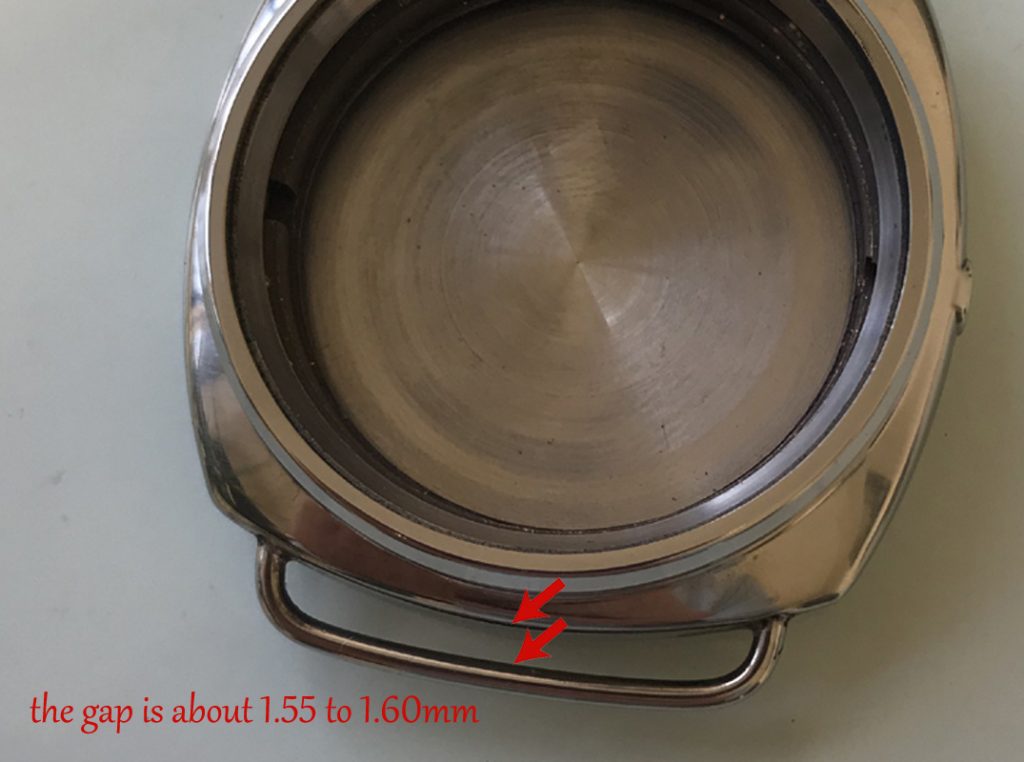
Cut the lugs to size. The gap between the Case and the Lugs should be around 1.55 to 1.60mm
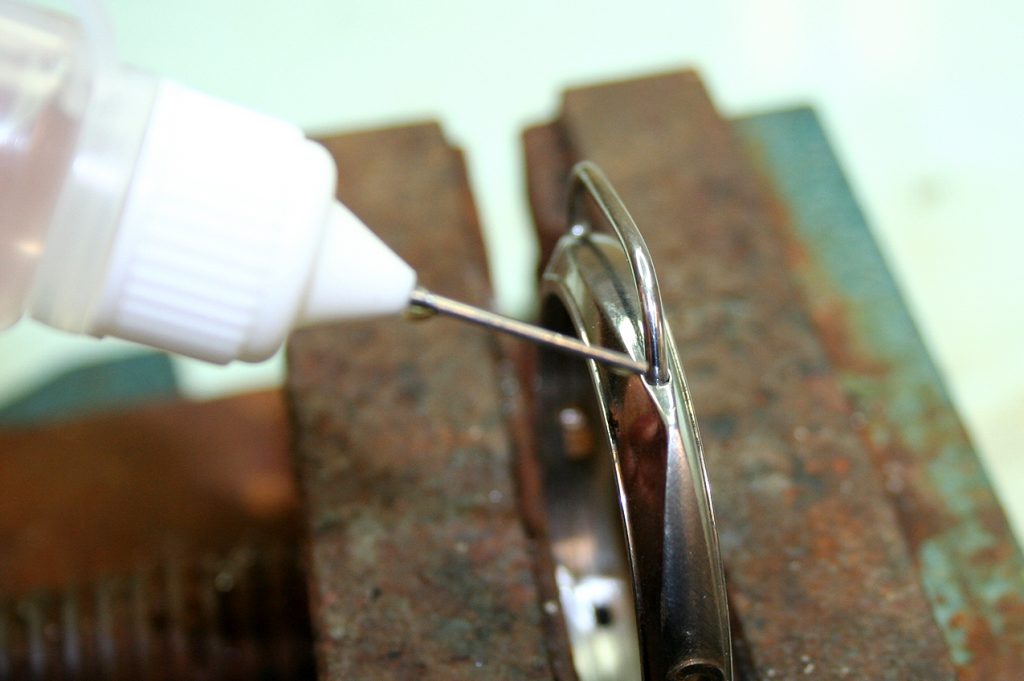
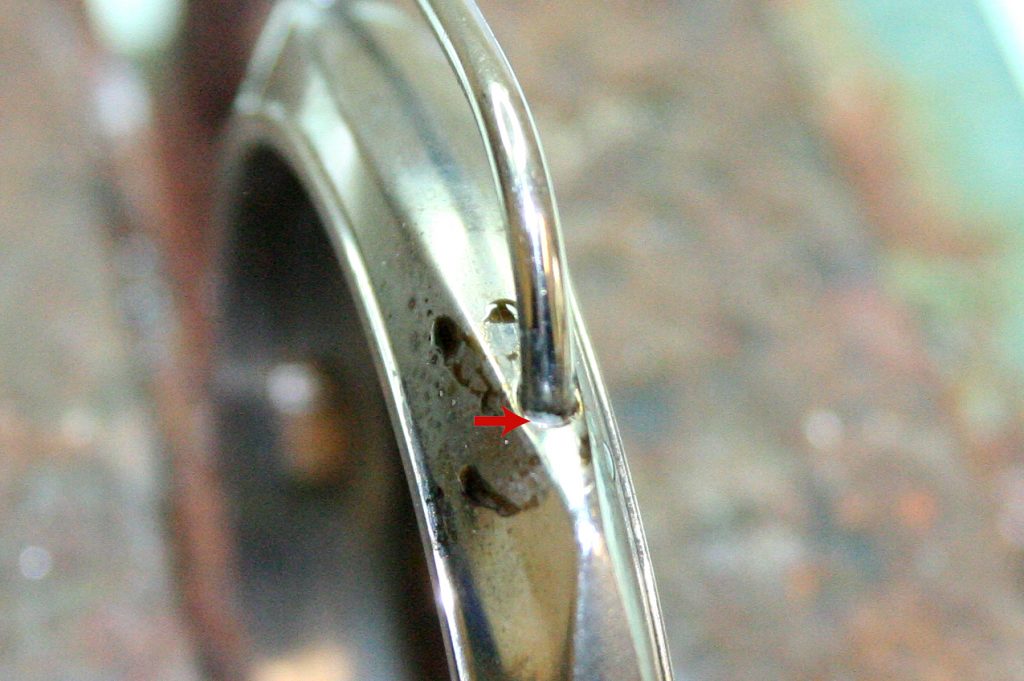
Step 2: Below I have applied some Flux to the Lug Bar and allowed the flux to run into the case.
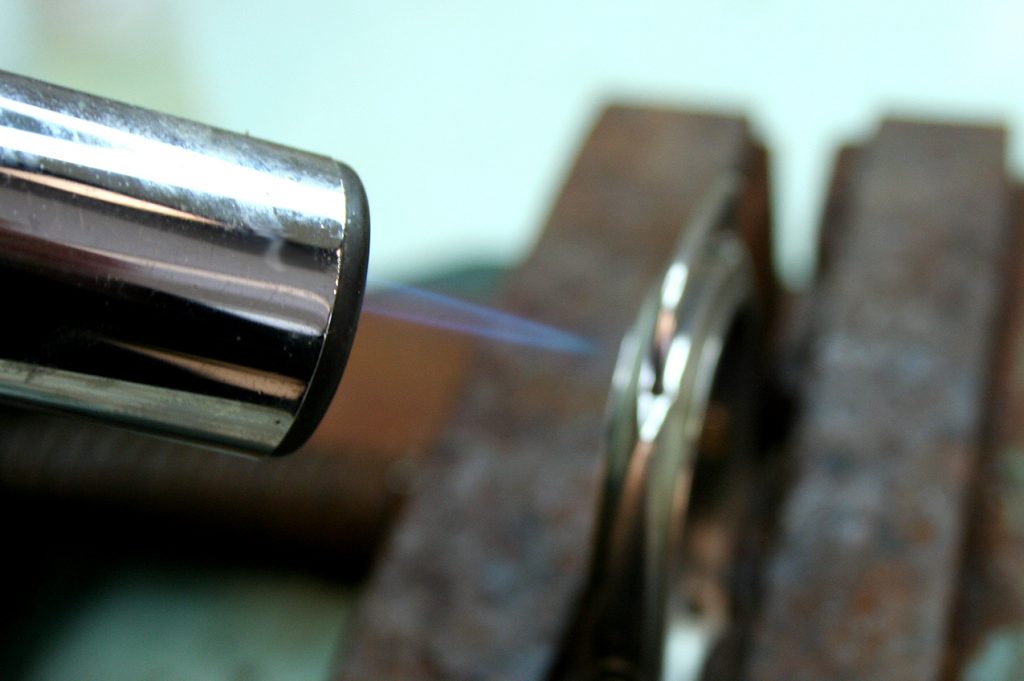
Step 3: Below, applying heat to the Lug and the Case, be careful not to overheat these parts (its important they are NOT too hot).
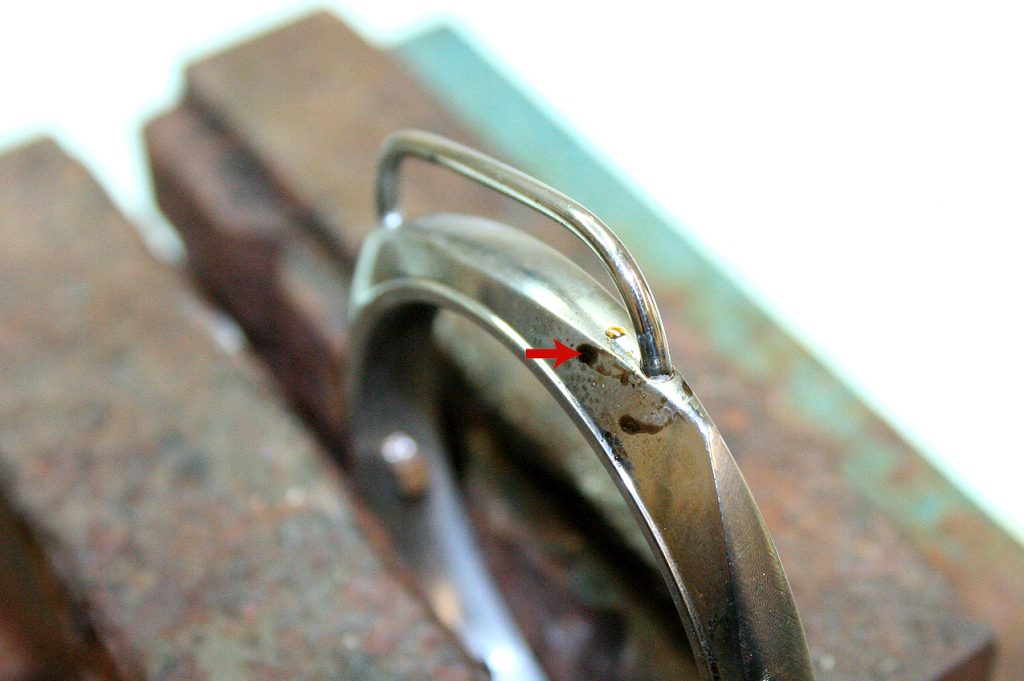
Step 4: Note how the Flux has dried and also become a “brown” colour. This is the correct temperature to add the solder. If your flux has gone very black (almost like dry carbon) then you have added too much heat.
What should happen, what should I see? When the temperature is right the solder will “sweat inside the case” (be sucked inside).
What happens when you add too much heat? If you add to much heat then it becomes difficult to solder. Instead of the solder flowing inside the case it will do the opposite and run down the outside of the case.
To be successful you need: Good Flux and not too much heat.
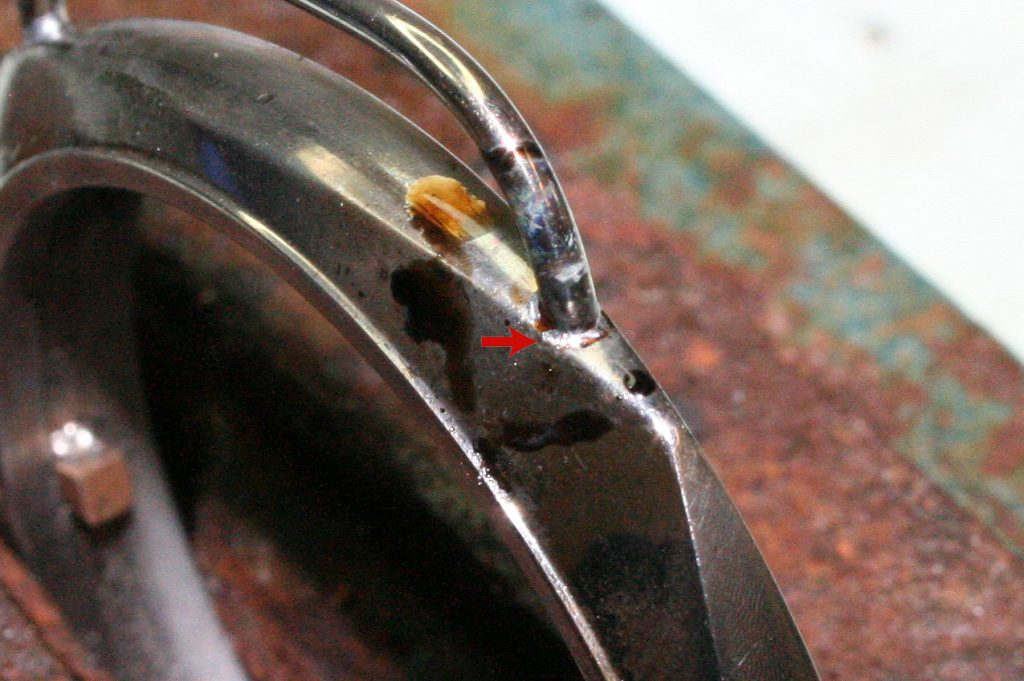
Below: You can see the Flux has turned a nice brown colour, it doesn’t take long before this colour is achieved. I will continue to add a little more heat to make sure that the case and the lugs are fully heated.
Step 5: Its time to add a little Solder. When the solder touches the Lug and Case it should flow quickly and easily INSIDE the case. The solder should be SUCKED into the case around the Lugs this is called “sweating”.
What to do if : Your solder wire doesn’t flow and you get a blob at the end of the solder wire (solder stays at the end of the wire and doesn’t run onto the case). Your case and lugs are too hot, cool and try again (try adding flux to cool).
Whats to do if : The solder runs down the outside of the case and not inside between the Case and the Lugs. Again your case is too hot, cool and try again.
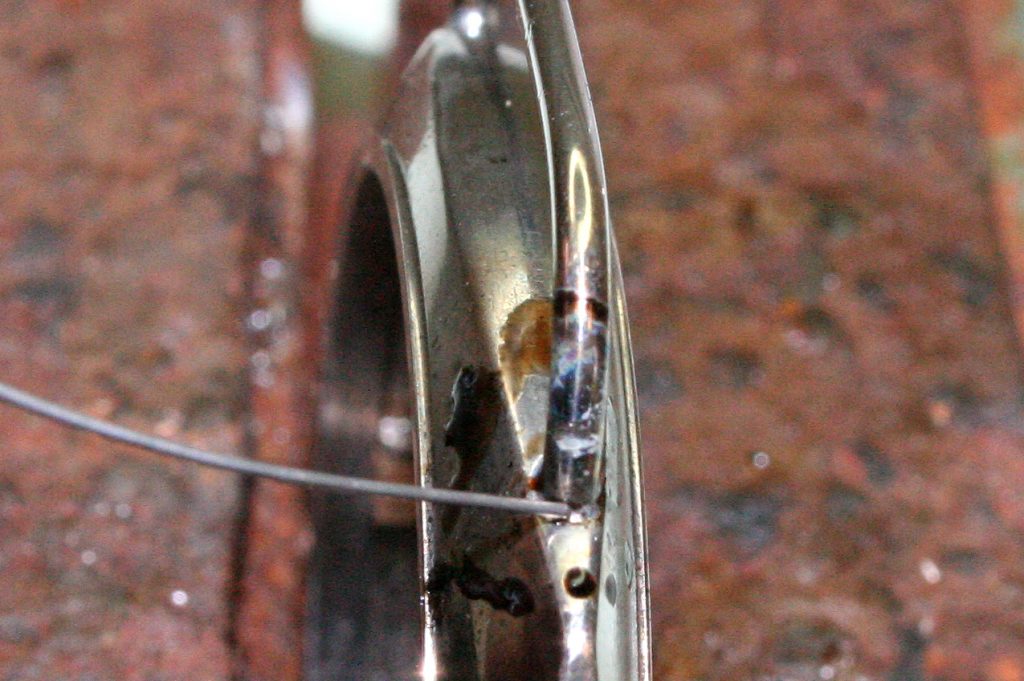
Below: The solder has flowed inside the case, now I will build up this solder.
Step 6: Being careful not to get the case too hot, add a little more solder until the area around the Lugs (inside the case) is full of solder (very little solder is required).
Step 7: Its time to build up a little solder around the lug on the outside of the case. I will add some more Flux, this will cool the case a little but it will also help the solder run neatly around the lug on the outside of the case. Be careful not to add too much solder, only a little should be added so that the work is neat.
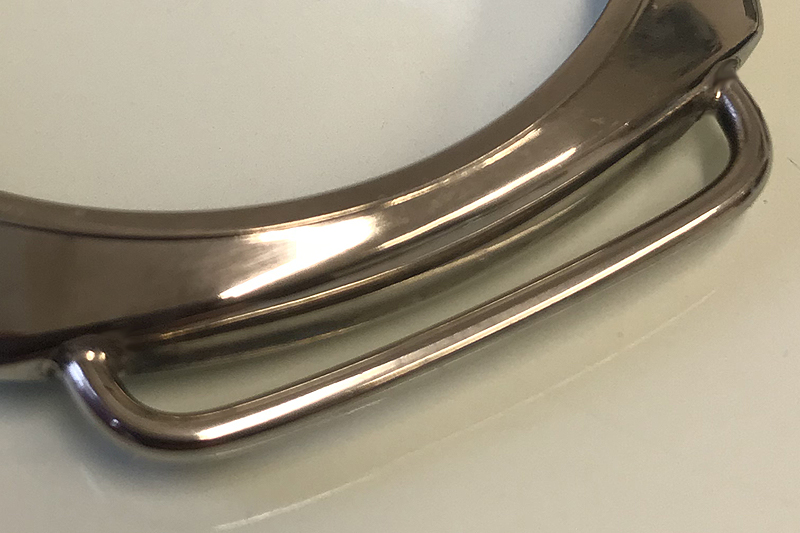
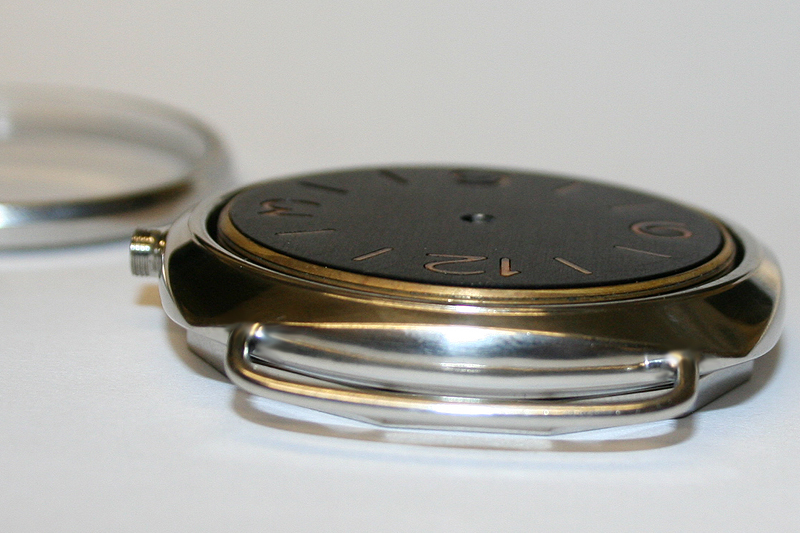
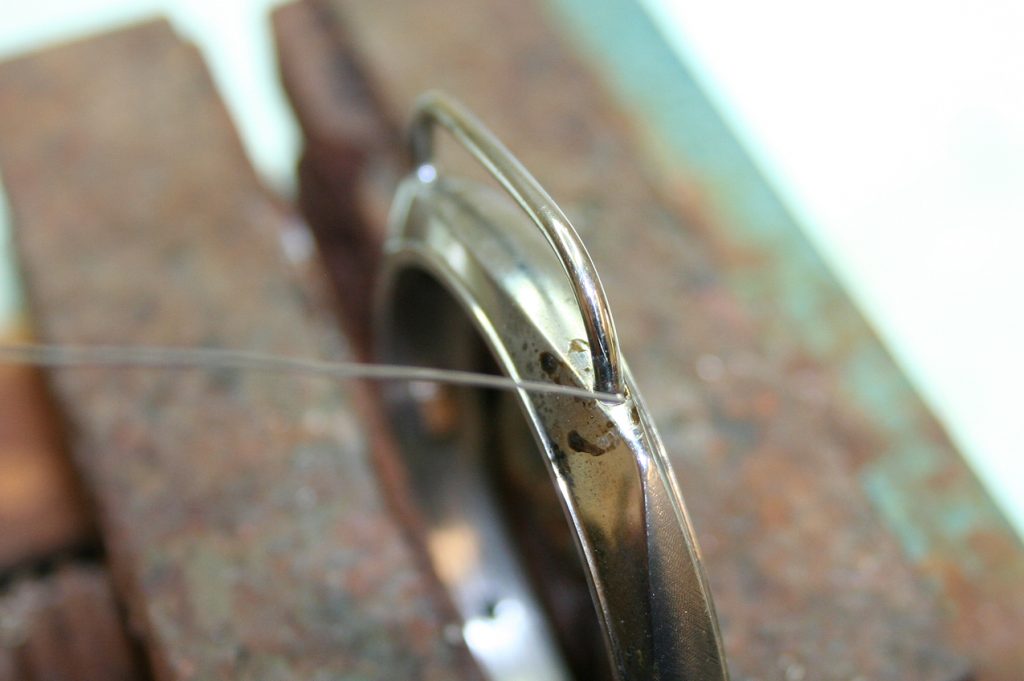
Completion: The case is now completed. Note how the solder is only around the Lugs. There is no excess solder so there is no solder to clean up. The solder should be neat and even around the Lugs.
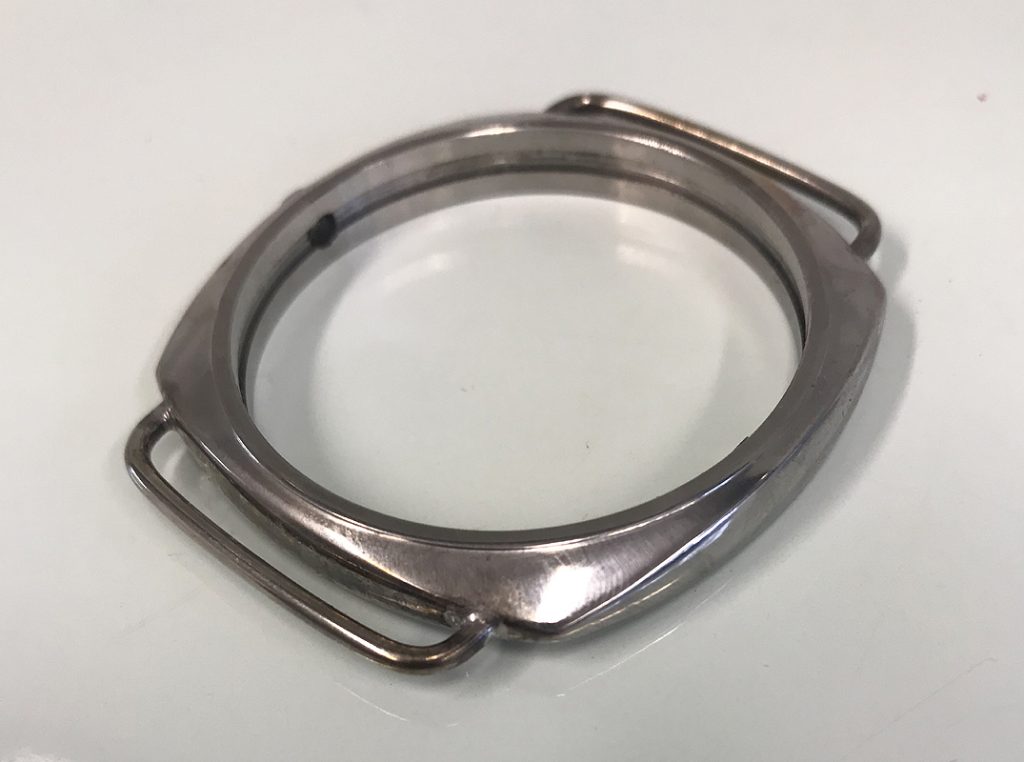
Below: Note how the solder is even on the top on all sides and the gap between the case and lugs is around 1.55mm to 1.60mm