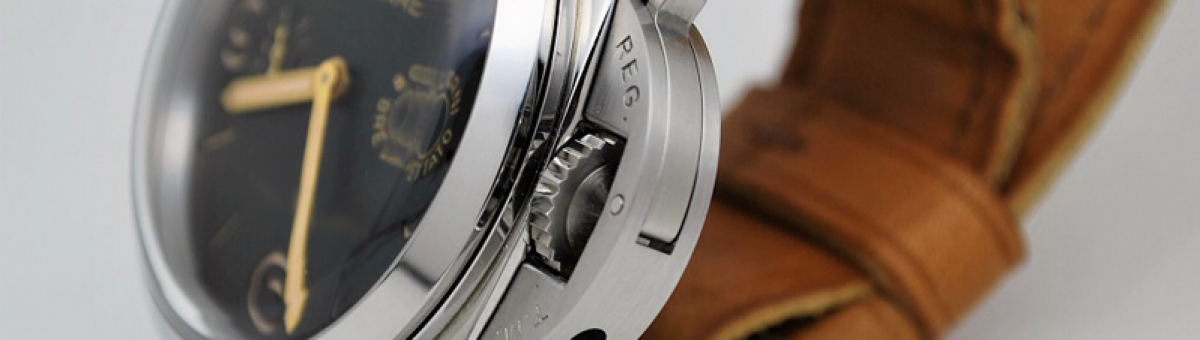
This page will help you build you 3646 project. Before we start lets take a moment to plan what equipment we will need.
- You will need some good solder about 0.5 to 1mm in diameter and also some very good quality flux. The flux is important as it will make the soldering so much easier. In my opinion the best flux to use is “Stay Clean Flux” (part of the Stay Brite Solder Kit) made by the “Harris Company USA”. This is the best solder I have found for Stainless Steel, it makes the soldering so much easier. Stay Bright Solder is available in the Vintage Watch Parts Store “click here“
- A soldering tool, I suggest using a gas powered “Flame”
- You will also need a good small Round file about 3 or 5 mm diameter
- Some wet and dry grit paper
- Finally a polishing machine. If you dont have one then using P1000 or P1200 super fine paper will also work, This will also give you a nice aged patina as heavy polishing by machine can make the case look too new. Remember this watch is supposed to be 50 to 60 years old.
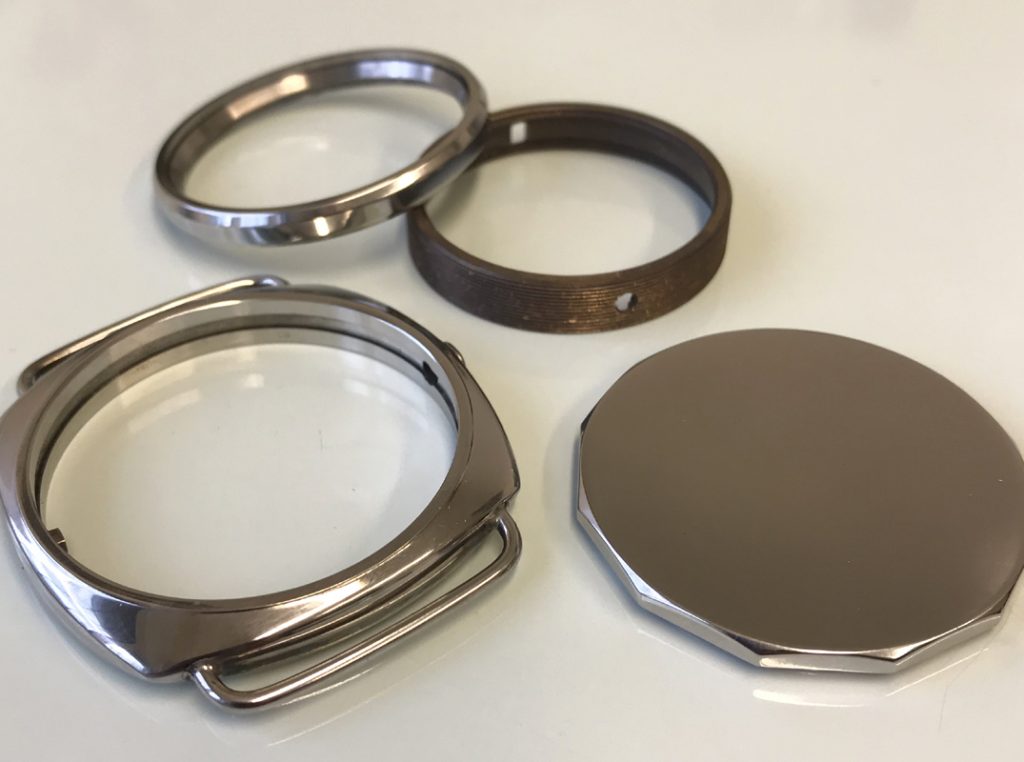
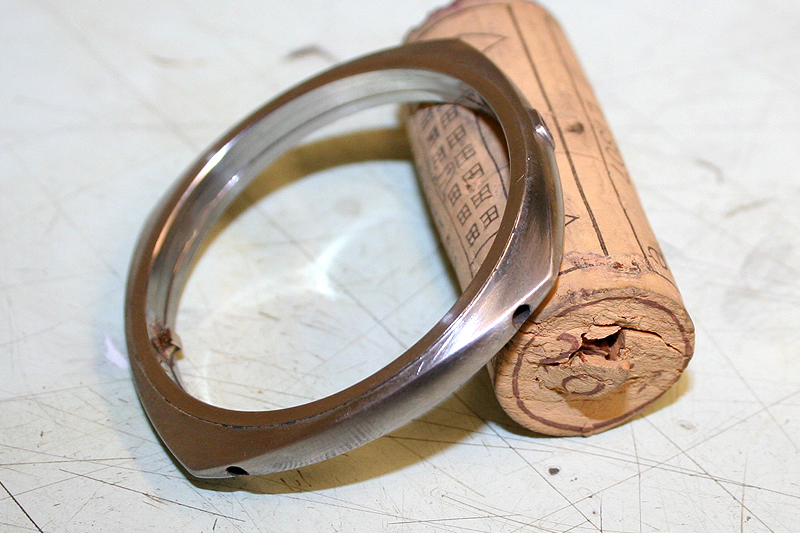
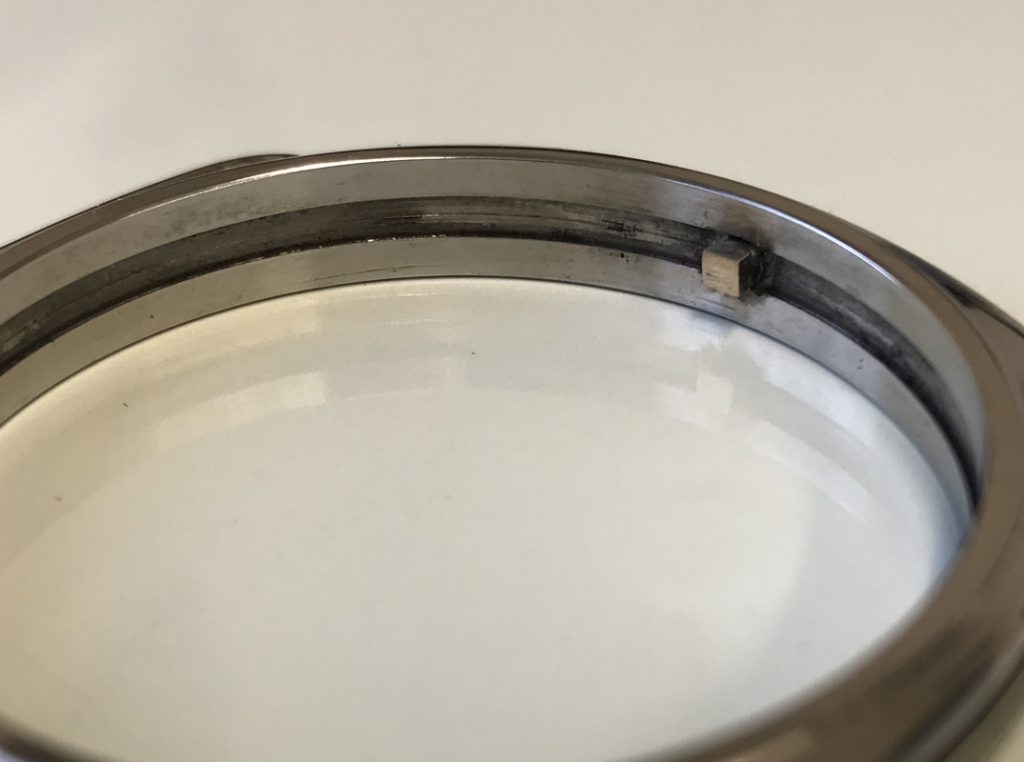
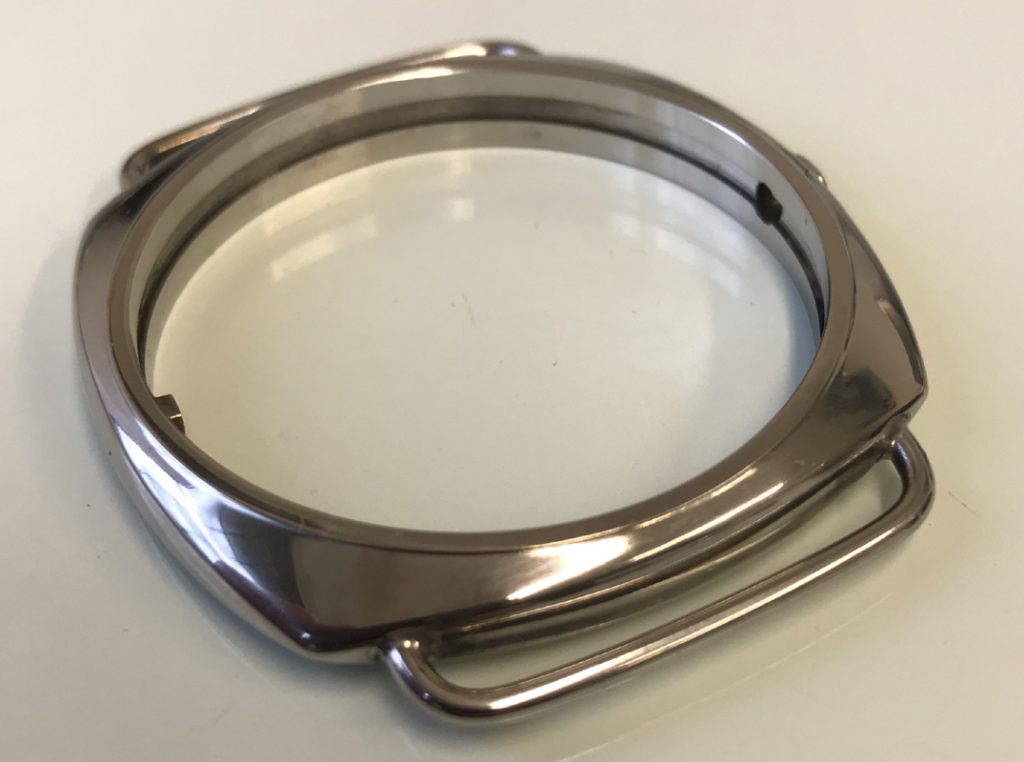
Above is how your case will look on arrival. Note there is a top and bottom. If you are building a Type C etc then the case is not supposed to be symmetrical. For example the top and the bottom were quite a different shape, the top is rounded and curved and the bottom is a little flatter.
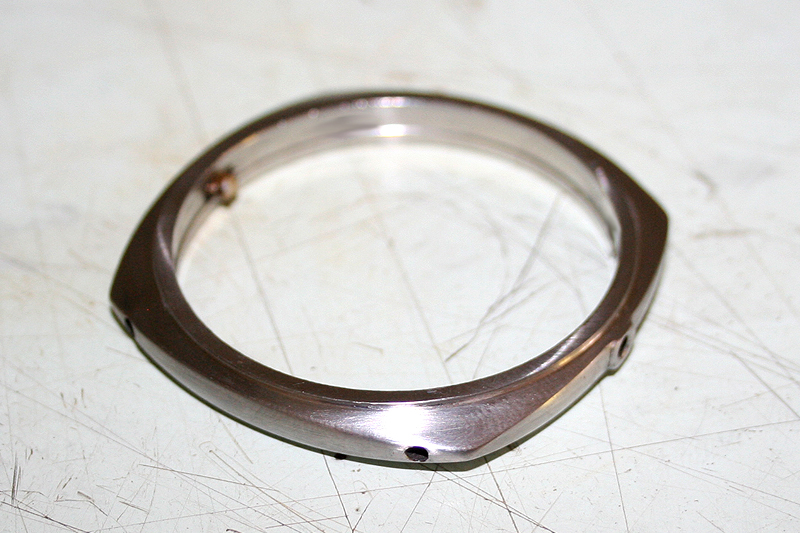
Above is how it should look once completed…lets get started.
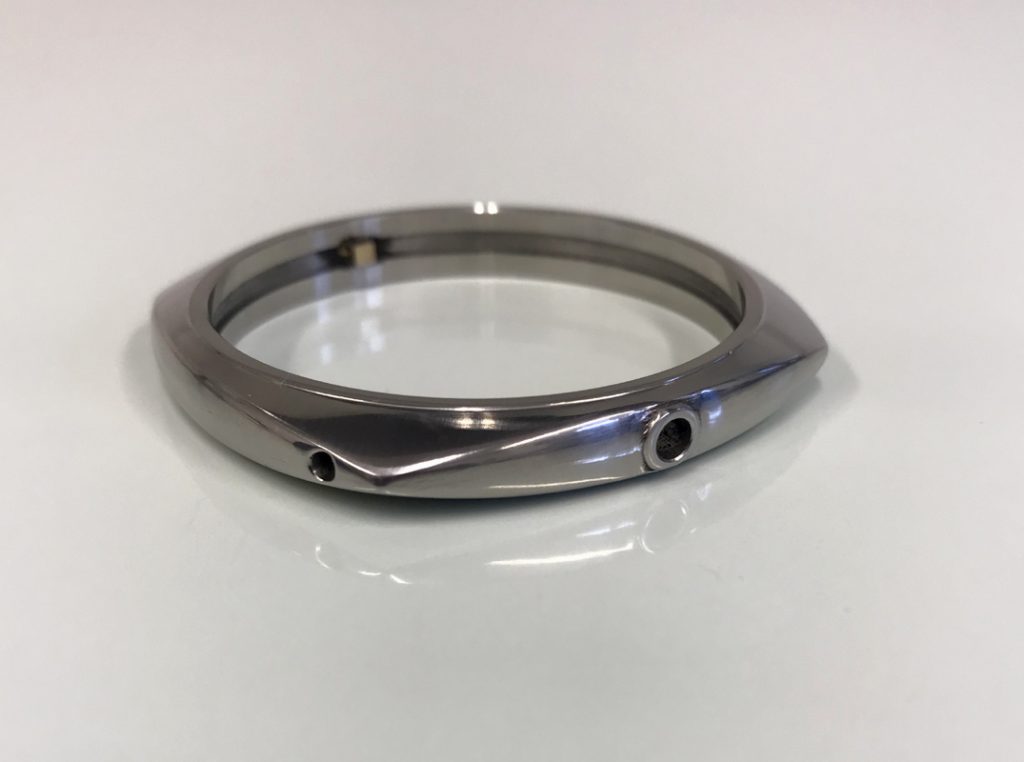
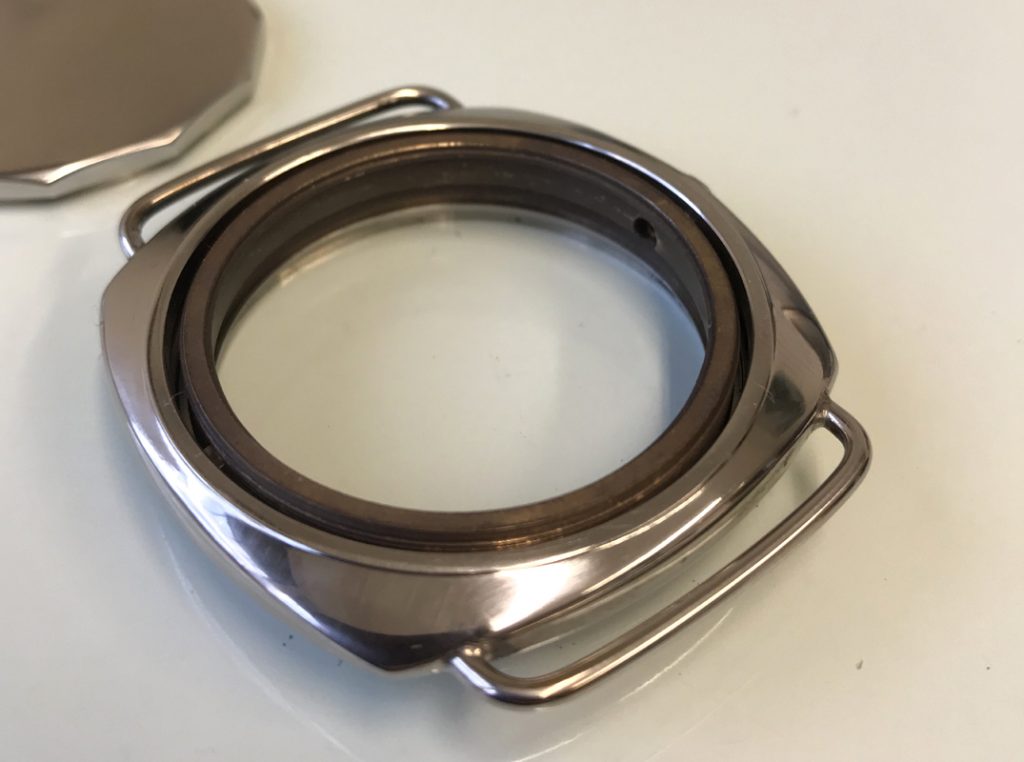
If you are building a Type D (E&F) or Tall Bezel case then the case will be symmetrical (even shape top and bottom).
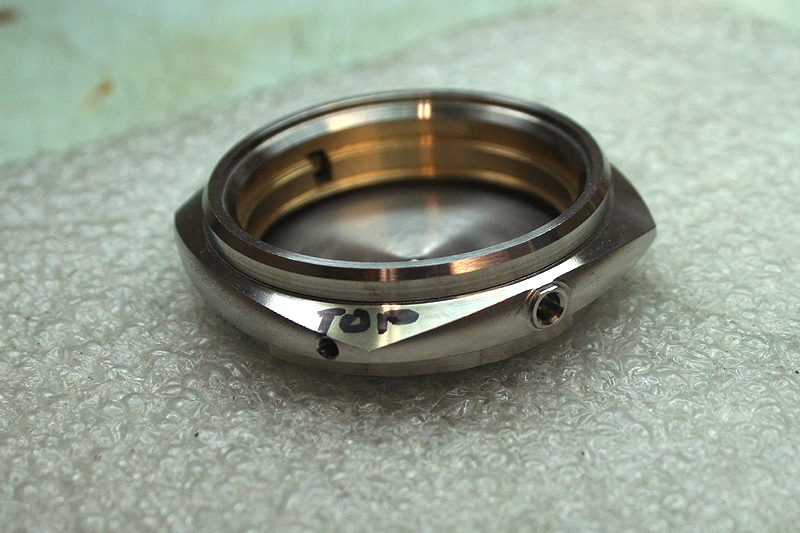
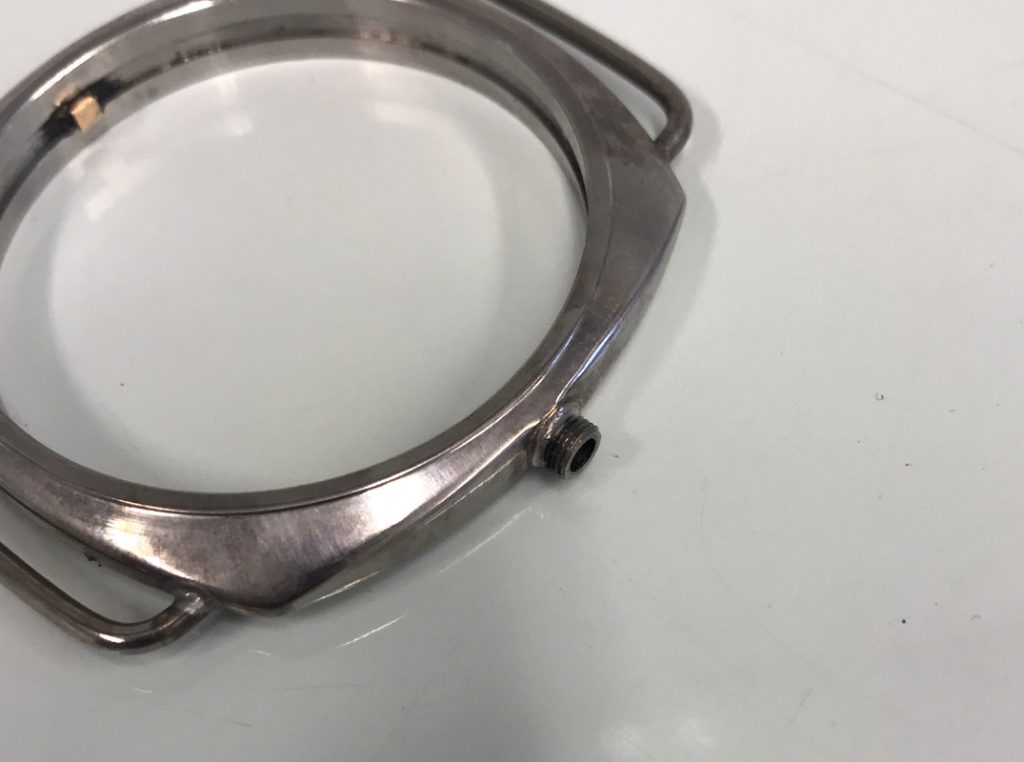
Above: Firstly lets start by shaping around the Stem Tube area. To do this is quite simple. Take a small round file and start by smoothing out the area around the hole shown in the image above. It doesn’t take long so don’t file off too much metal. All you are need to do is file away some of the machining and make smooth.
Above: The area round the Stem Tube Hole is now starting to take shape.
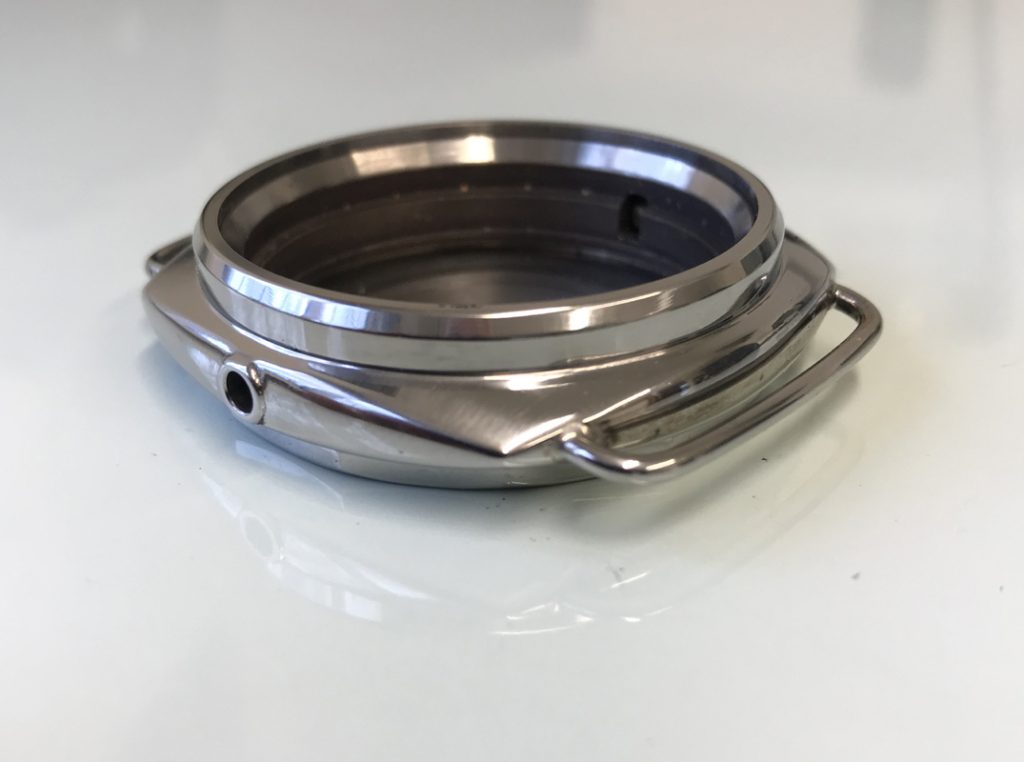
Above: The next stage is to sand the edges of the case to make a smooth and rounded finish.
Above: After some light shaping the case is starting to take shape
Above: the next stage is to rub the surface of the case with P400 wet and dry paper to make smooth
Above: Once you have rubbed the case with P400 wet and dry to get all the machine marks and the filing or shaping marks out. The next stage is to polish the case “before” you solder the lugs (its easier).
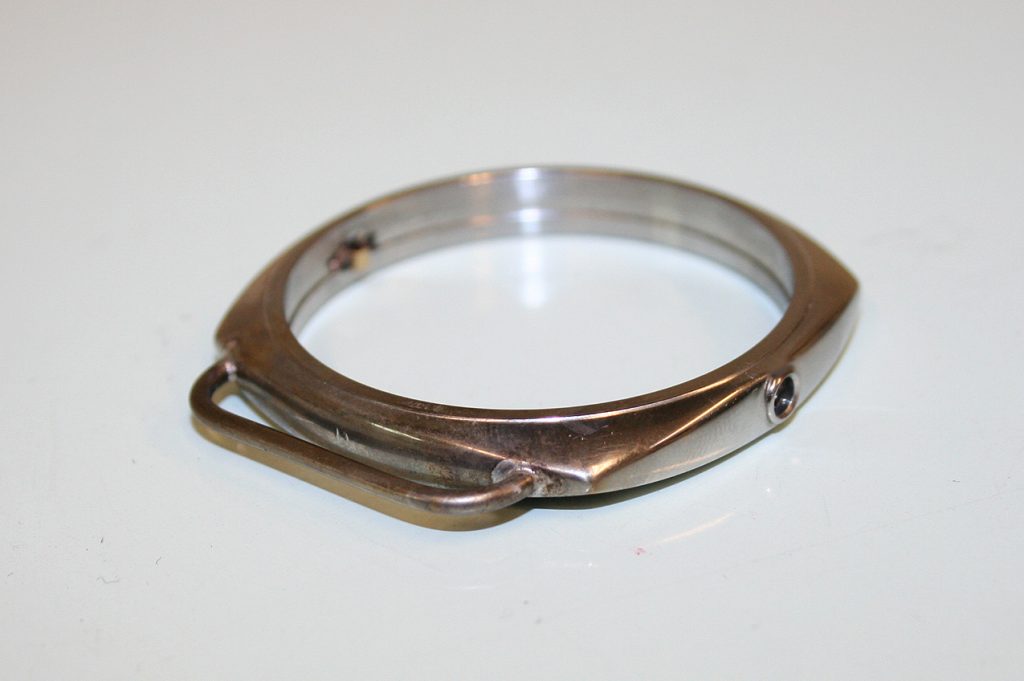
Above: The case is now fully polished before the lugs have been added. It is easier to polish the edges of the case without the lugs. The case will get dirty after soldering but thats not a problem as it will be easy to clean and polish again.
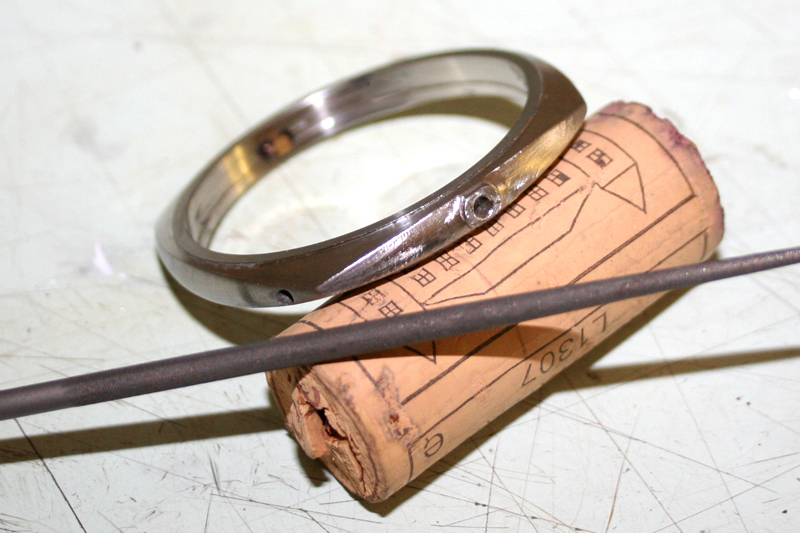
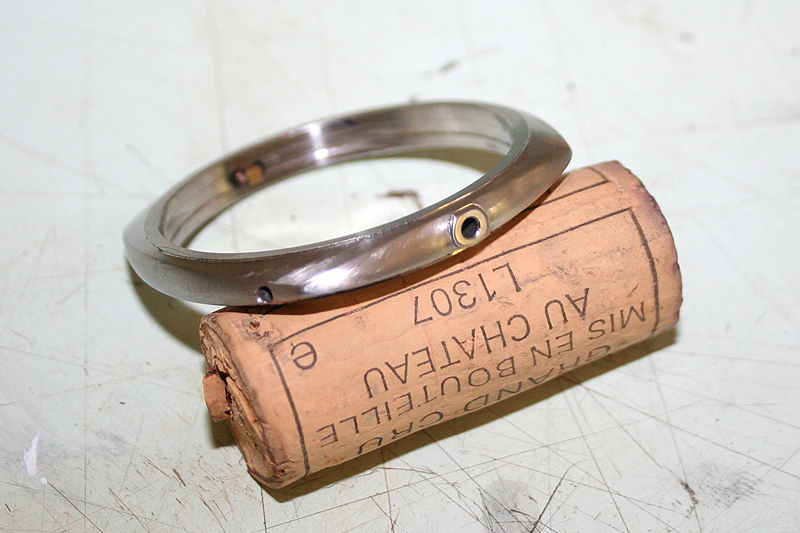
Above: We are going to fit the Lugs and solder them to the case. First start by cutting the lugs to the correct size, the holes in the case do not go through the case so you must cut the lugs to the size you require. Allow enough space for the strap but dont have the lugs too long.
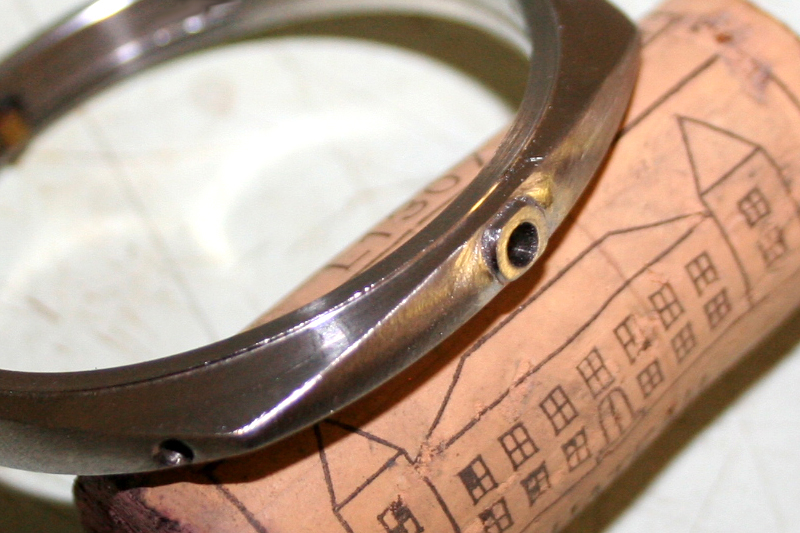
How to Solder: Clean the lugs and the case with hot soapy water, make sure it is clean and there is no oil or grease on the surface. Next add “Stay Clean Flux” around the lug area. Heat one lug at a time and also the case around this lug area (one lug only) wait until the Flux starts to dry and go “brown”, try adding some solder, if it doesn’t flow give it more heat but do NOT get too Hot, it is more difficult to solder when too hot! You should find that the solder will flow or melt when it touches the lug. If it doesn’t add a little more flux and a little more heat. If it still doesn’t flow “let it cool down” remember too much heat is not a good thing, it makes soldering more difficult.
As soon as the solder starts to flow it should “Sweat” itself inside of the case were the lugs are located. This makes a very strong joint, If you are skilled then there will be a little excess solder on the outside of the case. If there isn’t any solder around the lugs after they have been fitted then you can add this later, let the case cool down and apply. Do NOT add too much solder, less is better, authentic cases were never heavily soldered.
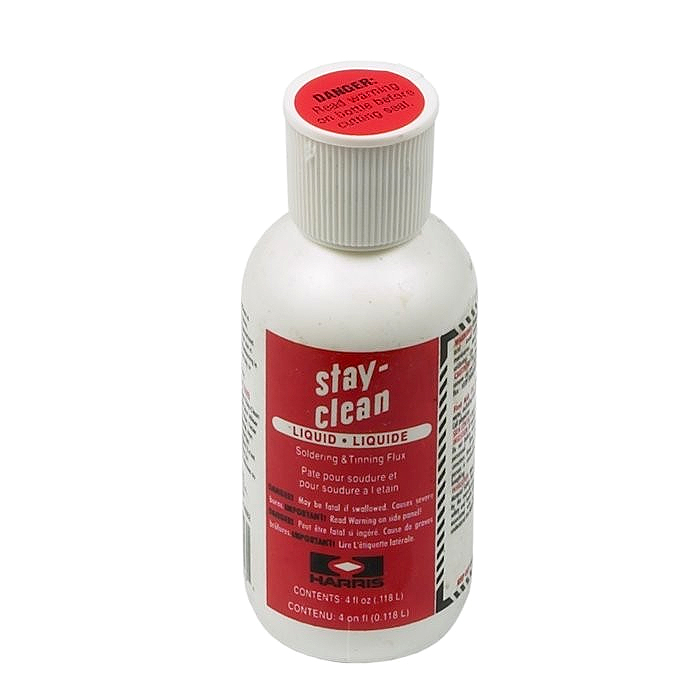
If your solder doesn’t flow, then take a look at the Flux you are using, its important to use good Flux, above is probably the best Flux you can use for Stainless Steel, its known as Stay-Clean part of the Stay Brite solder and Fluxes (available click here)
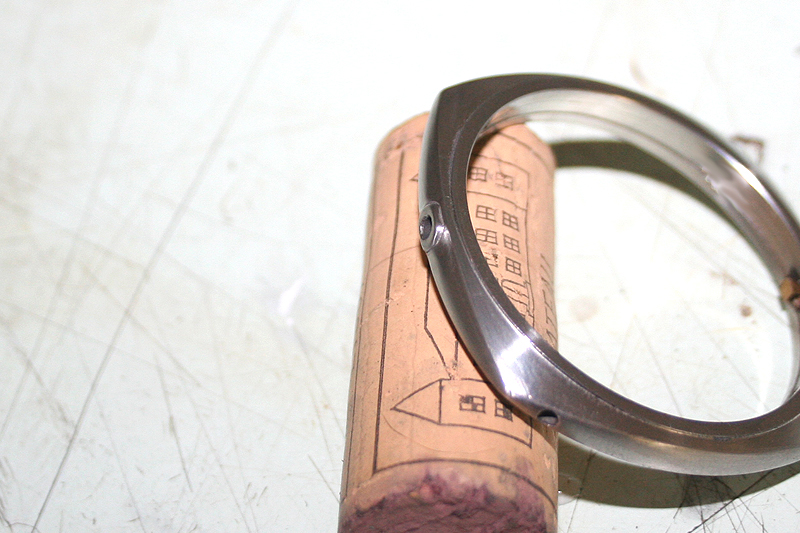
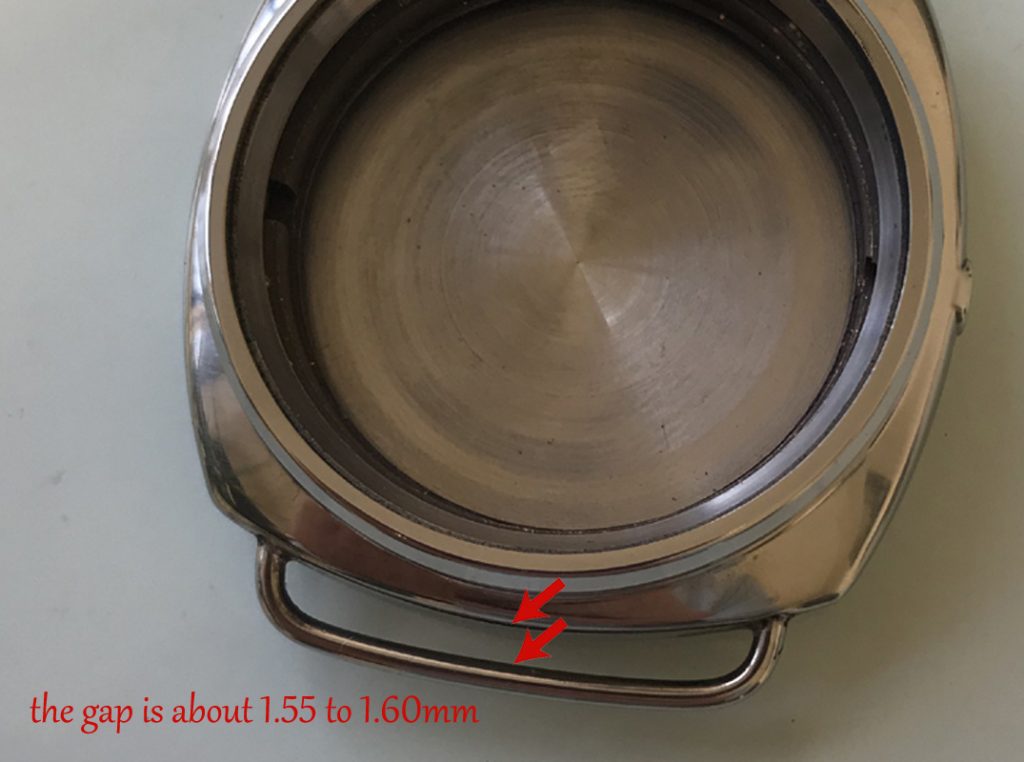
Above: The lugs do NOT want to have any more solder than shown. Too much solder is unnecessary, LESS is better and also neater (its how the authentic case were soldered ) Also note the distance between the lug and the case, there is enough room for the leather strap and the lugs are not too long (the gap is a little wider than it looks in this image).
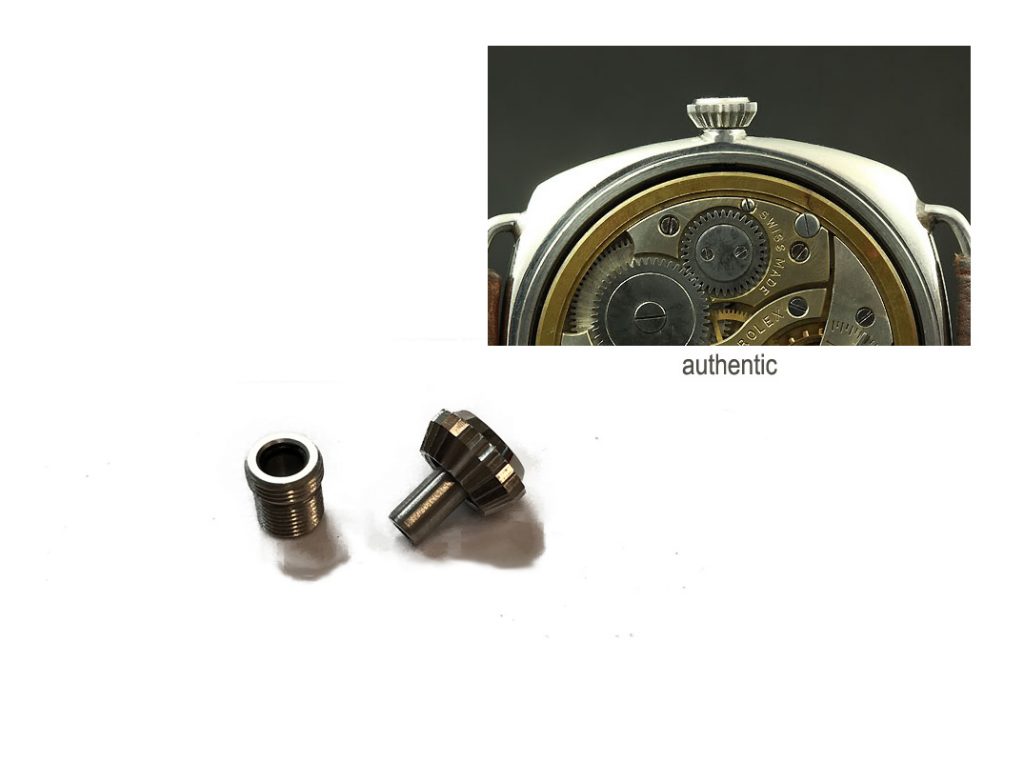
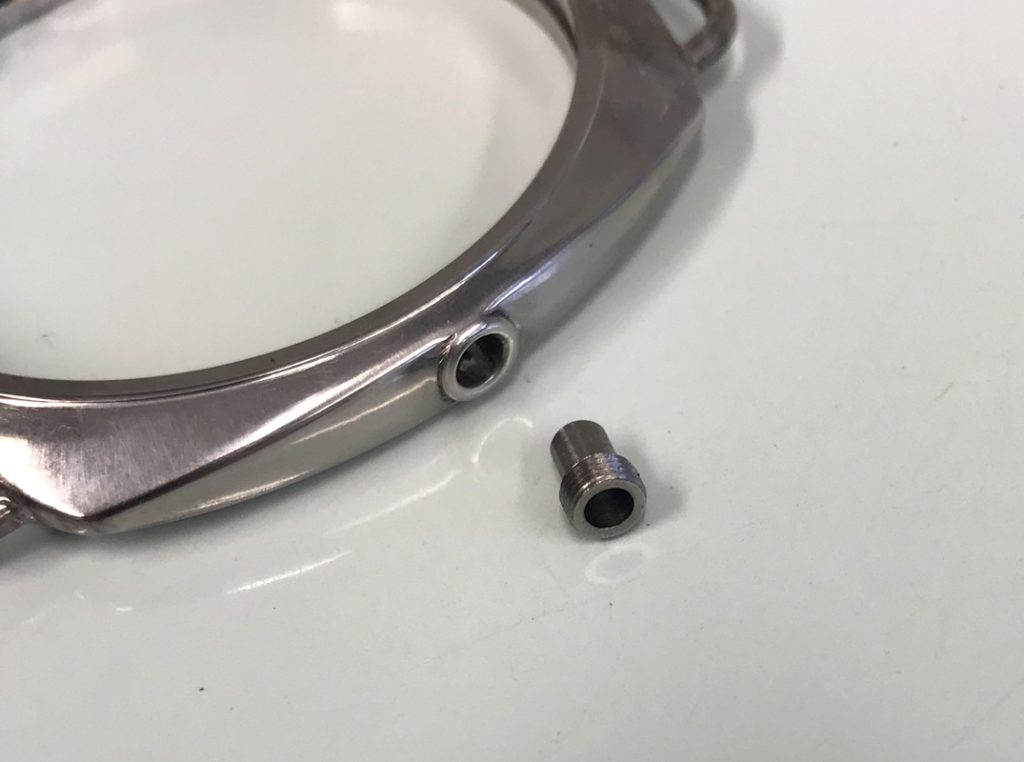
Above: Now we need to add the Stem Tube. I recommend using fine grade solder wire say around 0.5mm to 1mm thick, its easier to apply (thick solder wire is difficult to work with when doing fine detail work), Start soldering from the inside. Next heat then solder on the outside near the threads. Be CAREFUL not to get solder onto the threads. If you do then use “Copper Braid or Copper Mop” (google it if you dont know what this is) to soak up the excess solder. This is why I recommend using fine solder wire, thick wire may end up on the threads and you may not able to screw the Crown on fully.
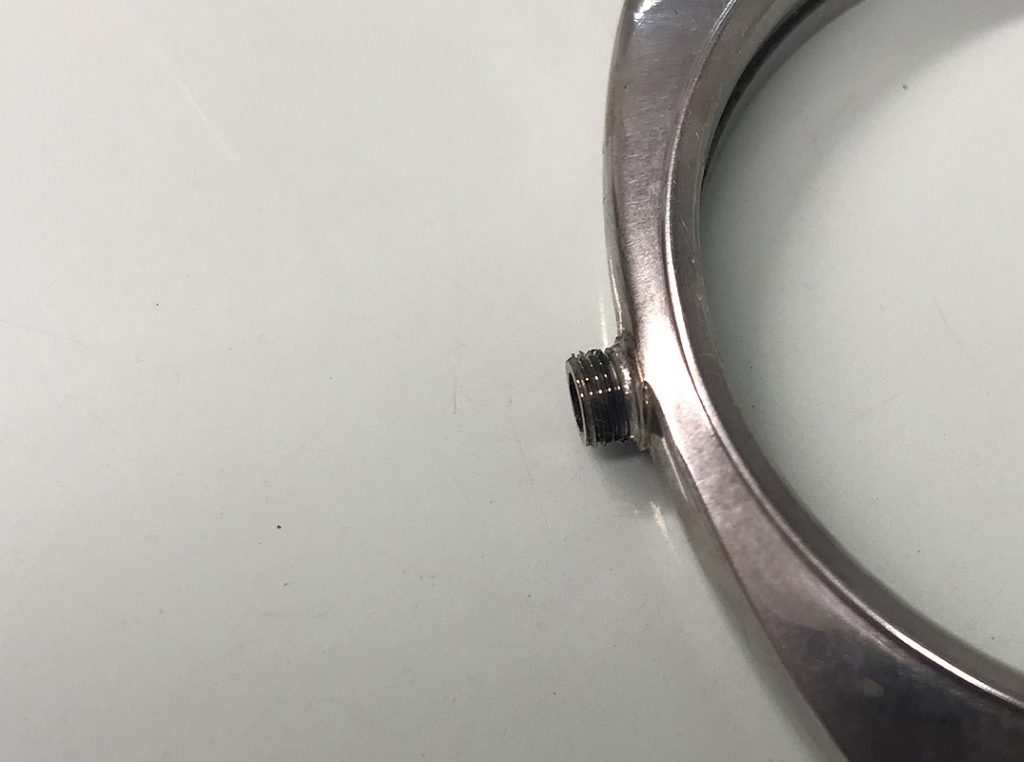
Above: This is how the Stem Tube should look. Its very strong and also water tight.
Stem Tube: Always shape the case metal around the stem tube are before fitting. Once you have the correct shape then fit the stem tube and solder from the inside of the case so that the solder is drawn through the case and appears on the outside around the Stem Tube at the base between Stem Tube and case.
Tip: The Stem Tube threads are slightly longer than required, you can file a little off the end of the threads if you want a close fitting Crown. IMPORTANT: Always cut the length of your winding stem carefully, if too long you will put stress on the Stem Tube Threads and this can cause them to weaken and strip. If you cut your stem too short then the Crown will not fully engage with the Stem Tube (jump threads) and again this can damage the Stem Tube threads.
Please do NOT over tighten the Crown, this is important. If you screw the crown very tight you risk damaging the threads (there is a slip gear inside that puts pressure on the stem tube and crown). If the threads are stripped the Stem Tube will need to be drilled out, a new one soldered in place and a new crown fitted.

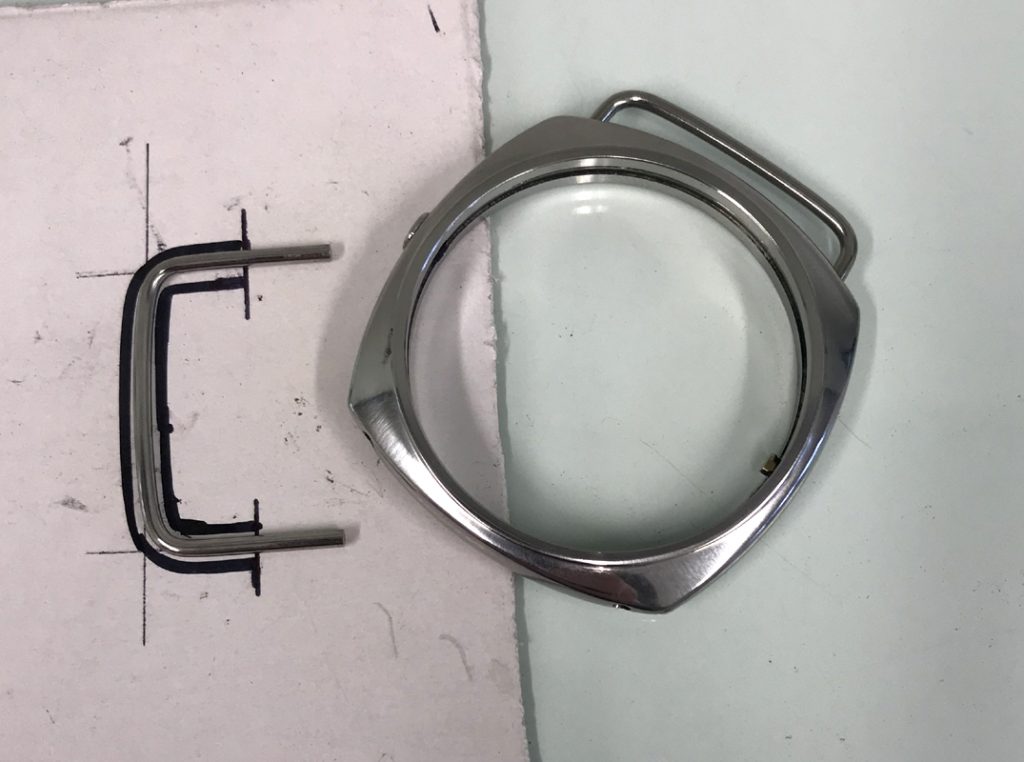
Case Size: This case is slightly larger around the edges (1.5 mm), this is for a reason so that when you shape the case it should go back to the original or accurate size. The authentic case were hand finish in much the same way.
Its time to assemble your project.